Now that the bike has an MOT etc I have been making use of the bike and visiting friends etc. During this time I have started making notes on things I would like to do to the bike.
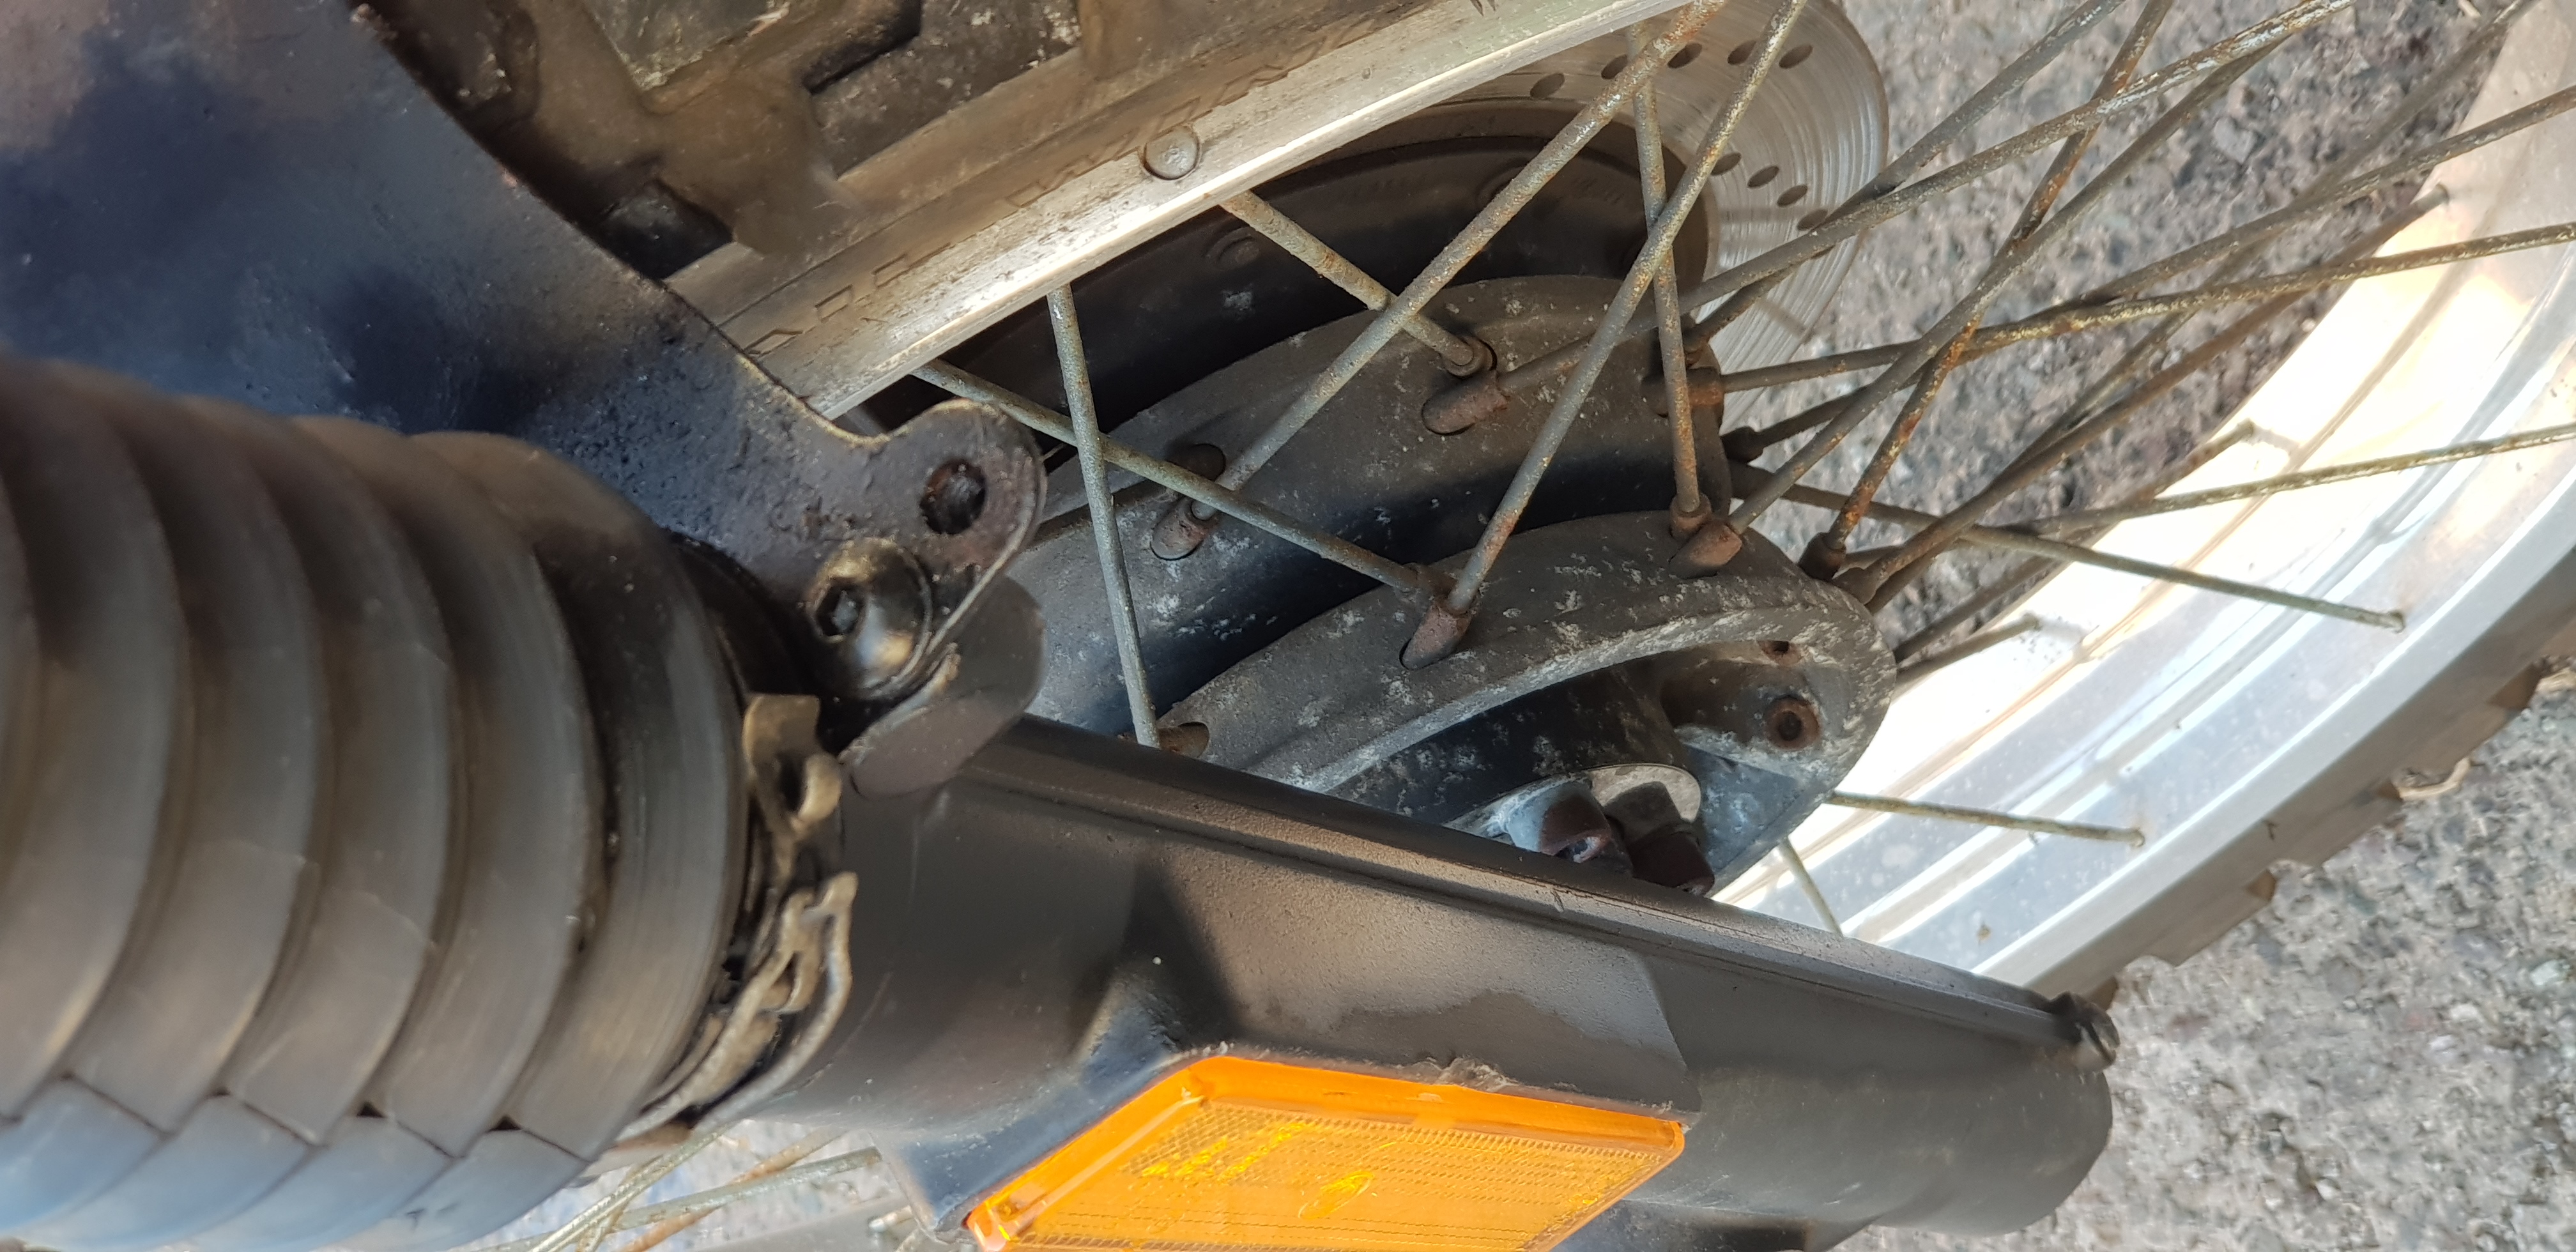
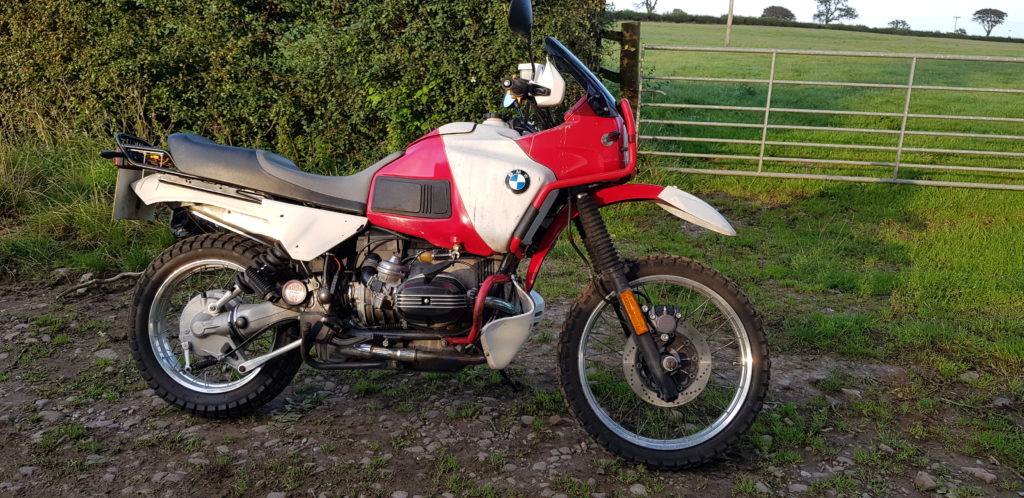
The one thing that needs doing sooner rather than later is the front fork seals. The bike handles fine but it is weeping a little from the left hand fork leg even though the picture makes it look otherwise. This I plan to do a full clean and change of fluids. Partly thinking of fitting some new springs but as the bike hasn’t been used much it might be an unnecessary expense.
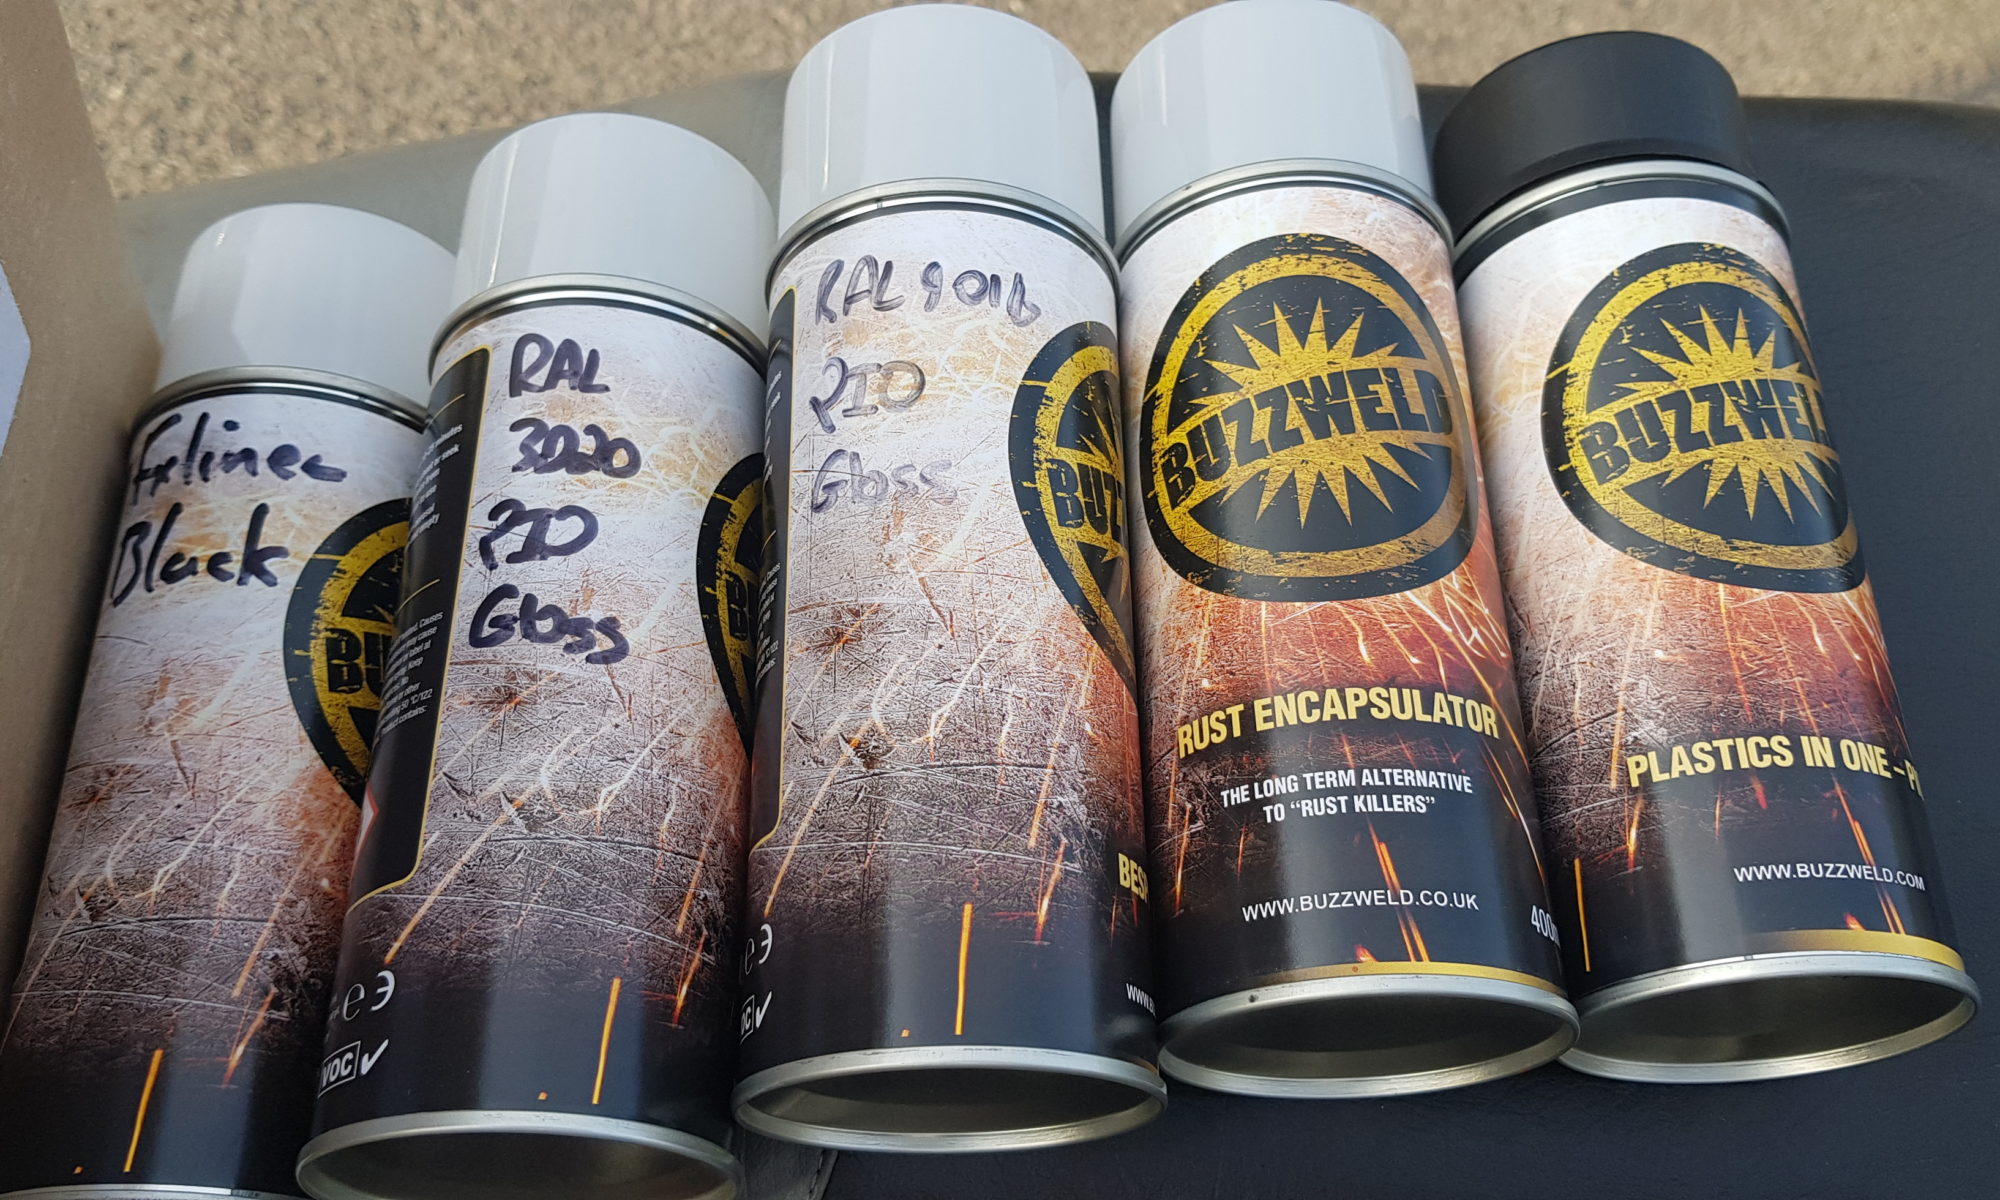
Other things such as the paint have taken a step forward. I met up with Craig of Buzzweld in Bristol and took his advice and purchased some very nice red and white colours that are RAL colours (RAL3020 Traffic Red & RAL9016 Traffic White) and not your mixed paints like I would get if I asked for a BMW Alpine Red or White, so I should get a stronger colour from them. But I will be using a paint they supply called PIO aka Plastics in One with only a bit of scotch bright it should go straight onto the platics and its flexible. Got a tin of back to do the seat as that could do with a bit fo a tidy up. But that might be a Xmas break type of project.
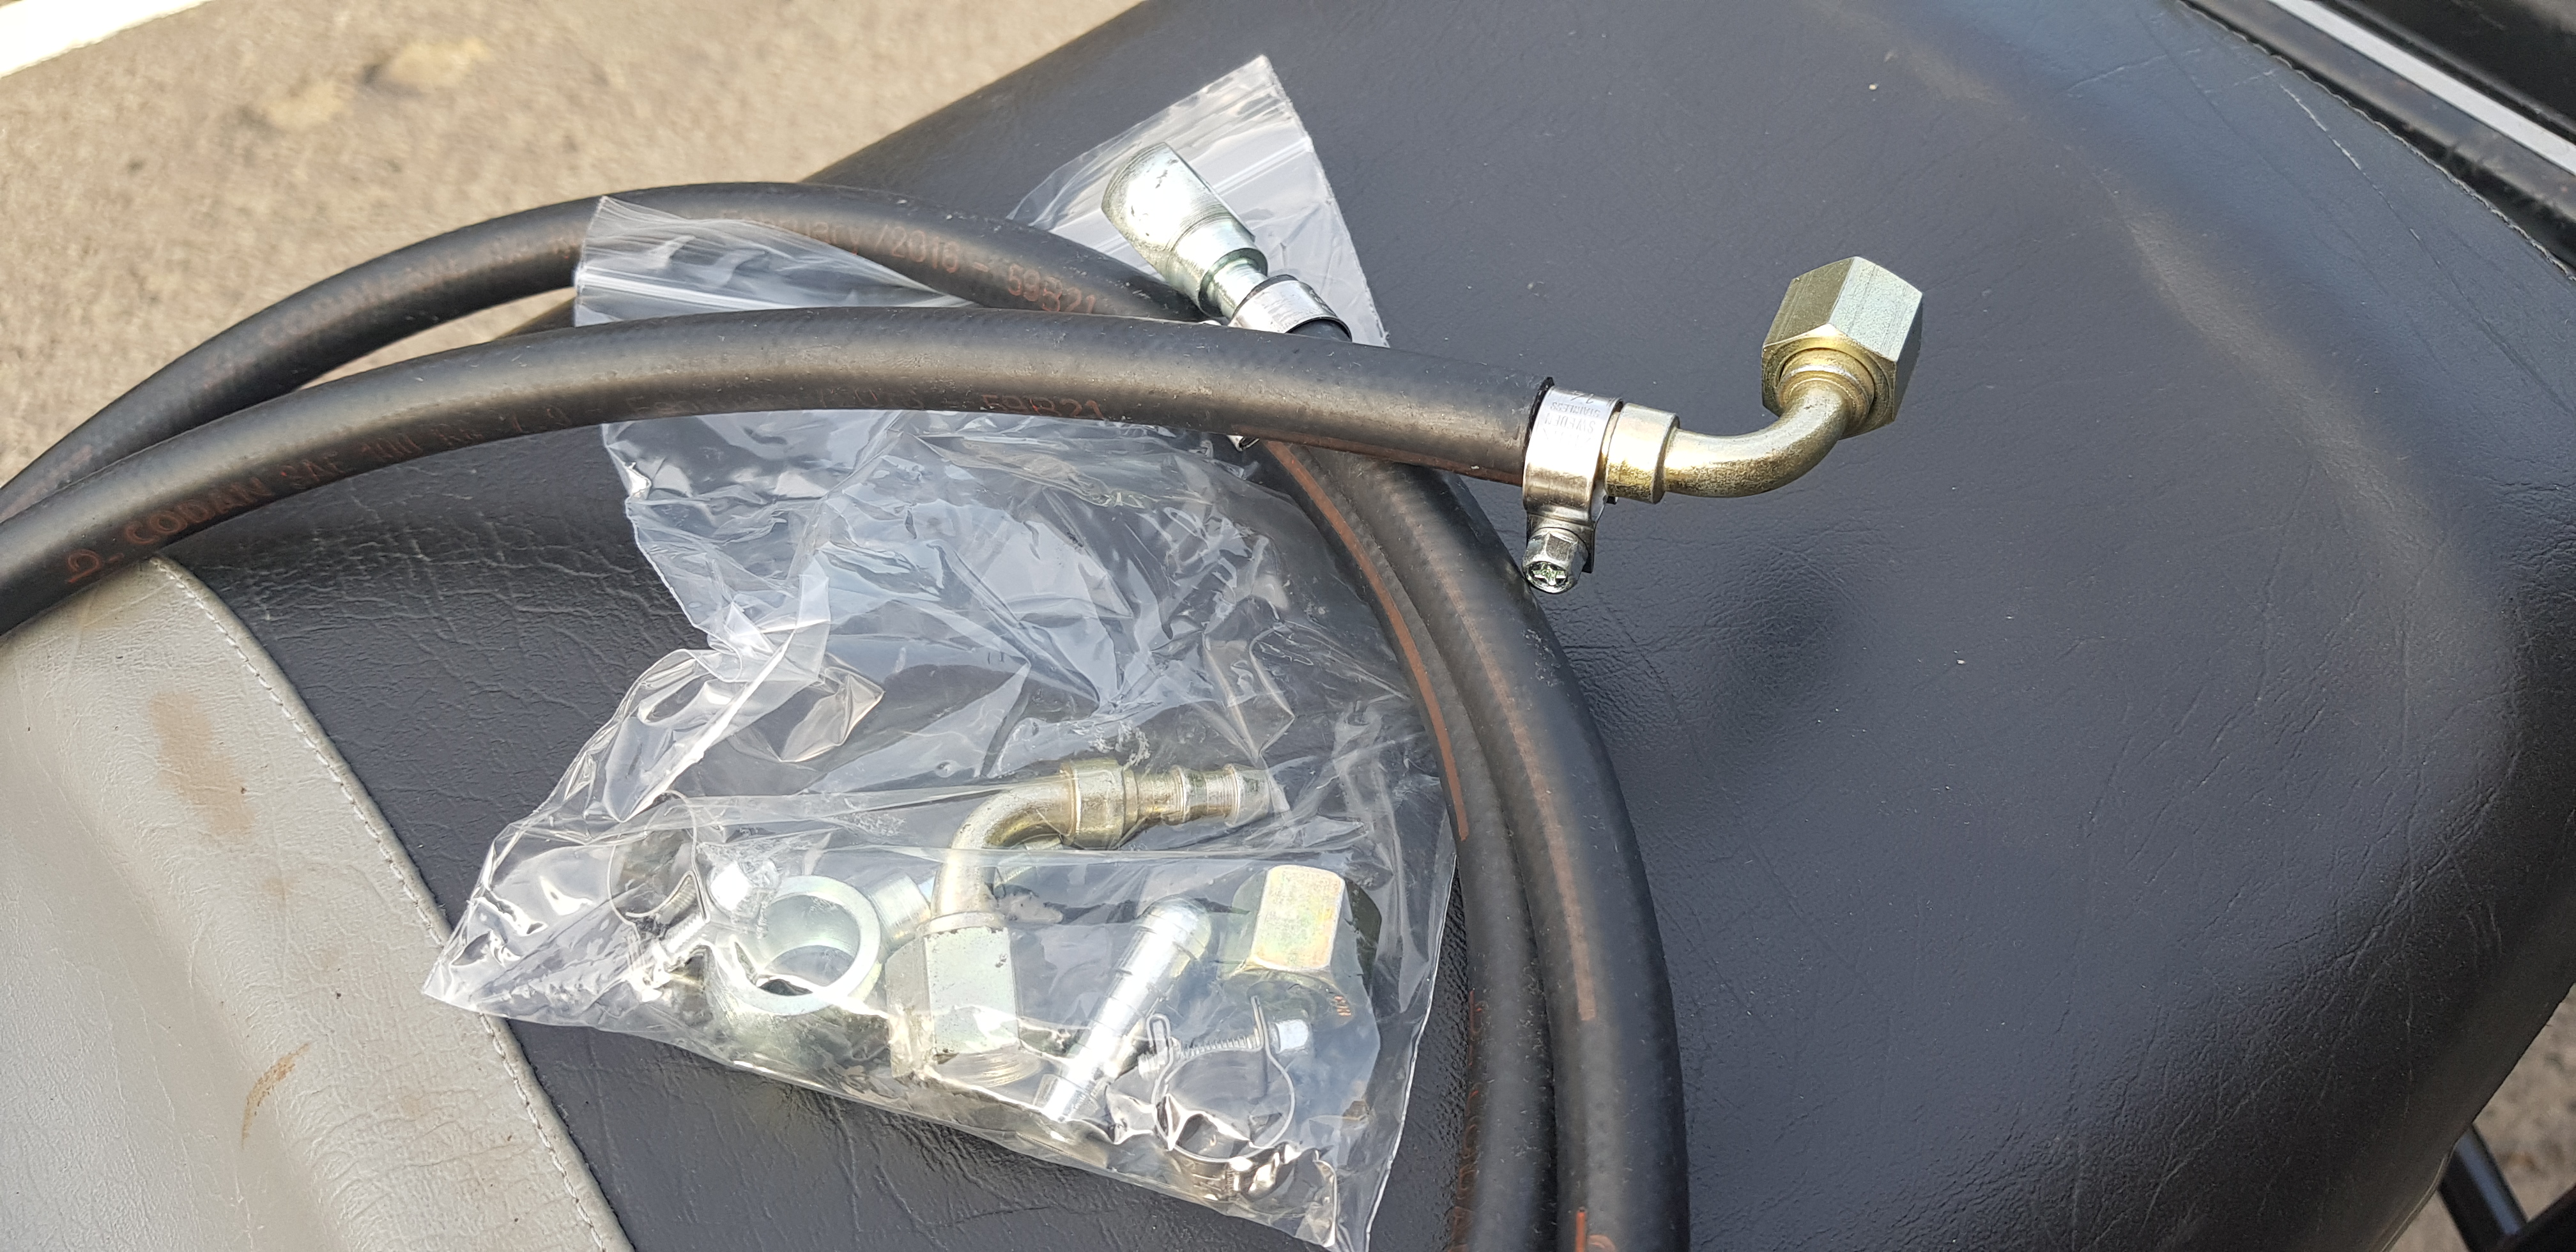
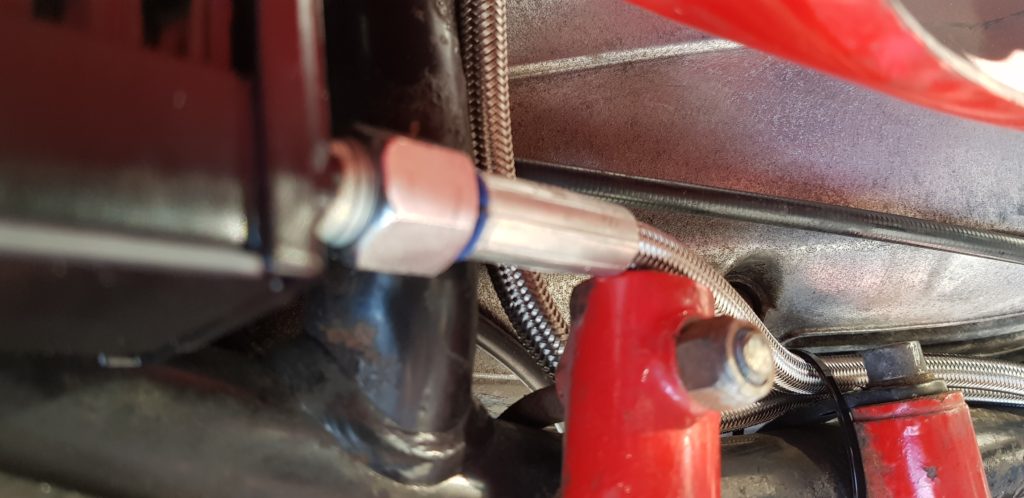
After visiting Buzzweld I then went over to Castle Coomb circuit and spoke to the people at Merlin Motorsport where I picked up some oil pipe and the connectors I need to change the pipes so I can hopefully get around the issues I have with the relocation kit I bought.
Other little things like a Surefoot side stand as I can’t get the stand down while sat on the bike, I am a little short and the bike is rather tall.
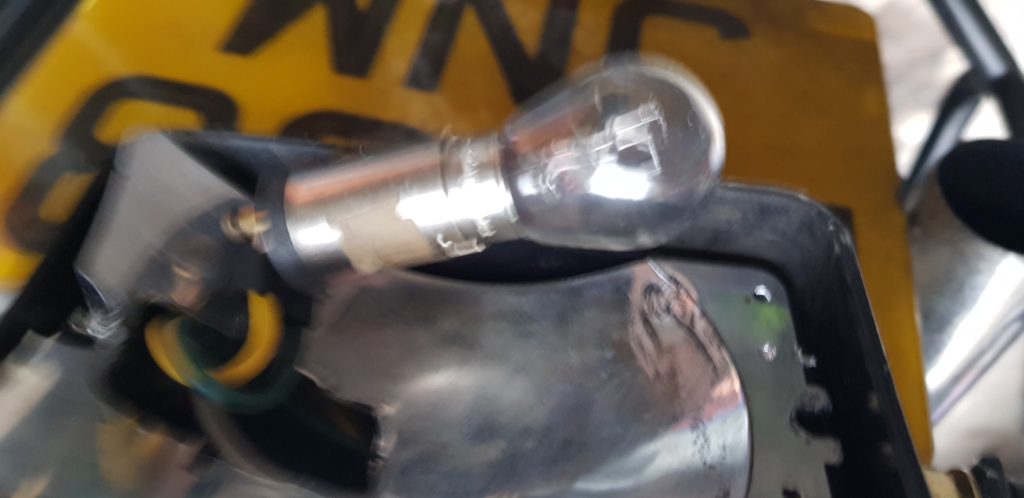
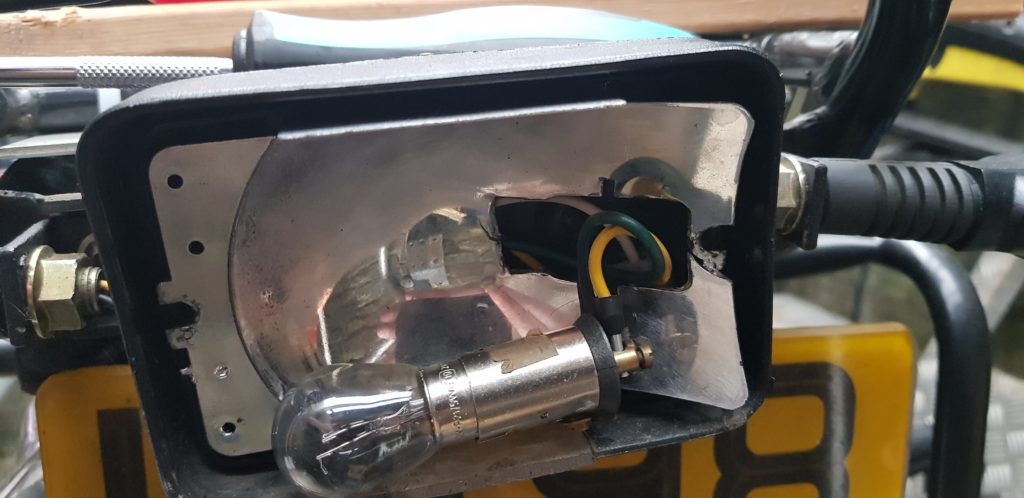
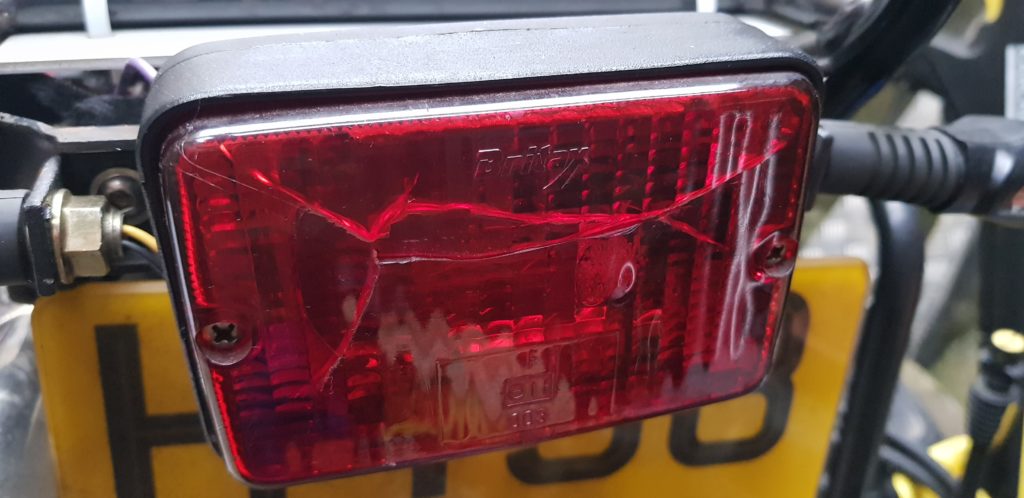
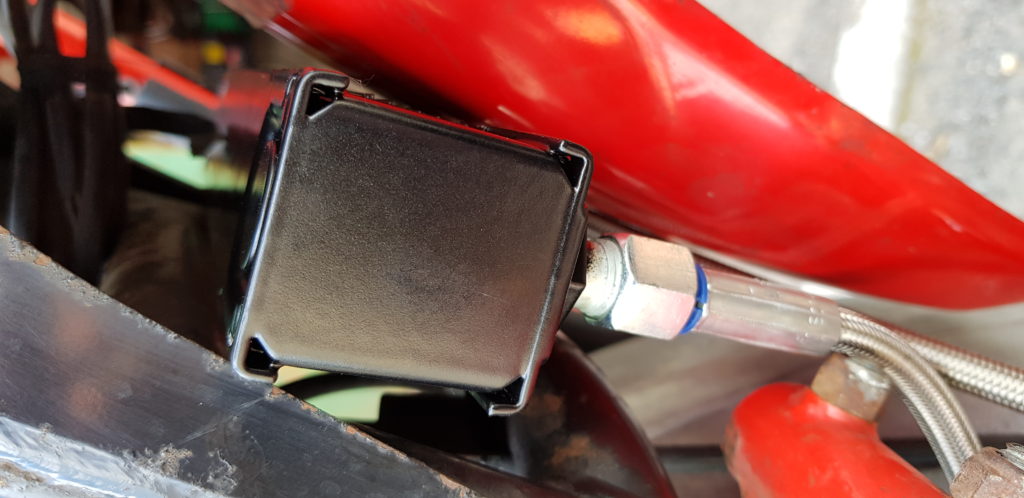
Plus looking for a new rear brake light as mine is melting, but to fit a pattern replacement could cost 50 to 100 pounds so thinking of alternatives.
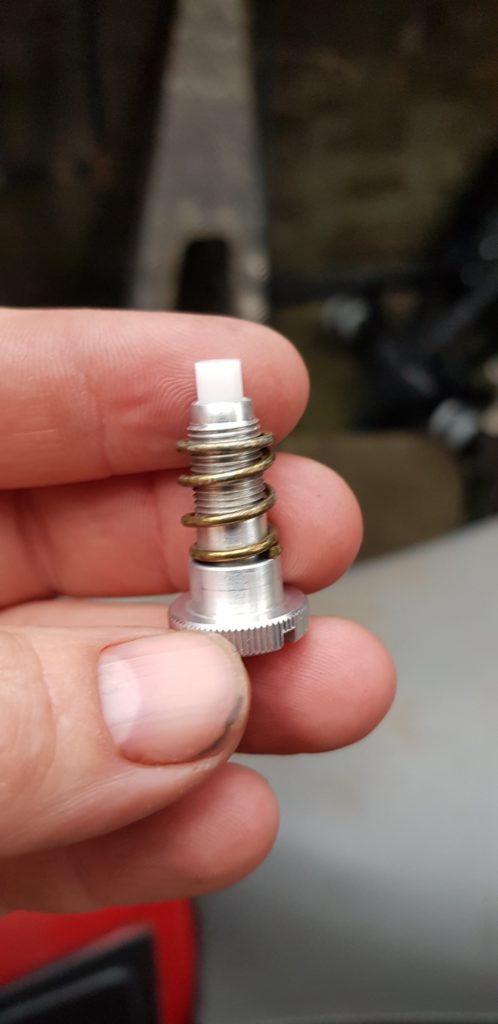
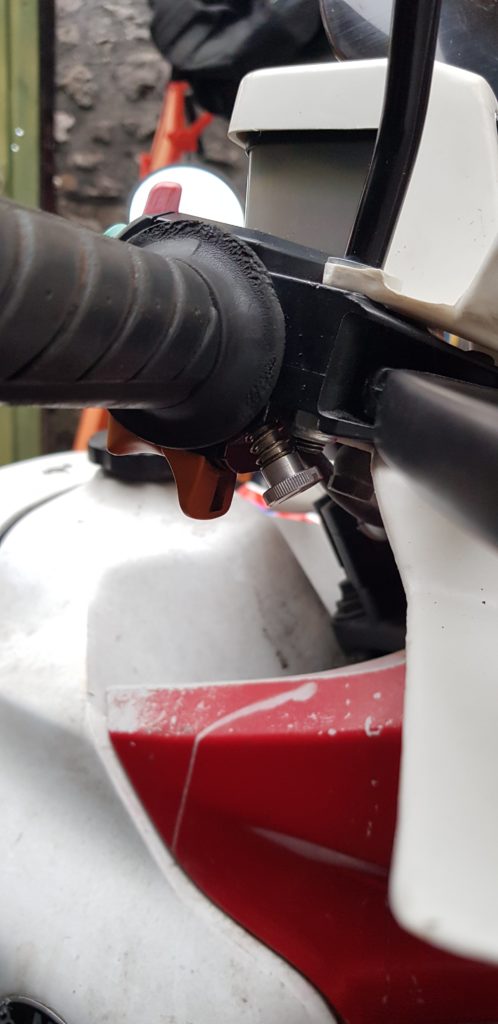
But I did fit a part to the bike and that was the cruise control adjuster. Not 100% sure how to use it but might be handy if I ever make the mistake of going onto a motorway.
For a time I have been thinking of fitting some sort of luggage system to the BMW. It allows it to be a more practical bike. I am a fan of being able to ditch the bike kit and wander about the shop/town without getting a sweat on because of all the bike clobber.
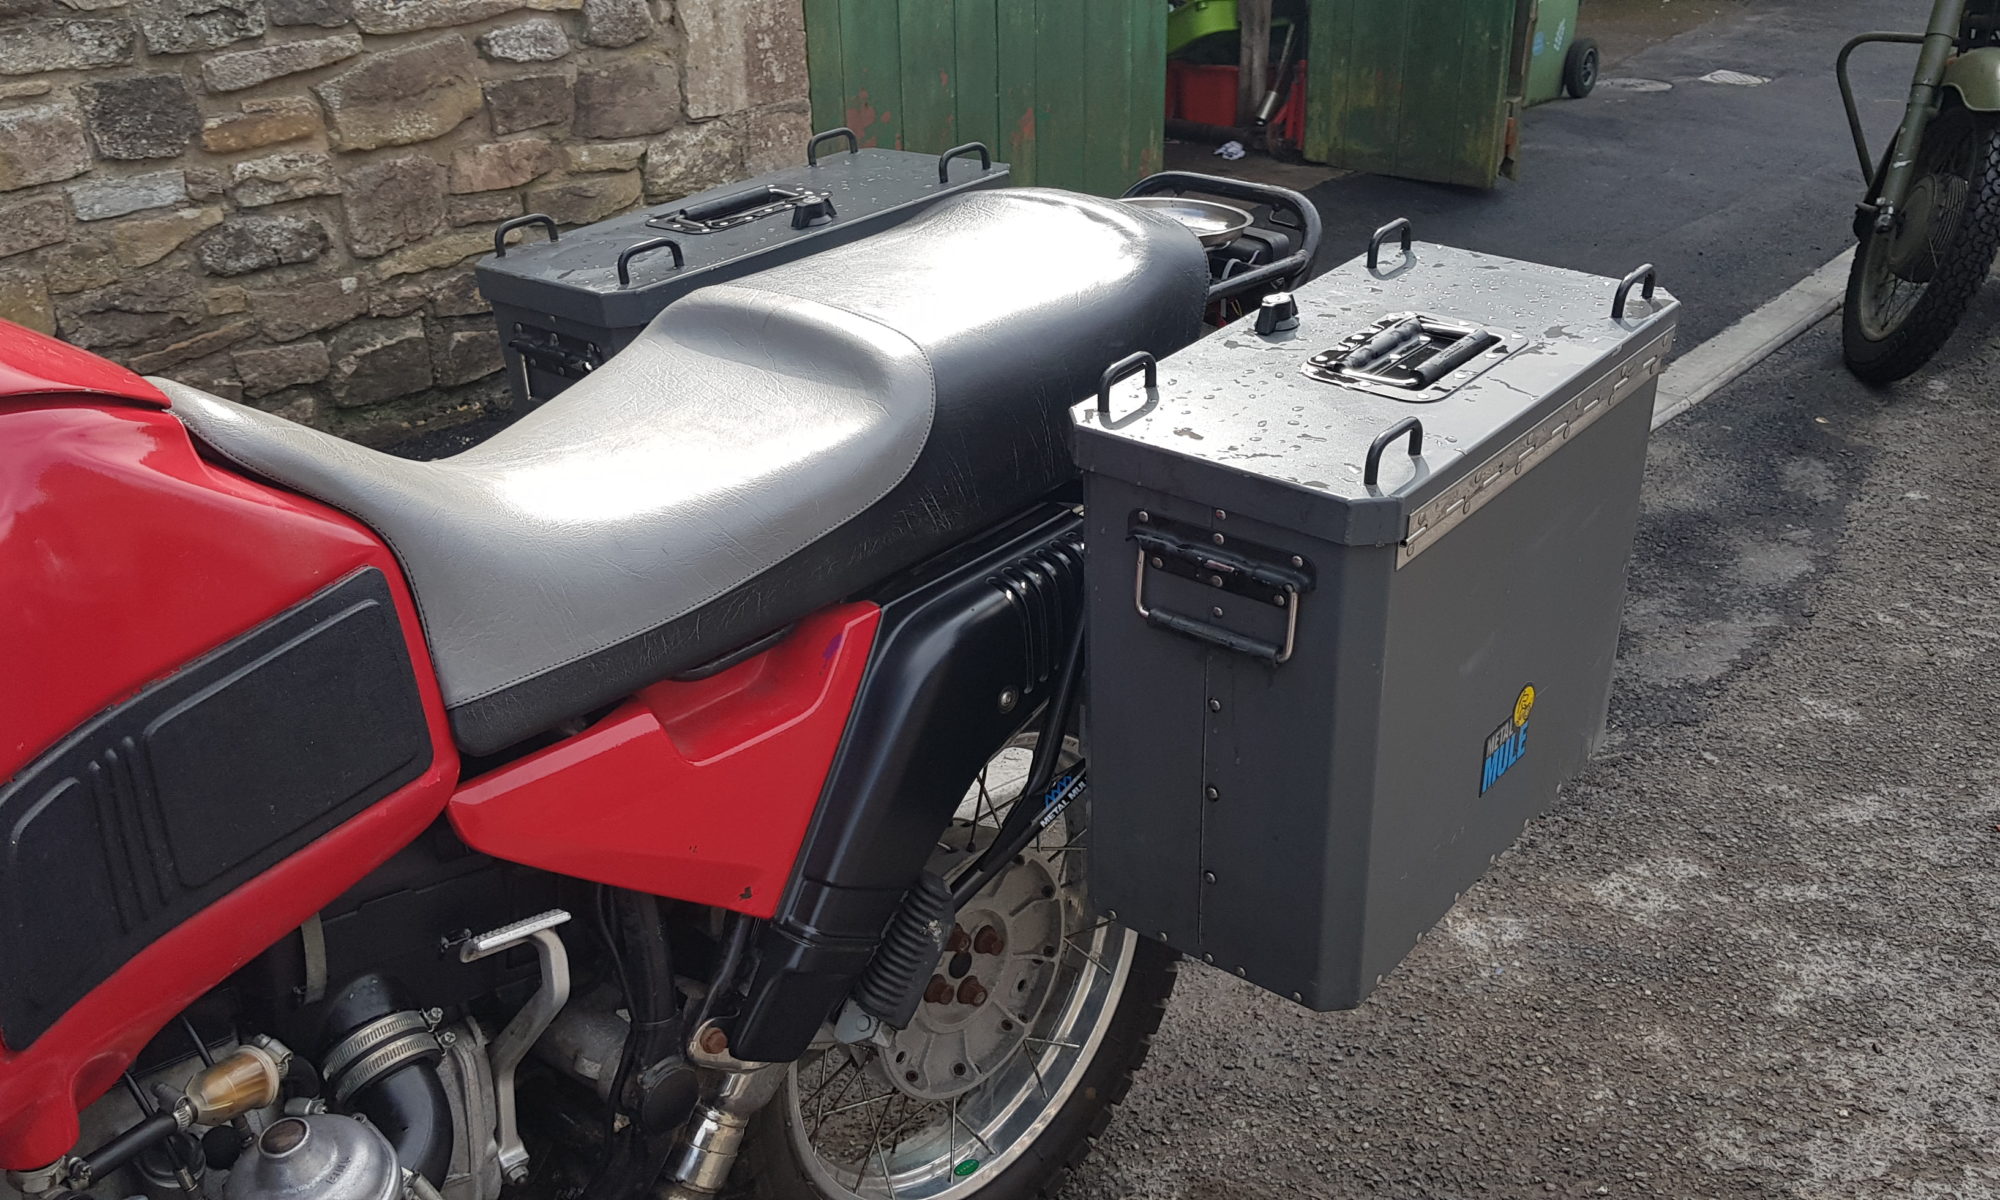
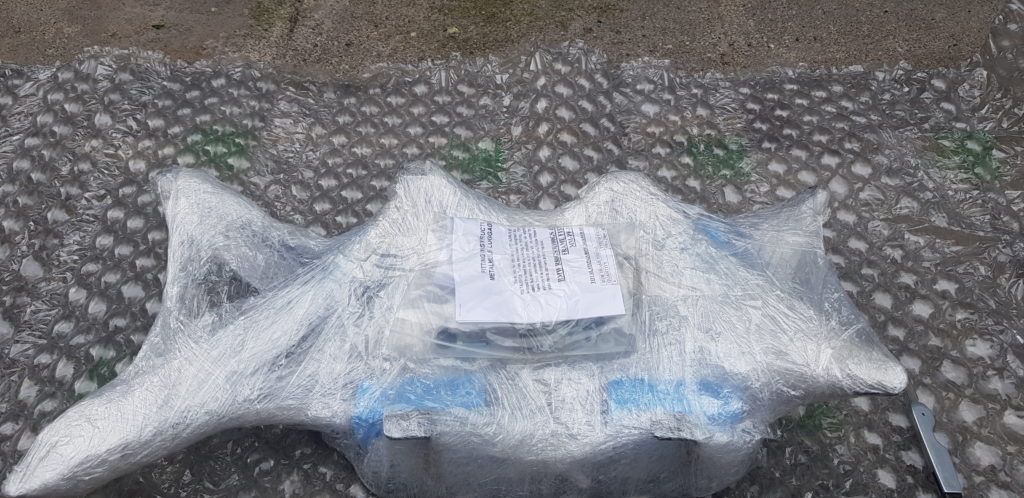
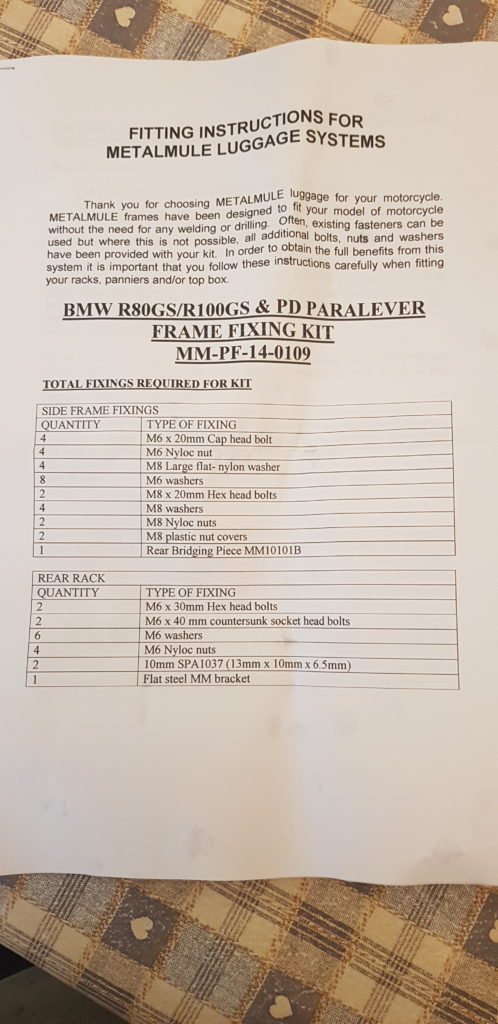
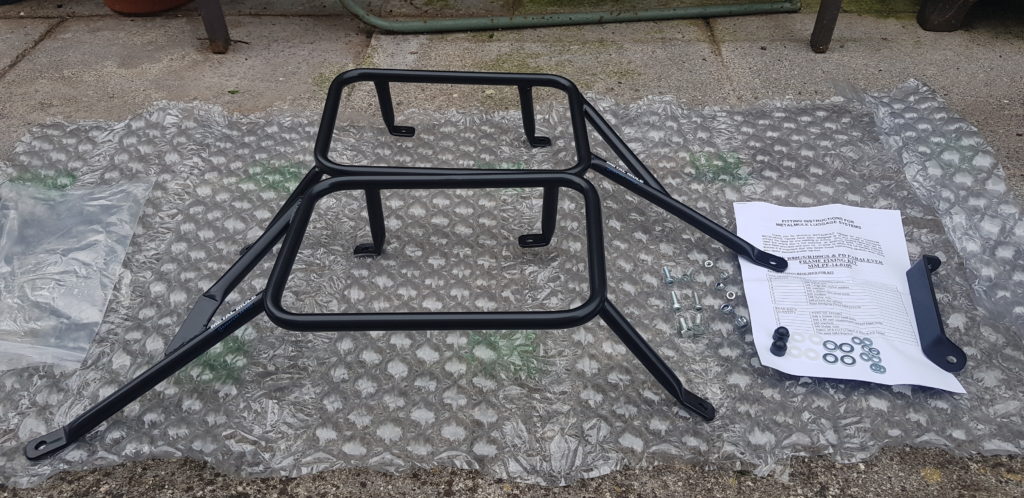
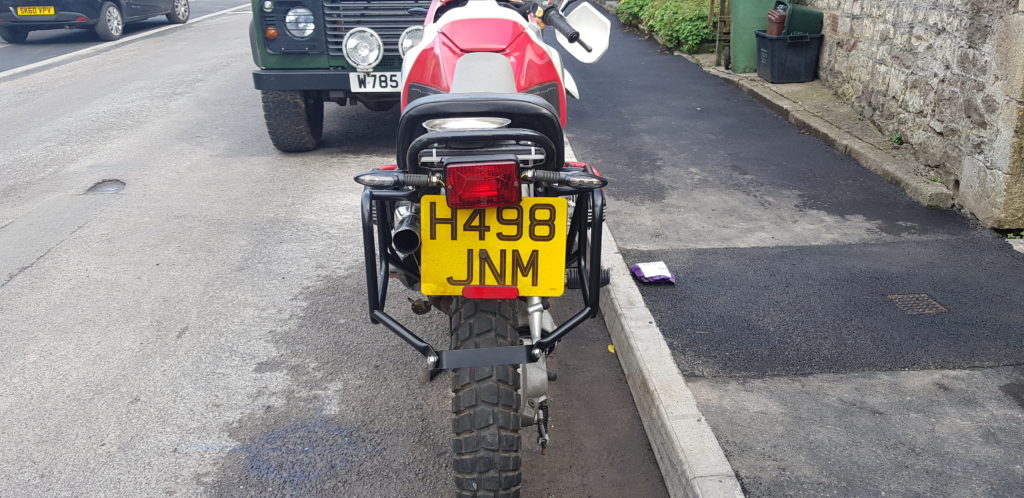
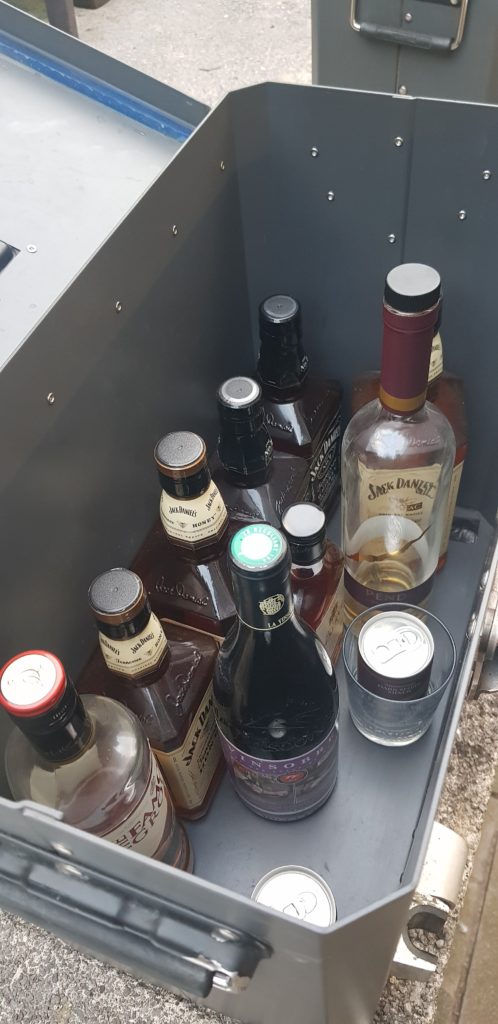
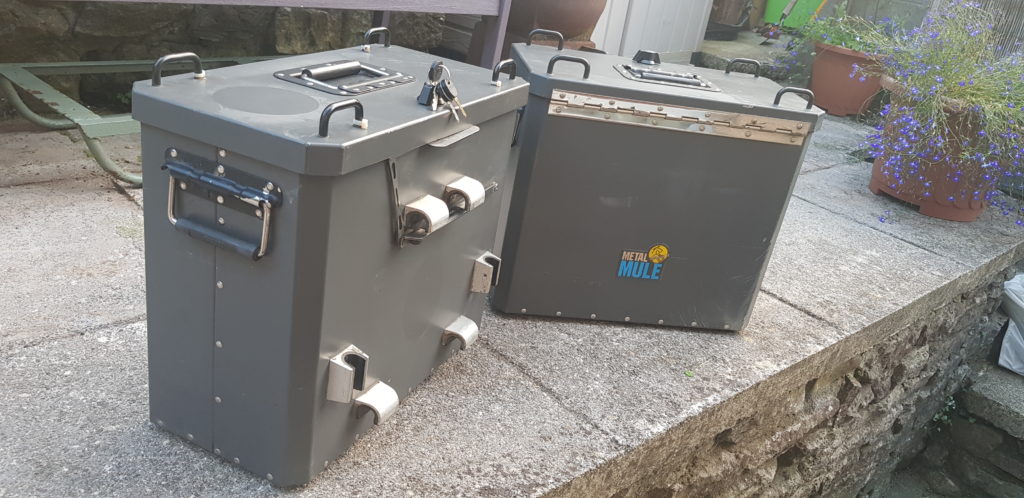
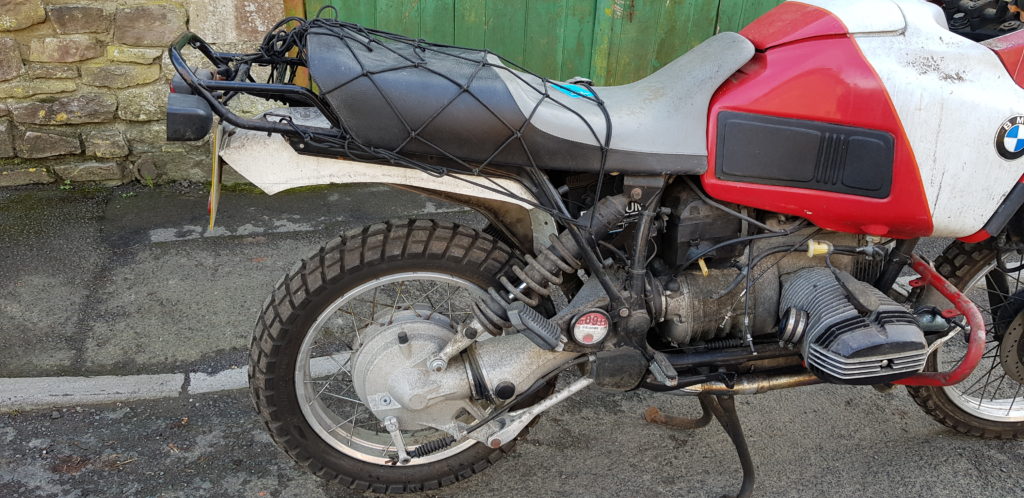
Having asked a few places about pannier kits for the R100GS PD BMW I found not many sources of new kit. There were offerings from Motorworks but my eye was caught by a firm I saw many years ago at the Dirt Bike Show and that was Metal Mule. They thankfully still sell the pannier kits for both the BMW and the KLR. But I initially was a bit worried that the panniers and rails etc would come close to 2k for what I wanted. But after a bit of searching on the bay, I managed to find a pair of second-hand boxes for less than the cost of one box. Next thing I know, I have some panniers and a new set of rails on the way to me.
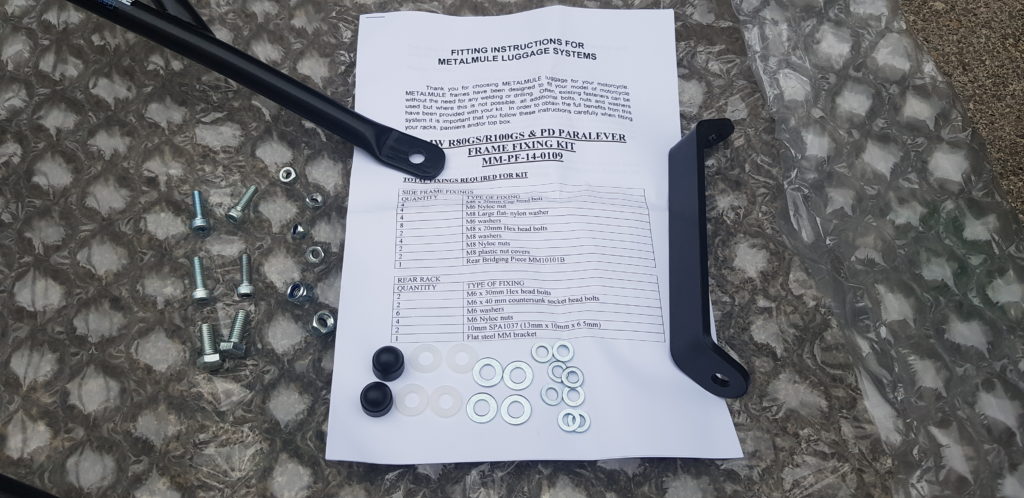
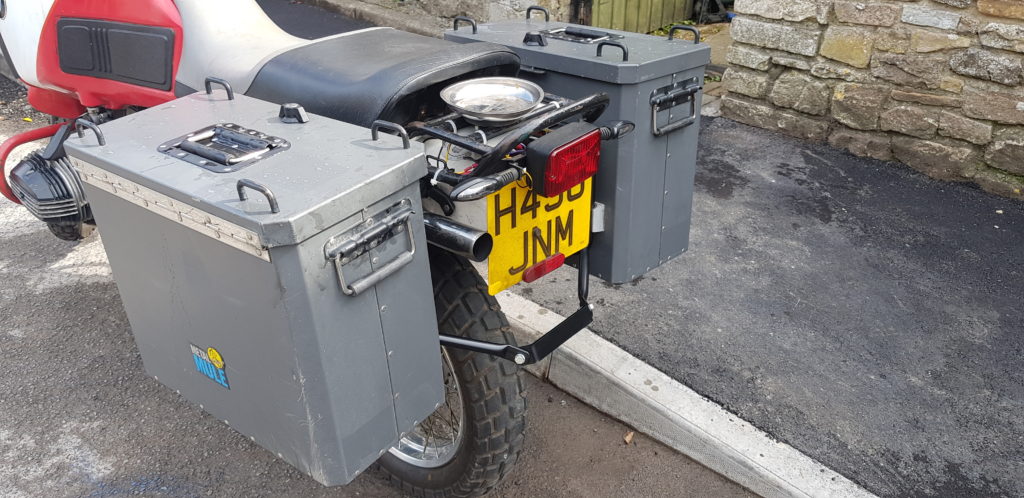
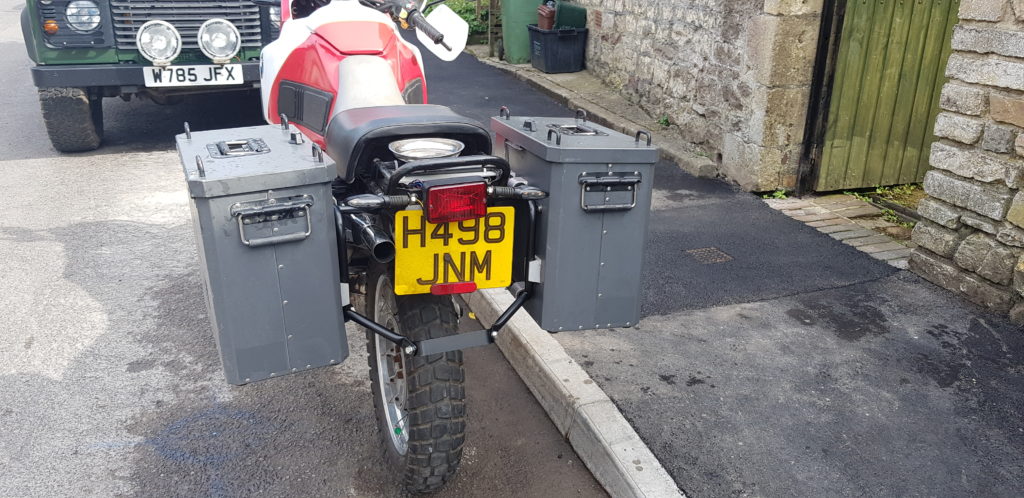
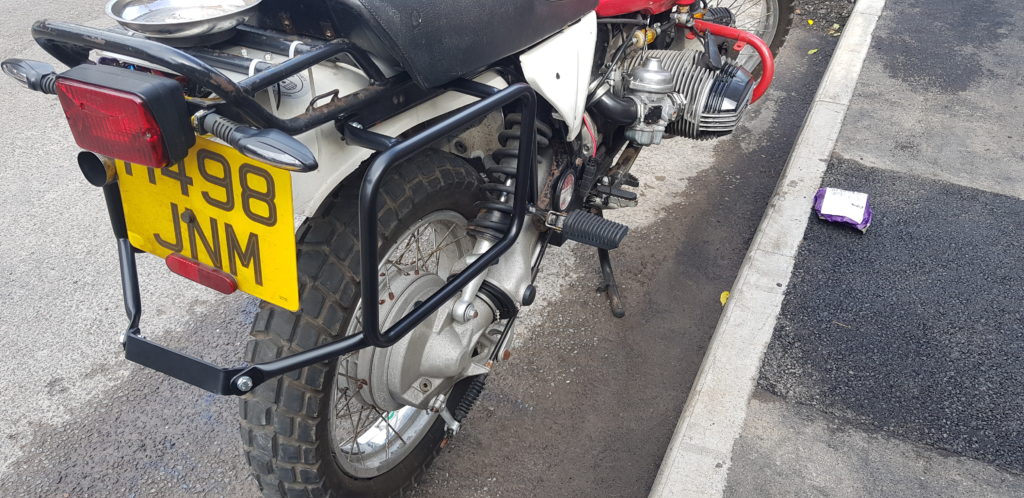
Fitting is fairly easy task but I did end up taking more of the bike apart than I wanted. Because the get the RH footpeg off I needed to remove the rear wheel. To get at the LH rear most bolt I needed to remove the mudguard.
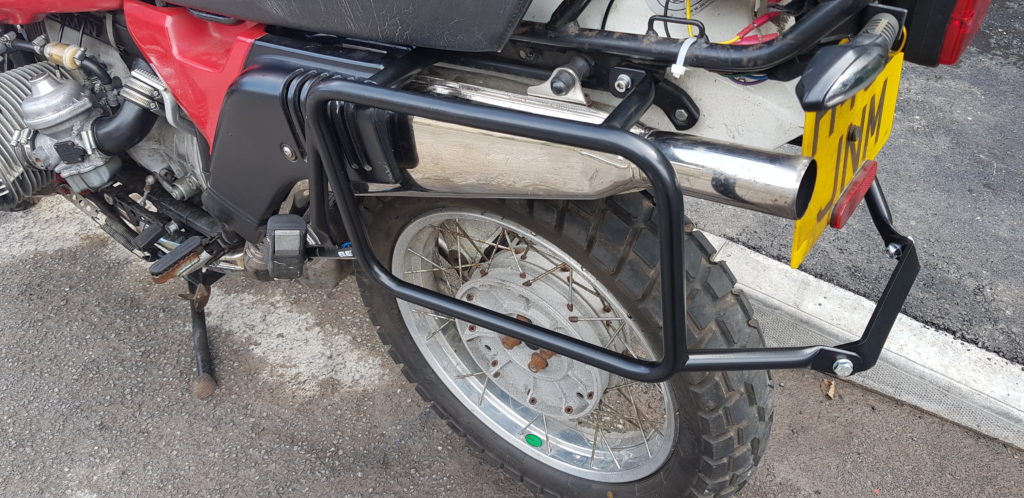
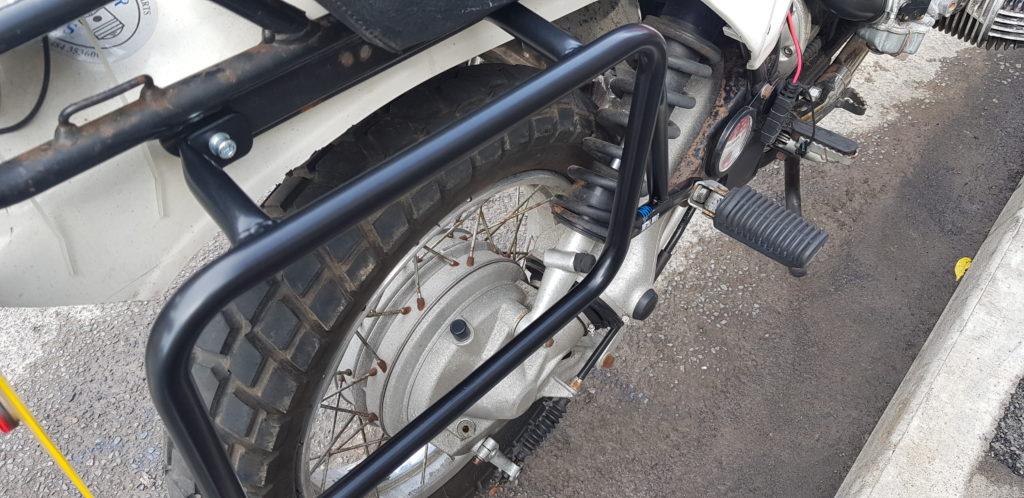
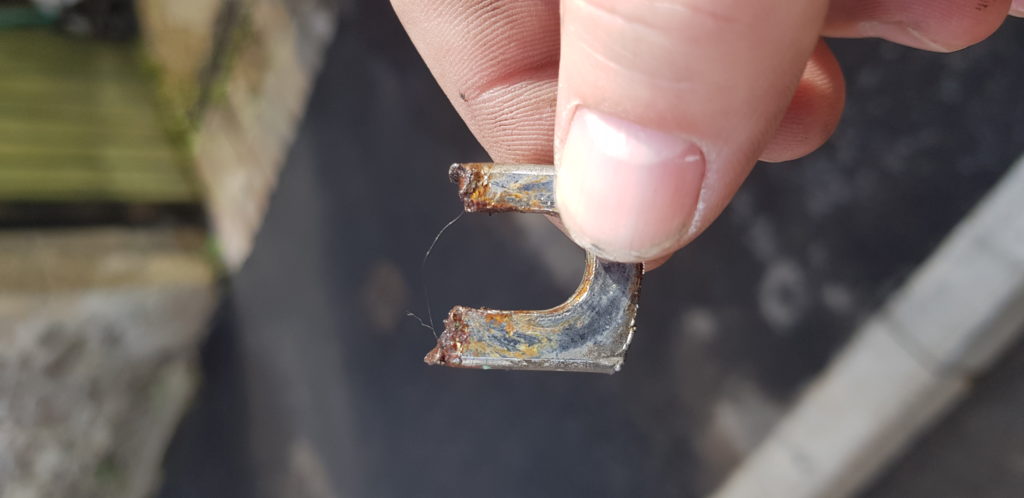
In the process, I also managed to find another piece of the puzzle that is the history of this bike. Looks like it’s been down on the LH side hard enough to bend the rear subframe, bend the handlebars (in two directions) and snap part of the original pannier frame. I know this as the pannier frame rails matched up fine on the RH side but LH was a 2cm out of alignment. I managed to get it to work bu using a longer bolt and pulling it together that way.
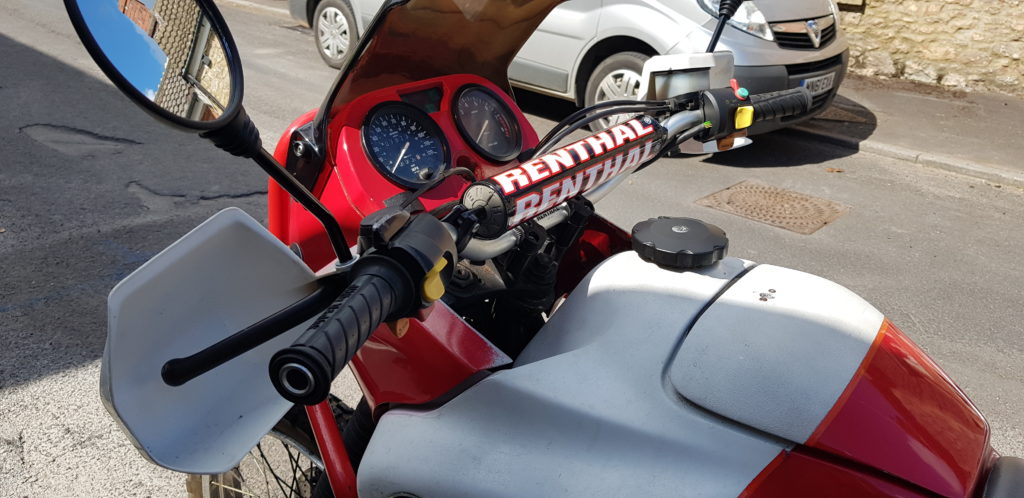
As I have been riding the bike I have taken notice of a few bent parts, especially on the left-hand side. One part is, of course, the handlebars.
Thankfully as a seasoned crasher of off-road bikes I can manage to ride most bikes with bent bars, I just take a few miles to adjust then I am fine. It was strange when I got off the BMW and took the KLR for a spin.
The search began for new bars and a visit to see JimJams down at Gossmotox in Yeovil had me testing handlebars. The closest being some Renthal Classic Desert Racer bars with the part number 666, but they would hit the tank etc. I went back onto the internet and asked about and Colt Self was nice enough to remind me about handlebar risers. So a bit of late-night searching got me a set of cheap 1″ & 2″ (25 & 50mm) to try and because I had already done a trip to Yeovil I ordered a set of bars, sorry Jeffers, I will bring cake down to apologise.
Eventually all the bits arrived and I started to get all the bits off. Which is a faff as there is just one screw that clamps the switch gear on then you need to slide it off. I swore a lot and even had to resort to a strop and a cup of tea. Because the bars I had tried only a week or two beforehand made it a very easy task to swap parts over, this time it was a complete nightmare which ended up with a bit of switch gear snapping.
I assembled the bars and went to start the bike only to find the indicator switch failed and now the light switch wasn’t working properly and was jammed. Some more tea later I decided to take apart the switches and thankfully I managed to rescue the very small ball bearing that had found itself where it shouldn’t be. Not many pictures sadly as I was now on a bit of a mission and I was worried I would lose bits if I stopped to take pictures.
Lights,
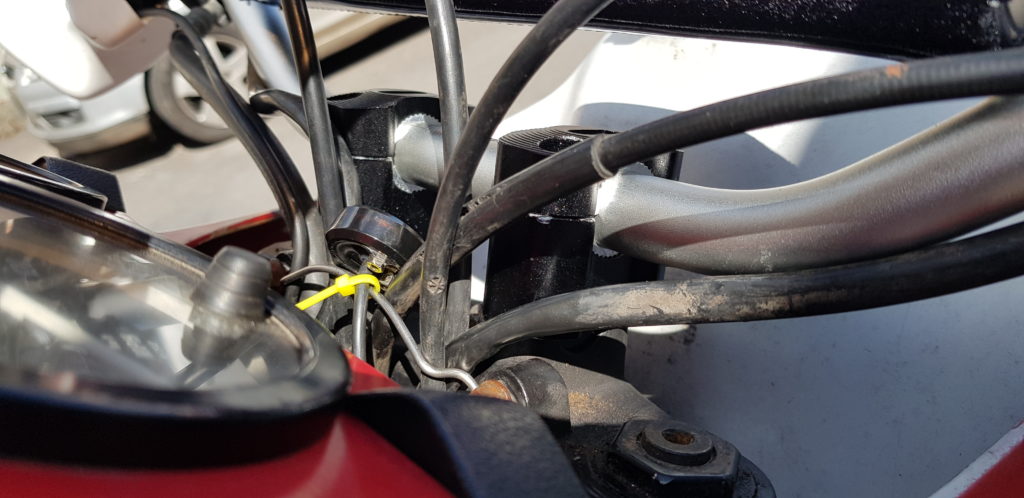
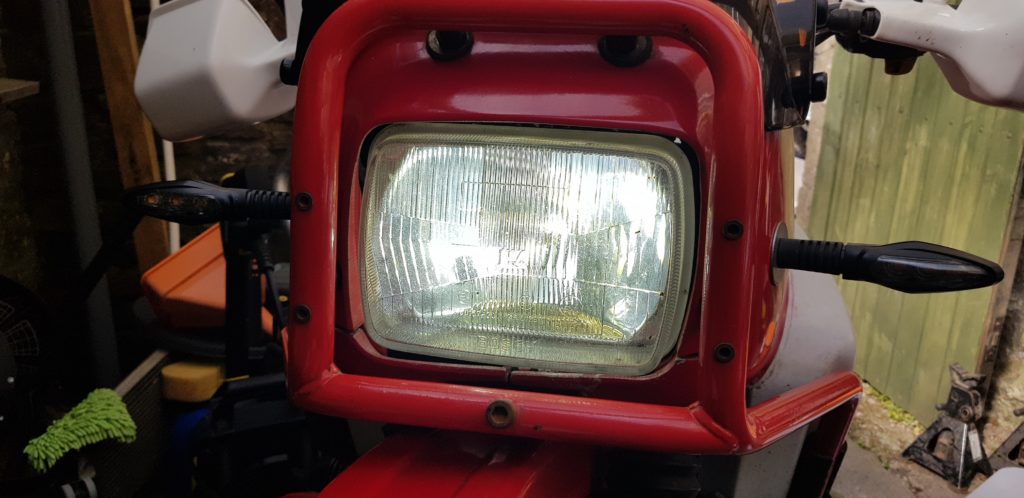
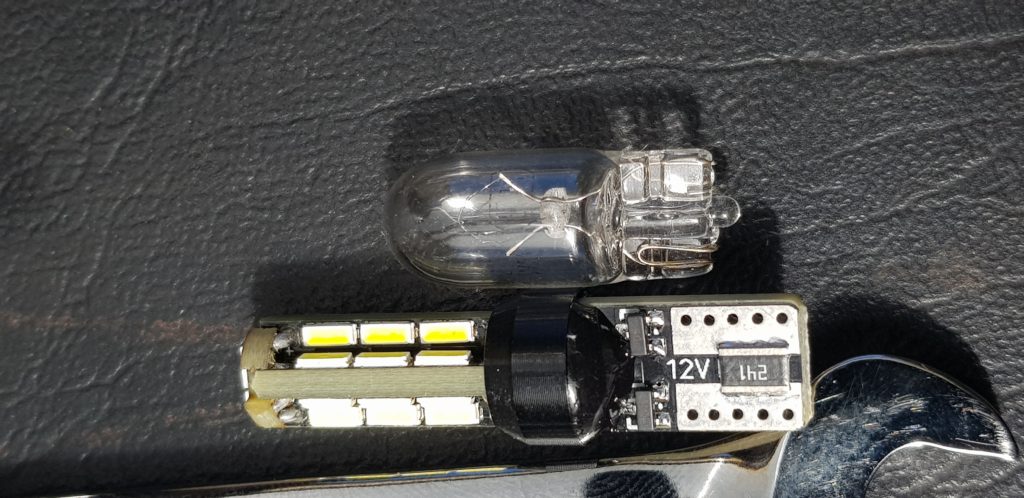
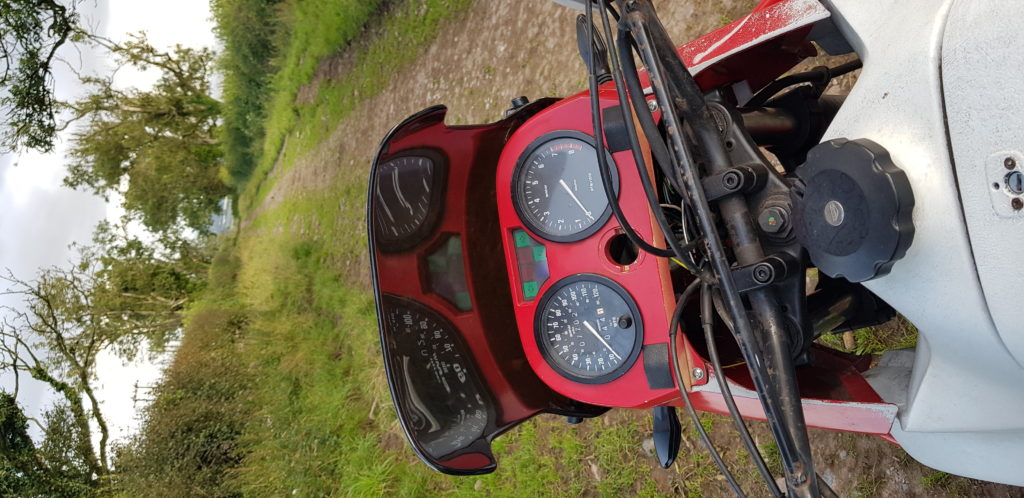
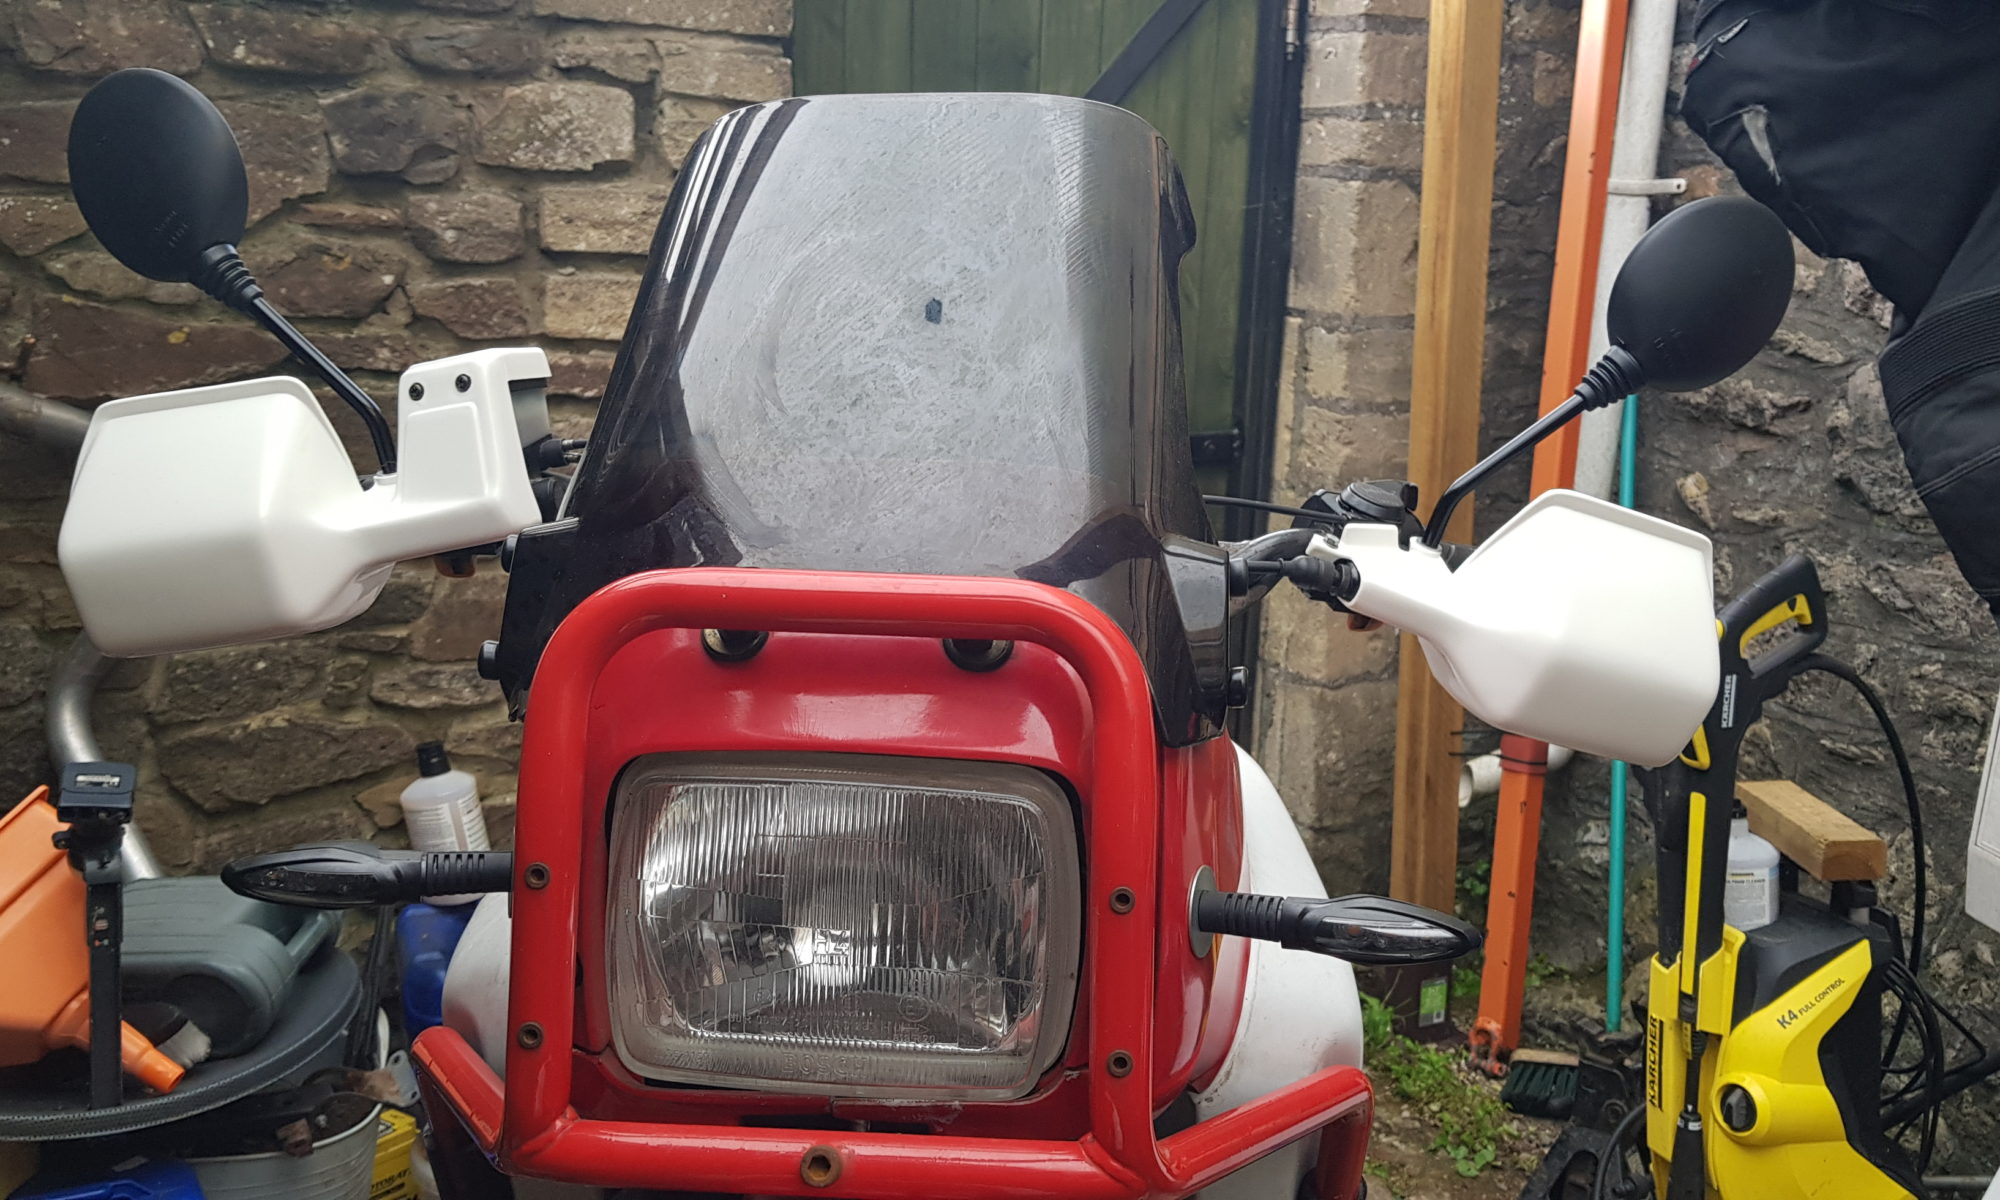
After a late-night ride home from a friends place, I noticed the BMW lights are very similar to my similarly aged KLR. Totally and utterly useless, I felt the Matchless with it 6V electrics built by the king of darkness (Lucas) had better vision. This I think is partly due to a bent headlight unit. An attempt to make some adjustments didn’t go to plan as the threads are rusted into the plastic. But as a stop-gap, for now, I decided to swap out the sidelight bulb for a LED unit, brighter but also less draw so won’t kill the bike if I am trying to get it started. But that had to be modified as for some reason the contacts on the bulb wouldn’t always make a good contact in the holder, so I laced a few strands of copper wire though the circuit board holes and that solved the problem.
The headlight has a H4 LED conversion bulb that I bought ages ago for not a lot of money and I have yet to test it at night but it may fair better than the old H4 that was in there. Otherwise it will end up with a Osram Night Breaker which is my choice of bulb these days.
With the bike now running on both cylinders, I have now begun taking it out for short rides to get it warmed up and to make sure it won’t leave me at the side of the road miles from home.
First thoughts are the handlebars are rather bent so I took a trip to see Jeff & JimJams at Gossmotox.com to see if some Renthals would fit but after a bit of time faffing around we had tried a few different ones with the Classic Desert Racer 666 bars being the closest but sadly not enough height to avoid knocking into the screen and tank. So a bit more thinking is needed on that front.
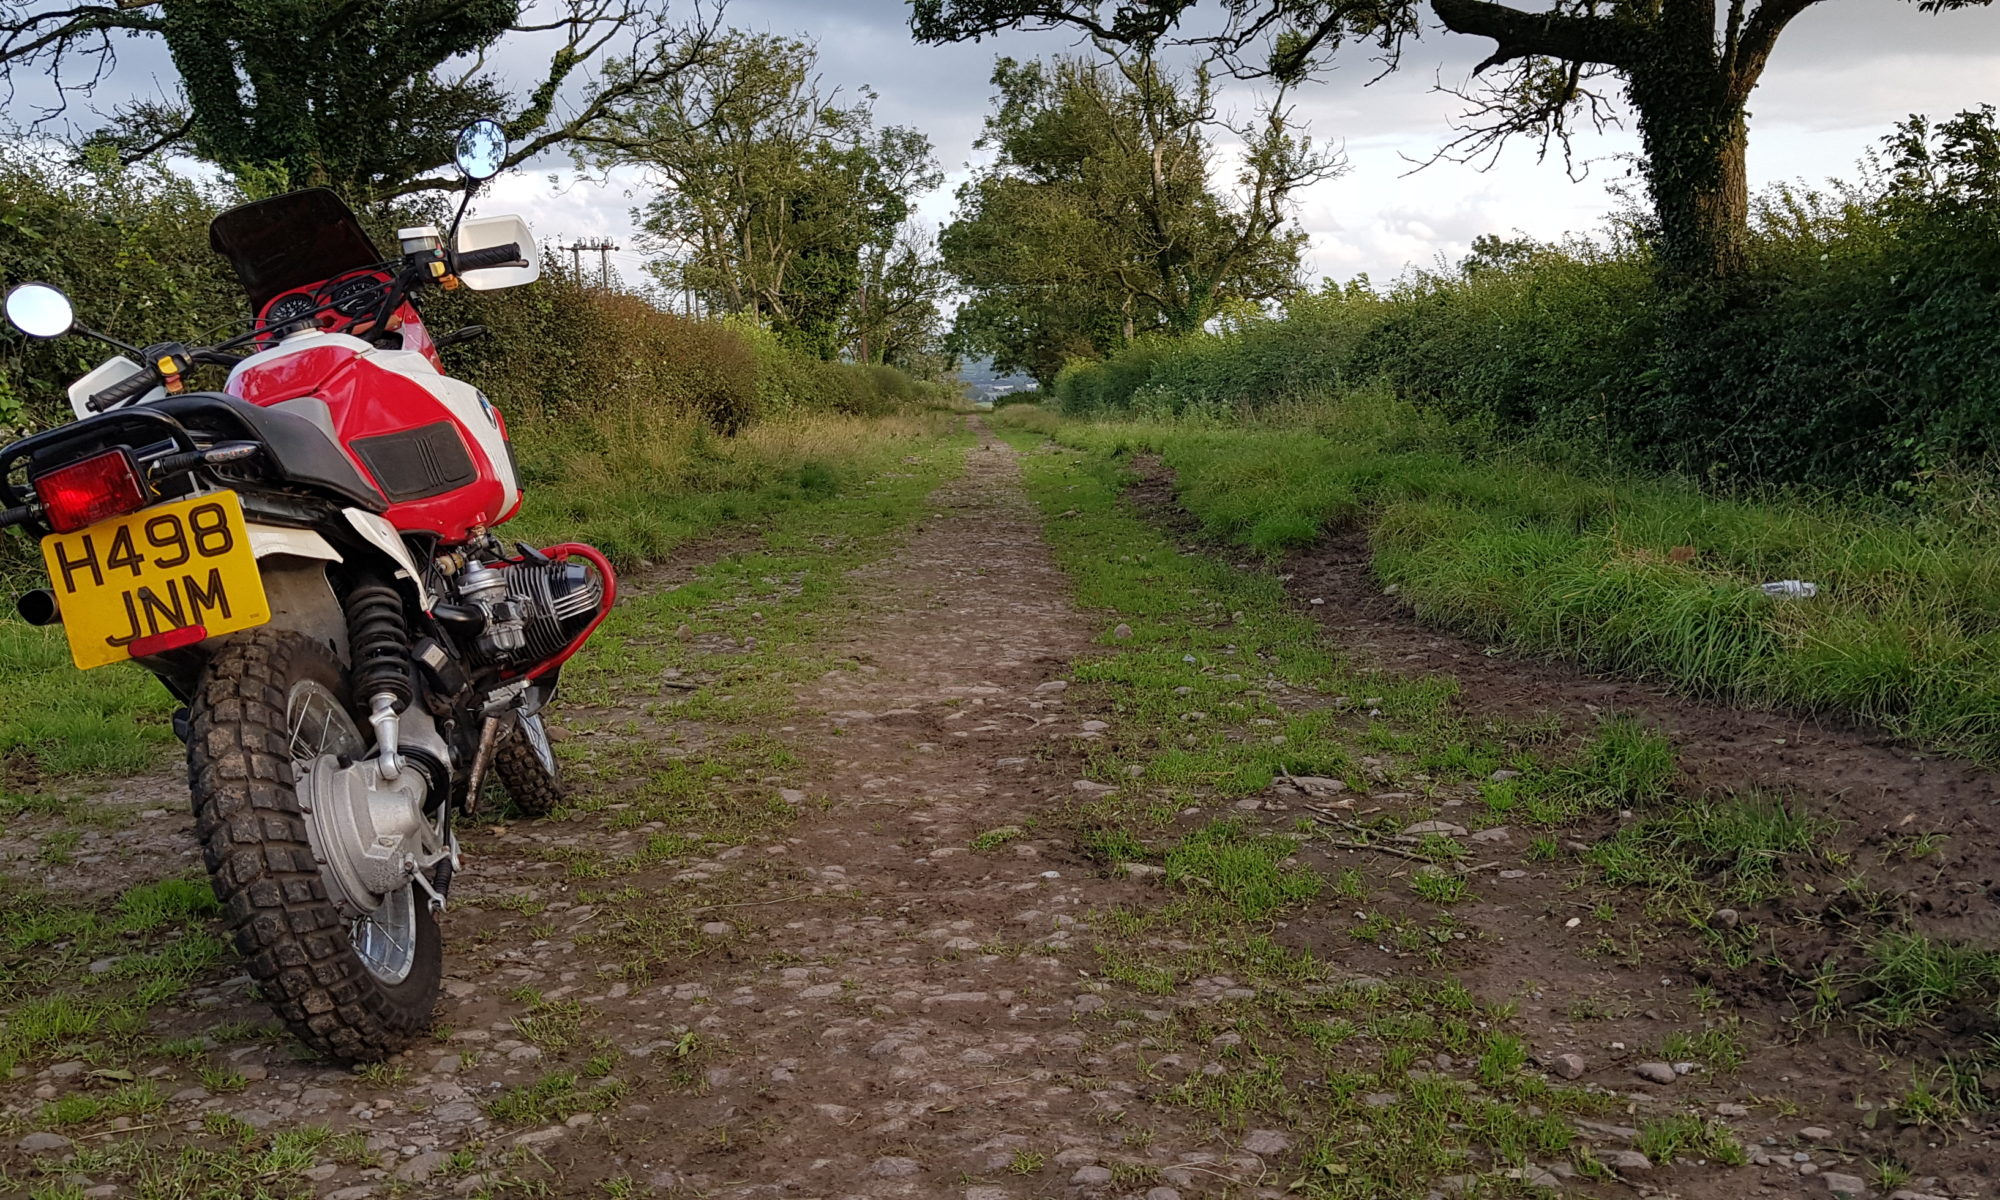
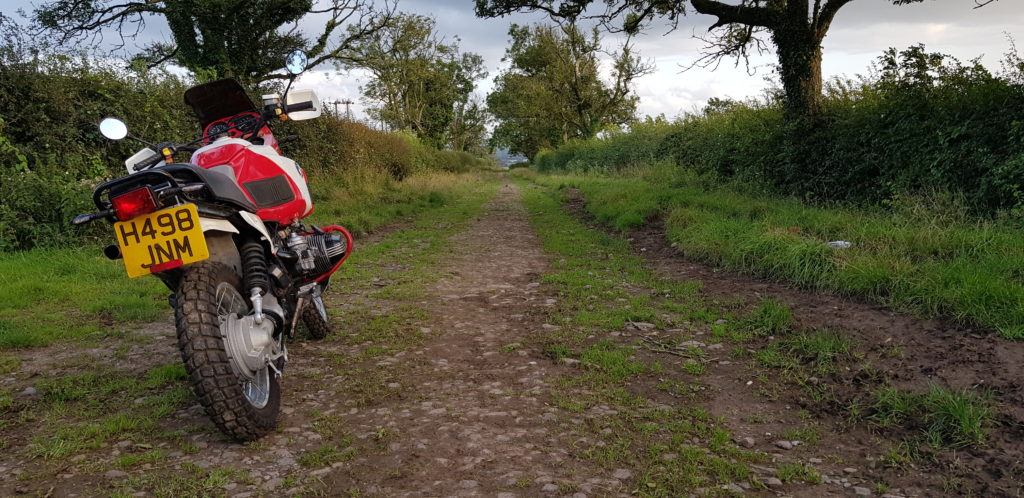
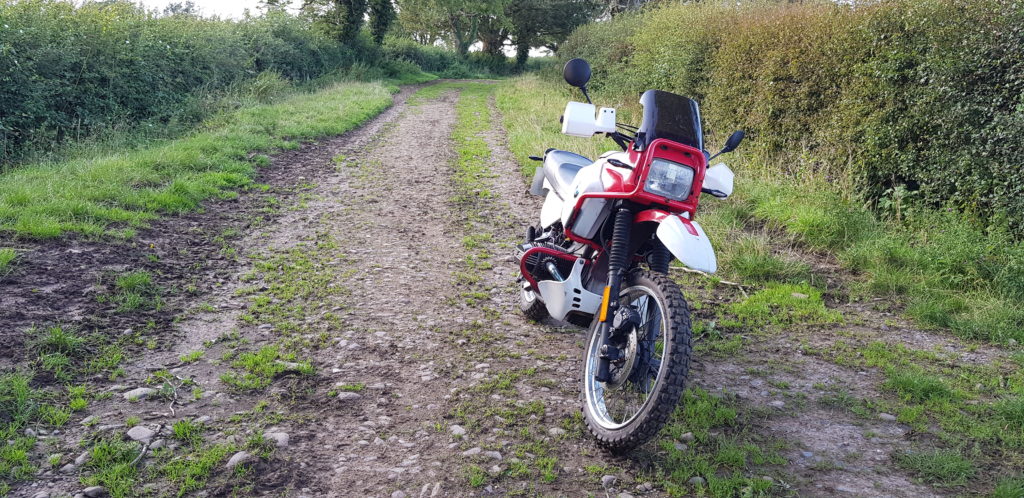
But I did do a thing I have done to all my bikes, took it on a local byway to get its tyres dirty. This is a local byway near home which is an old Roman Road but its quite tame, enough that I have ridden a CBR600 along the byway with no issues.
Now I have managed to put 100 miles on it so when I got home I took the opportunity to do another oil change, the first being to remove the 8ltrs of petrol/oil mix. No filter change but just another swap with clean oil. But while I was there I decided to change the oils in the Bevel drive and Gearbox, thankfully it is the same oil I use on the Land Rover Defender. But it is horrible oil that has the ability to get on to everything and its stinks.
Now to take it for a longer ride as the weather is nice.
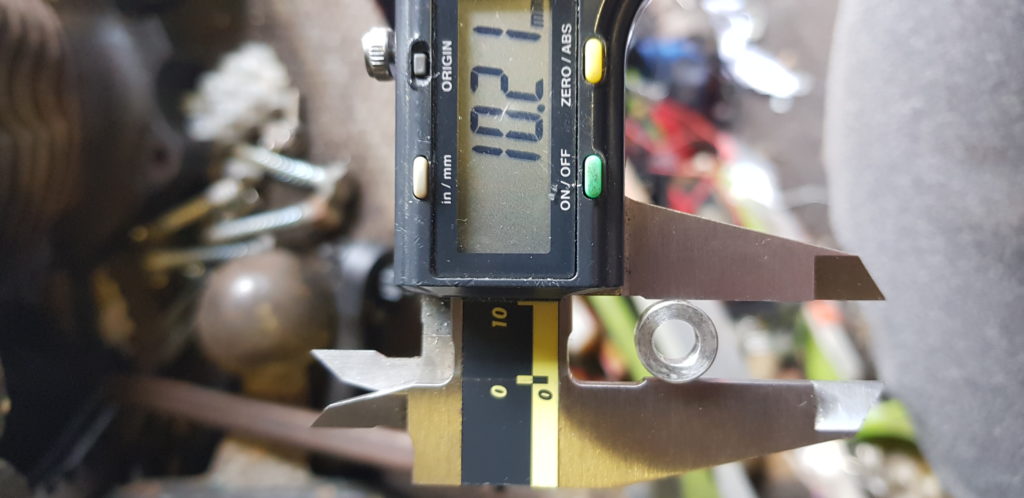
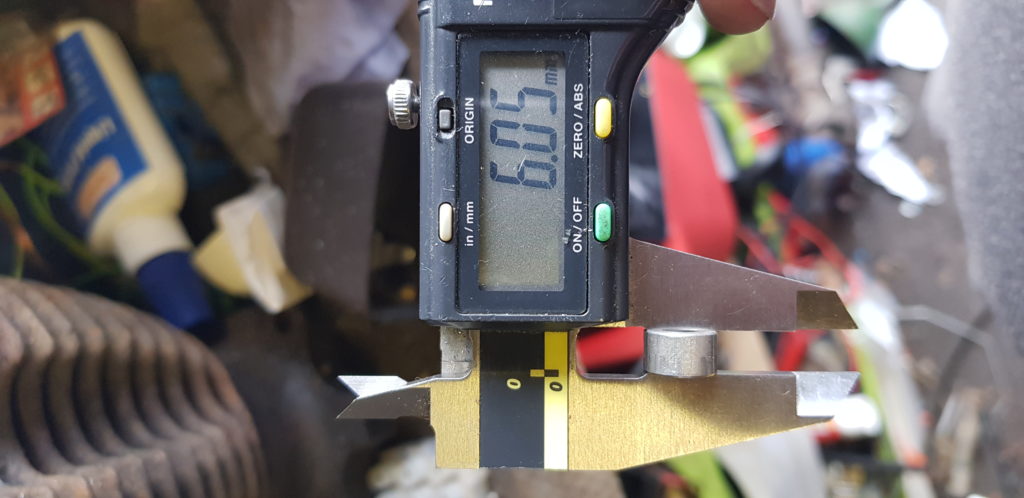
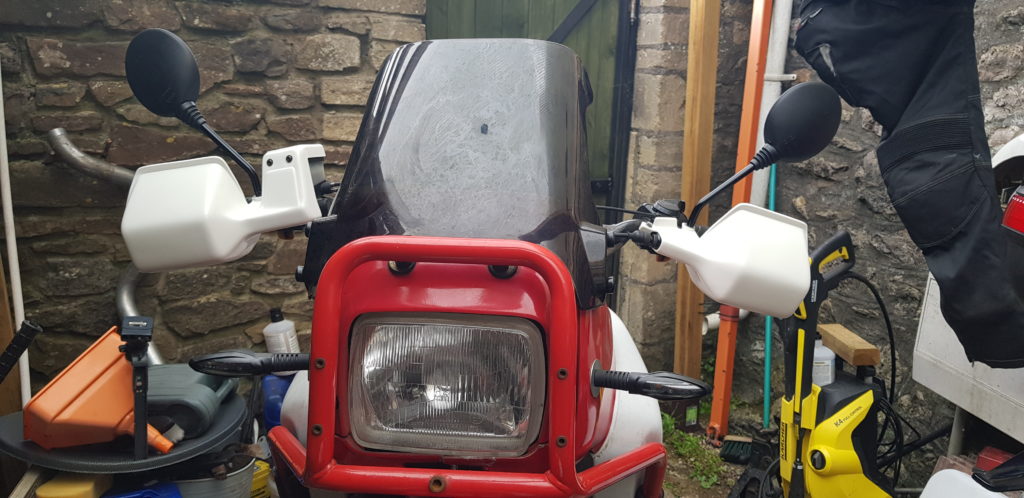
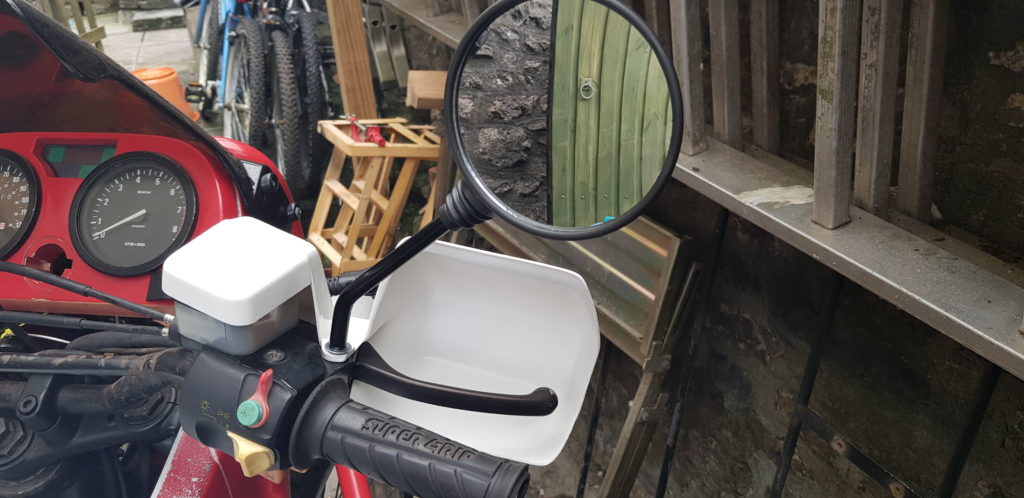
One of the items I bought early in this rebuild was a set of genuine BMW Handguards ( 71 60 2 315 860) as I could still buy new ones. These are manufactured by Acrebis and are the same shape as the old original ones so have the same 90s styling. Handguards aren’t required for riding but they do keep the cold air off your hands as well as rain. They also help protect your levers when riding on byways (yes I do plan to Greenlane it) from branches hitting them and causing it to either active the clutch, brake or worse both.
The kit is rather easy to fit and rather basic. But it does require the mirrors to be installed as they partly hold it in. So I bought some copies from M&P as I didn’t have any.
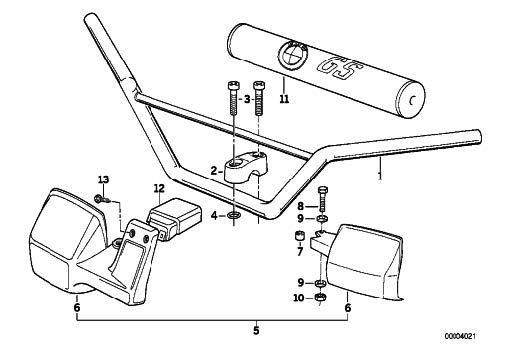
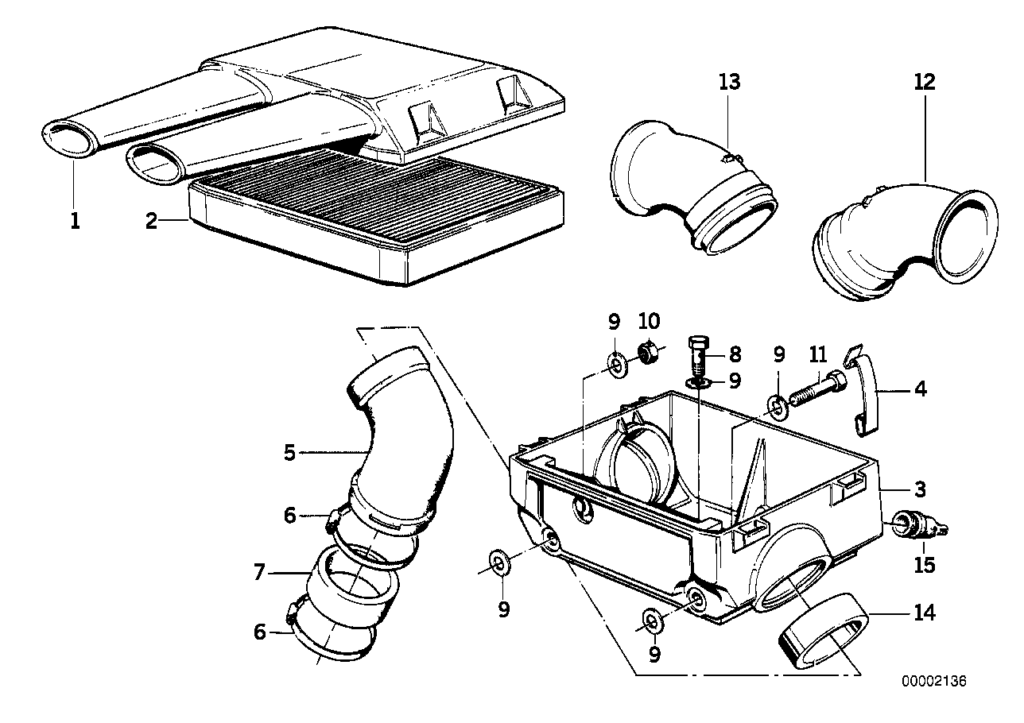
BMW Handguards parts diagram.
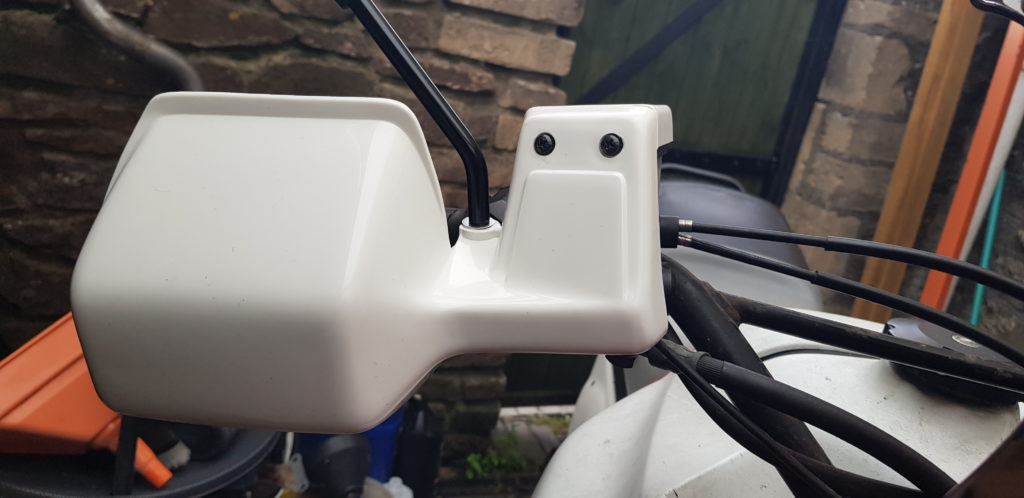
The Right Hand Side is held in place by the mirror mount and part 12 covers the brake reservoir and is held in place with two self-tapping screws. The Left Hand Side is held in by the mirror mount plus a bolt with a spacer which prevents it from interfering with the clutch cable.
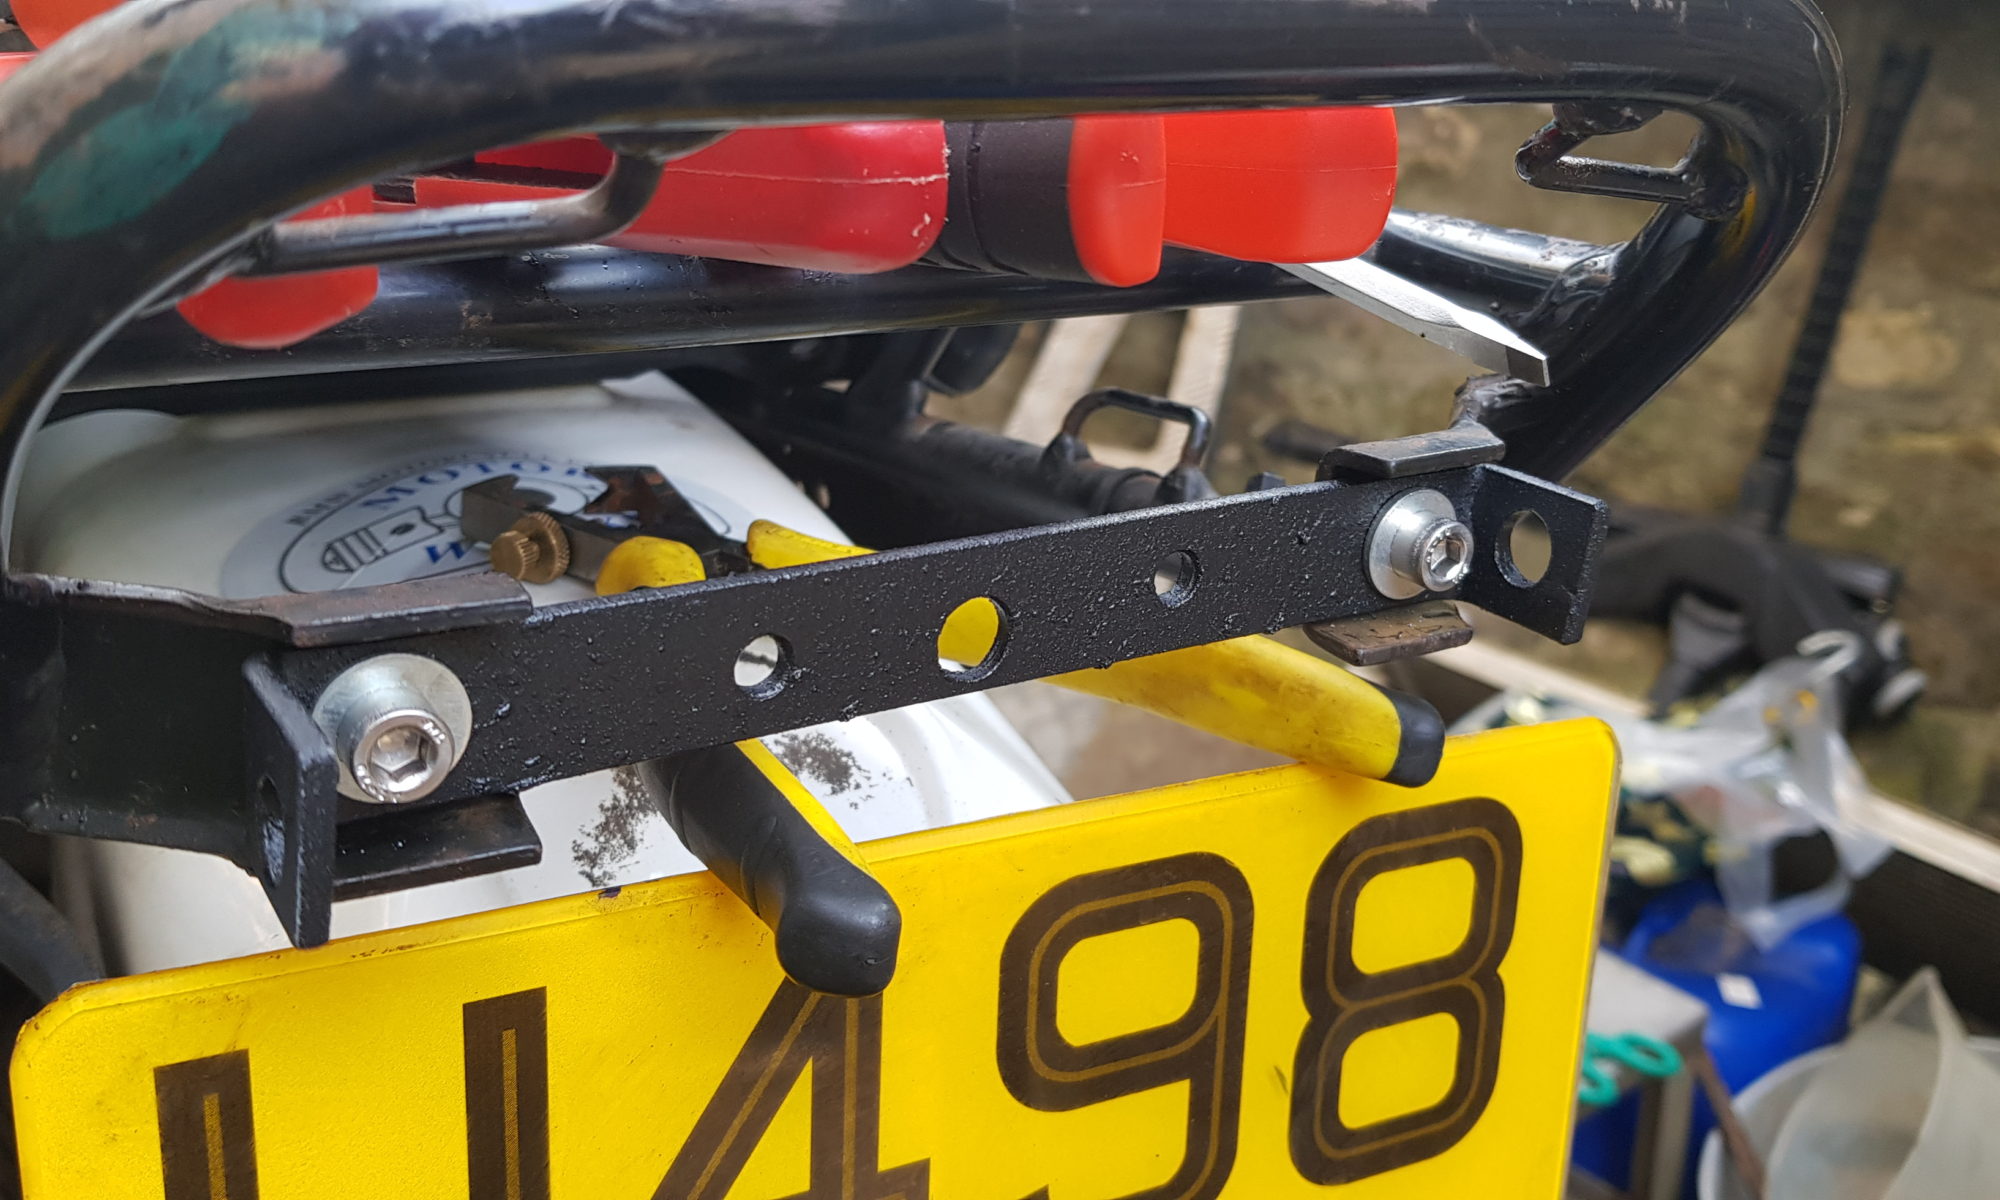
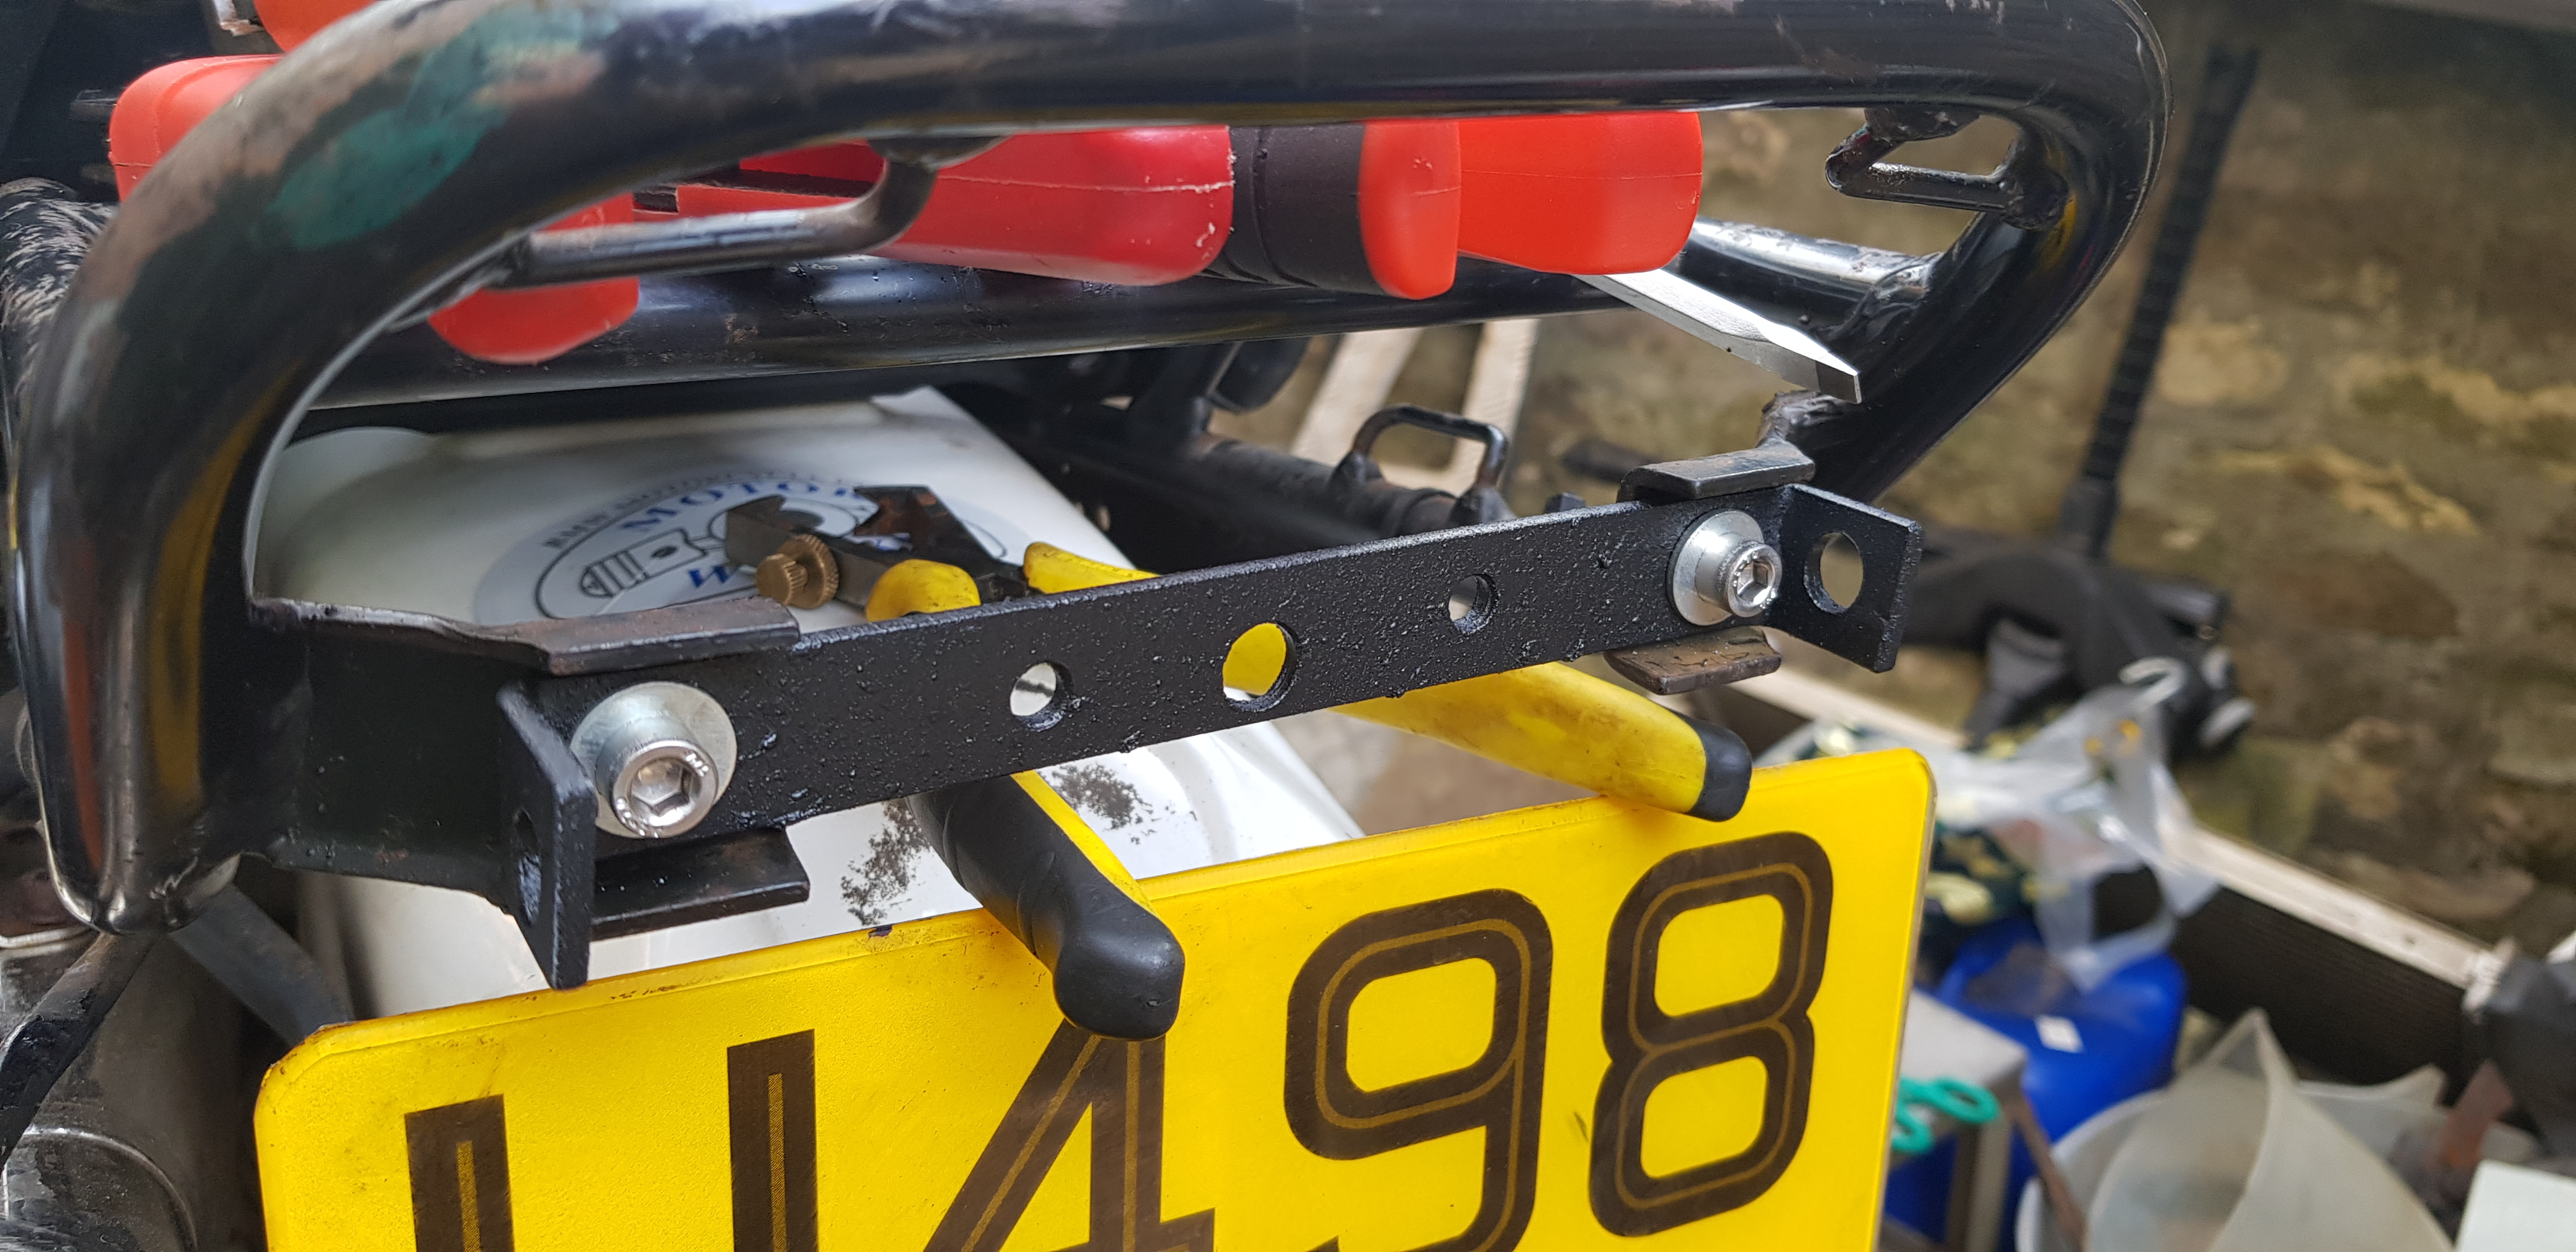
Only a small amount of work on the BMW this weekend. Spent most of the weekend in a procrastination mood, lots of stuff I want to do and once I start to work I am OK. Having a fun project to work on was a way to distract myself so that I dont end up with non productive weekends.
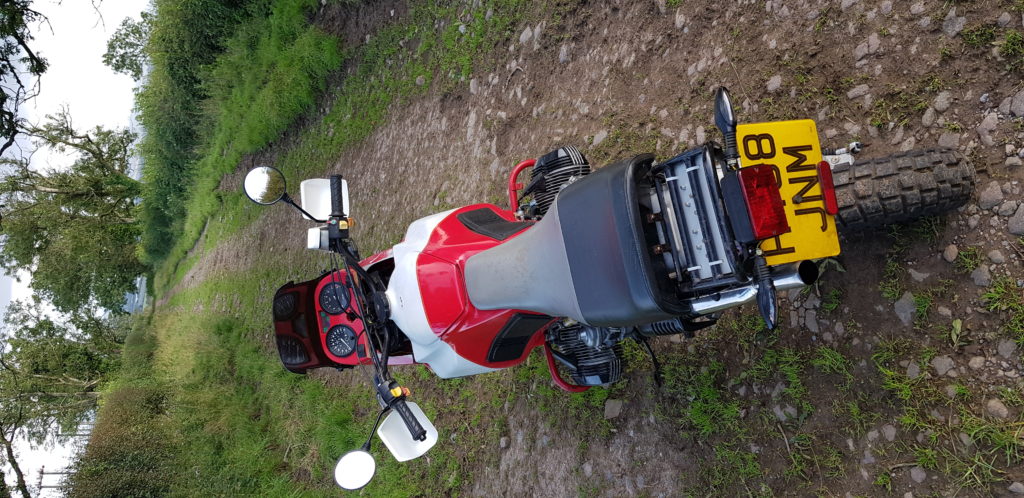
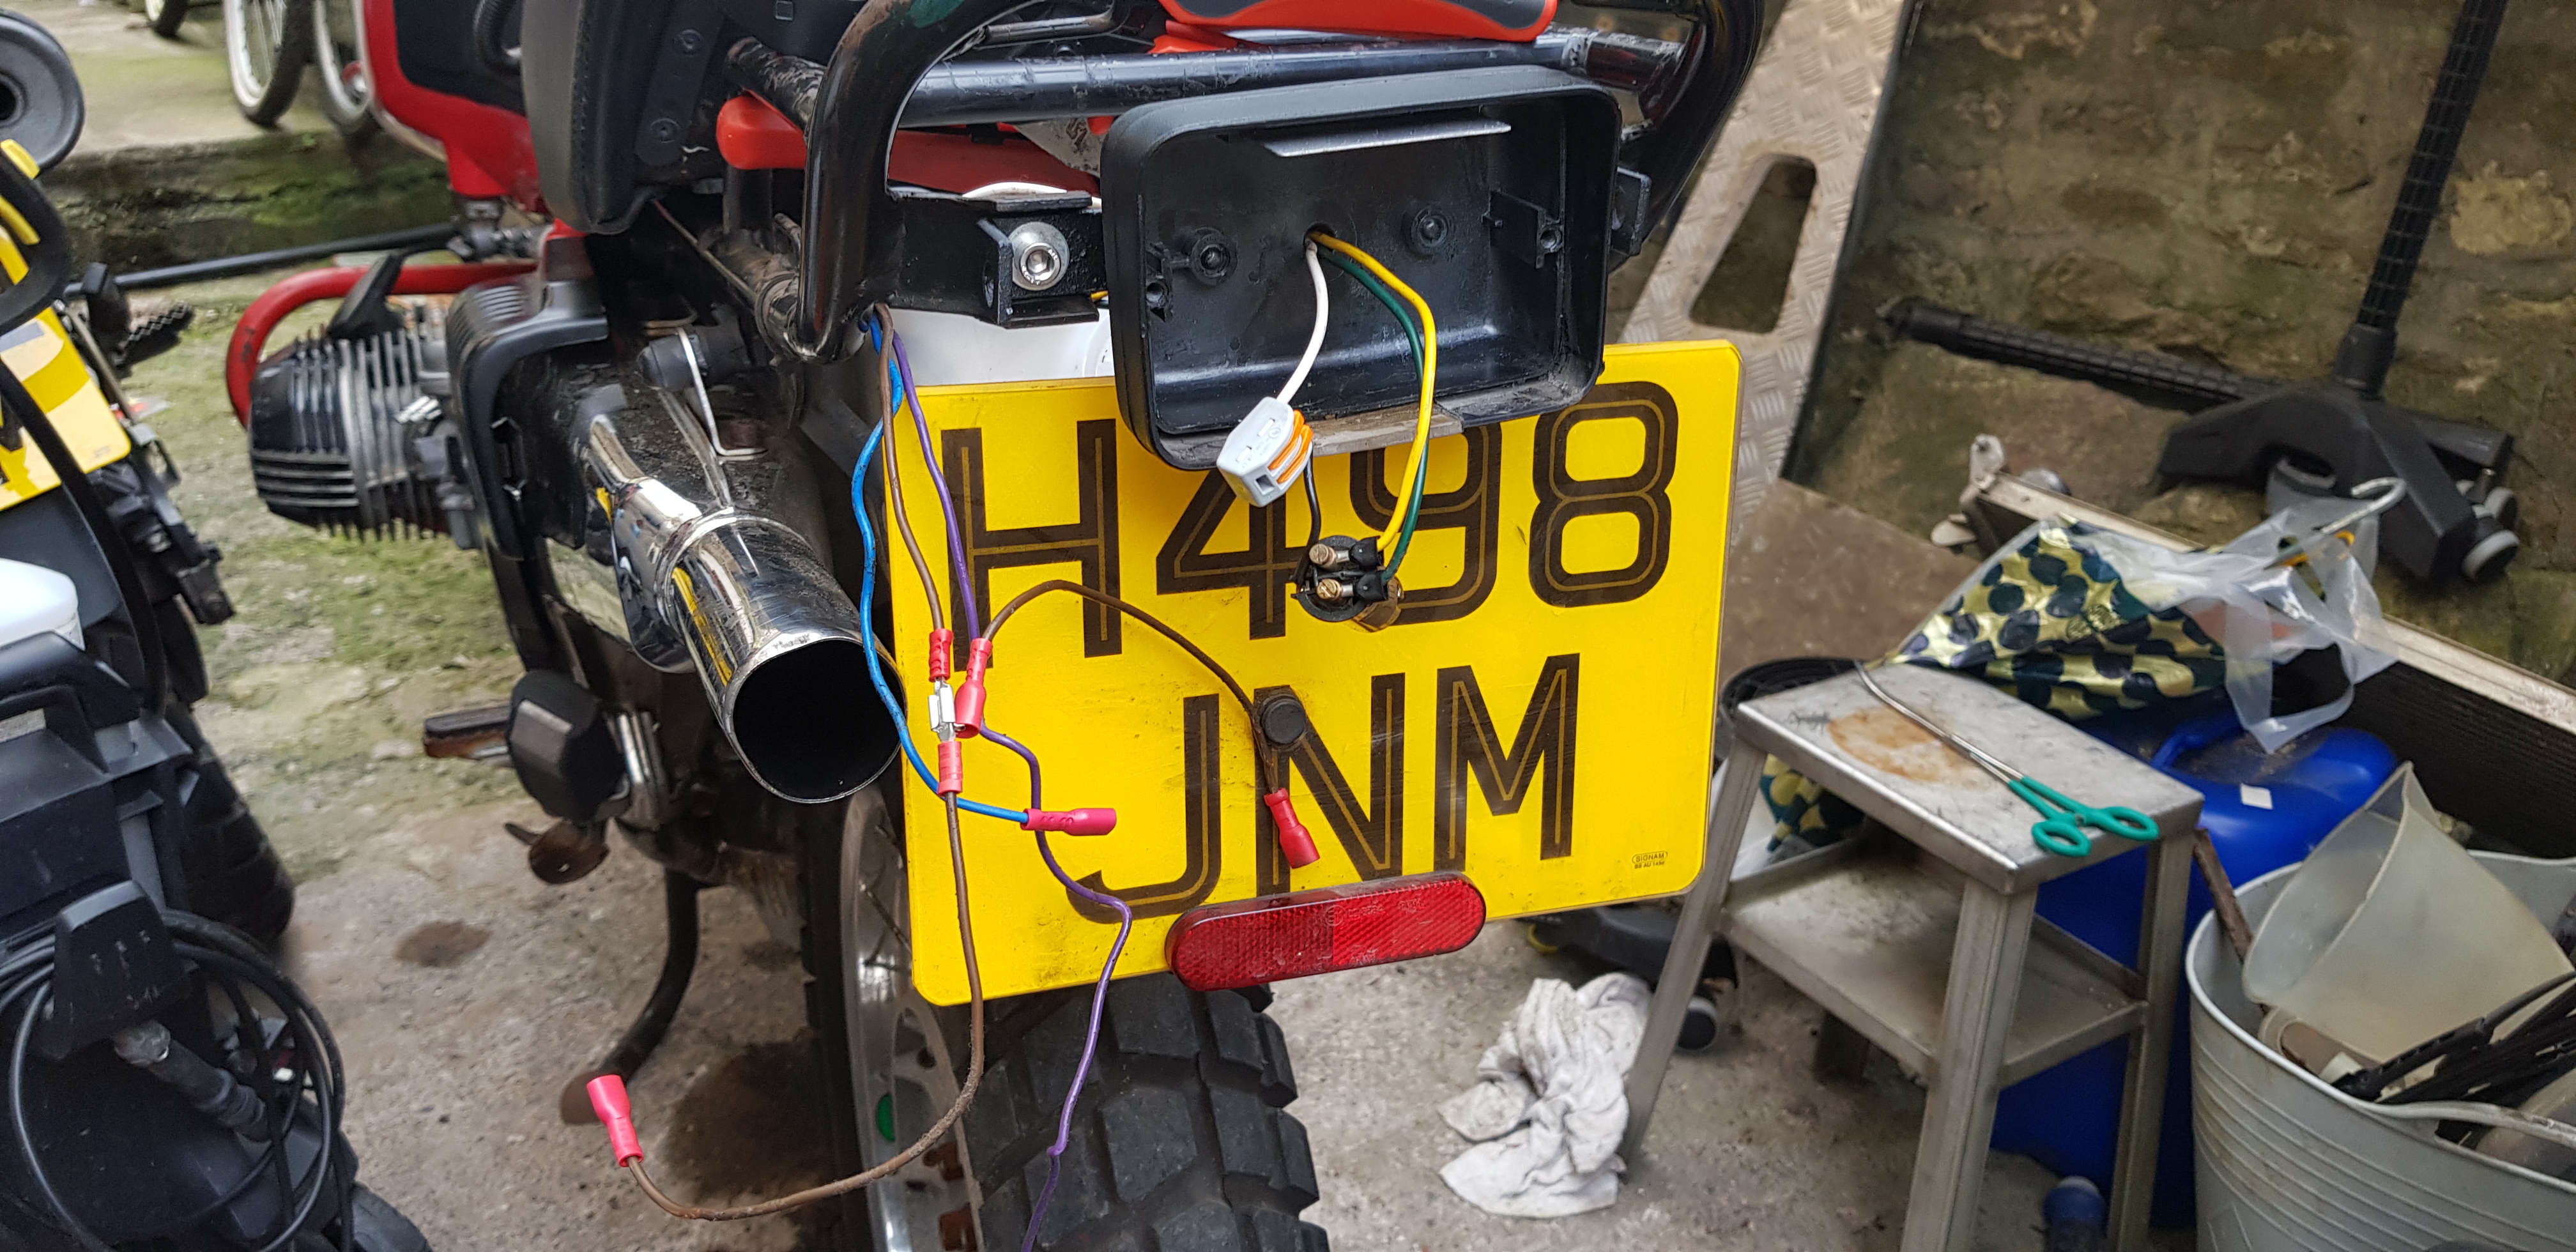
Anyhow, I made a very crude bracket that holds the brake light and indicators as the genuine BMW parts are just eye watering expense I can do without. Attempted to get the wiring into some trunking as I dont like the insulation tape routing going on at the moment. Also refitted the indicators and the right if a little fast but ok, the left side sadly comes on but doesn’t go off. I will need to try and trace the falt so I can get it to a MOT soon.
After a few weekends away from this project due to owning a Land Rover and a weekend away in Wales on my other bike (KLR650). It was time to get back to work on the BMW.
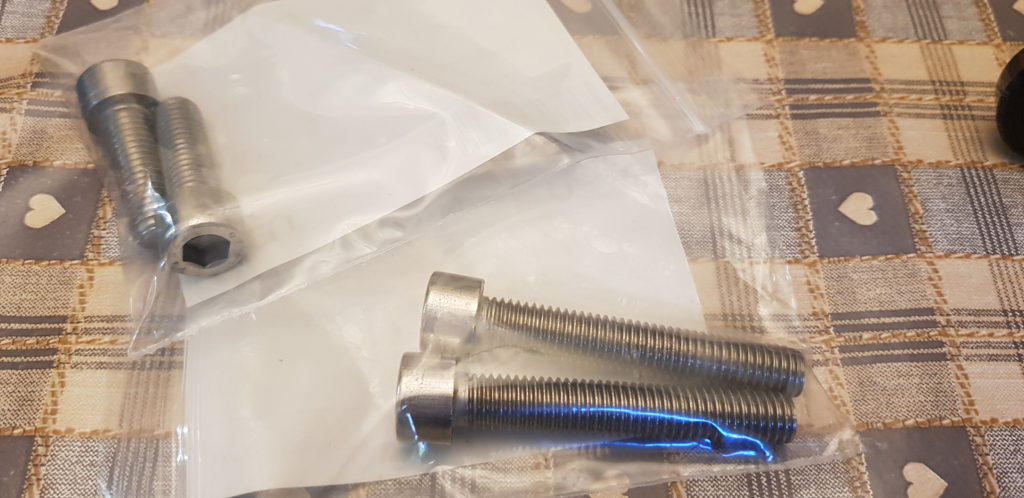
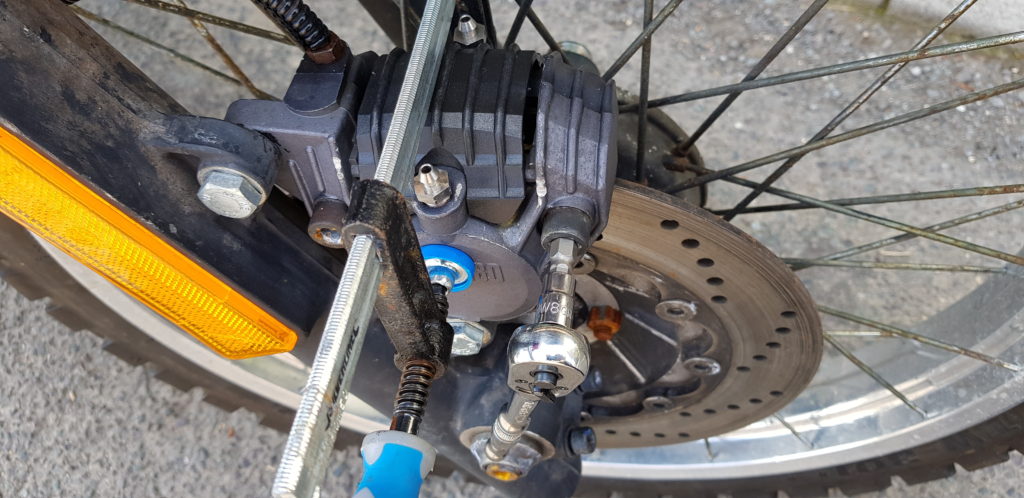
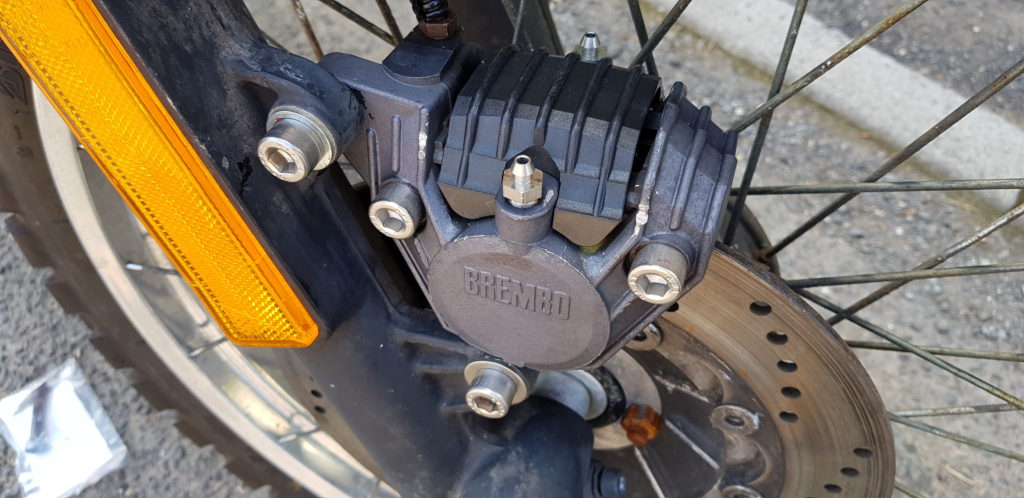
Firstly some bolts arrived so I could replace the calliper bolts as the old ones had been rather well abused in a previous life. So with the aid of a clamp I was able to take out one bolt at a time and swap them over to nice shiny A4 Stainless (Marine Grade). I will admit now I am not sure I should be using stainless as I think it should be High Tensile but the bolts are only done up to 32Nm so nothing major.
Stainless, A4 Grade.
Clamp used, one bolt at a time
Shiny.
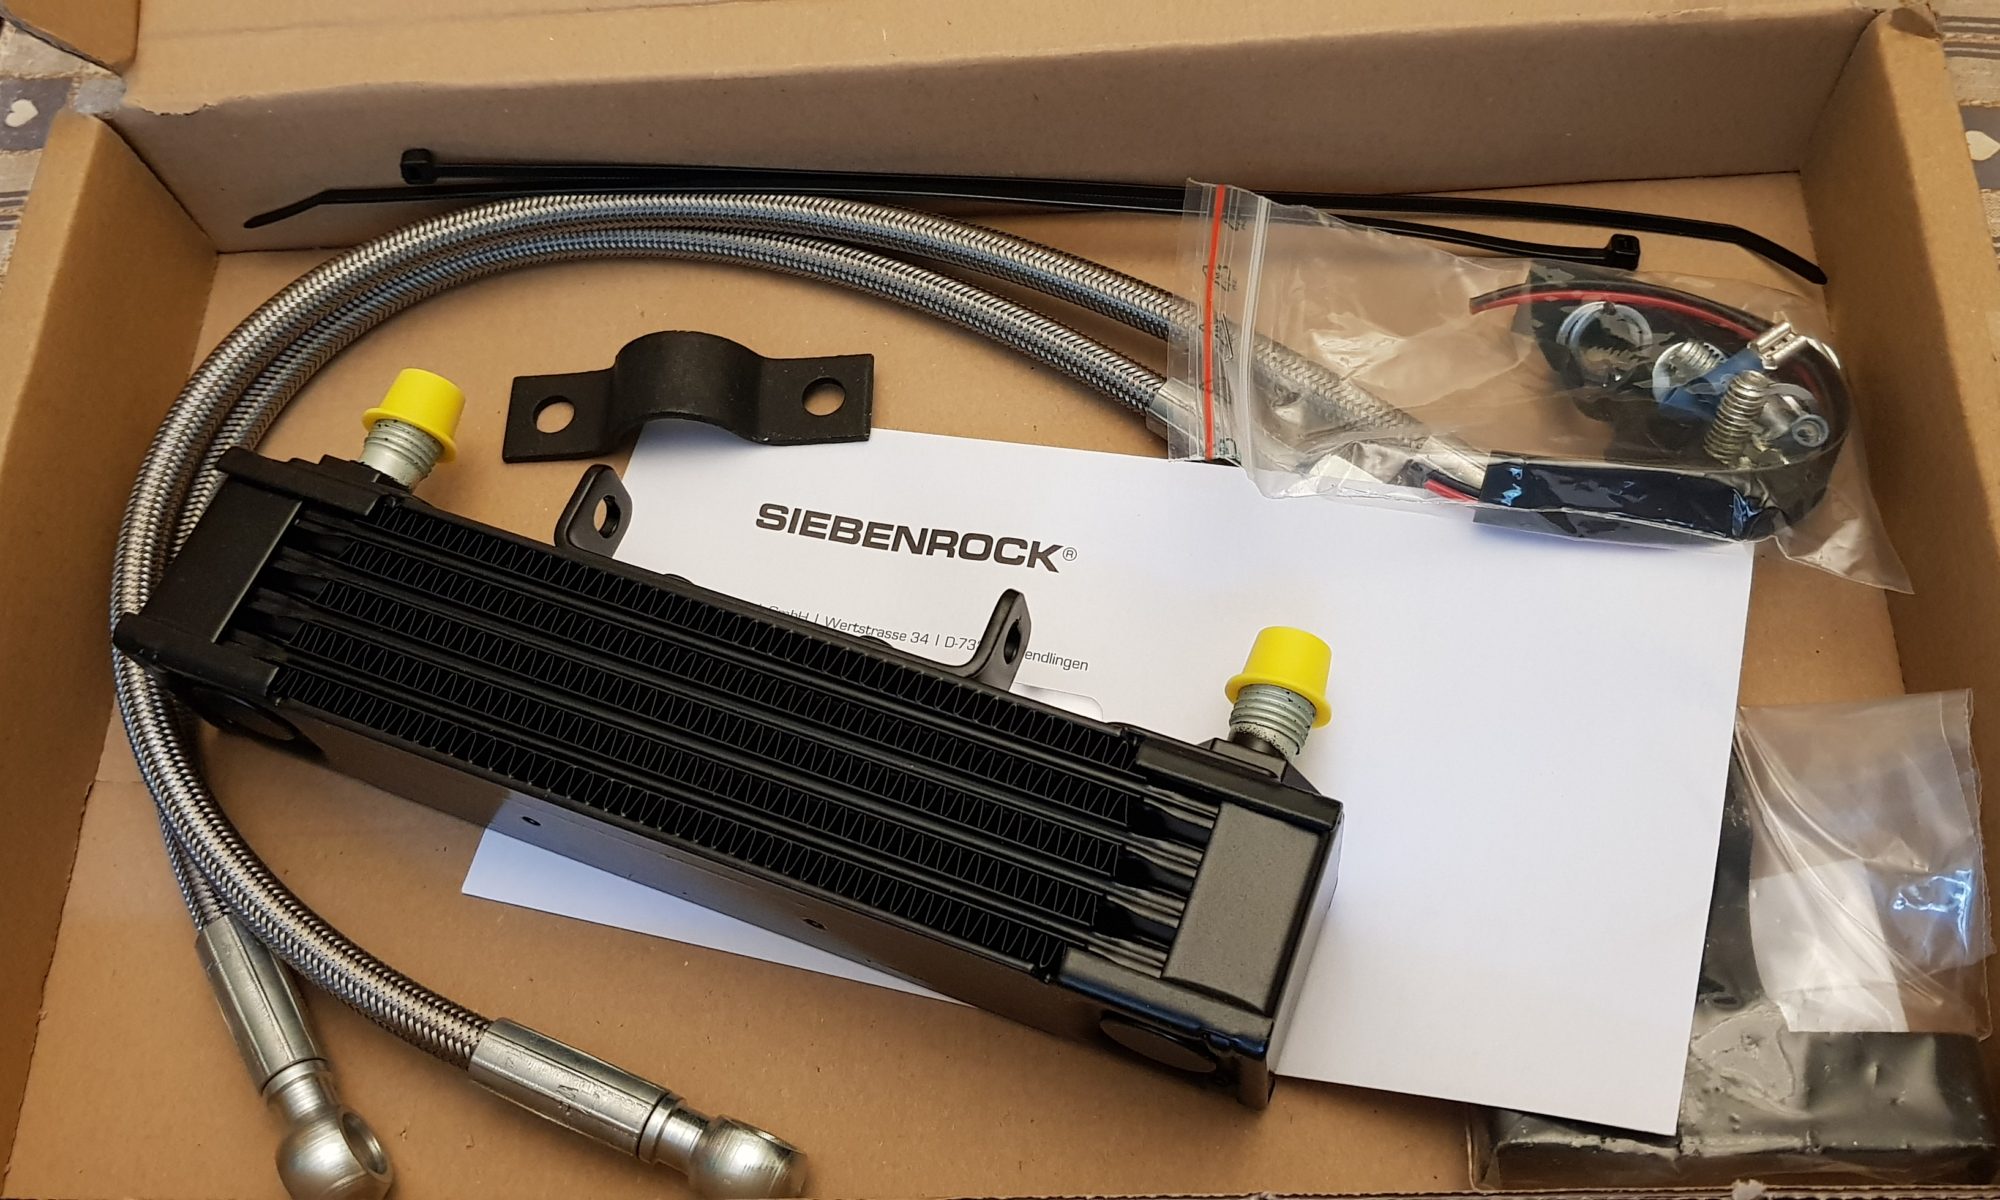
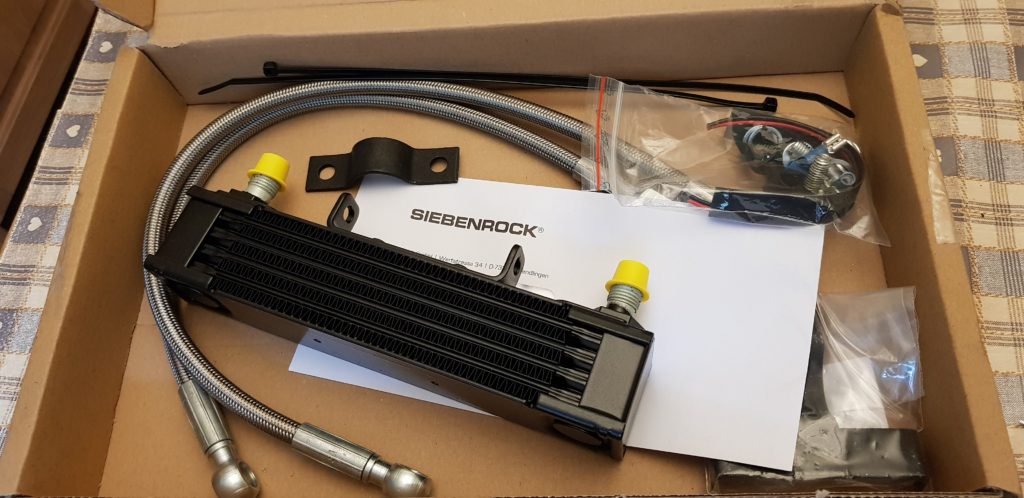
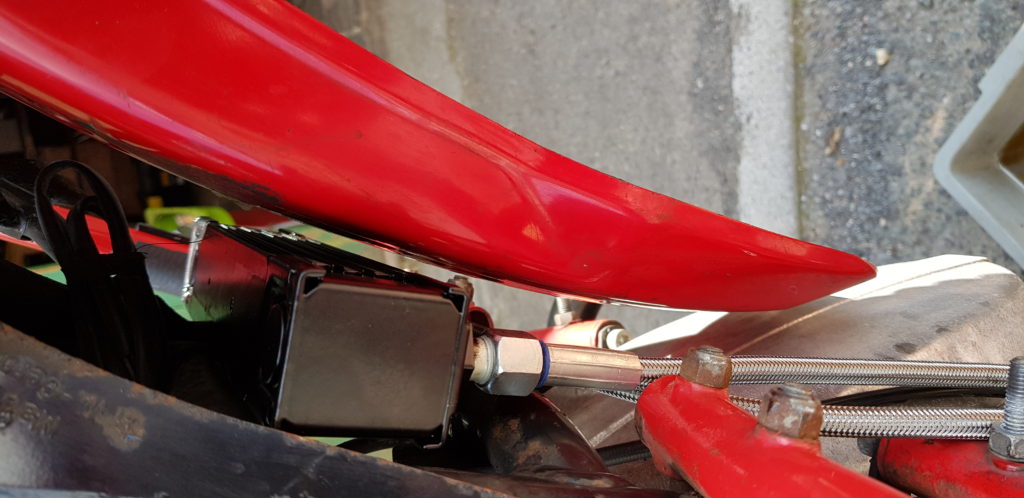
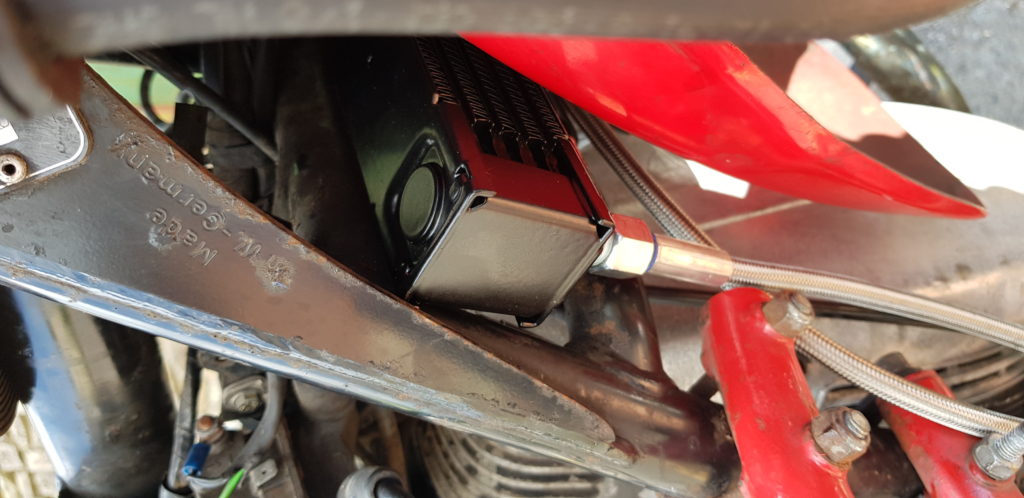
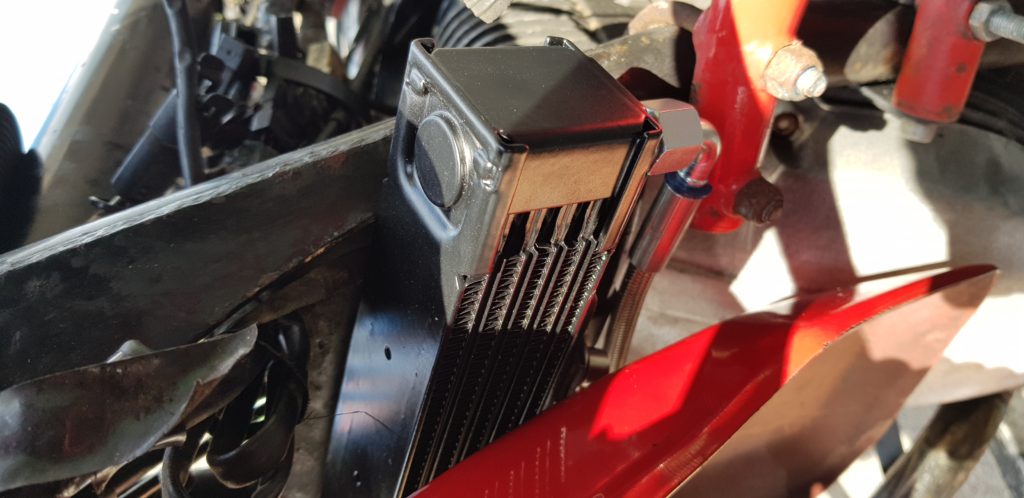
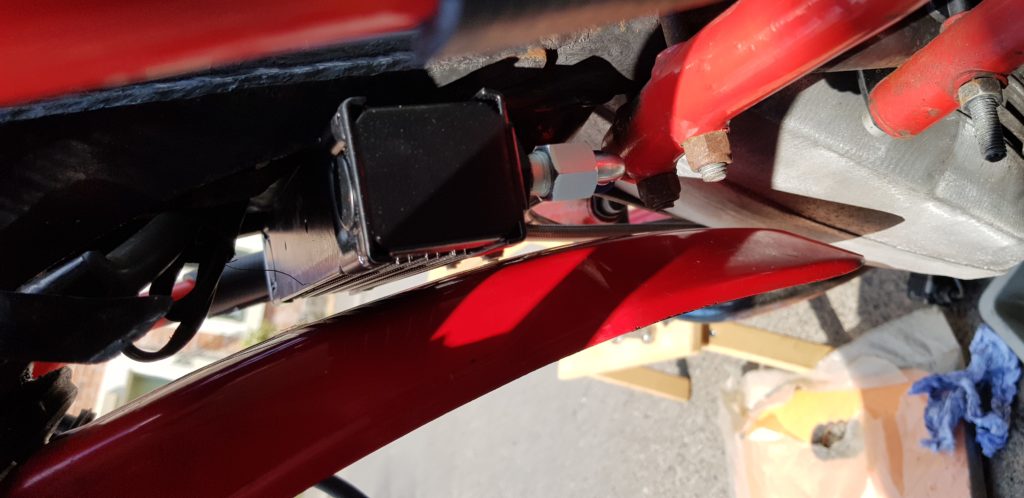
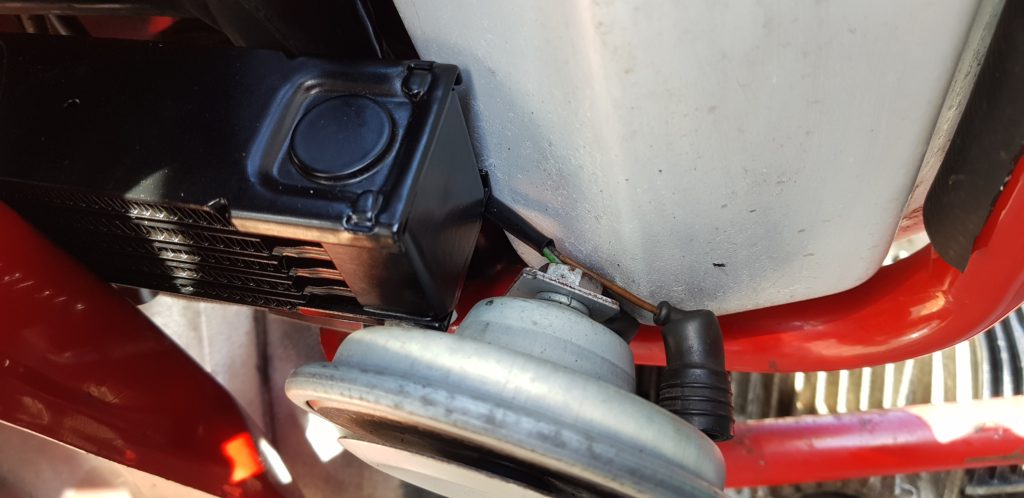
With that done I turned my attention to the oil cooler. I had an issue due to the fact I have the wrong cooler, the one I was given with the bike was for a newer model of BMW and has it’s mounting points on the top rather than at the bottom. So I took the hit and bought a new one as well as the kit to relocate it to the centre of the frame. With a fair bit of swearing I manged to get it into location and avoid it hitting the mudguard.
Oil Cooler Kit
Bracket
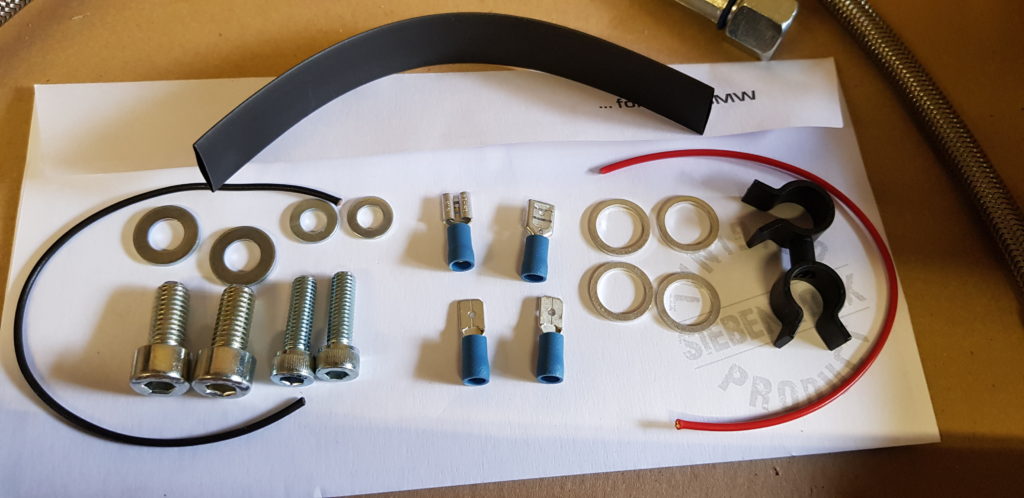
Bits in the kit
First fitting
Not much room
Just about clears.
Inside the webbing of the frame on RHS
Outside the webbing on the LHS
Still Clear
It hits the tank.
But can’t move it over as this hits.
But one slight issue. It hits the fuel tank as I was unable to mount it centrally to the frame as one of the swagged ends is rather close to the engine bars. I did take a file to the cooler in an attempt to avoid the issue but its still not right. Fettle for another day.
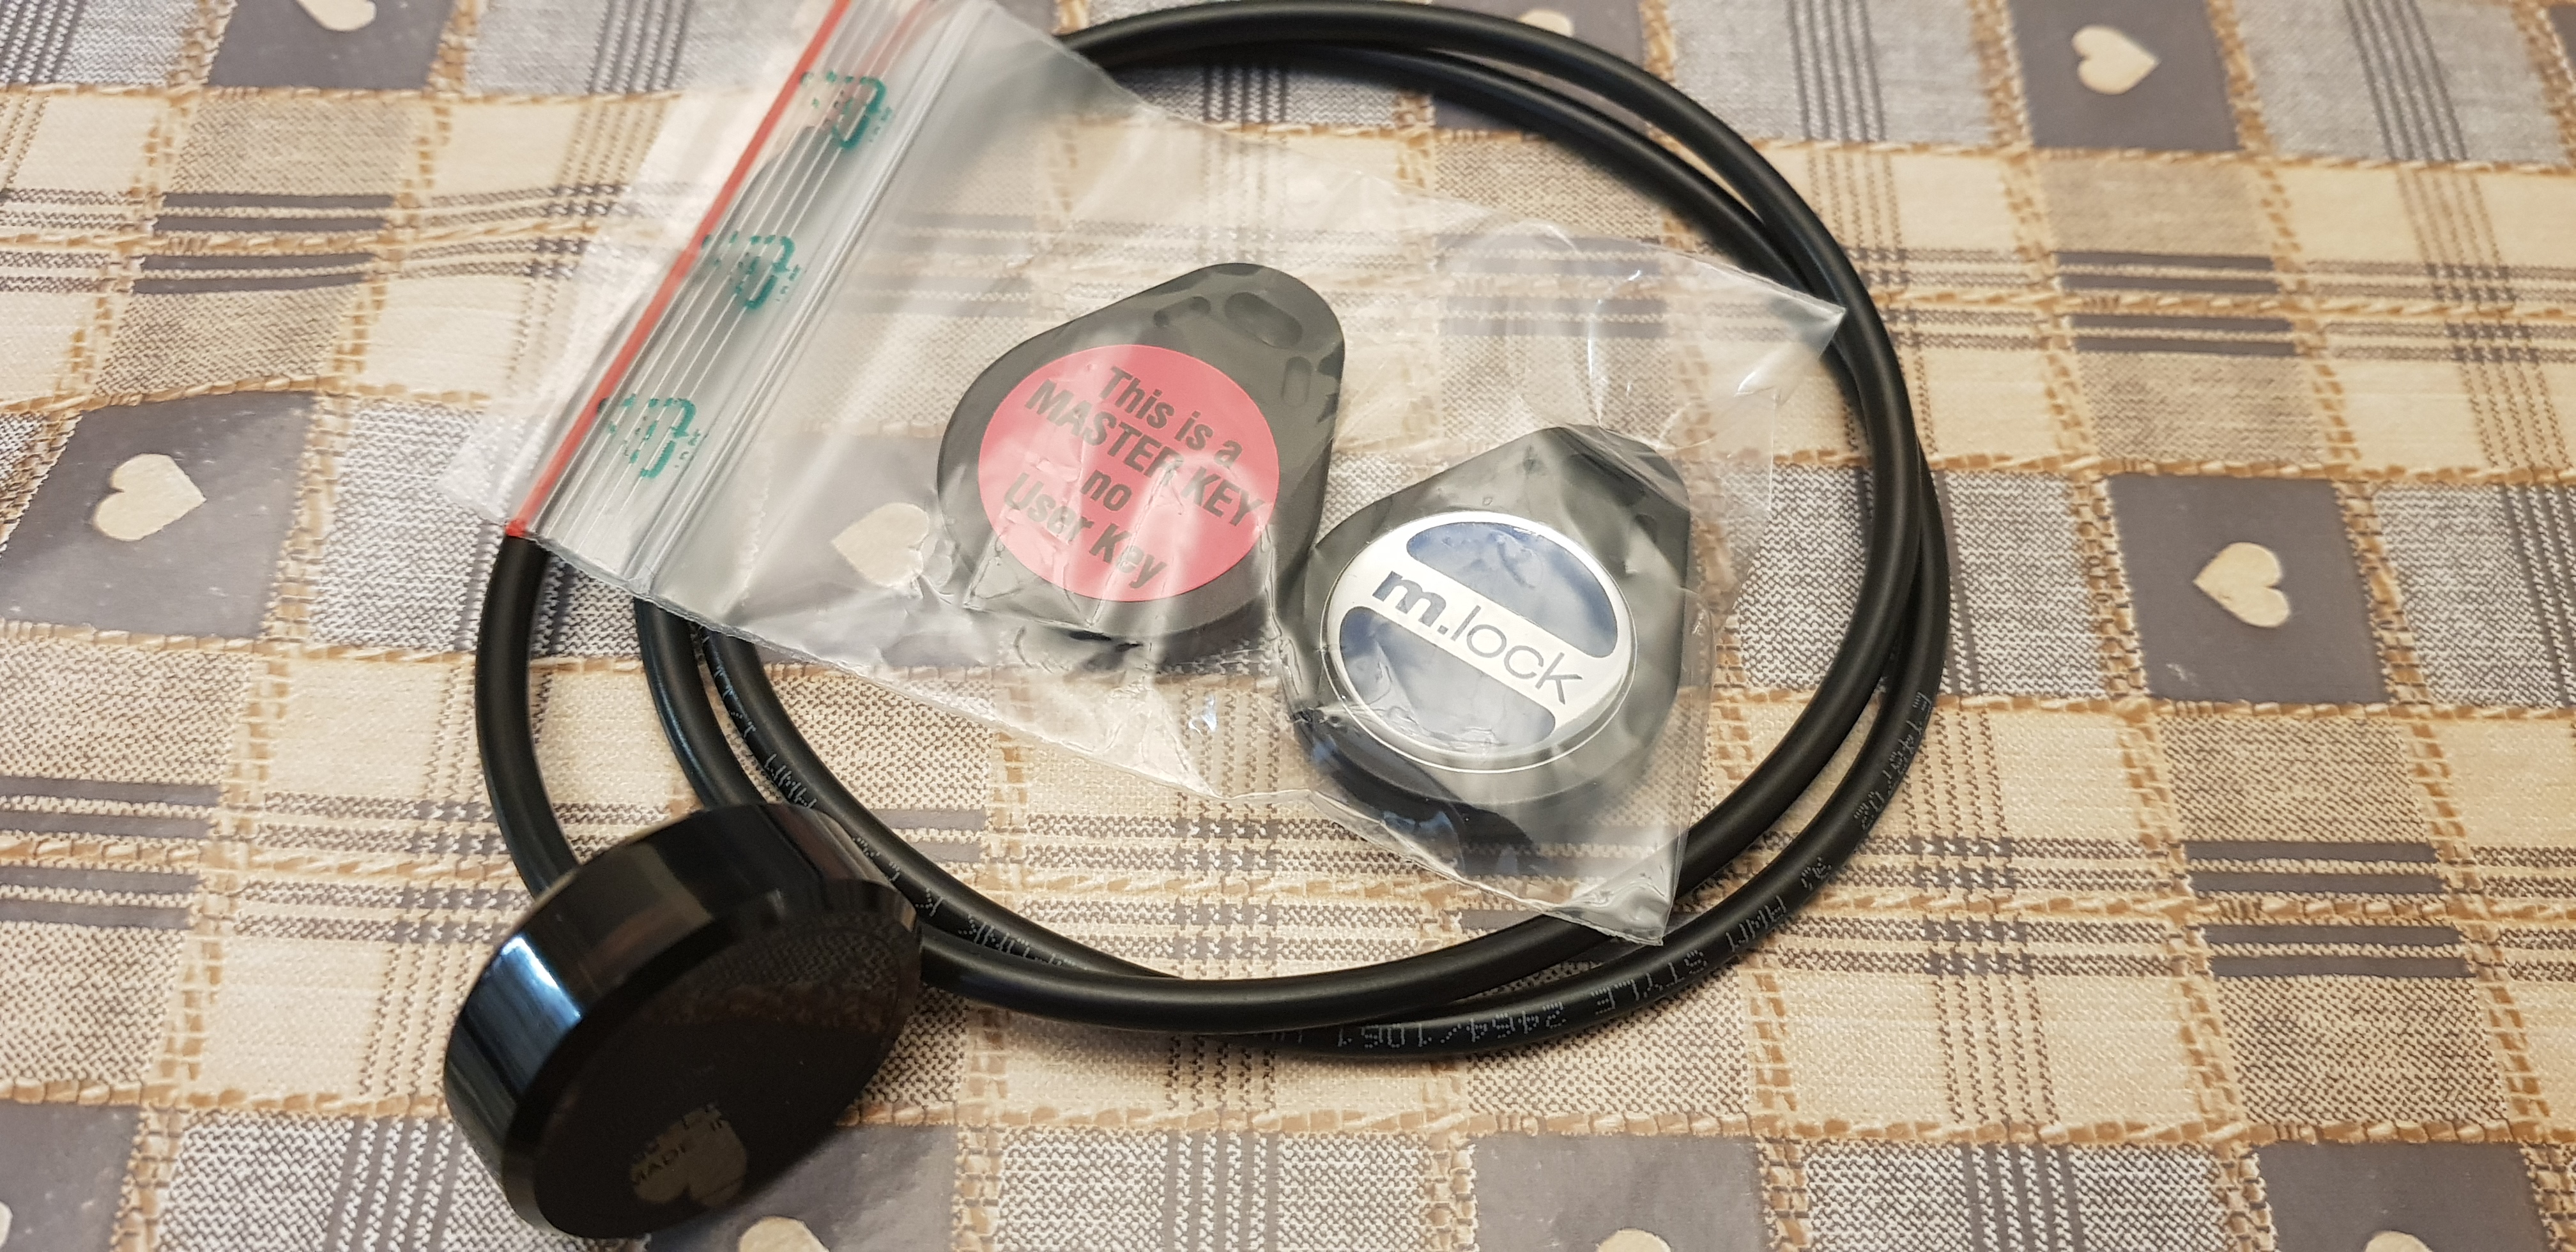
Now comes the bit I was dreading for a while, the ignition switch. I don’t have one as such. I have the bottom part of the switch which I was using with a screwdriver to work it. I had looked to fit a second-hand ignition switch but I wasn’t happy at the cost of them and they seemed to be rather hard to locate one. So I took the plunge and ordered a Motogadget M.Lock. Which is a Keyless ignition system which uses an RFID chip to activate it allowing me to feel a bit safer about the bike when it is parked up as the ignition doesn’t take much of an effort to brute force attack it and make it rotate around.
Along with the sensor and tags, there is a 40A relay to do the switching. I also opted to buy the addon part called the “m.lock Backup Capacitor”, reasoning for this is that this is a large twin and could possibly cause the “m.lock” to disengage as you attempt to start it.
Fitting it wasn’t too hard, I just took the main feed from the ignition system and fed it back into the 3 other wires that comes off it. The slight differnces are the Side Lights come on with the igintion. Plus the fun that if you have the lights on when turning off the ignition the “m.lock” will disengauge but the relay stays engergised so won’t turn off the dash lights until you turn off the head lights.
Its not very complicated and there are a few things that I could do better. For example I could feed the m-lock, the relay etc all from the ignitions source but I didn’t as I was being a mixture overthinking the task and being stupid. There is also lots of wire which I should be able to reduce once I have a permanent location for the RFID sensor.
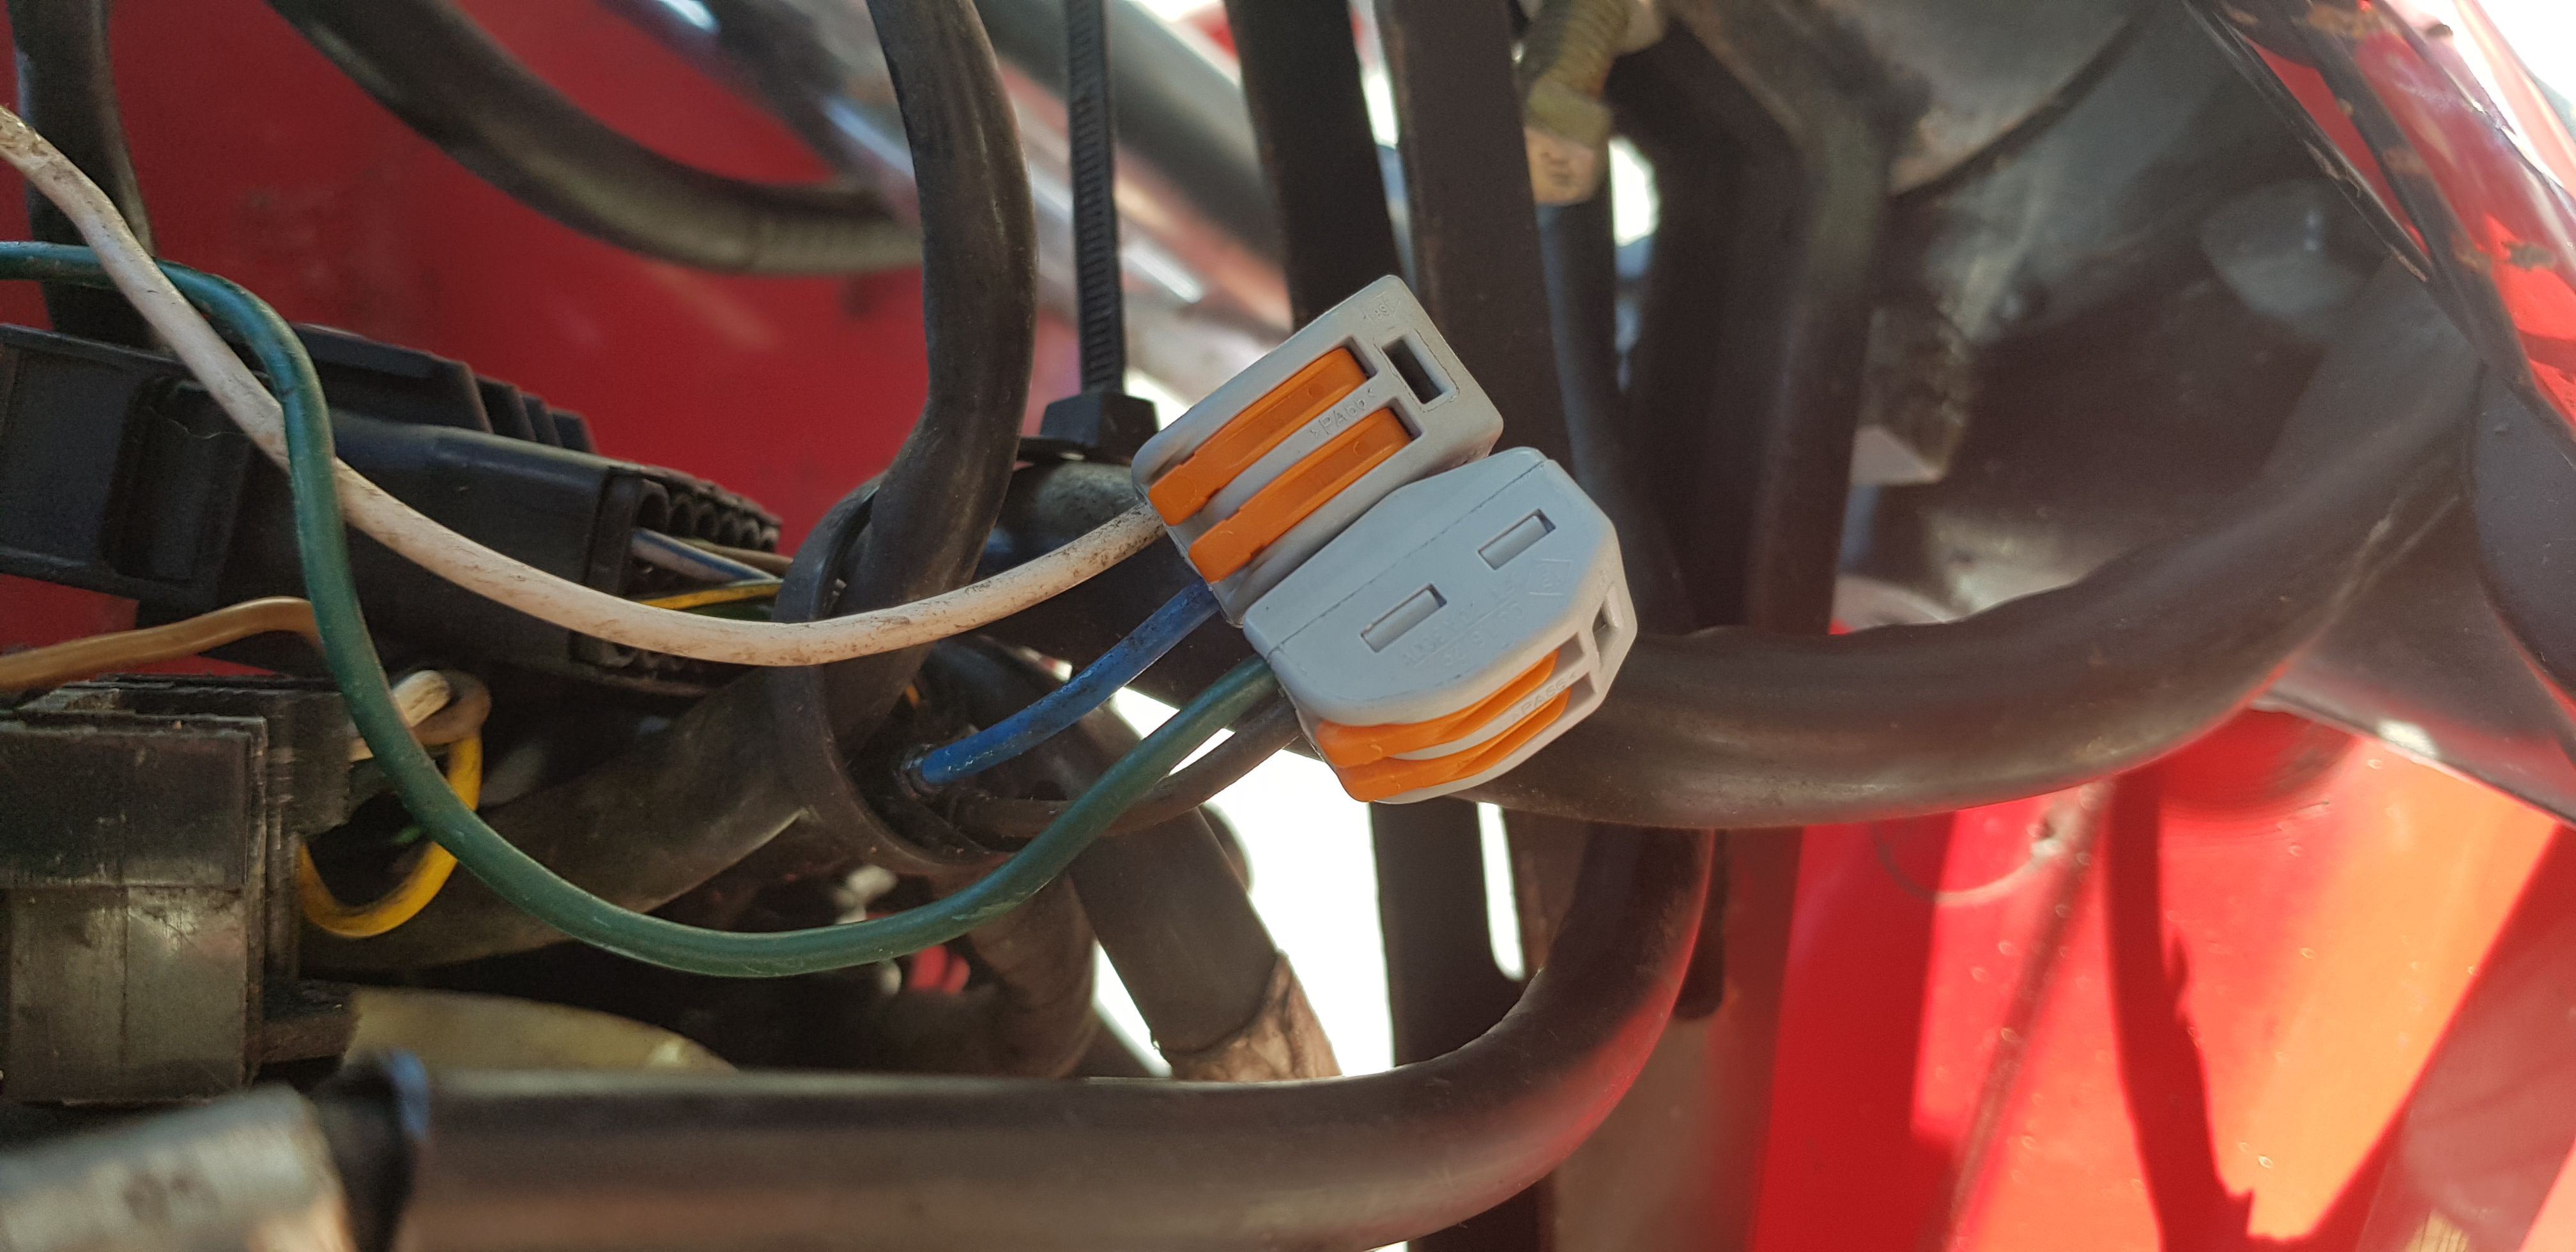
As I was looking at the electrics I decided it was time to take a look at the wires under the head stock and start to work out how to fit the indicators. A moment of annoyance when I found some electrical tape hiding some twisted pairs of wires, now secured with a WAGO Electrical Connector as I don’t have enough room to get a crimp tool in there to do it properly. They are nice as you lift lever, poke the wire in, close lever and the job is done.
WAGO Connector, rated to 32A
I have bought a set of LED indicators as I am missing the BMW originals and didn’t want to spend the money on those. I have some nice bright and smart looking ones. I went about the front end first and fitted connectors so I can plug and unplug them as suited. As usual with me, I then took the time to reassemble to head cowl properly as previously I was missing quite a few of the bolts and nuts. A lot less wobble now. So work began on the rear indicators and having connected the indicator I was able to test that it works. Though as you can see by the video I still have work to do such as fitting the load resistors and finding a way to mount the rear indicator. But it was starting to get late.
One final video for this post. When I drained the oil a few weeks back it seemed to be rather thin and smelt of petrol. So I have replaced the oil but I am starting the bike up and letting it run for a minute or so just to warm it up and to move the oil about, once I have done a few more of these I will do another oil change and also change the filter. As you can see it is burning some oil off, there is a drip of oil coming from the collector box so I am hoping its just the petrol/oil mix being moved out.
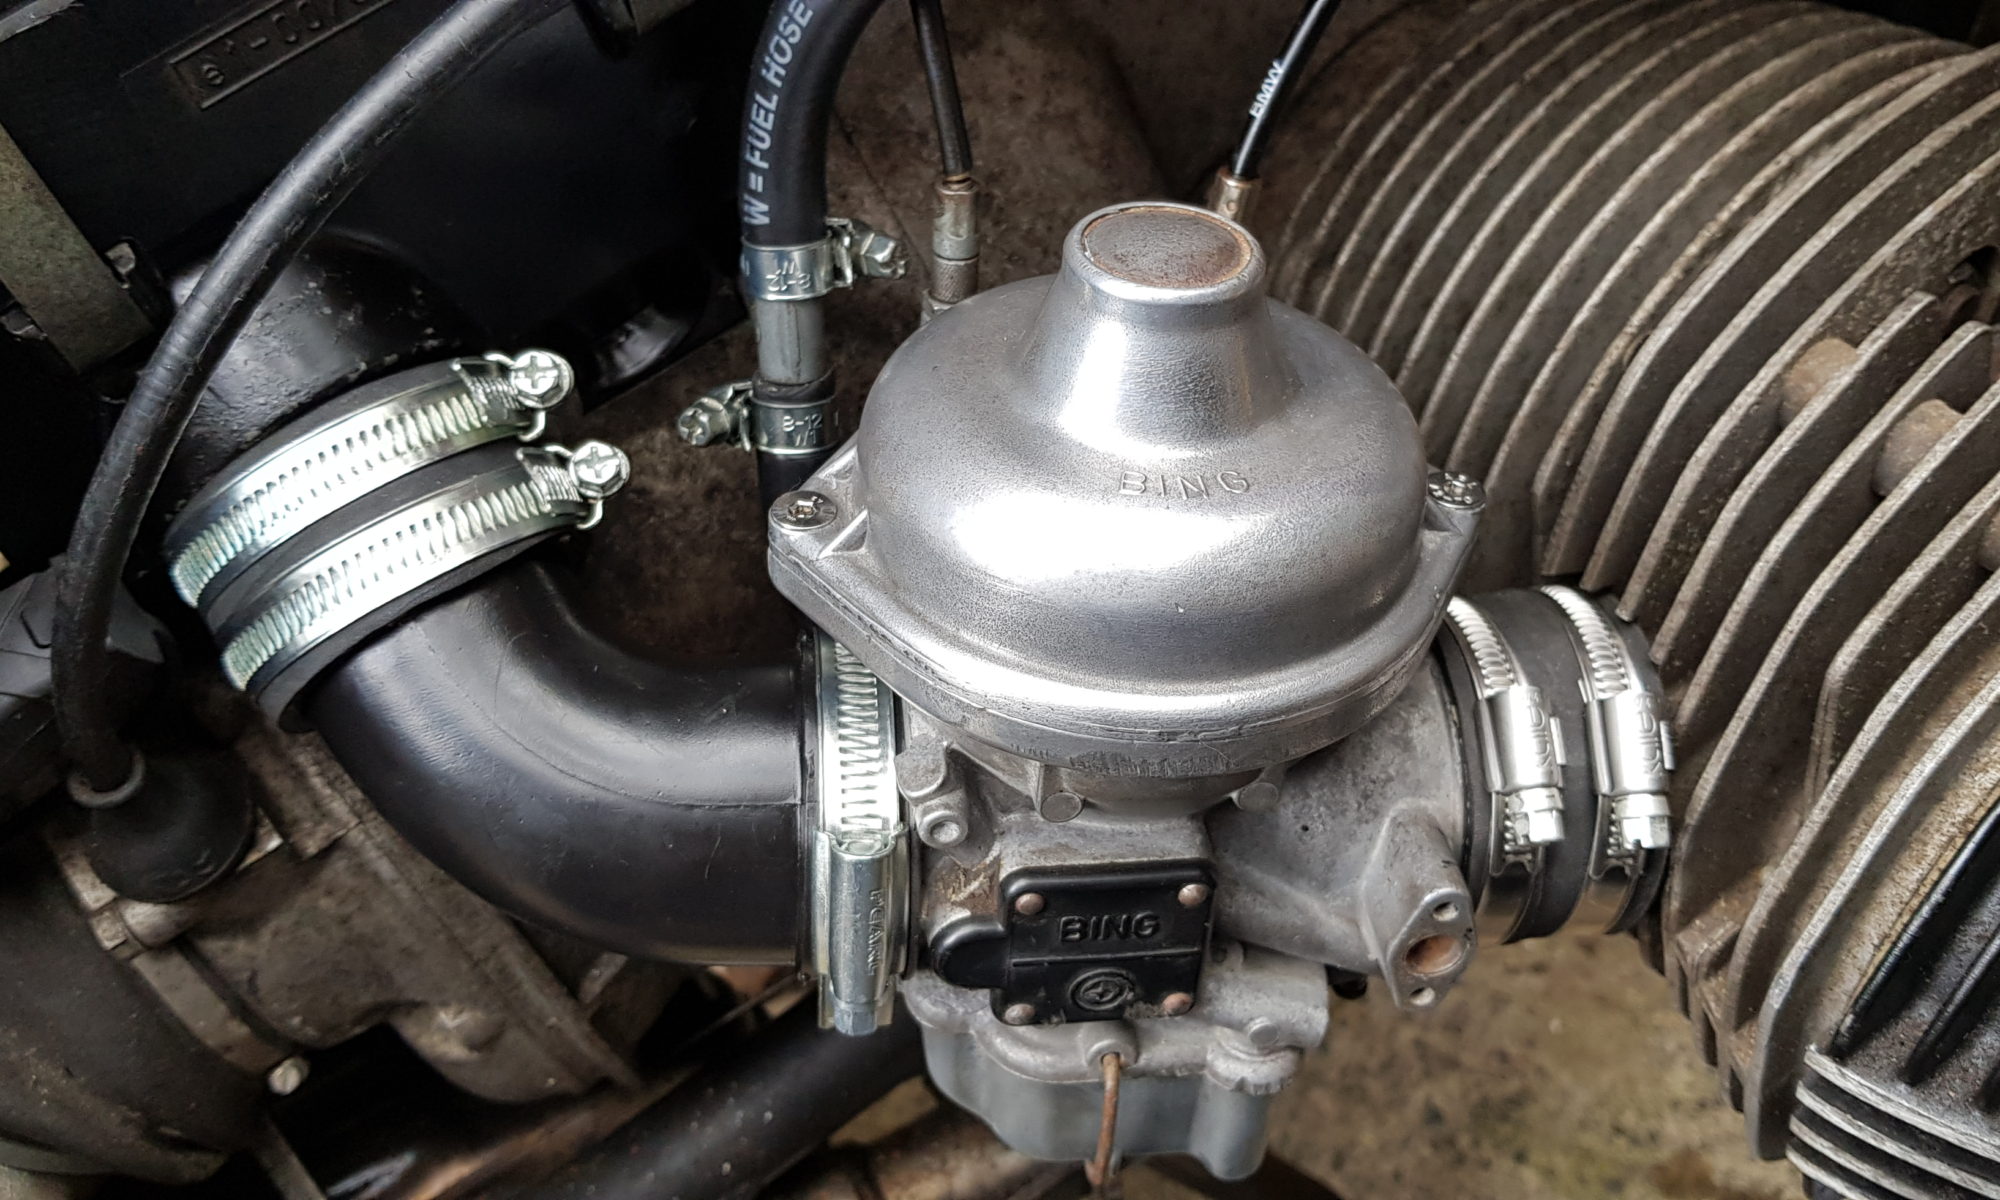
Well, the carburettors took some time to properly fit. I got the bike running without having them connected to the airbox correctly. But now its time to get them fitting properly so I can get closer to getting the bike MOTed and using it.
The way in which they connect was a little bit of a mystery as the parts diagrams aren’t 100% clear on what bits go in what order. But with a bit of faff and some persuasion, it was made to connect properly.
Firstly I removed the airbox so that I could clean it out properly, also grease the bolts etc. Also refitted the top engine cover before fitting the carbs.
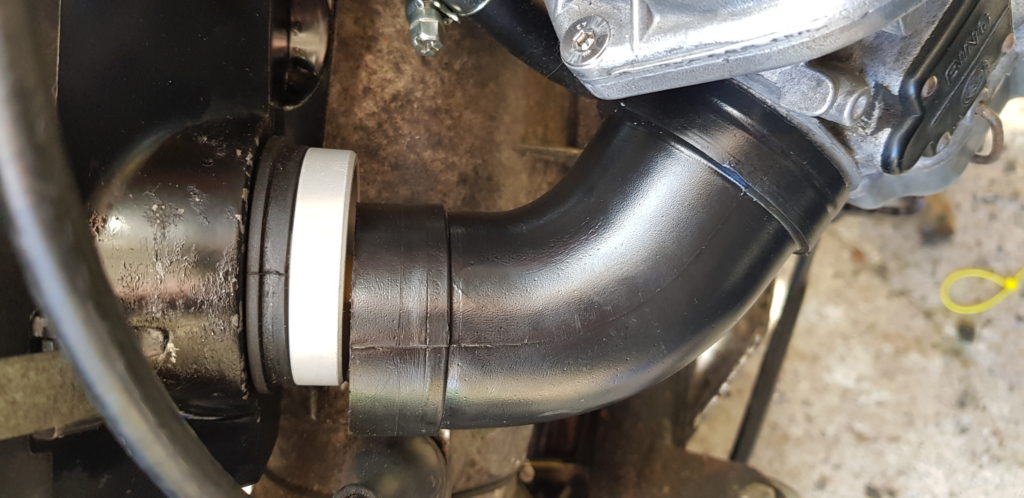
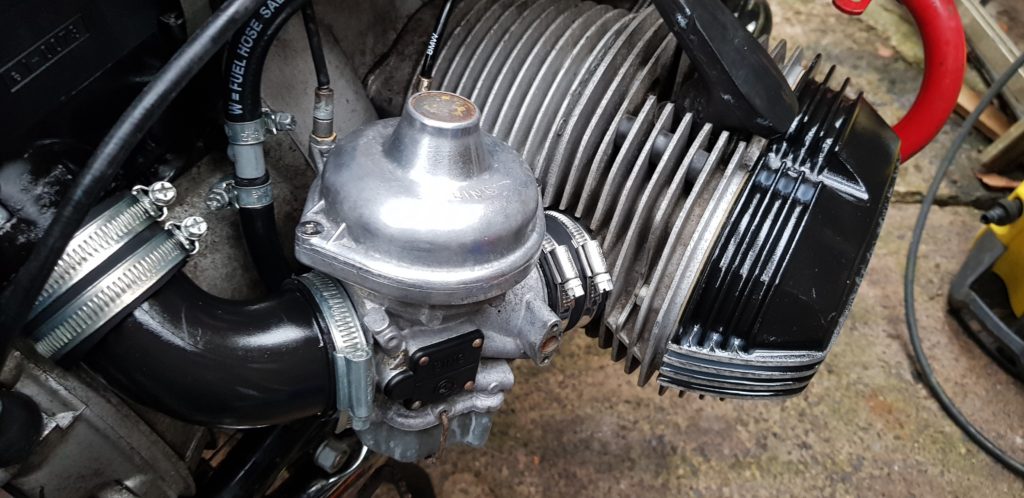
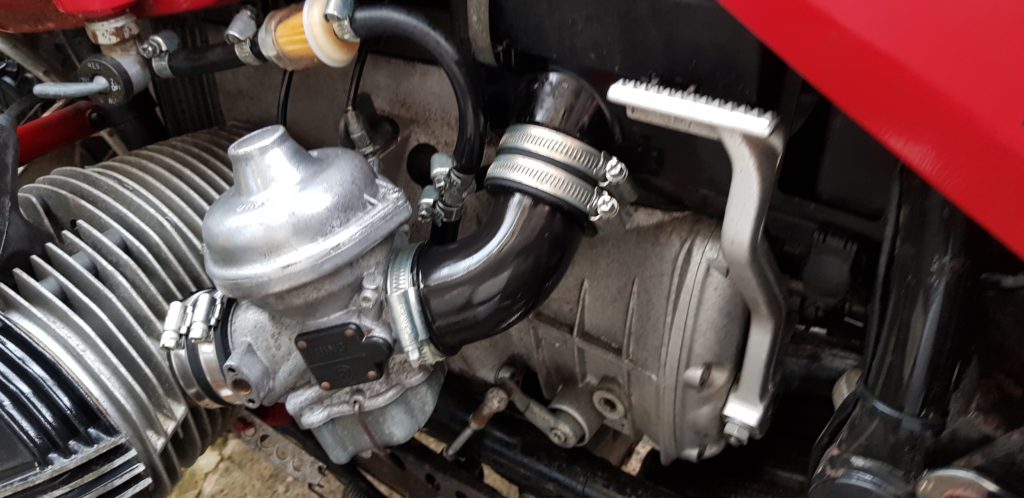
The order in which the airbox, carburettors and engine fit together is an aluminium stepped tube[14] fits into the airbox[3] then a rubber tube[7] (but not shown in the correct place on diagram) fits over the larger end if the ally tube. The other end fits on to the narrower end of the plastic tube[5] the other goes onto the carburettor. The outlet of the carb is connected to the engine with another rubber pipe[7] and a metal threaded adaptor that screws into the head.
The aluminium tube sits in the airbox.
At first bits didn’t line up.
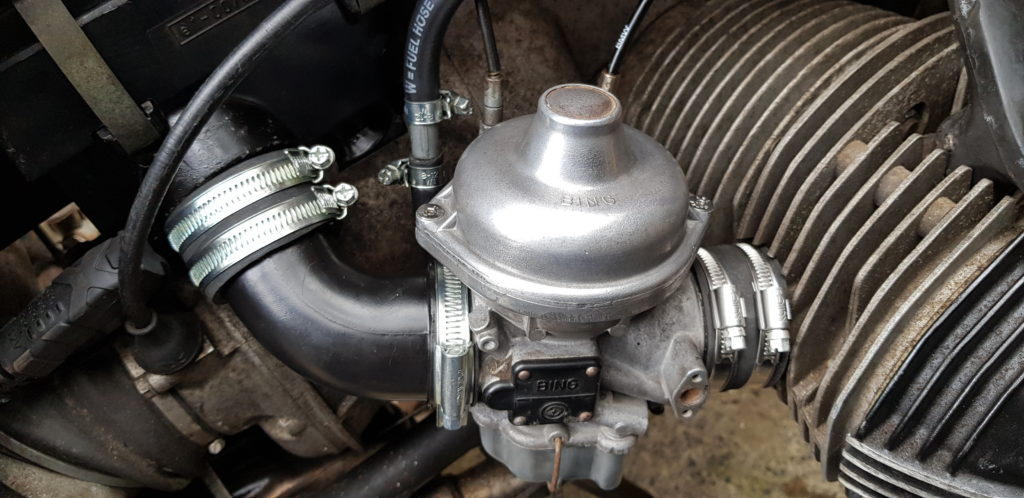
Finally Fitted the carburettors.
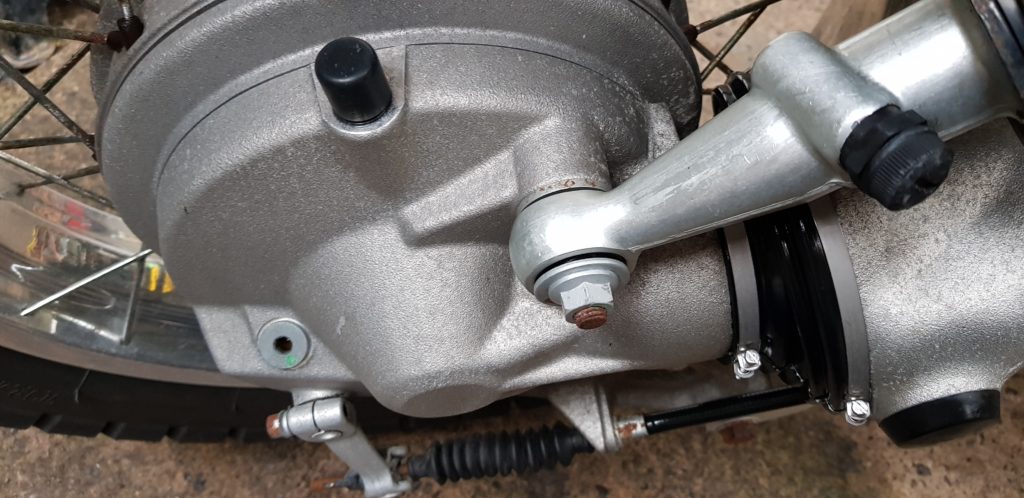
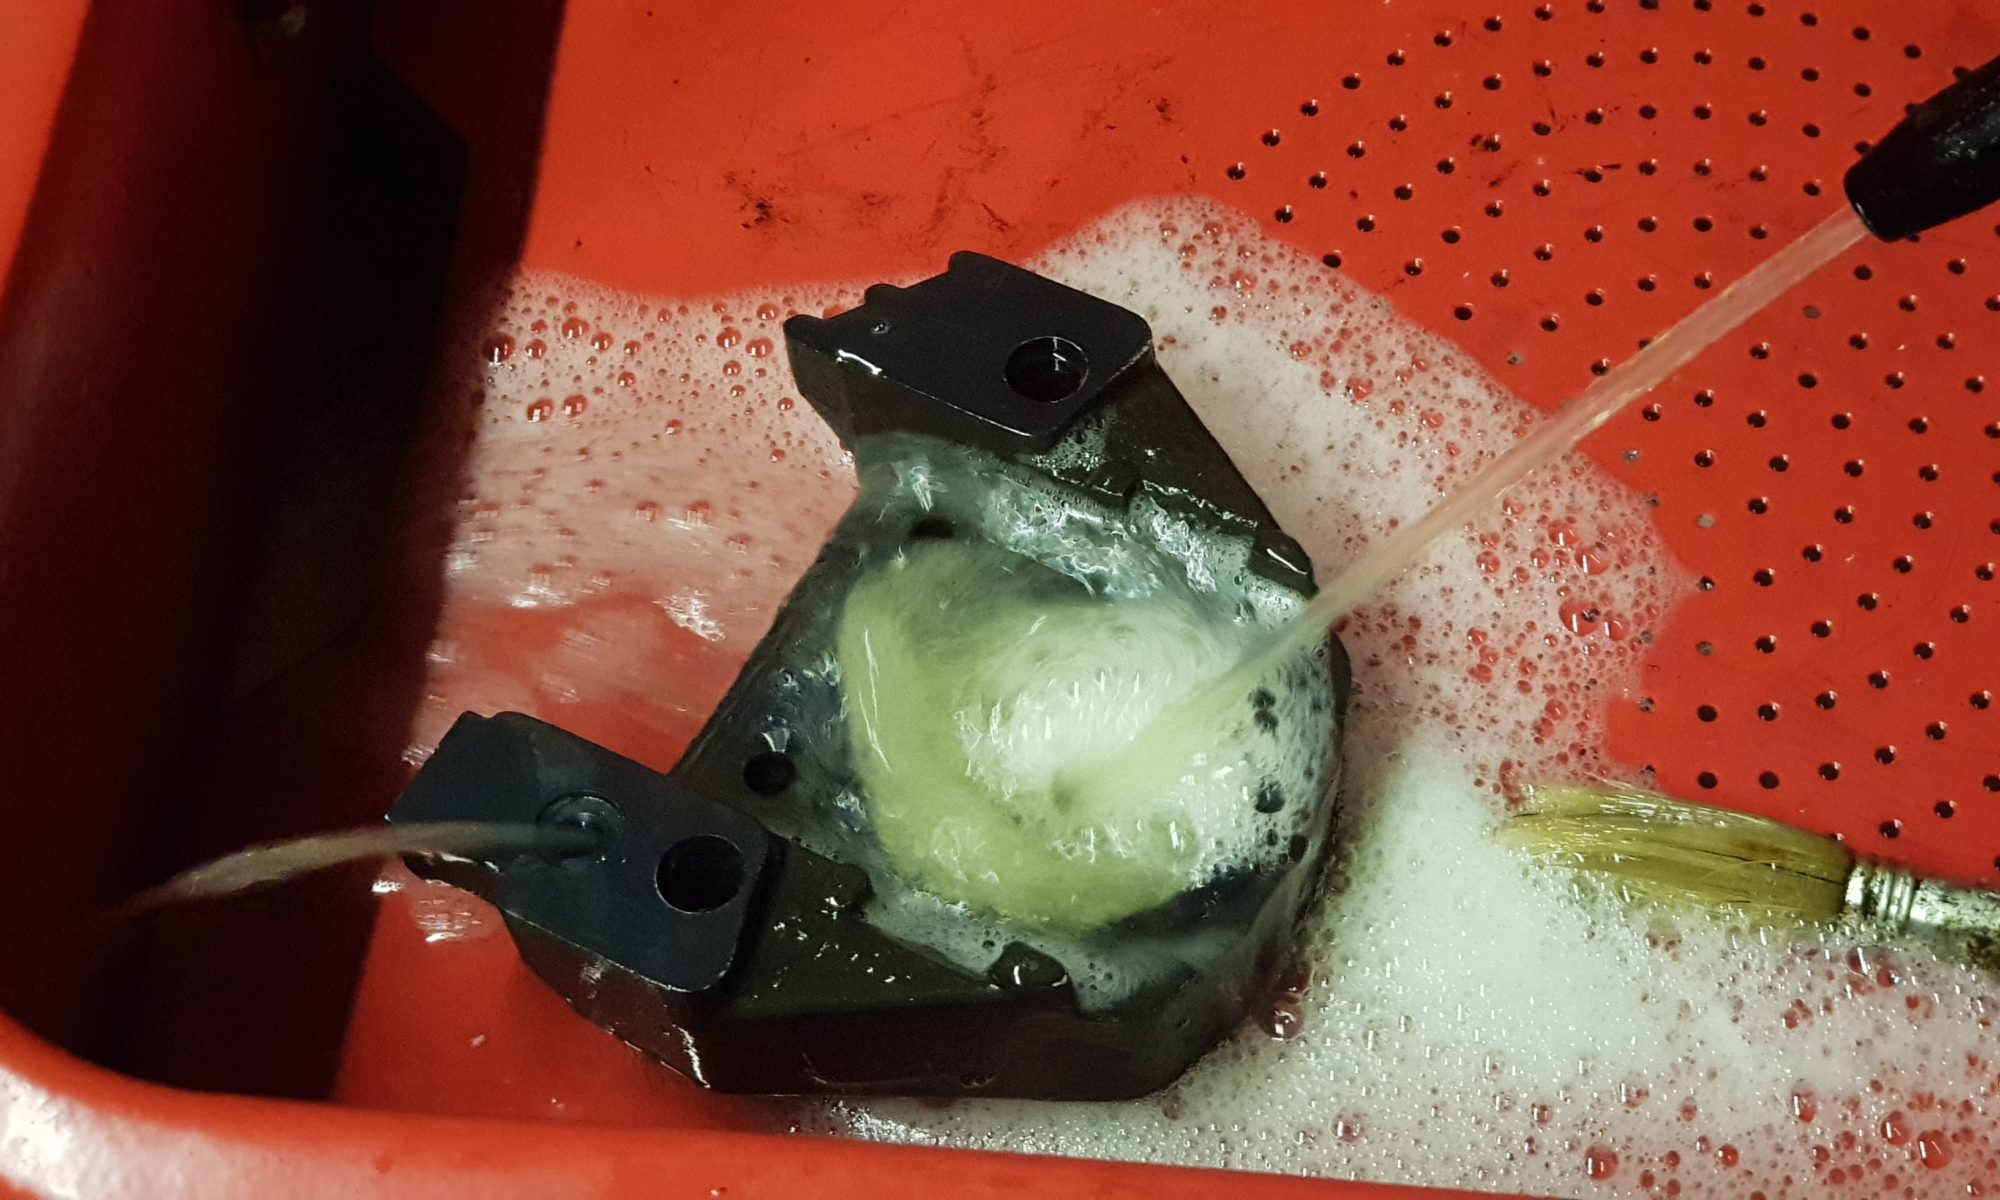
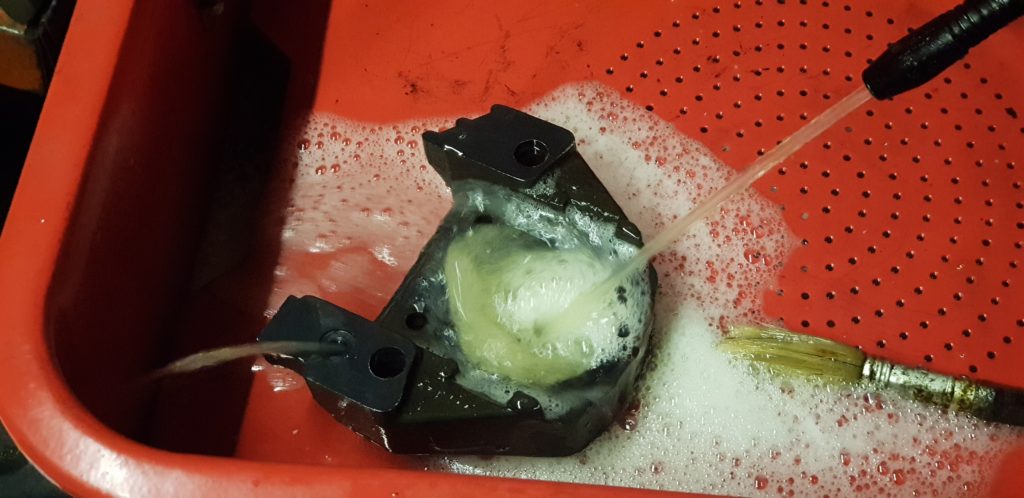
I also started to clean the bike now that I have the engine watertight as such. Using some ally wheel cleaner and some ph neutral cleaner (you know the stuff that indicates red on contact with rust). With the use of a stiff wheel cleaning brush, I worked about the rear wheel and hub scrubbing it. Now it looks a lot better, still plenty to clean but it was a start.
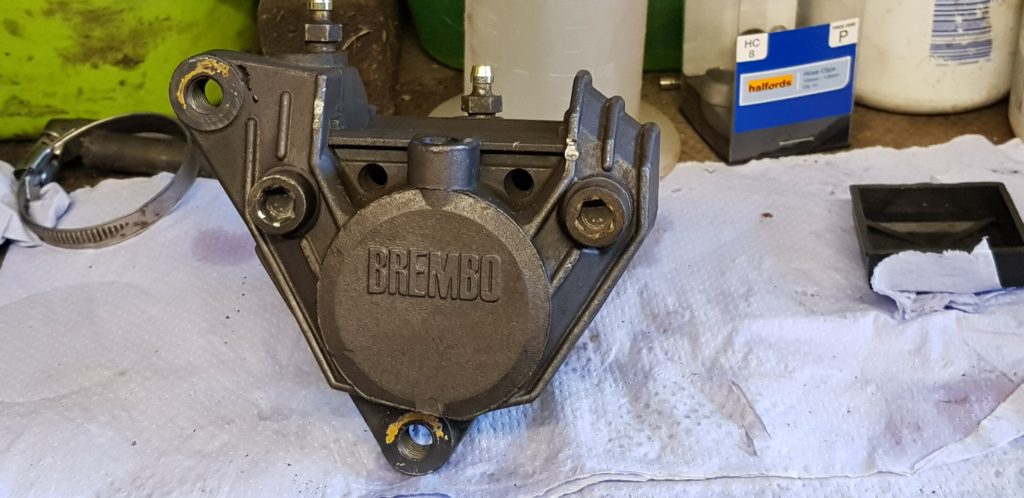
When I bought the bike I was told that the calliper had been taken off to fix a customer’s bike as it was quicker and easier than rebuilding the old one. But the seller did say he would send me the old calliper in the post. I had made contact but as they were busy it didn’t happen. As his shop is in Crediton (https://unionroadmotovelo.com/) and my dad was passing nearby he stopped off and had success, he collected the calliper and the right-hand side panel that was also missing. They had it all in a box ready to be sent, just busy and forgot.
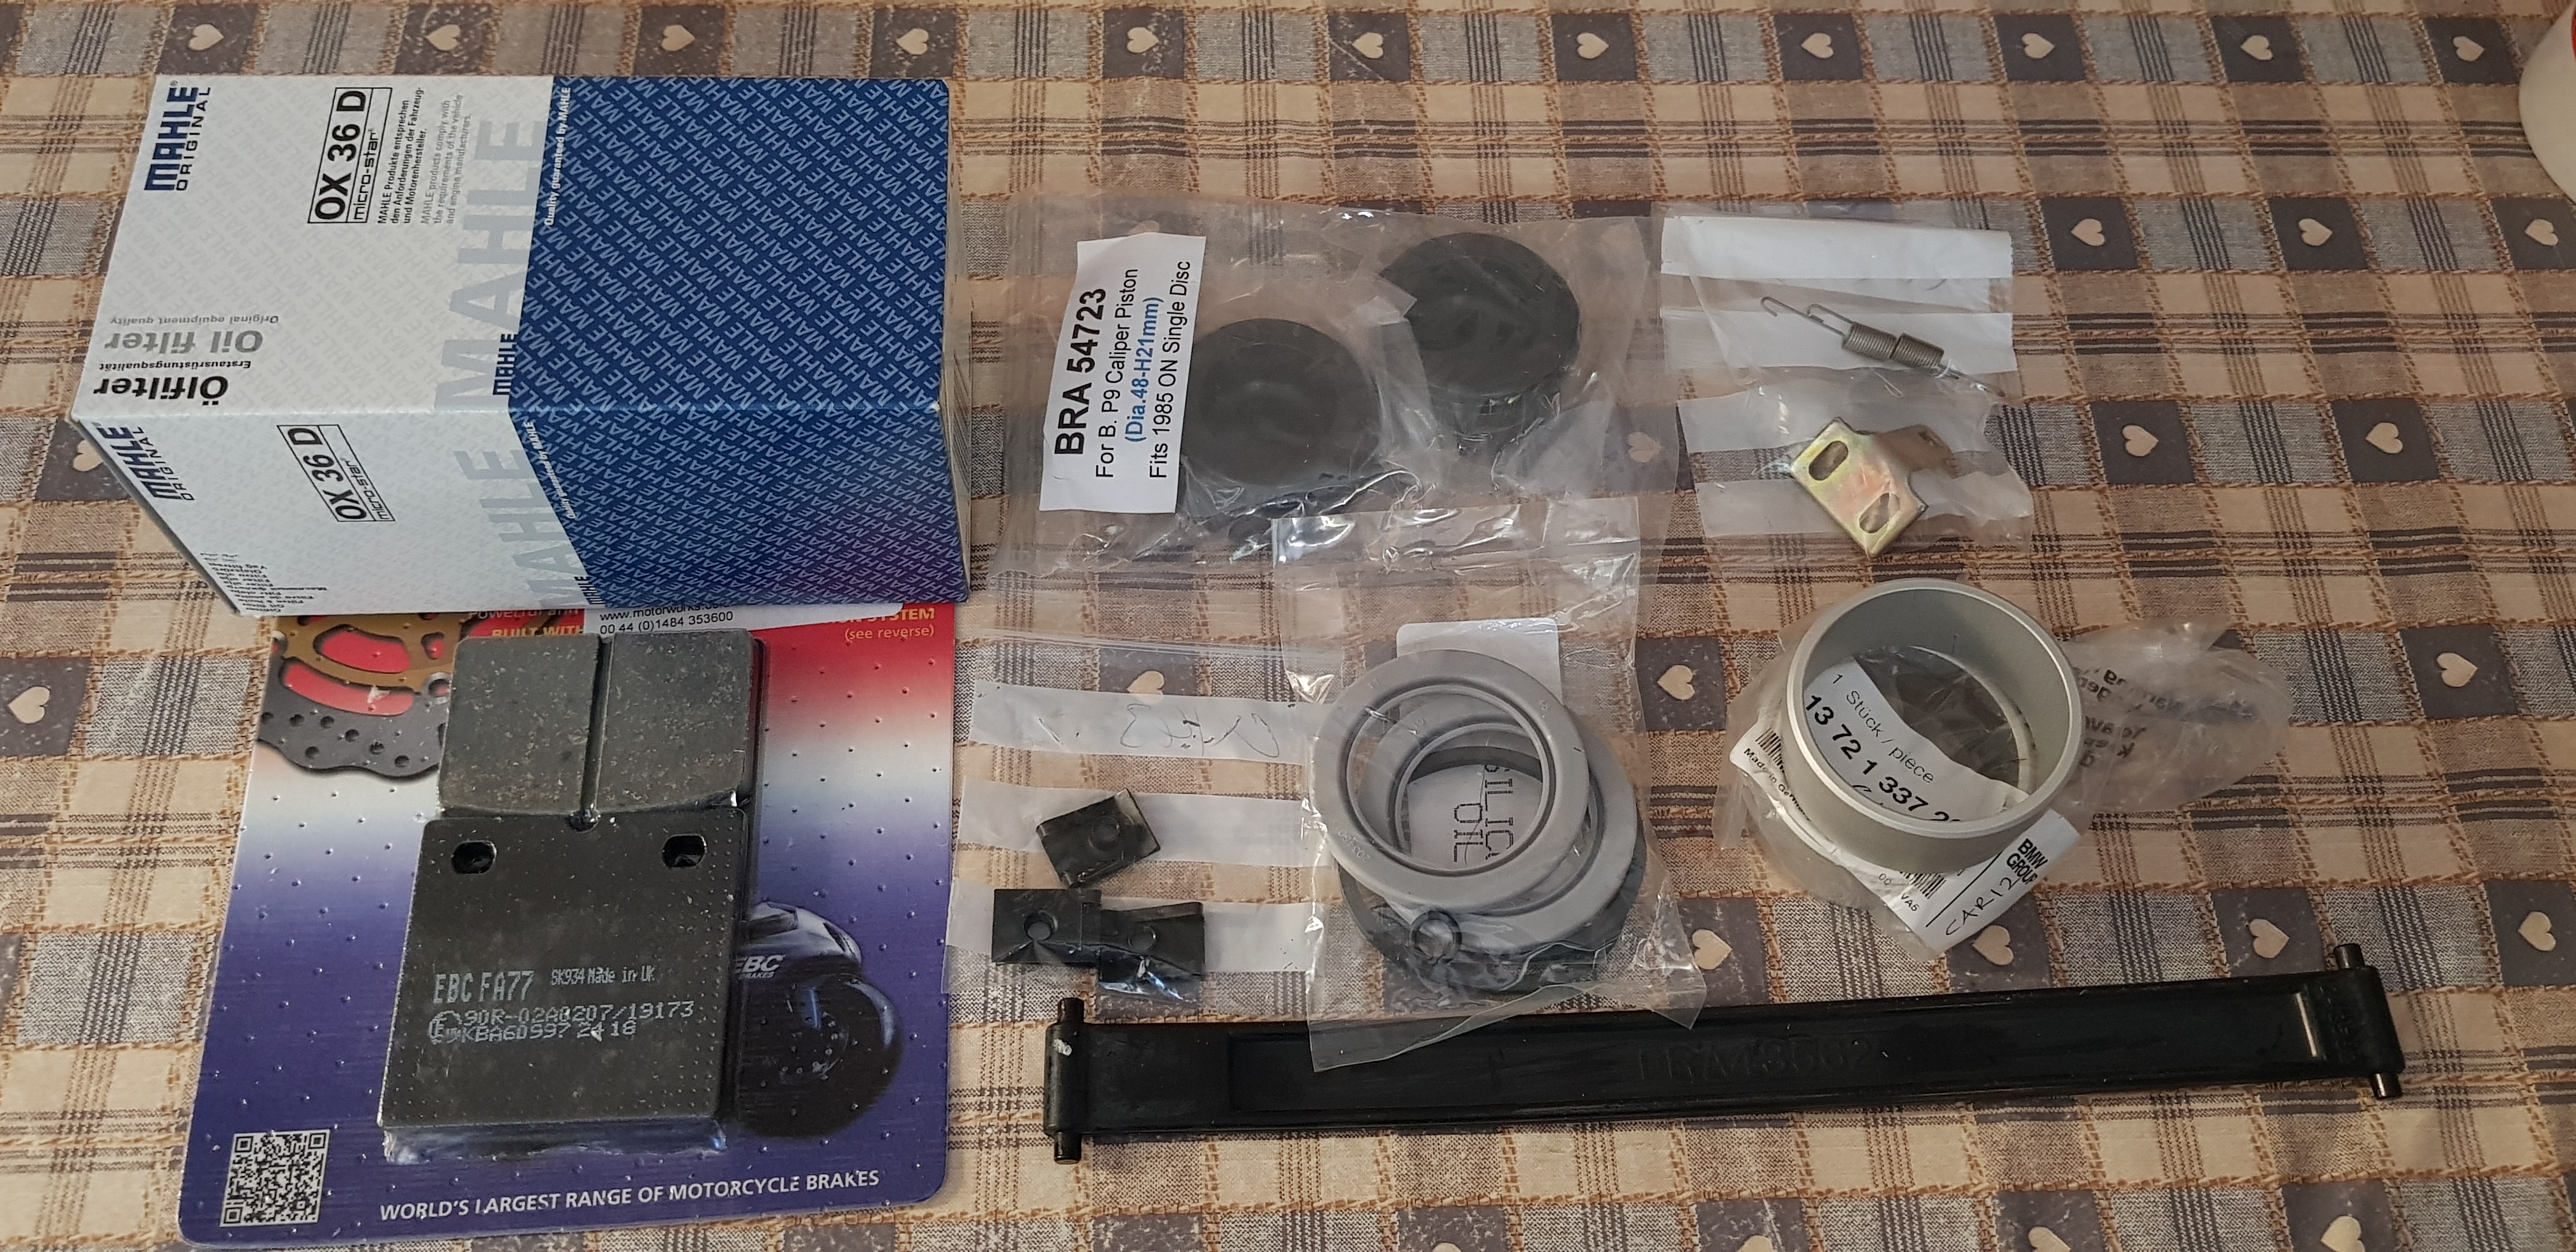
The caliper was in need of new pistons and seals, so the kit was ordered. Plus a few more odds and ends.
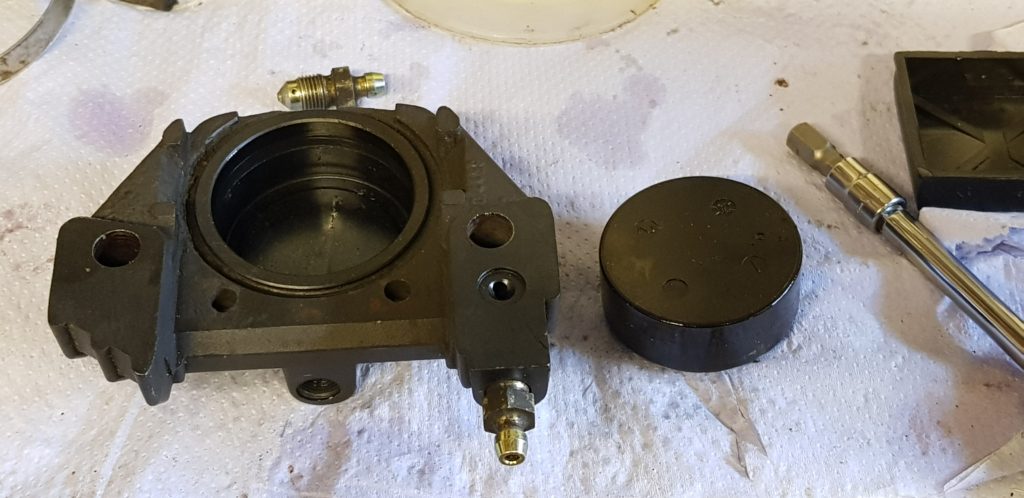
I cleaned up the callipers as best as I could and had to take off some burrs which I can’t begin to guess how they were caused. I find an easy way to remove the pistons is to push a little air down the calliper using a compressor but only use a small amount. I put the compressor on for only 10 seconds as to avoid too much pressure or the pistons will try to hurt you.
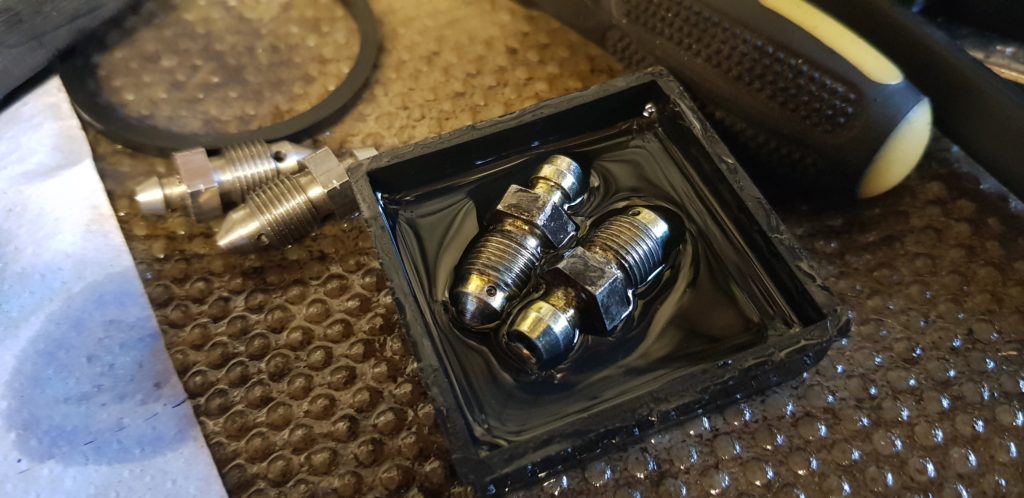
The fitting of the pistons and seals is rather painless and took the time while cleaning to make sure all the fluid holes where clean and free. I also changed the bleed nipples for some tidier ones I had in the shed.
Of course, the next stage was to fit the calliper and bleed the brakes. Which owing to the two nipples for each side it was a breeze to bleed.
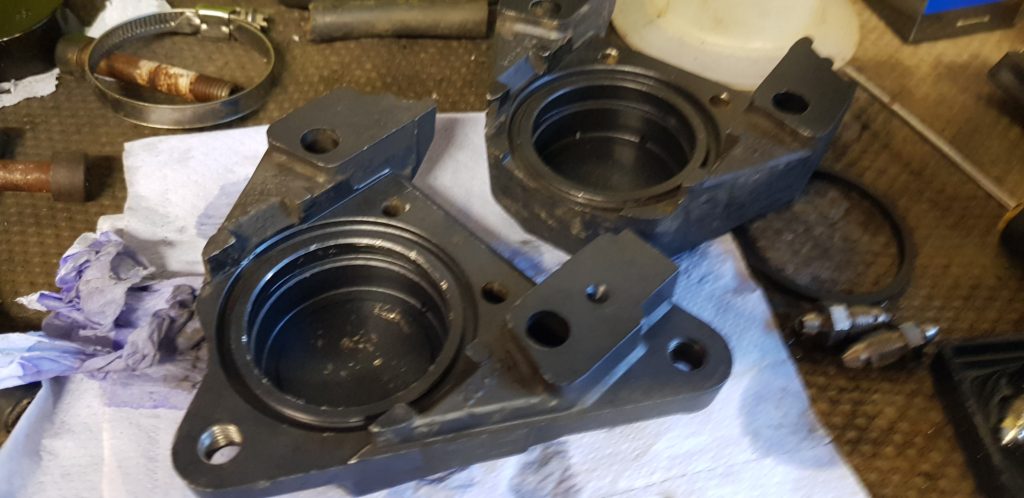
Though the two M10 x 60mm Cap head bolts needed to hold the calliper together are in poor condition I wasn’t able to find any replacements in Yellow Zinc like the originals would be. So I have ordered some A4 stainless but I need to think about the tensile strength needed for holding both sides of the calliper together. My plan is to use a G Clamp to hold both side together while I release one bolt and change it.
I will admit that I am tempted to swap out the twin pot calipers for the 4 pots ones from the newer R1100 GS as supposedly with a bit of machining on the mounts they can be made to fit the bike, while keeping the original disk.
Its the weekend and I can spend time doing some work on the bike. So after a little fettling, it was time to fit the carburettor and see if it would fire up.
Its goes Brum
So it starts and though it has a little bit of smoke its not enough to worry about for now as it has been been in a shed with a petrol/oil mix in the engine. We only started it for <1m each time as we wanted to allow oil to move around the system and we were feeding it petrol via a small bottle.
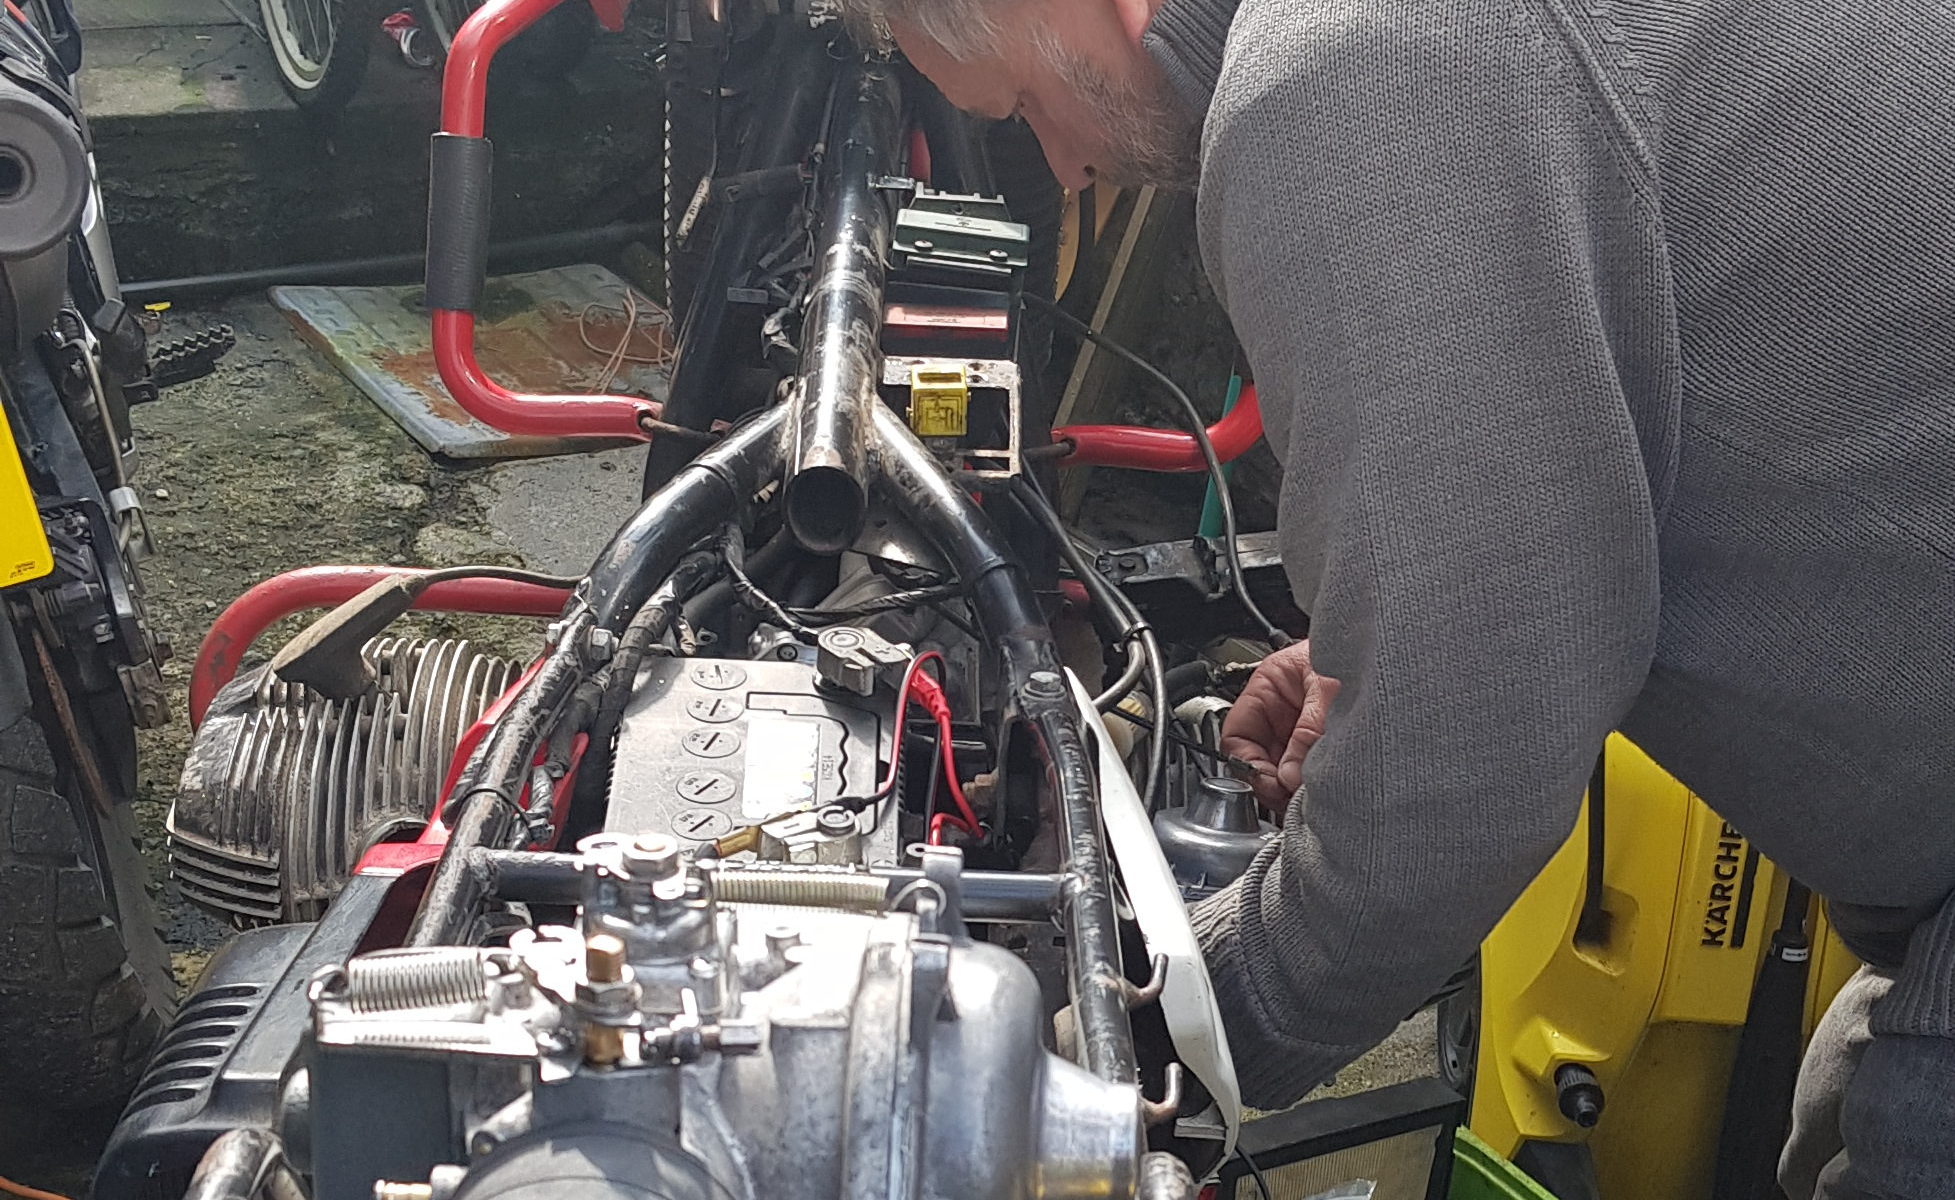
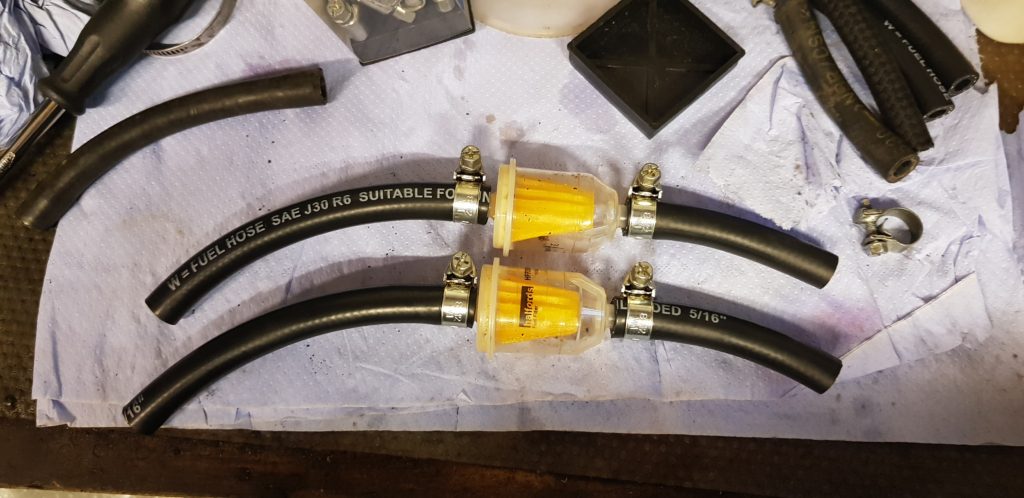
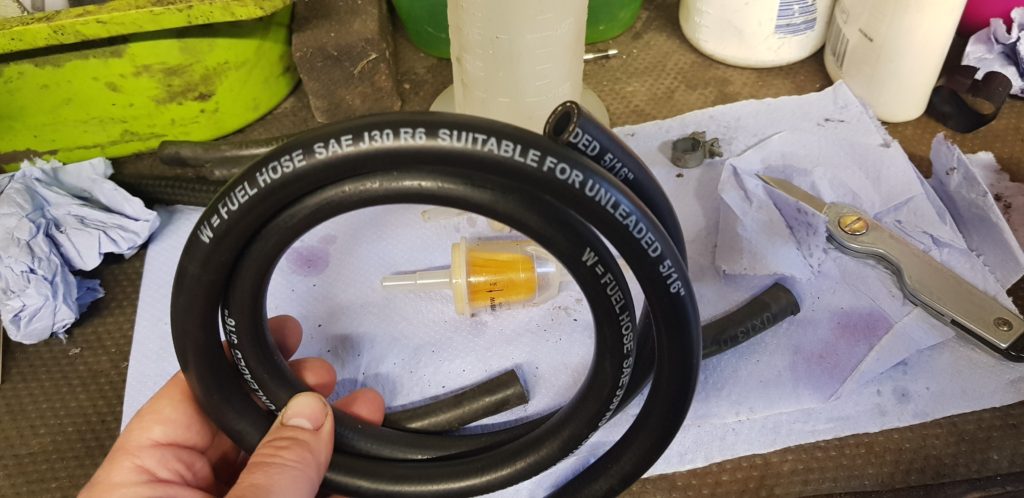
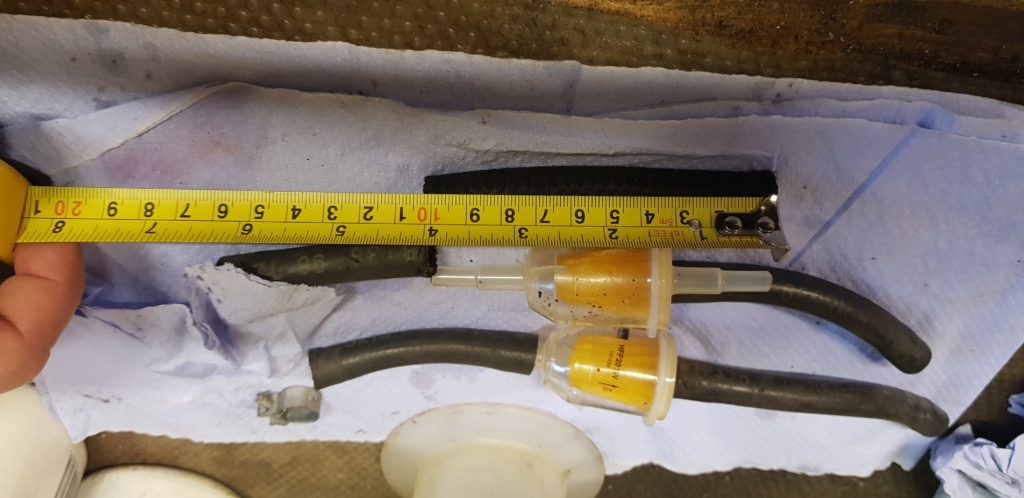
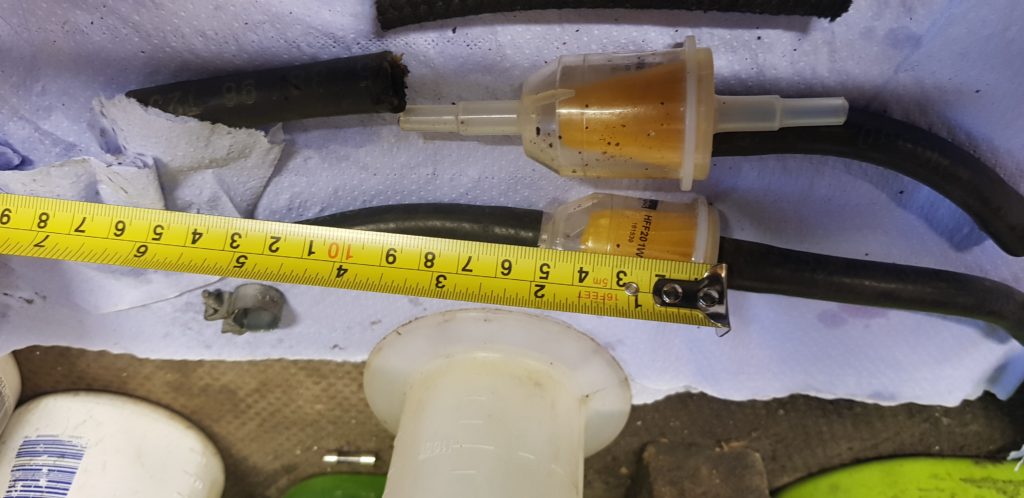
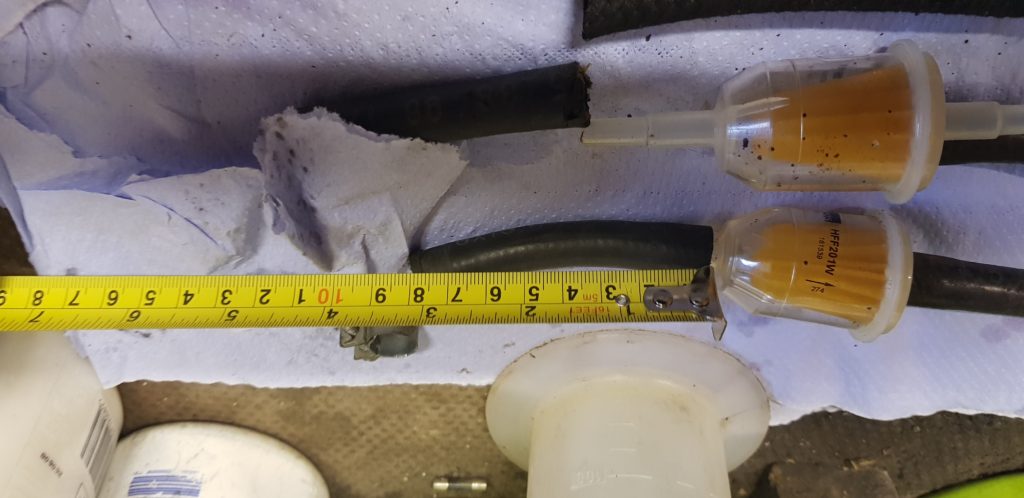
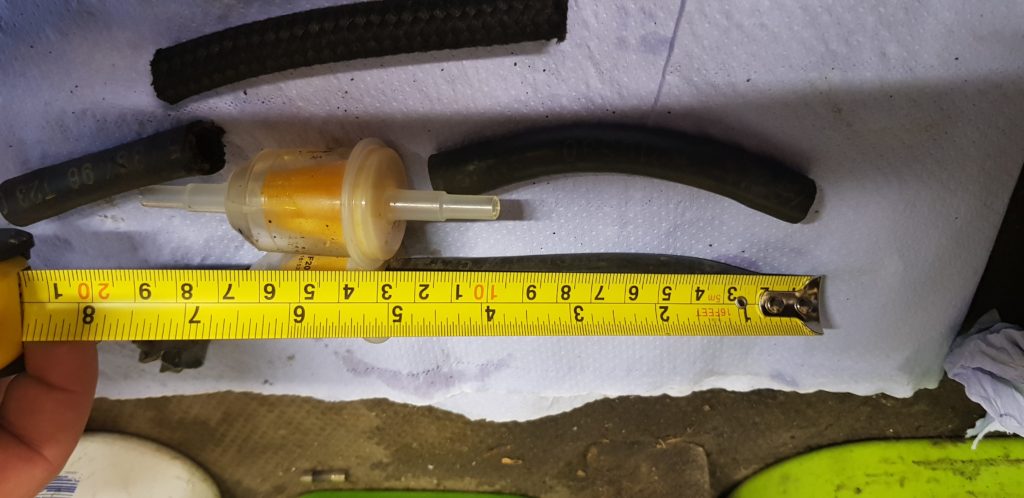
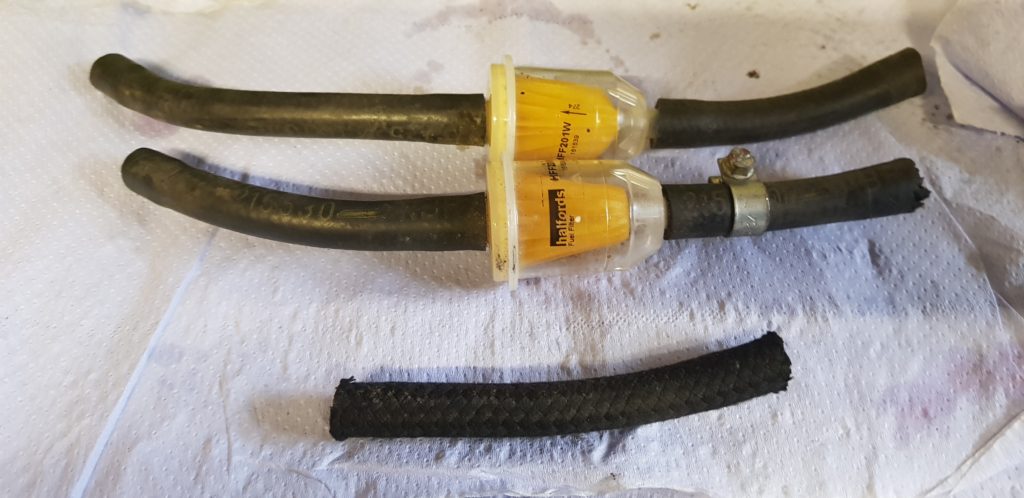
Flush with the success of it starting I popped out and picked up some replacement fuel pipe as the stuff on there is a little ropy. Below are a few pictures of my efforts.