Watts Down with you

With the wet weather at the weekends making it less enjoyable to be outside in the shed working I haven’t done much.

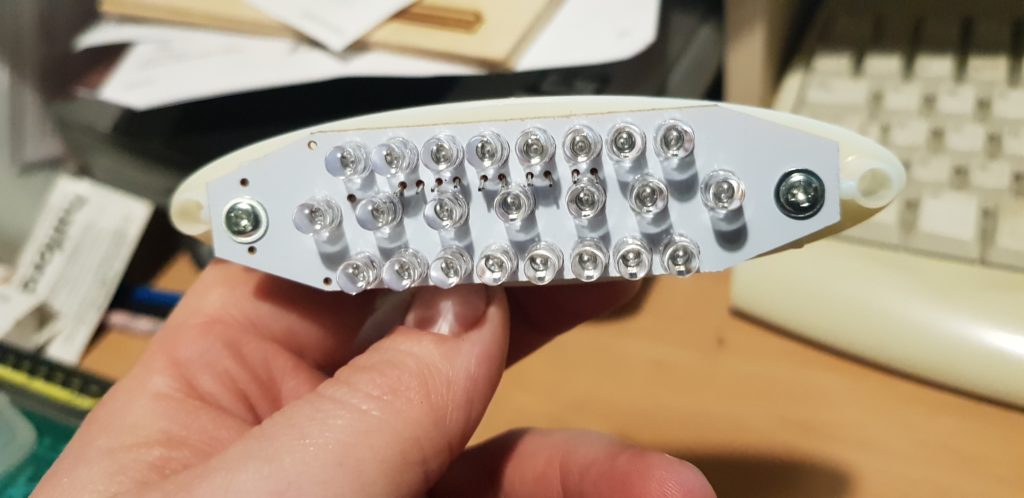
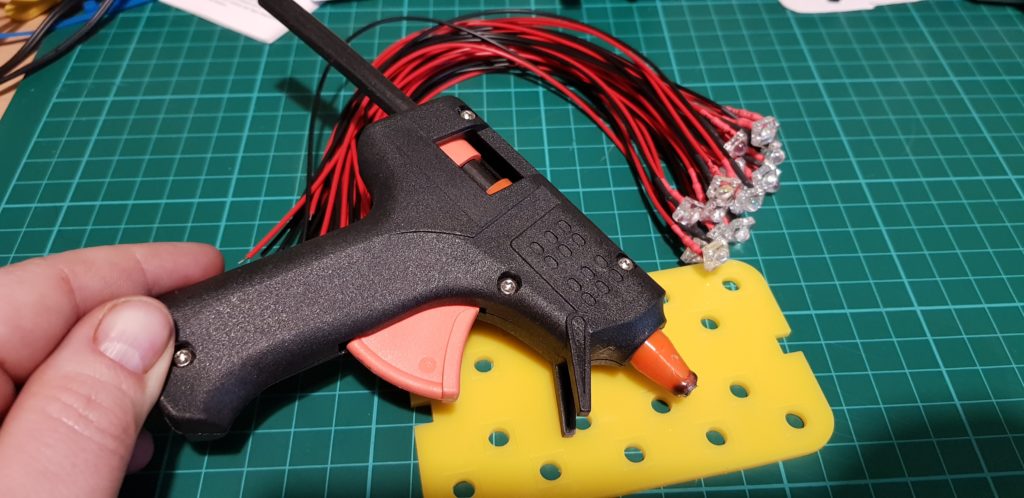
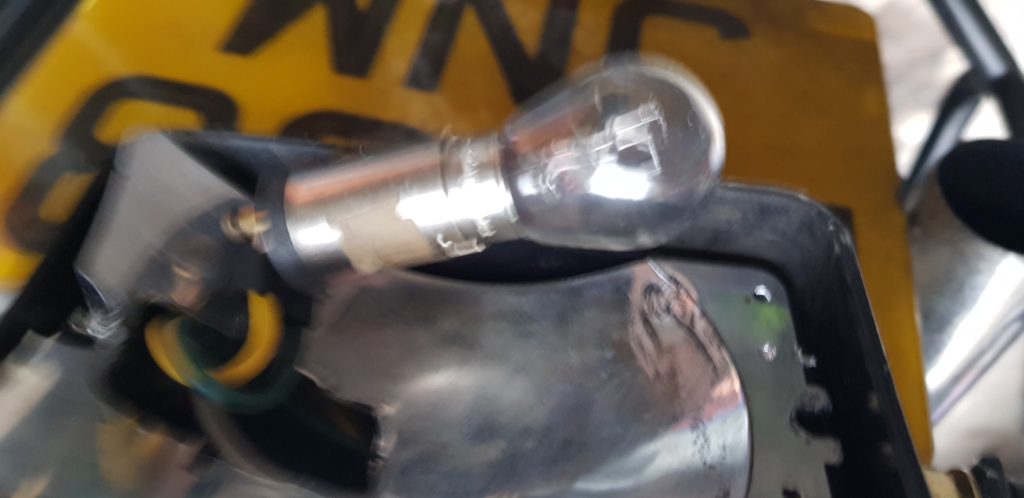
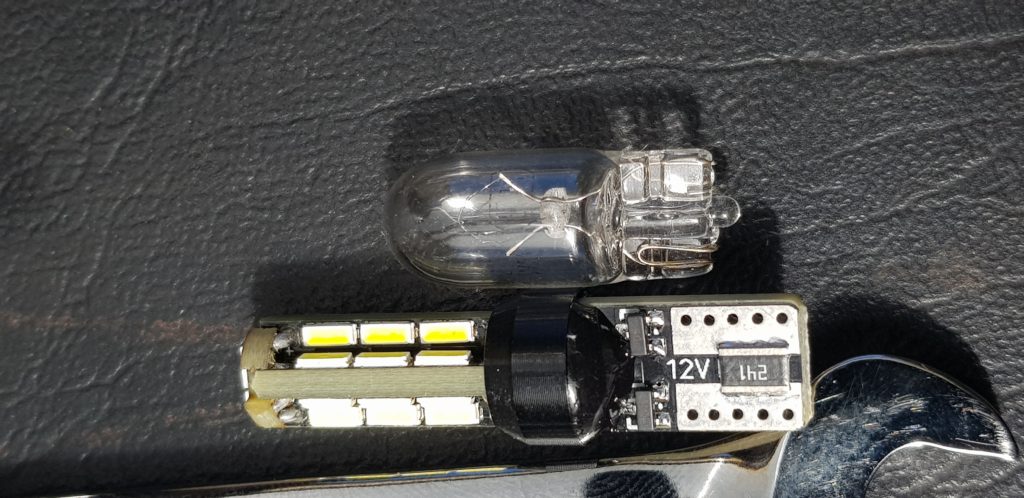
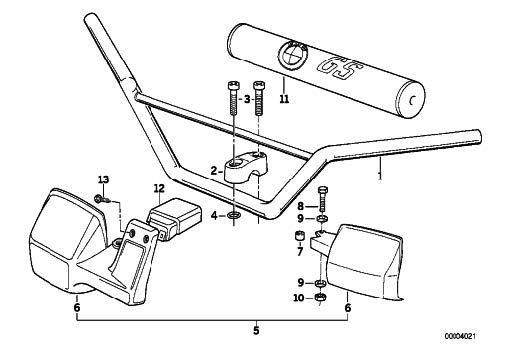
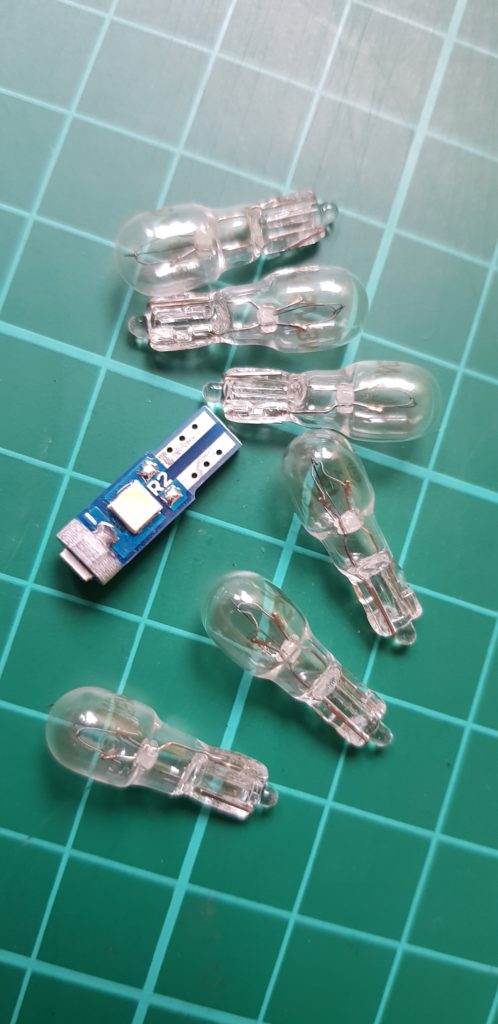
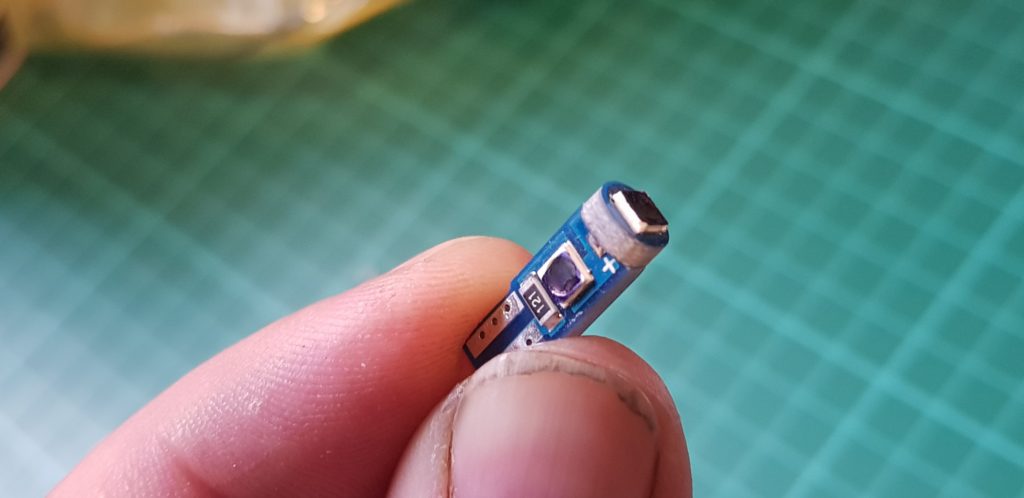
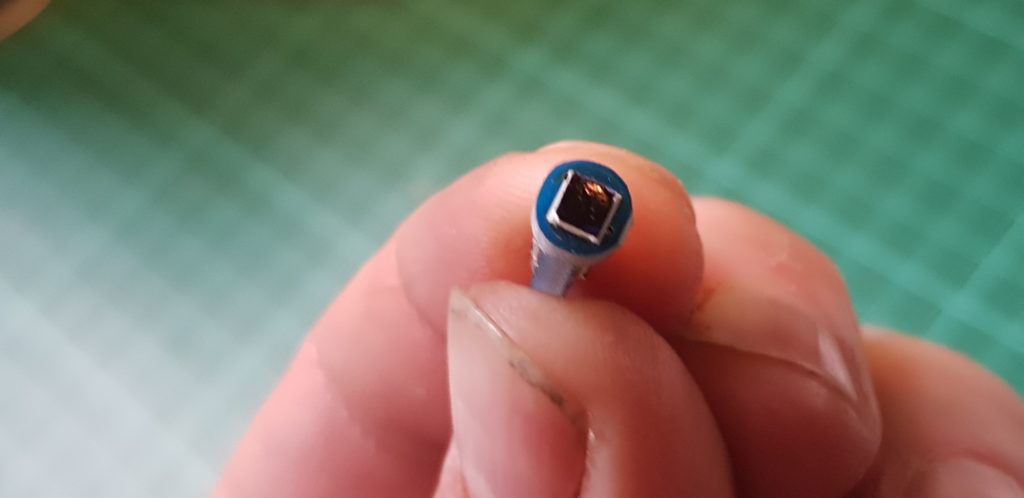
But Saturday morning some T5 LED bulbs I ordered from China turned up. The idea is to replace the 12V 3W filament bulbs with LED in the instrument panels of the bike. They are brighter and require less power to light up the dash, but I wanted to do some tests to prove this.

DescriptionVoltsAmpsWatts
12V 1.5W LED120.0280.336
LED in Holder120.0290.348
12V 5W Filament120.2002.400
Filament in Holder120.1982.376
% Of power15%15%
Power Saving0.1692.088
If all 6 illuminate1.20014.400
in LED0.1742.088
Saving1.02612.310

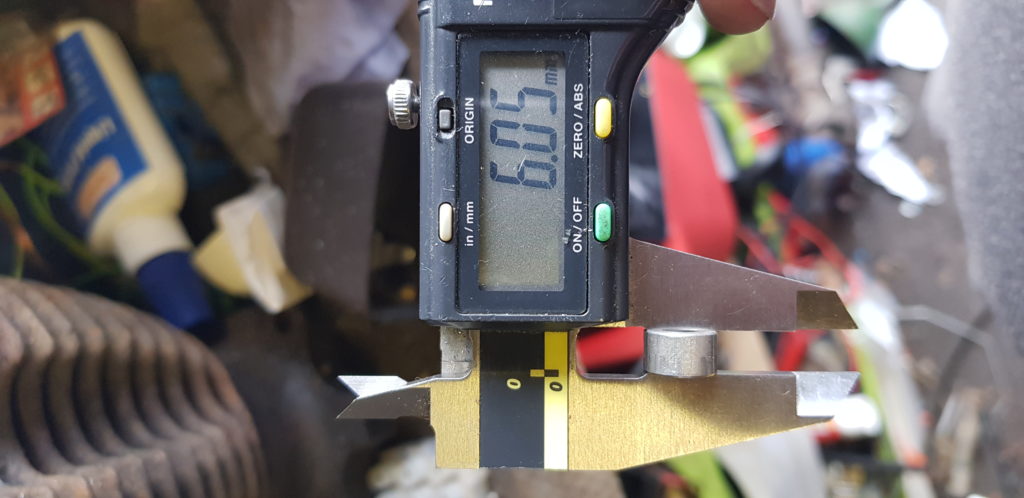
This was gathered with my benchtop power supply, which I checked against my multimeter. I know I ought to do some proper calibration stuff on my kit. I found it interesting that The Amps went up with the LED in the holder vs the Filament in Holder going down. I Suspect a bit of resistance along the wires and connector giving me a slight voltage drop etc. I could go into this deeper and do some actual measurements but not really worth it.

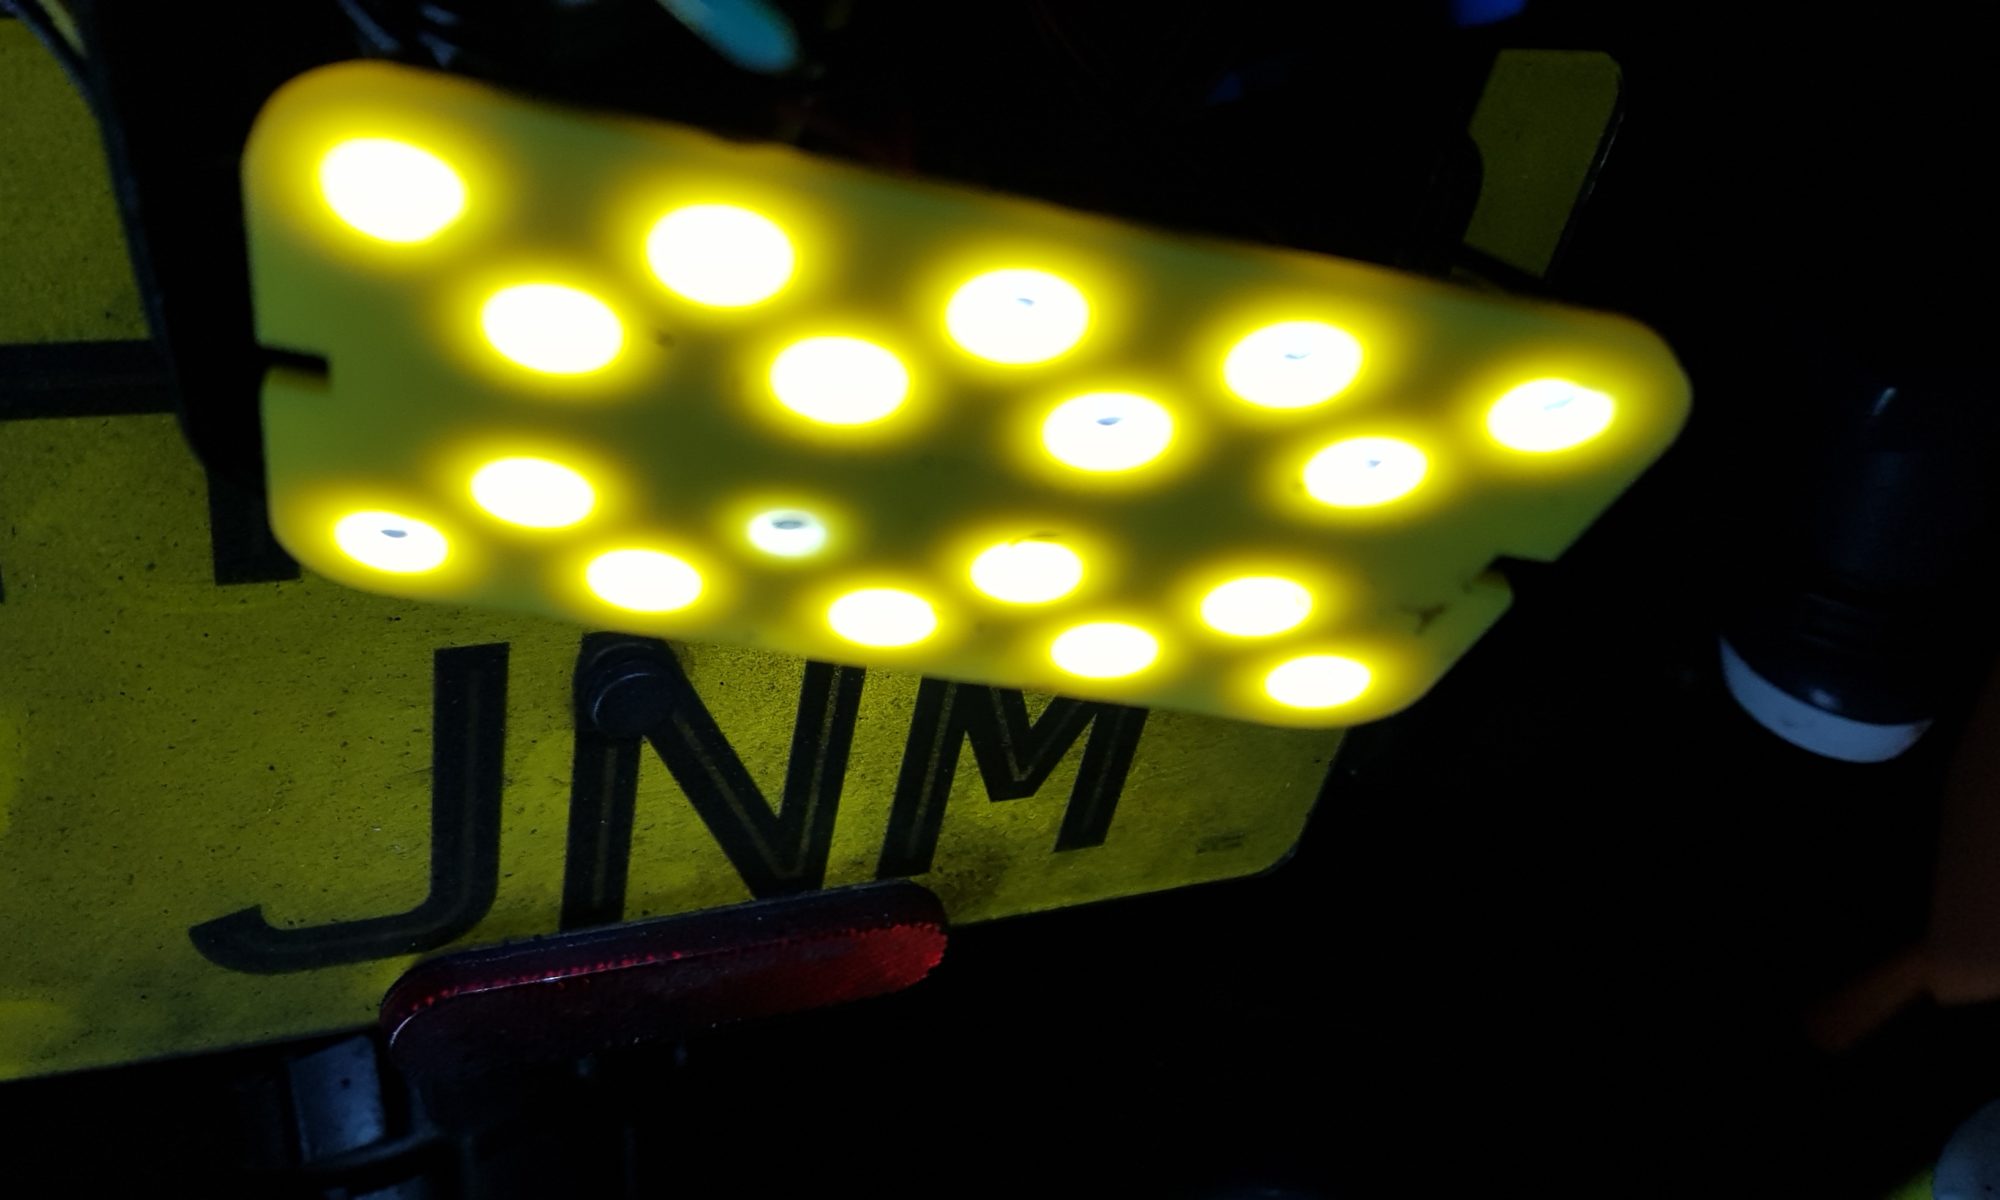
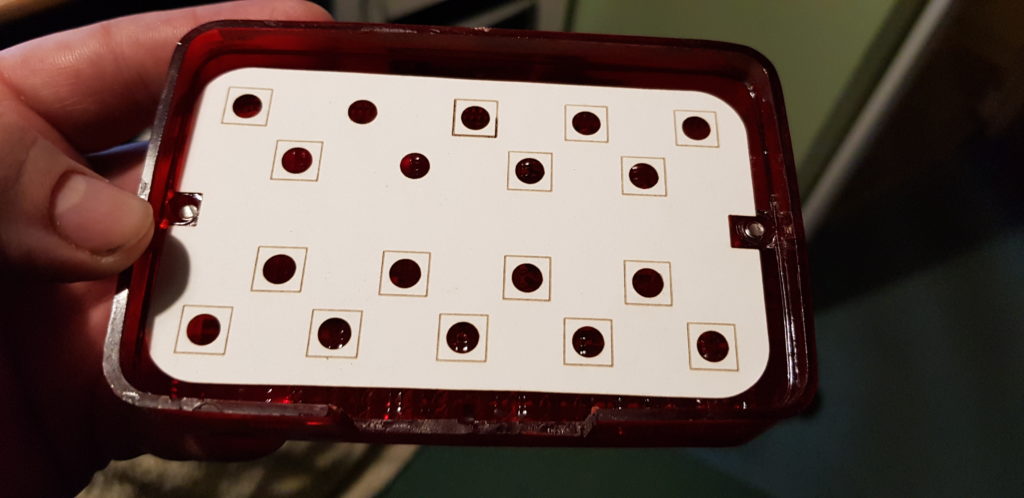
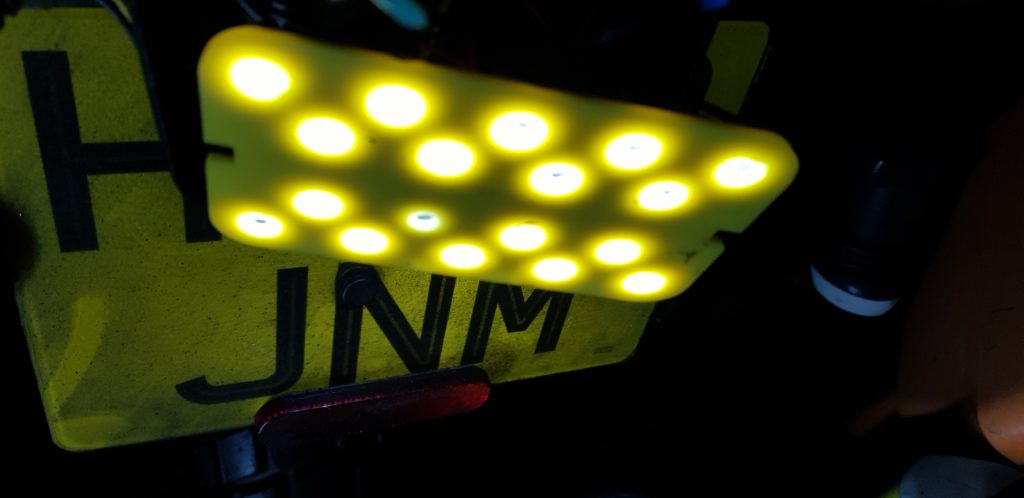
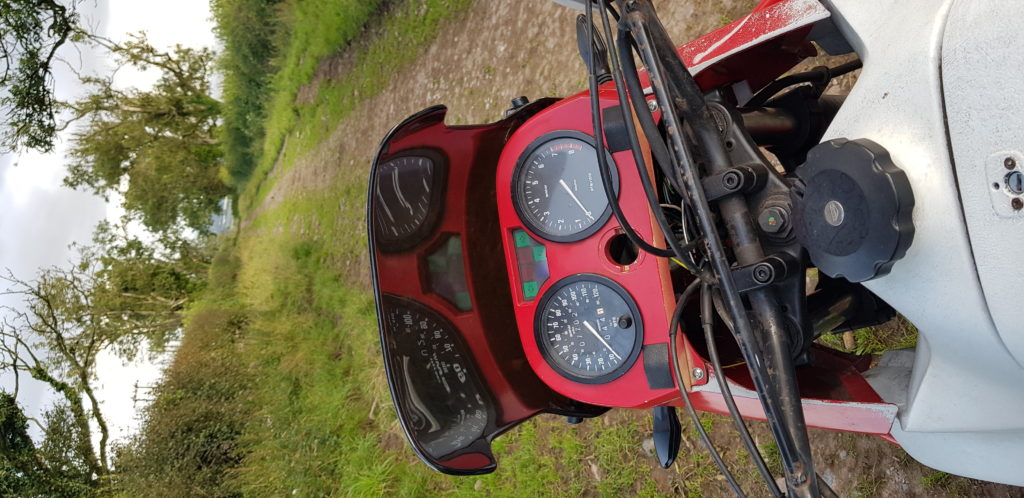
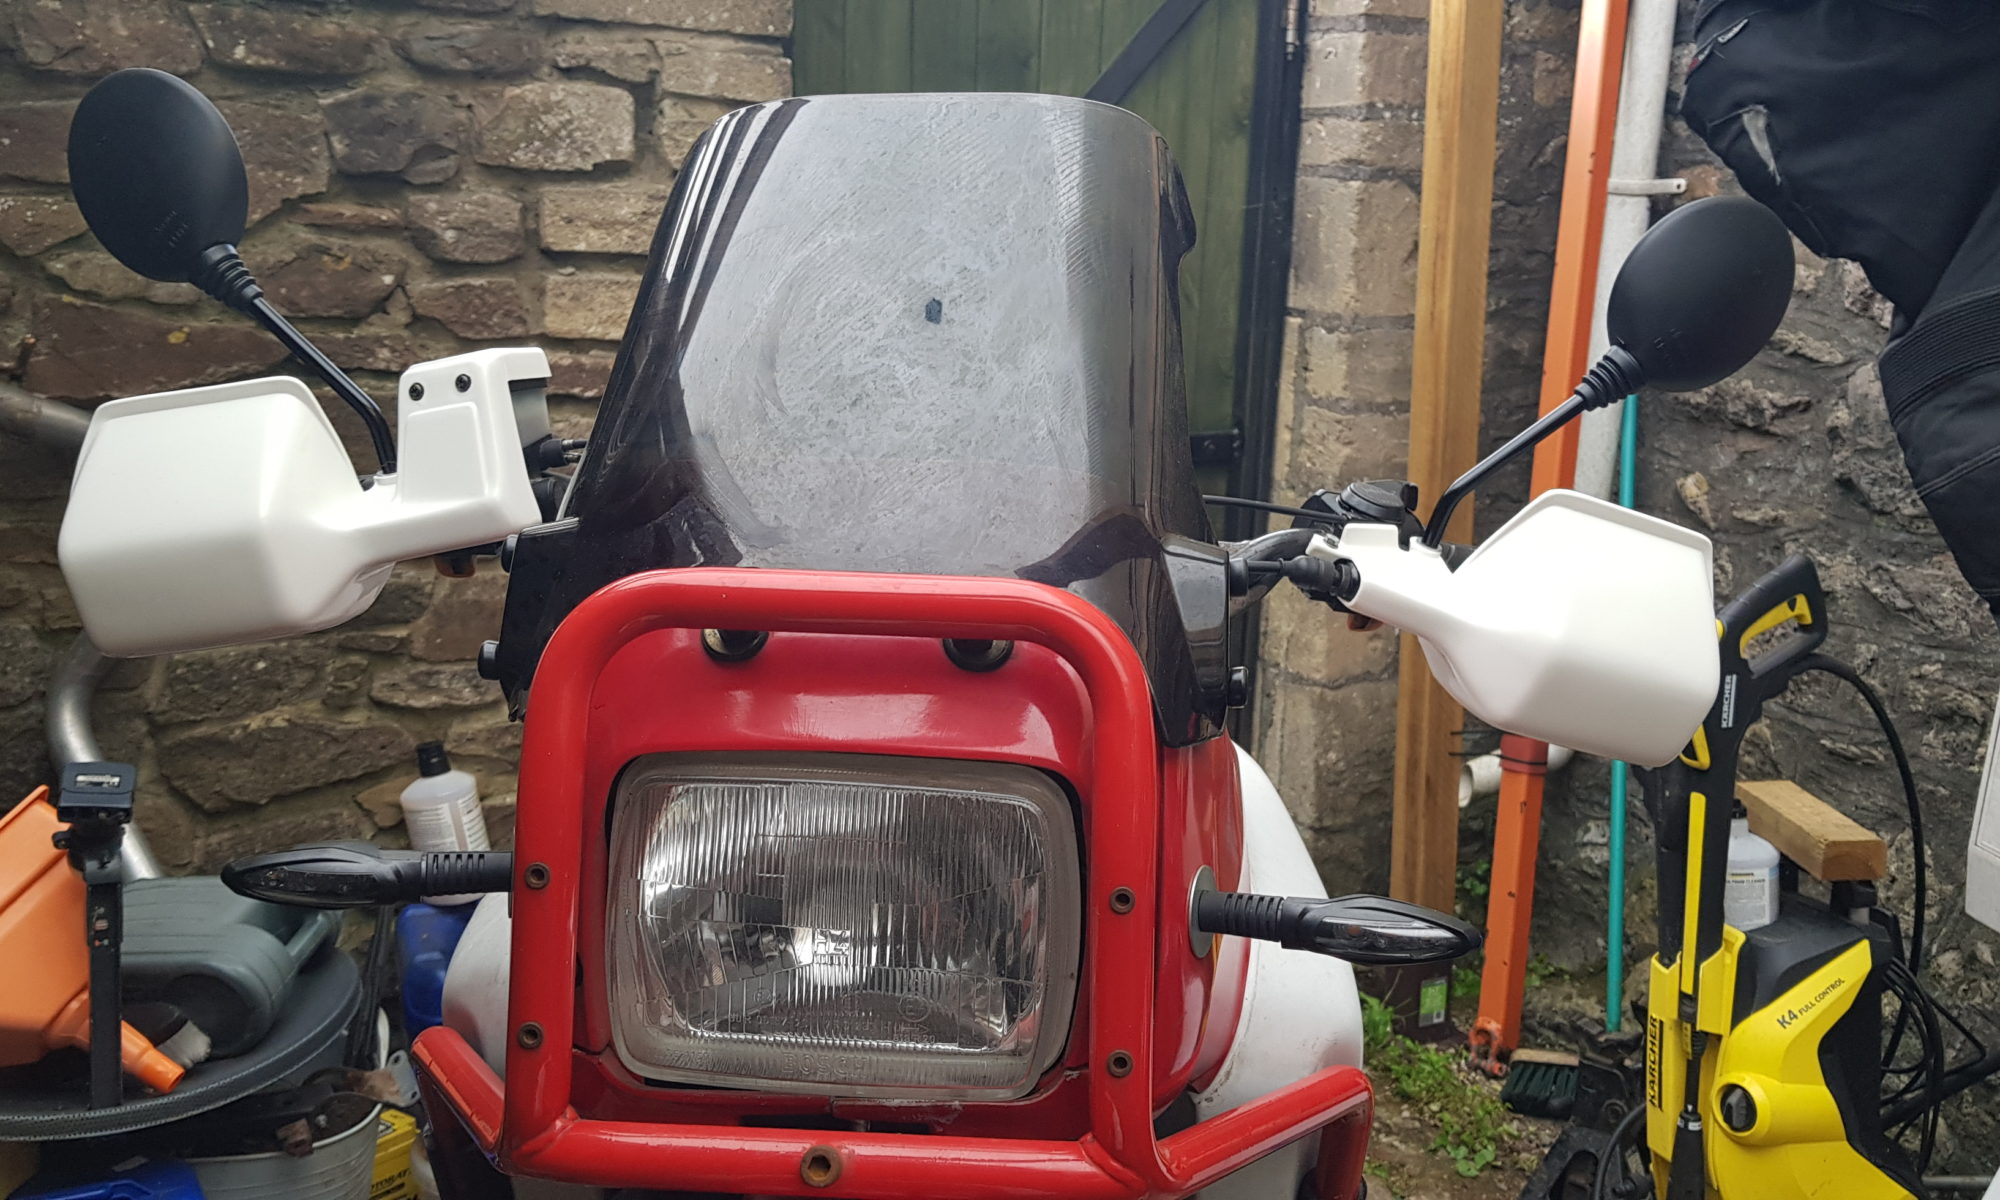
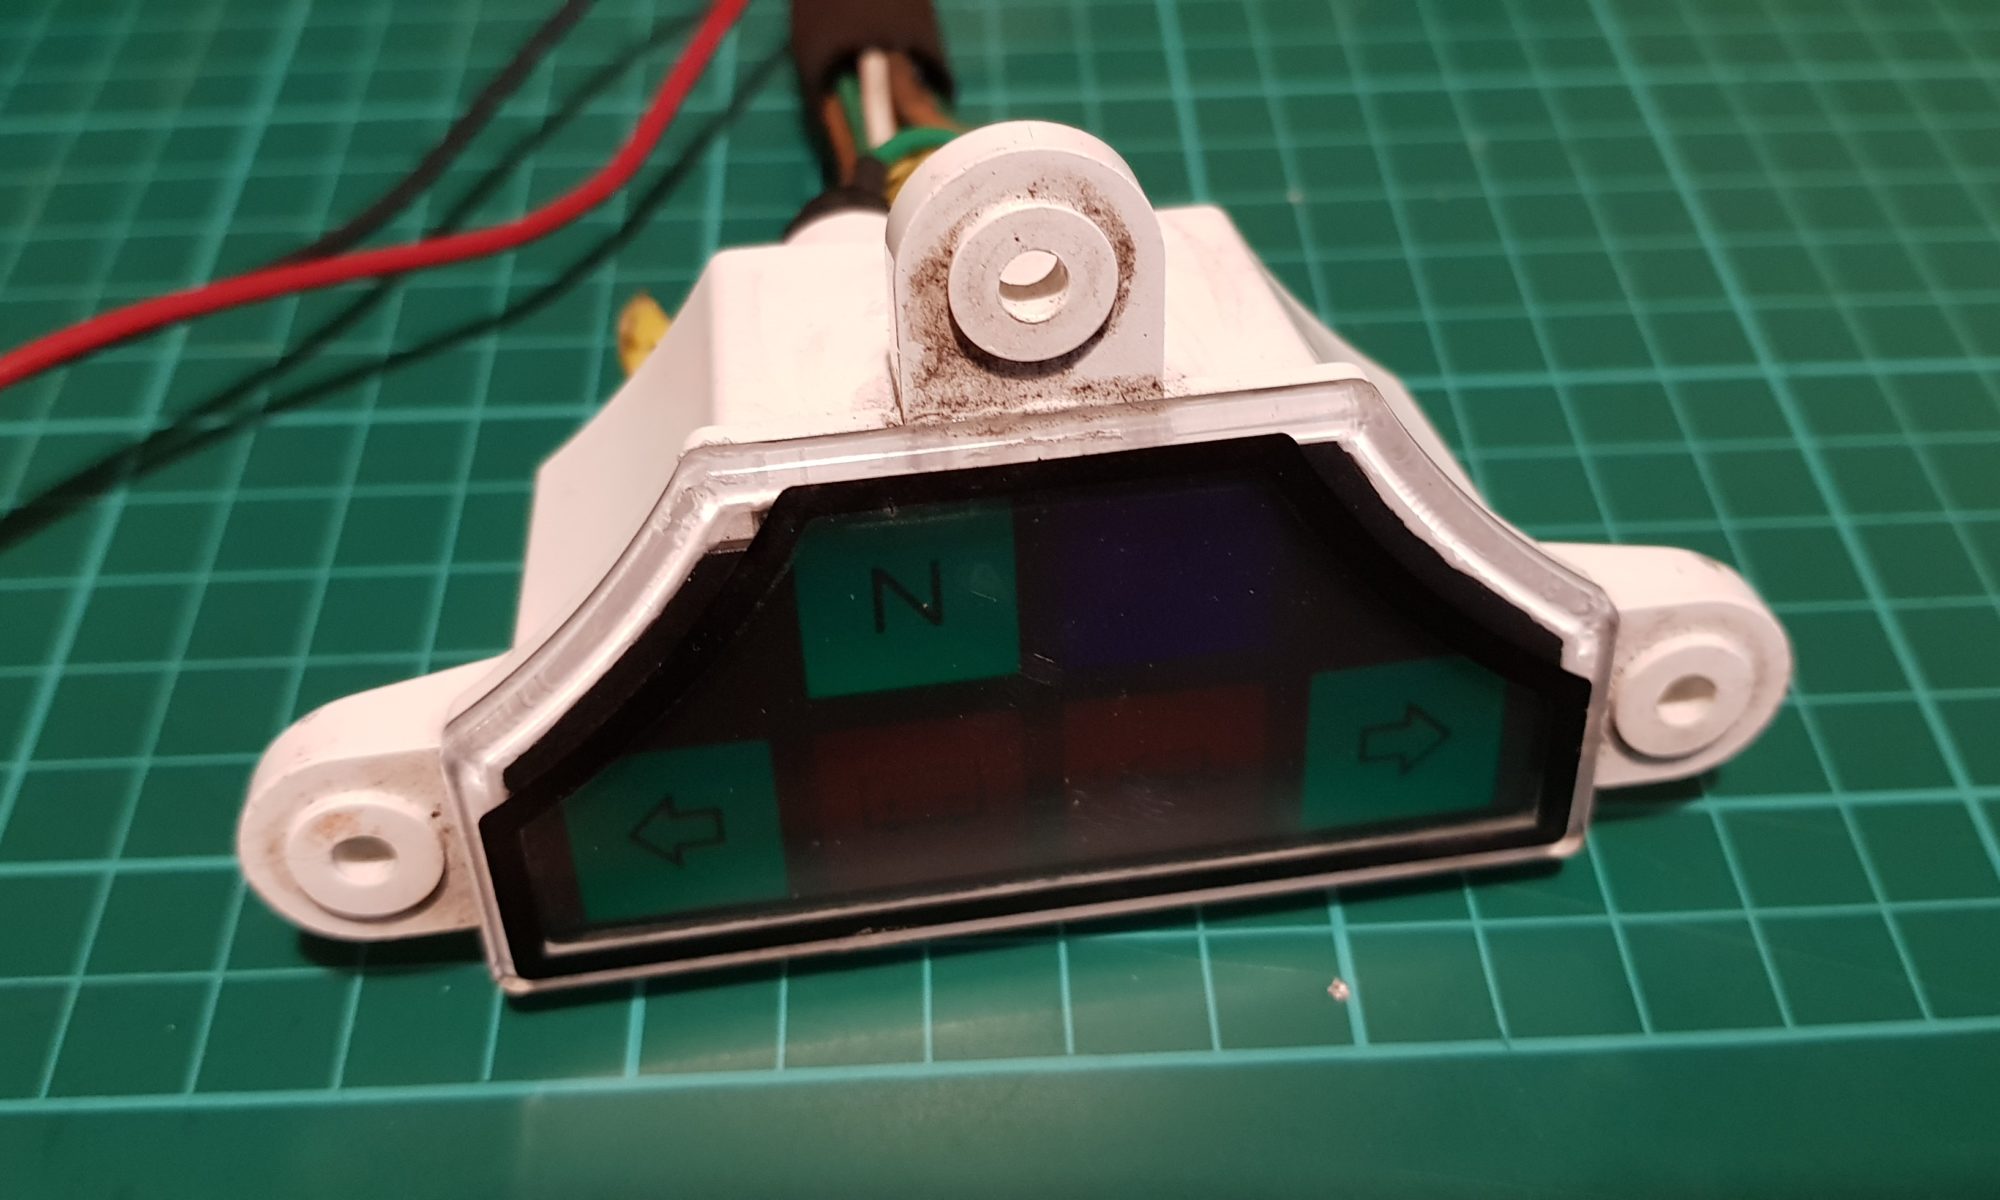
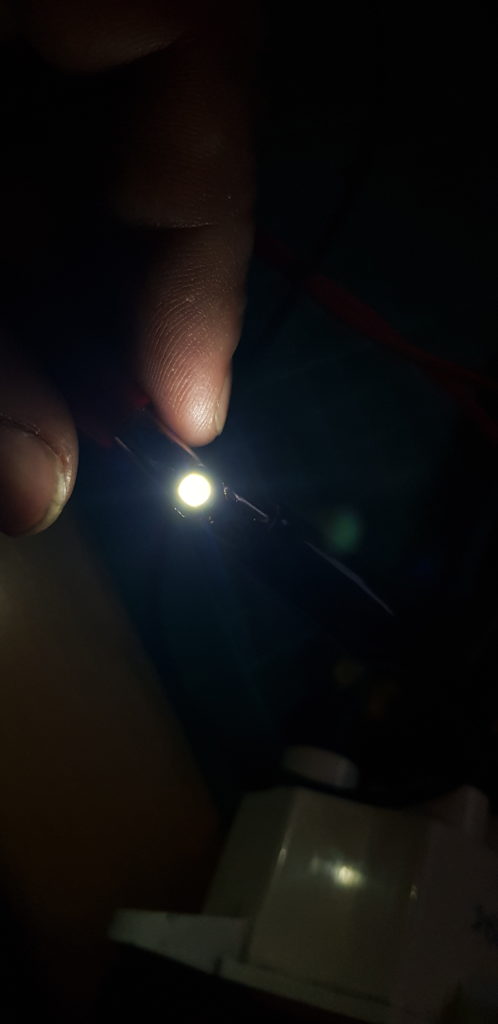
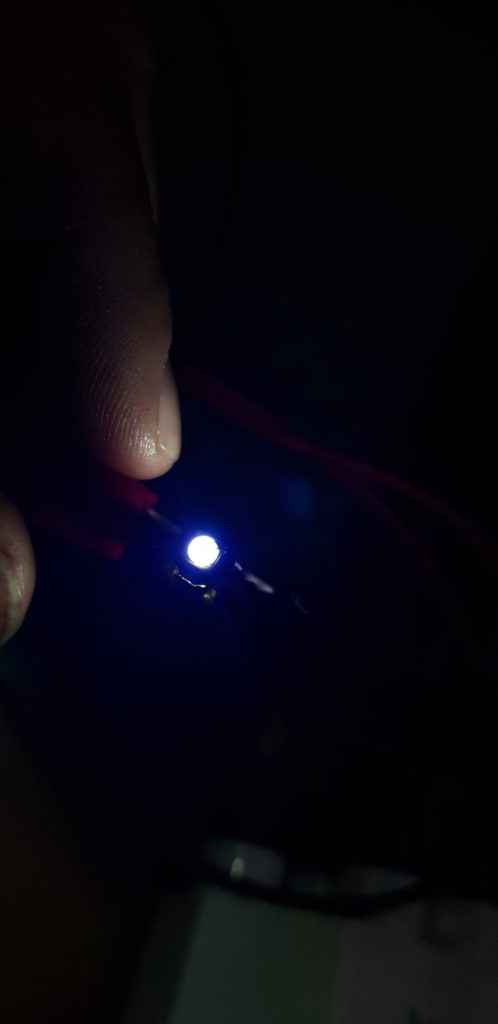
This then starts on the next issue, brightness. The LEDs are rated at 100 lumens and that should be bright enough but the risk is that its too bright.

LED to the Left, Filament to the Right.

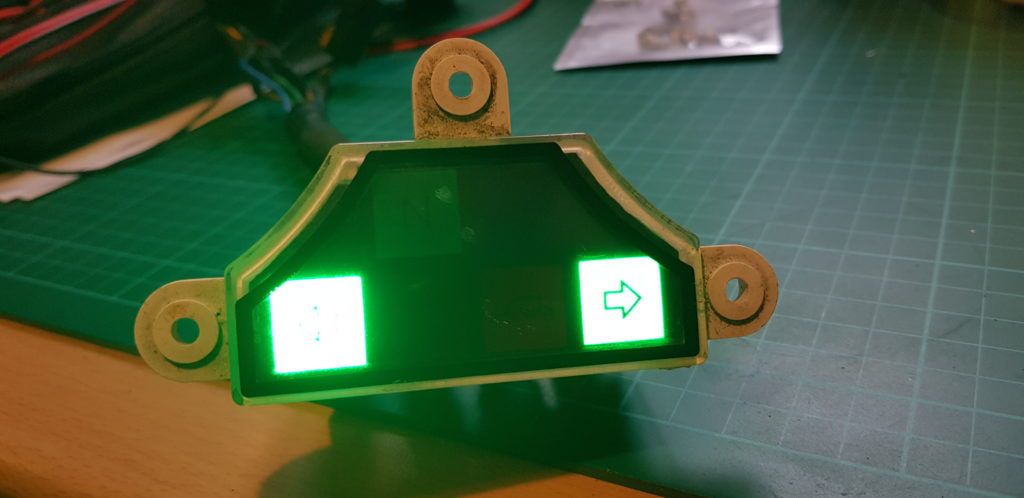
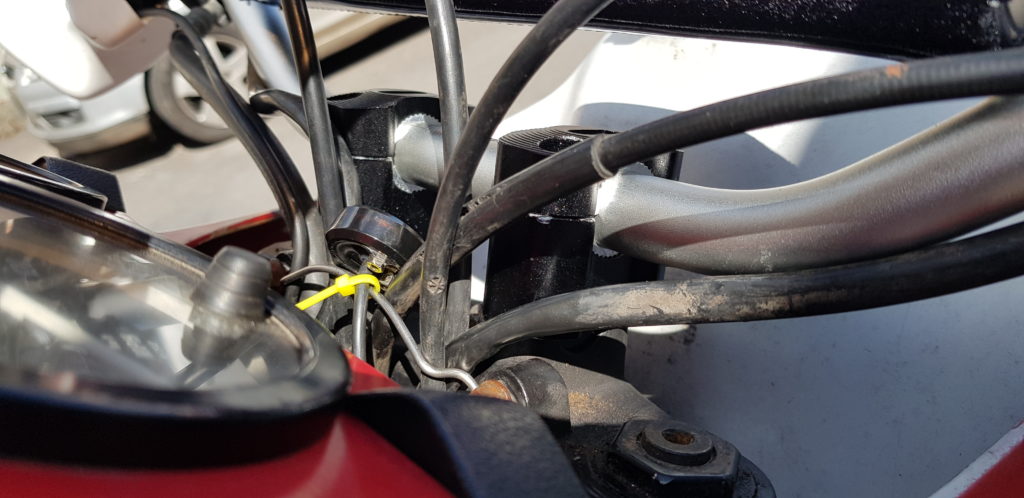
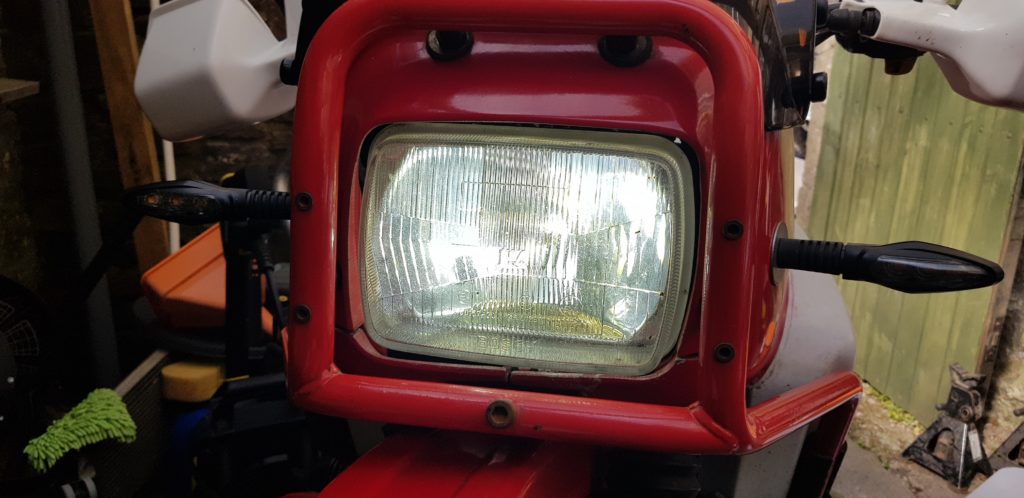
The camera lies a little as the left icon actually displays quite nicely. But the issue is will it be too bright at night, well indicators I don’t really worry about but the High Beam, well that is another issue. For this test, I locked the camera down to 2000ths of a sec and an iso of 80.

Filament on the left and LED on the right.

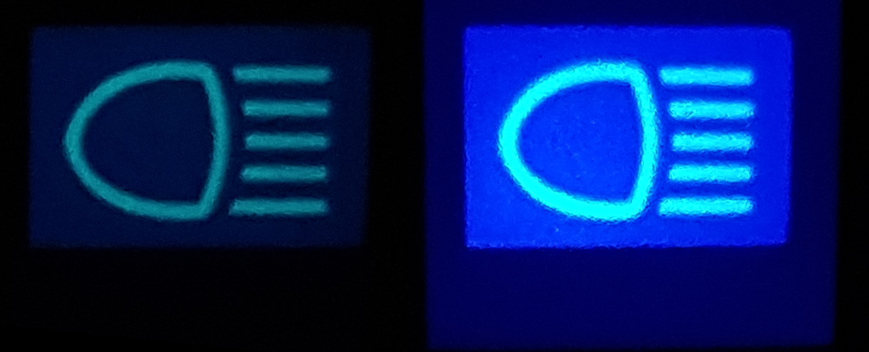
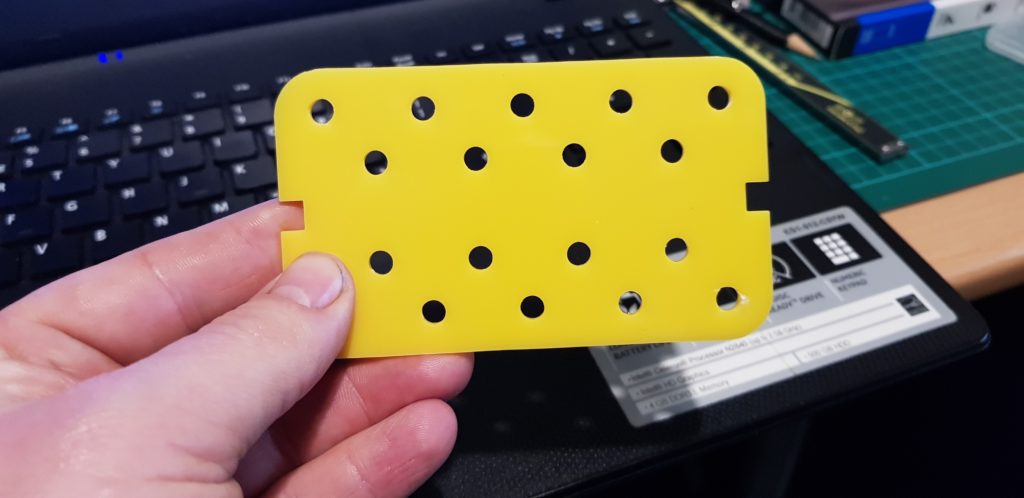
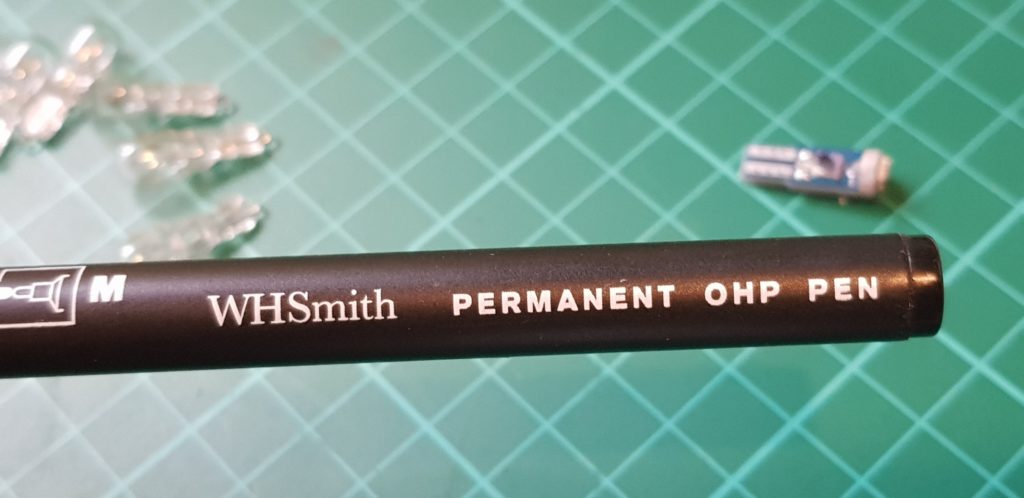
A fix was needed, thankfully I have a pen, a marker pen.

So I test again, LED vs LED with some maker, oh and the Filament bulb just for comparison.

LED, LED with Marker, Filament.

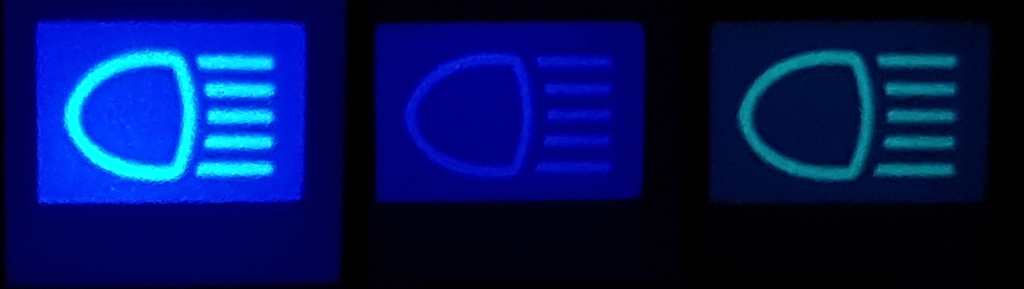
I have never been a fan of really bright main beam indication lights, it kind of ruins the night vision. I will test it to see how it fairs once on the bike. The AMPS/WATTS (75%) saved isn’t suddenly going to transform the bike but I would like to save as many WATTS of power I can so the can be used for other things, like the phone charger and more power to the headlights. Reducing those moments where the bulbs dim as the revs drop especially when you get near a junction. Don’t know what I mean, well lucky you.

EDIT: I still have the B9ES bulbs in the speedo and rev counter to replace and now I can’t remember what colour I ordered. I might do the same experiments with those just as a guide.

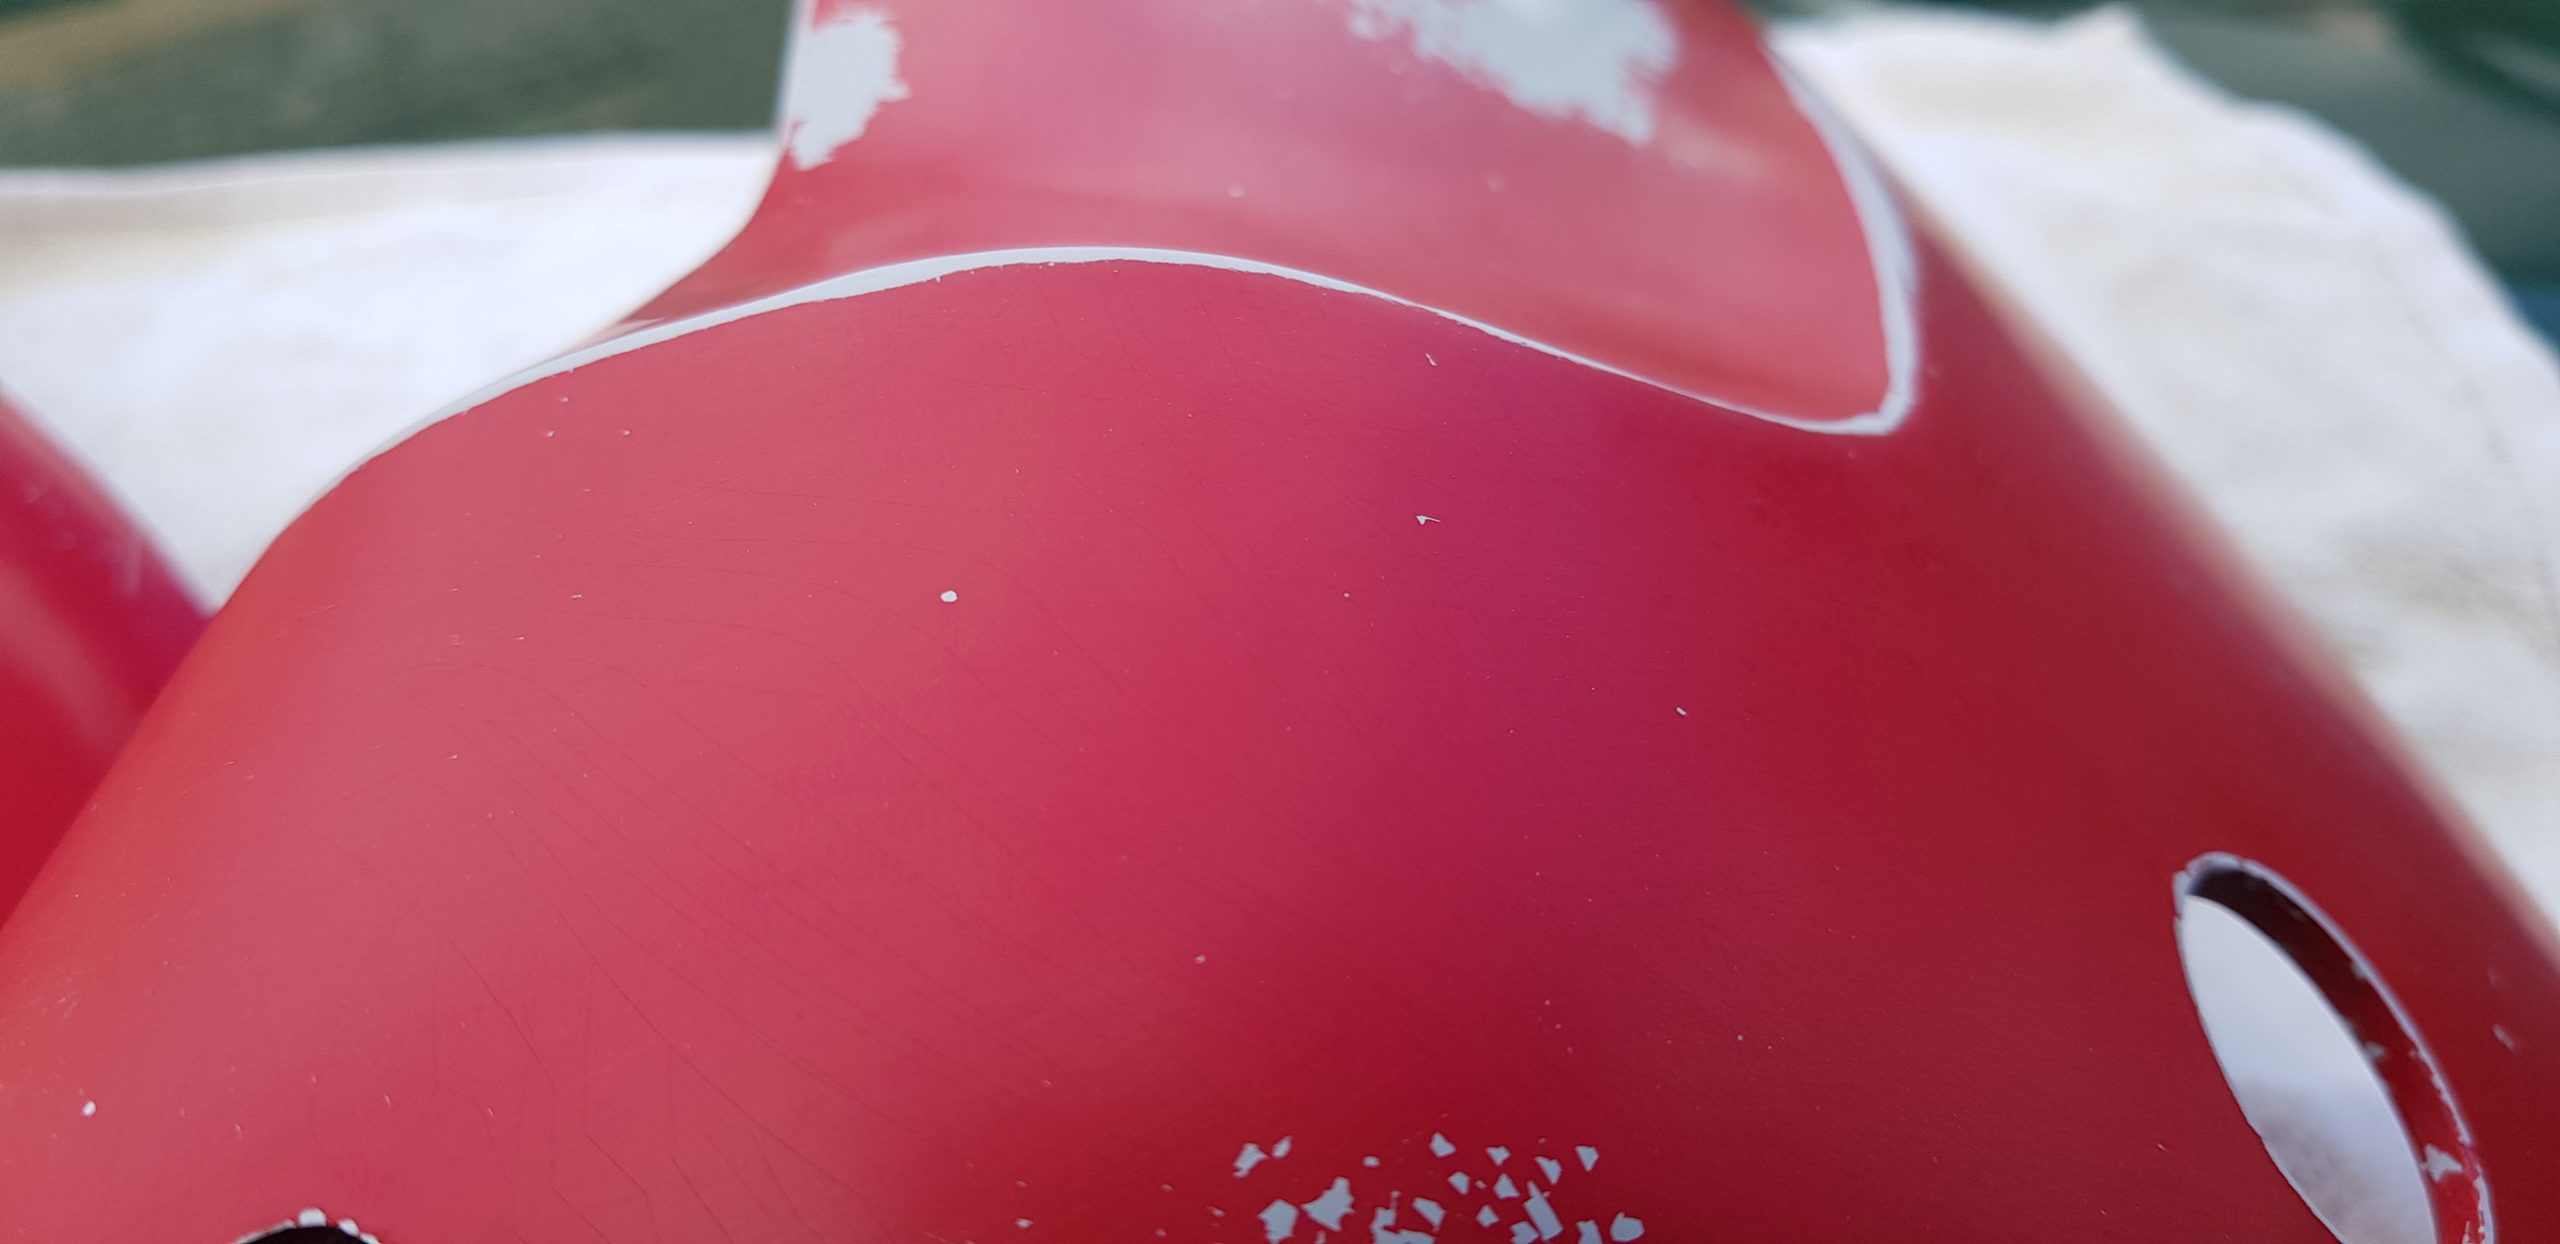
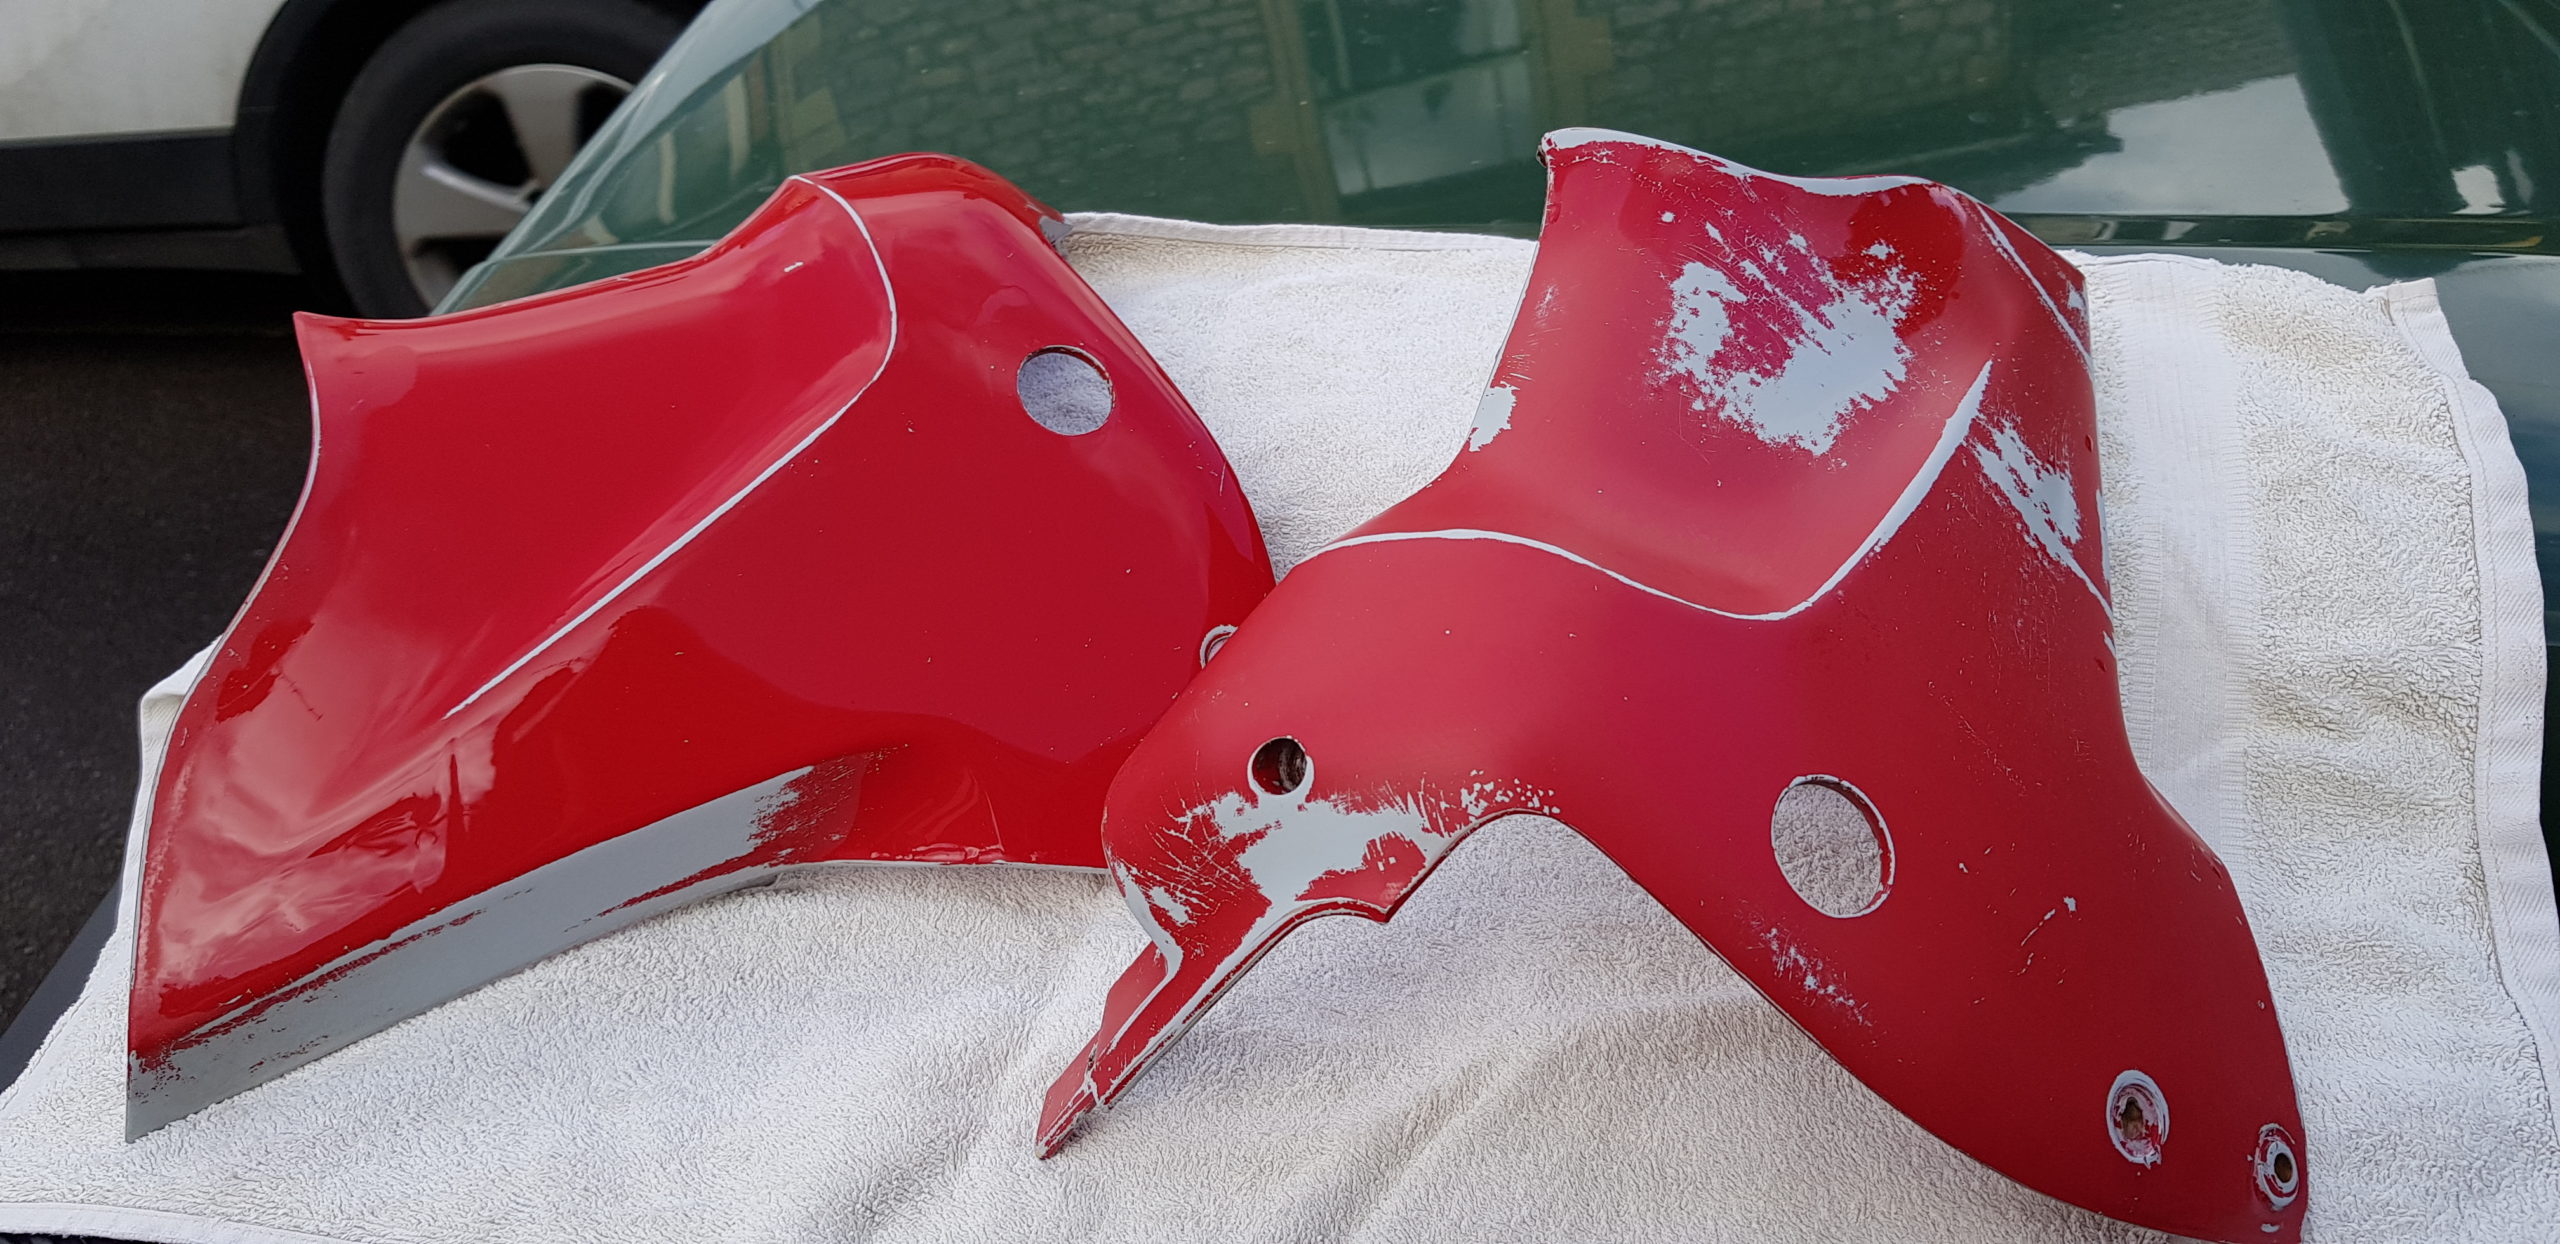
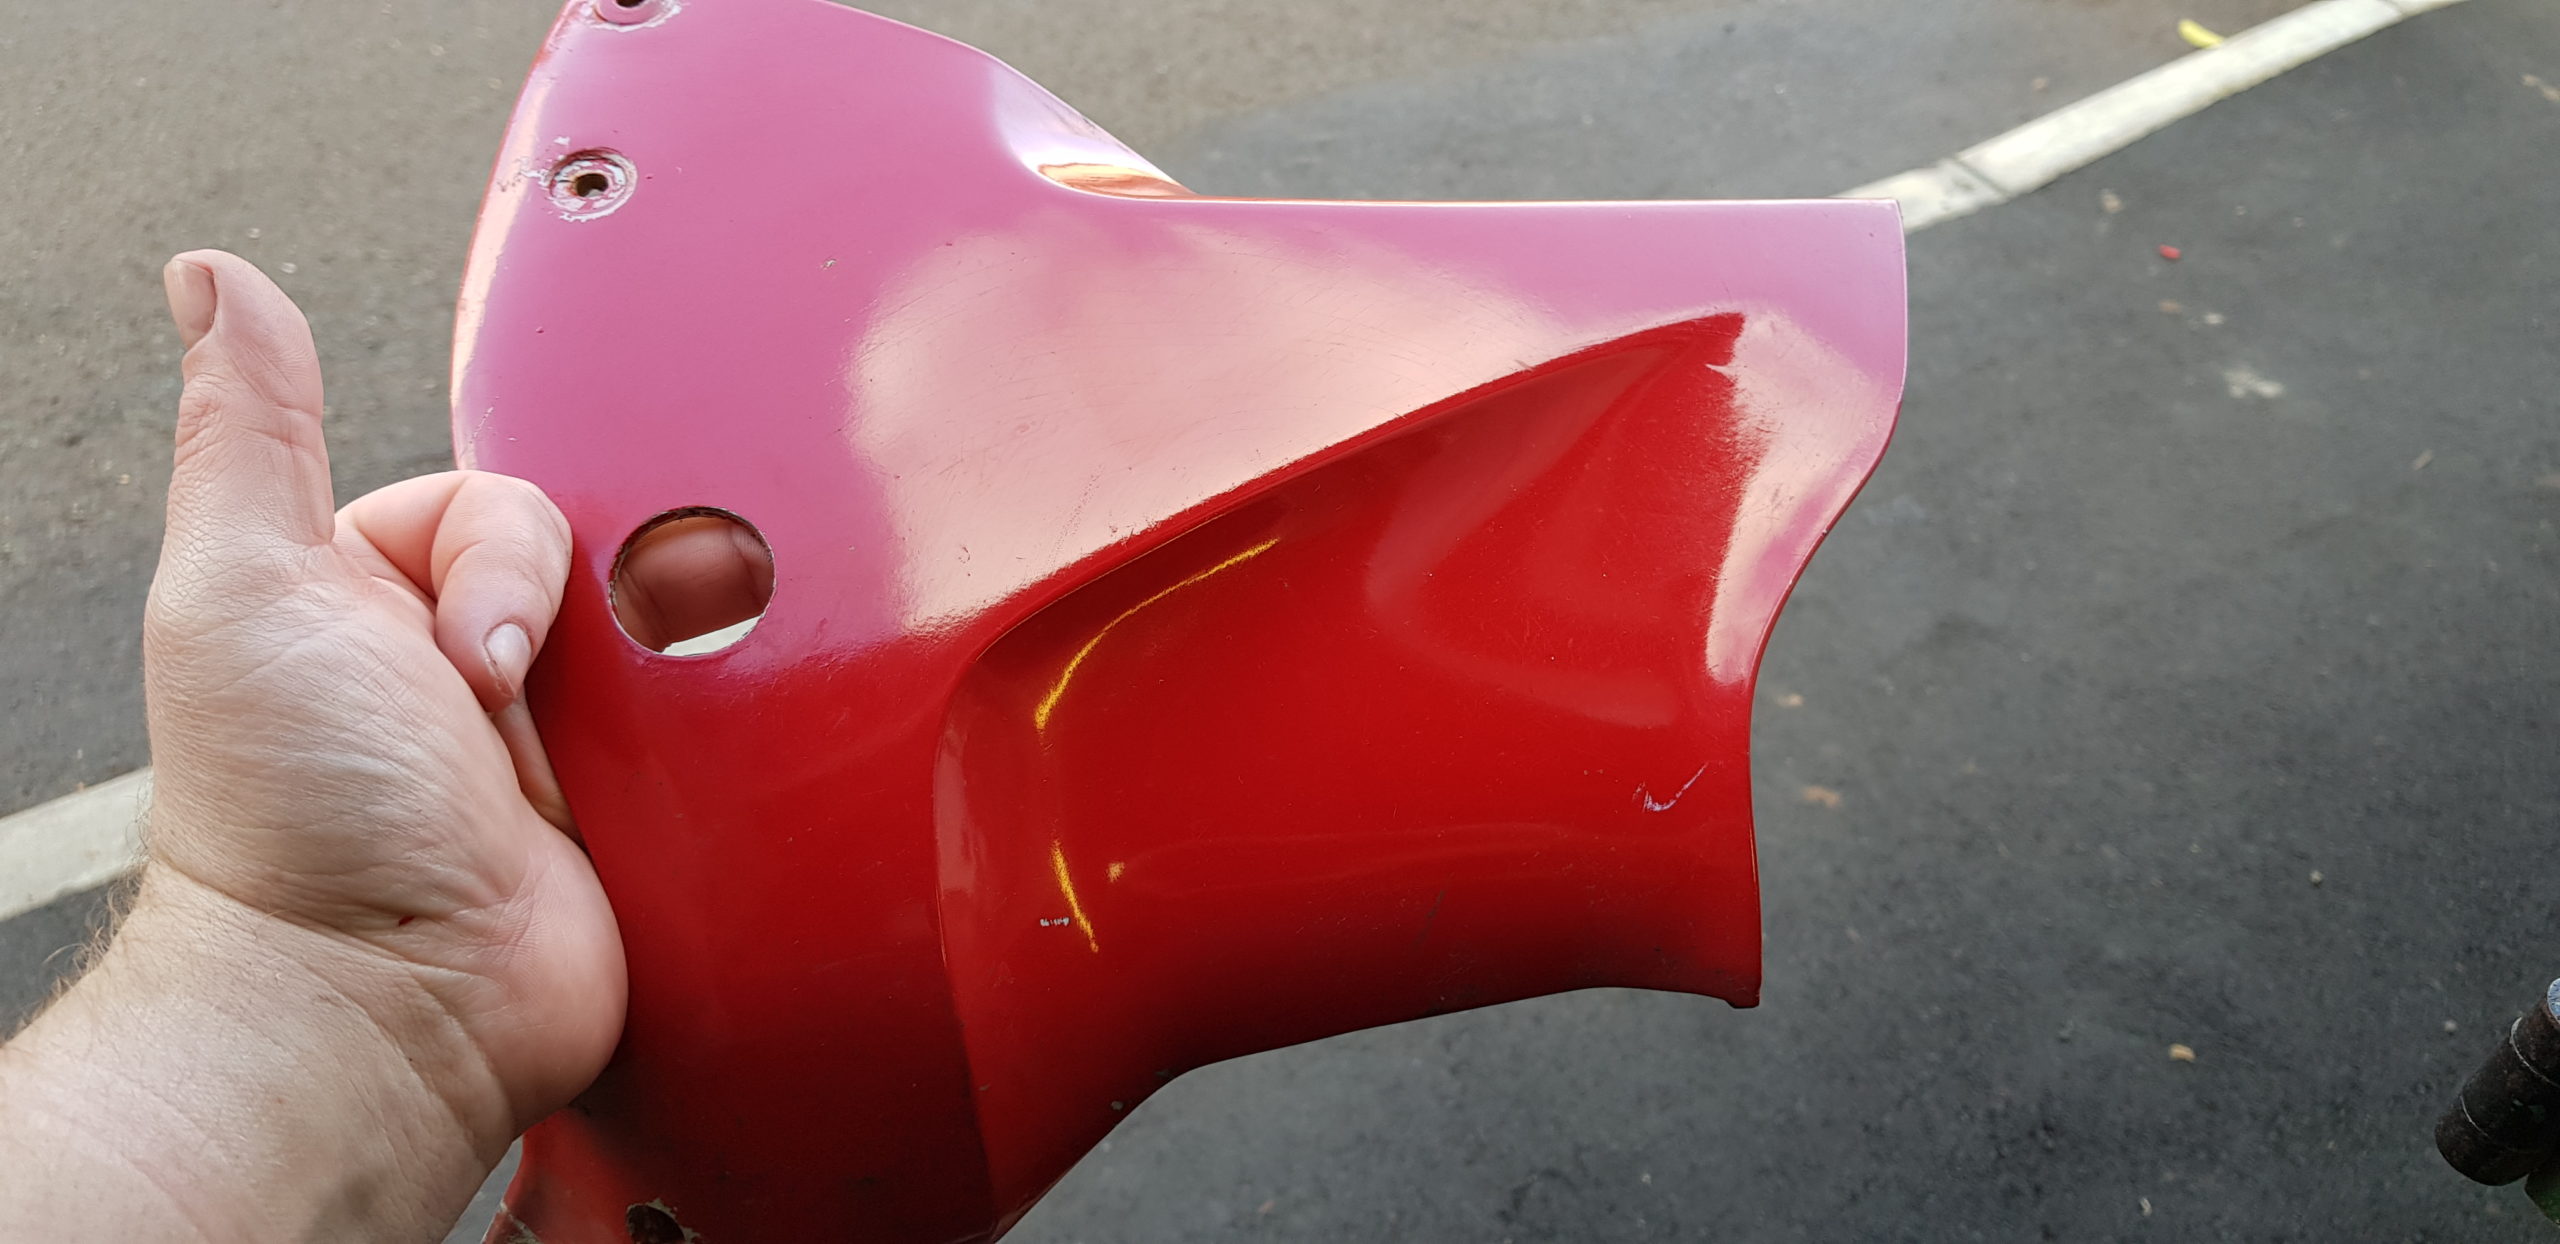
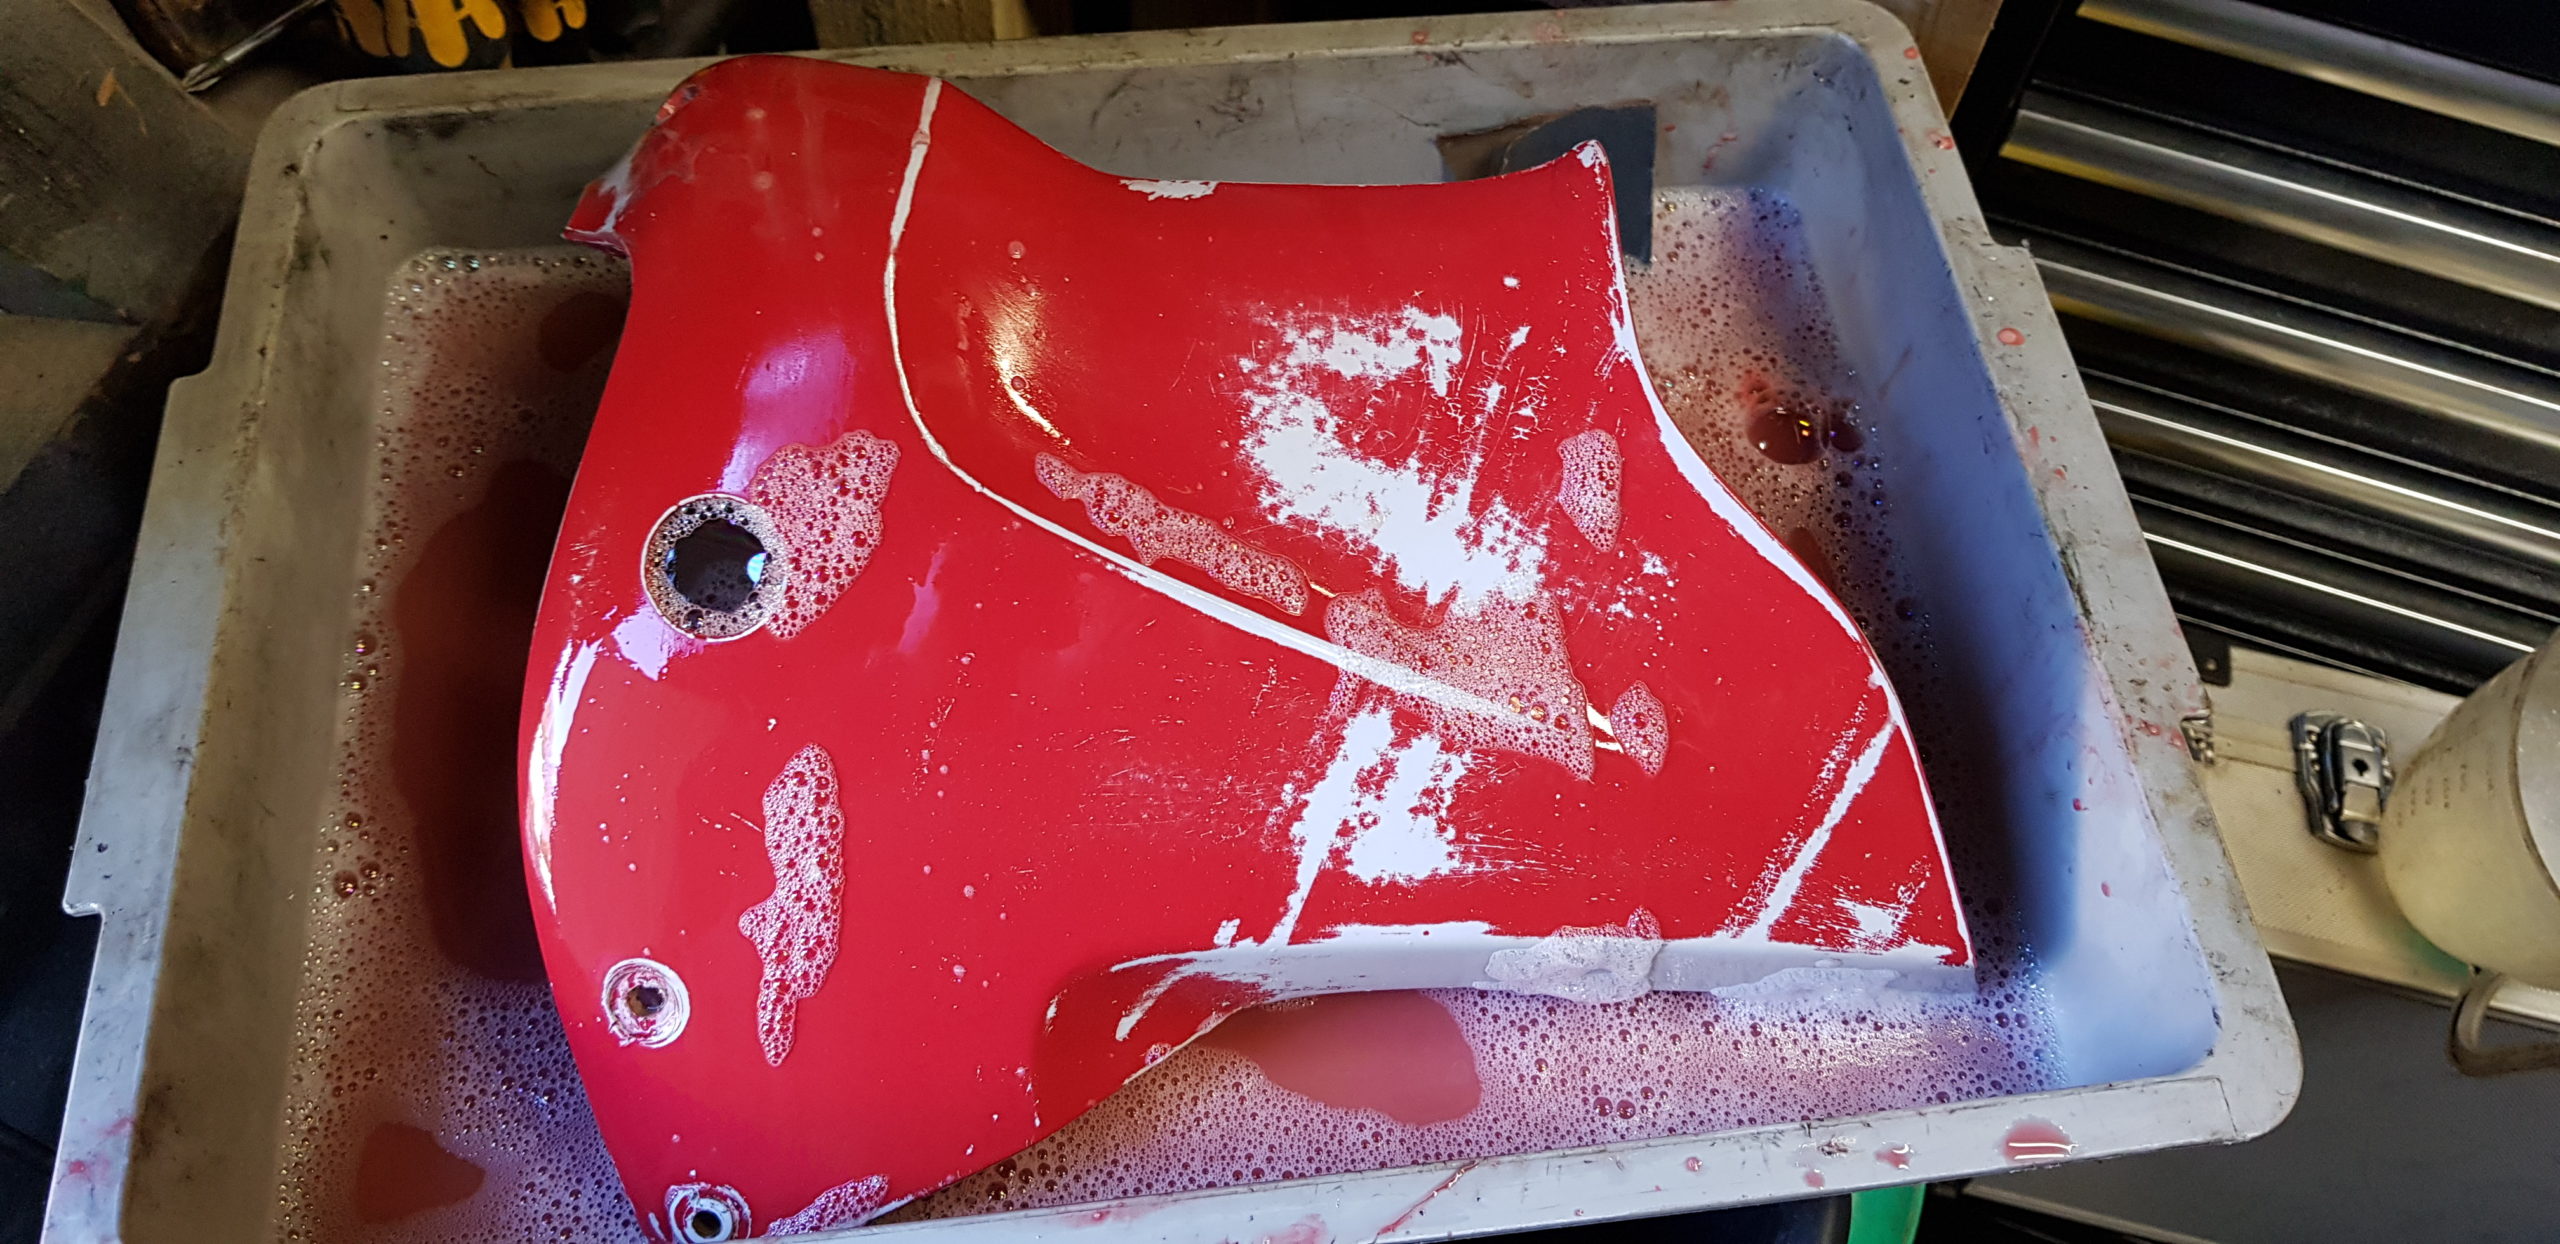
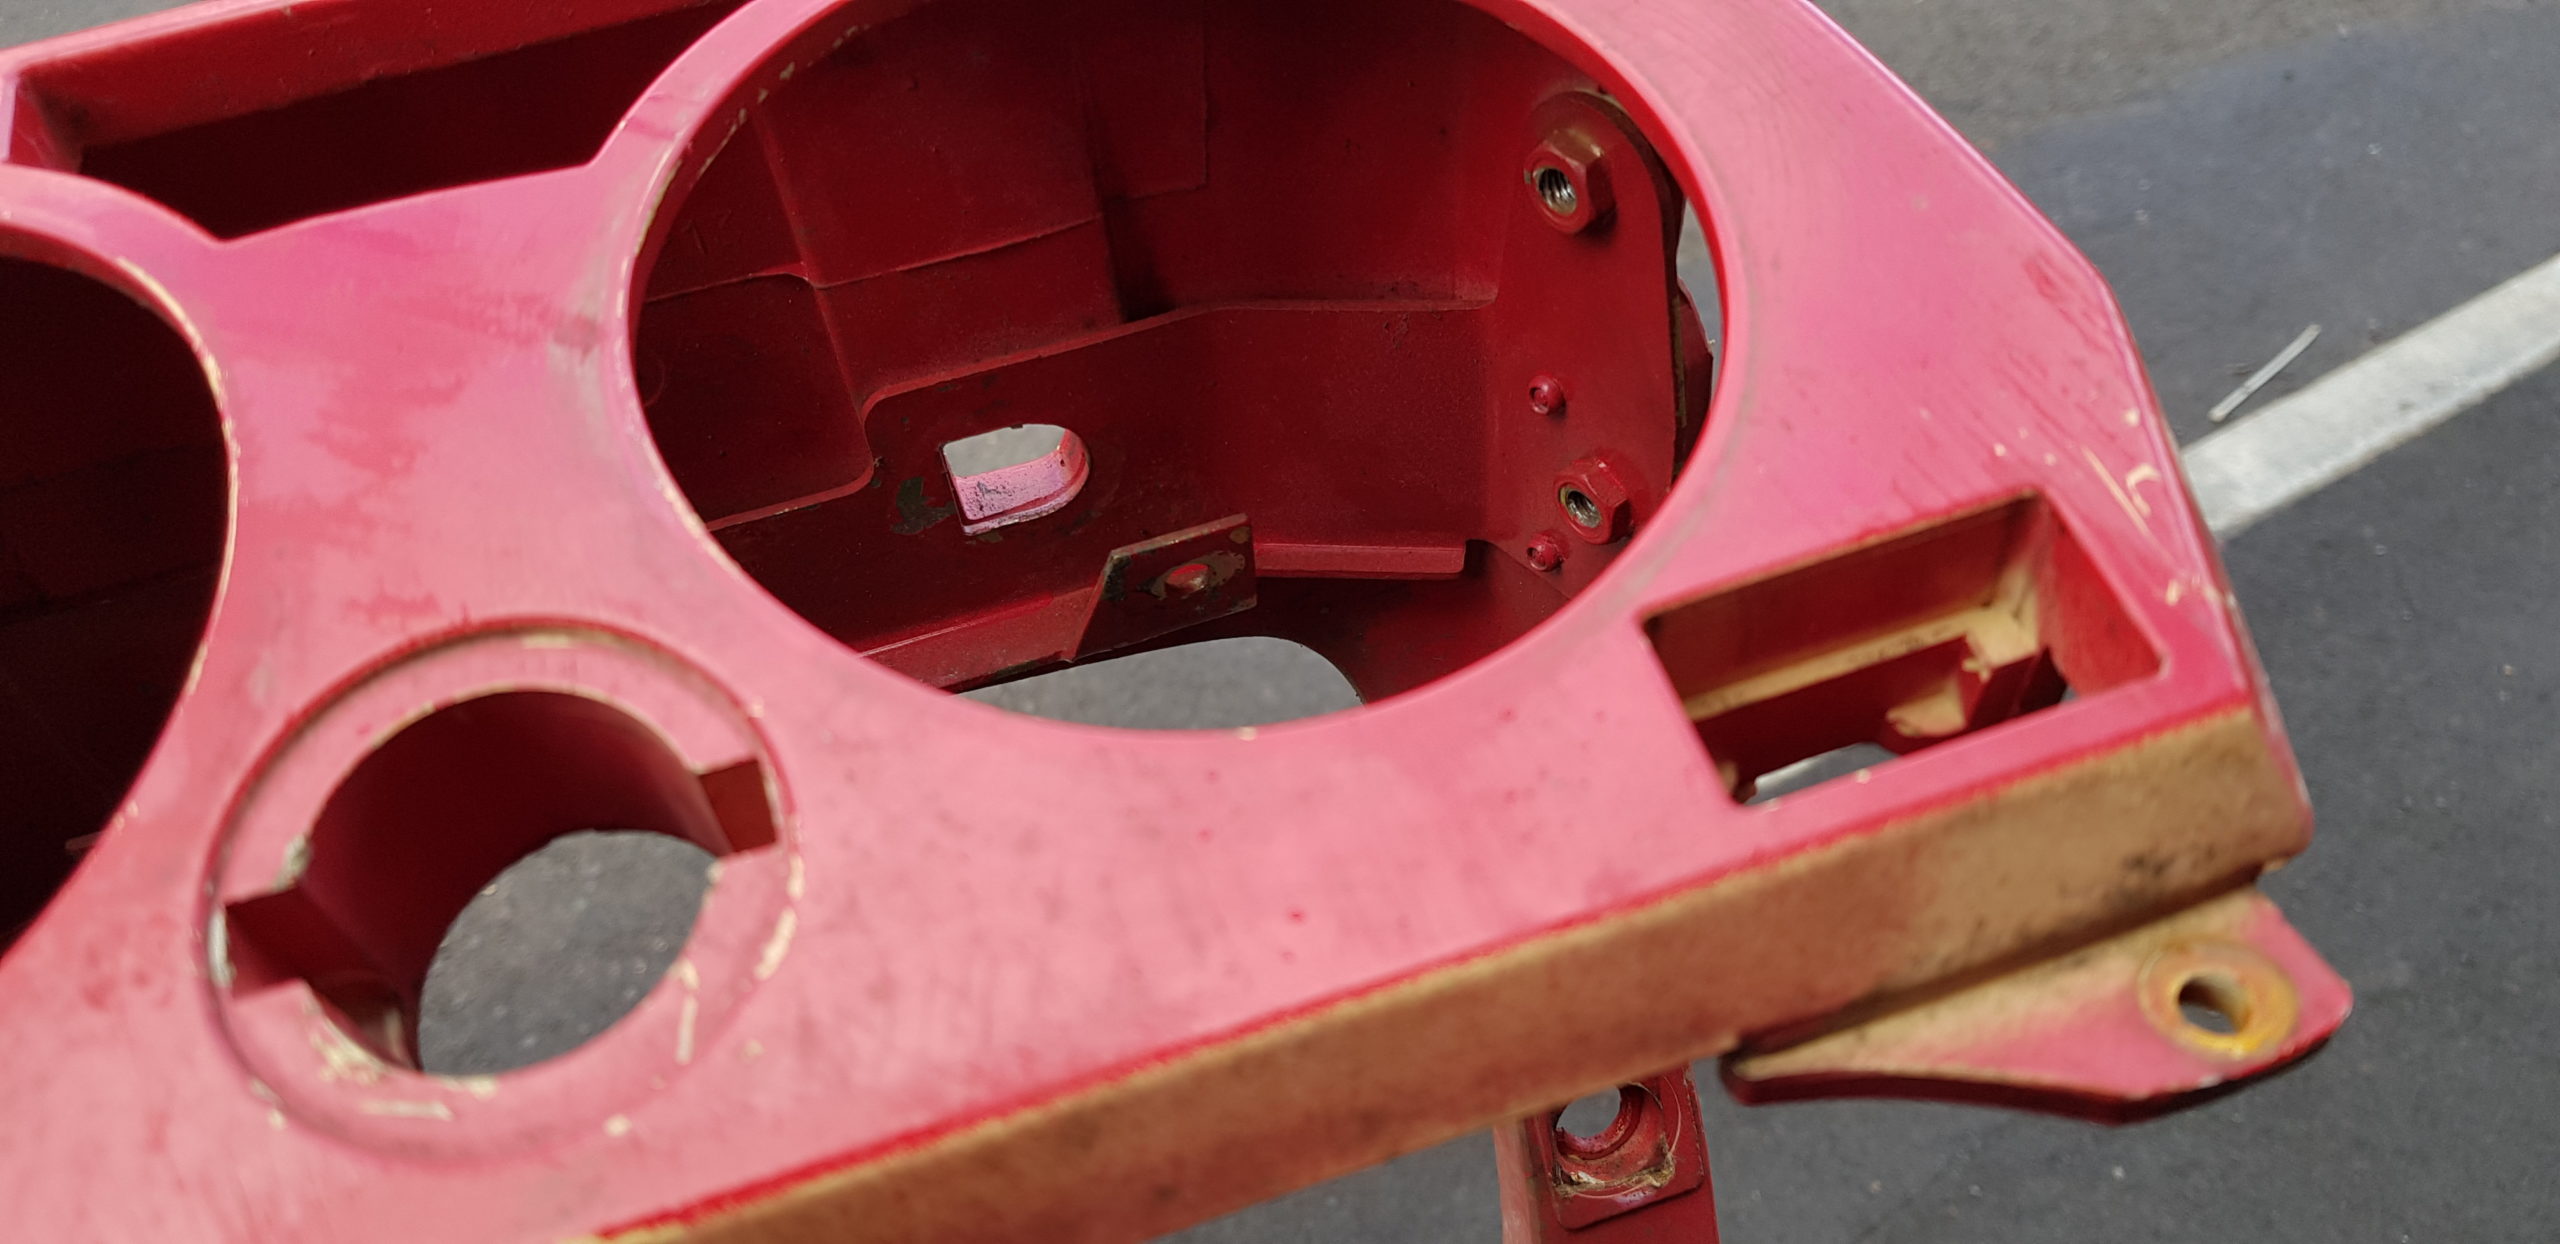
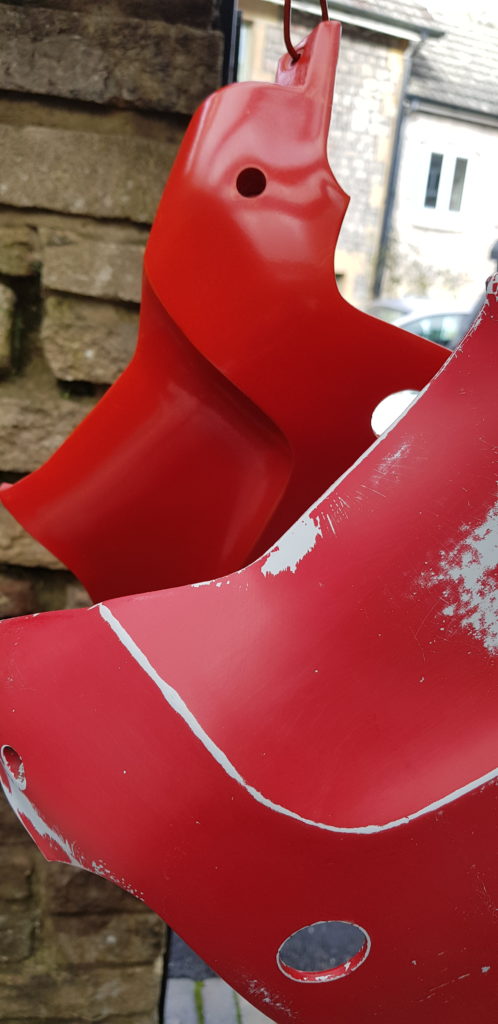
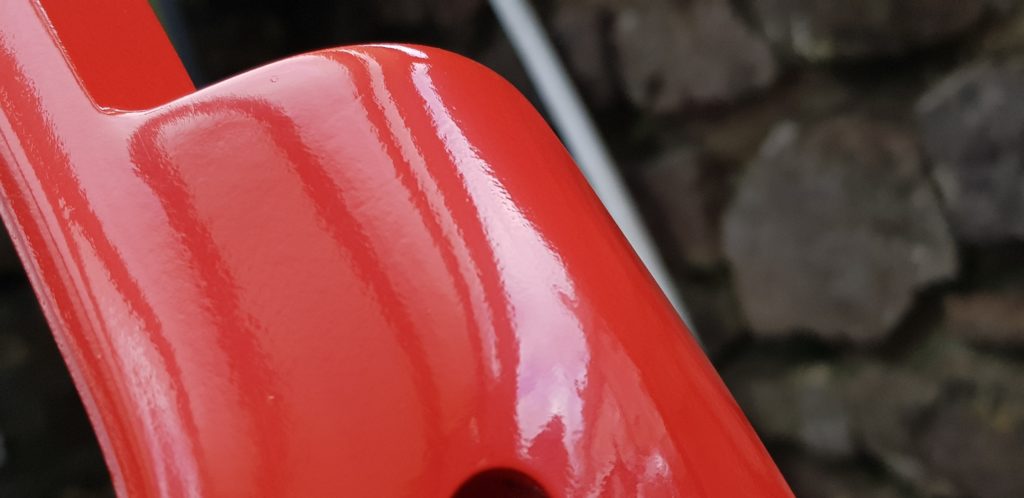
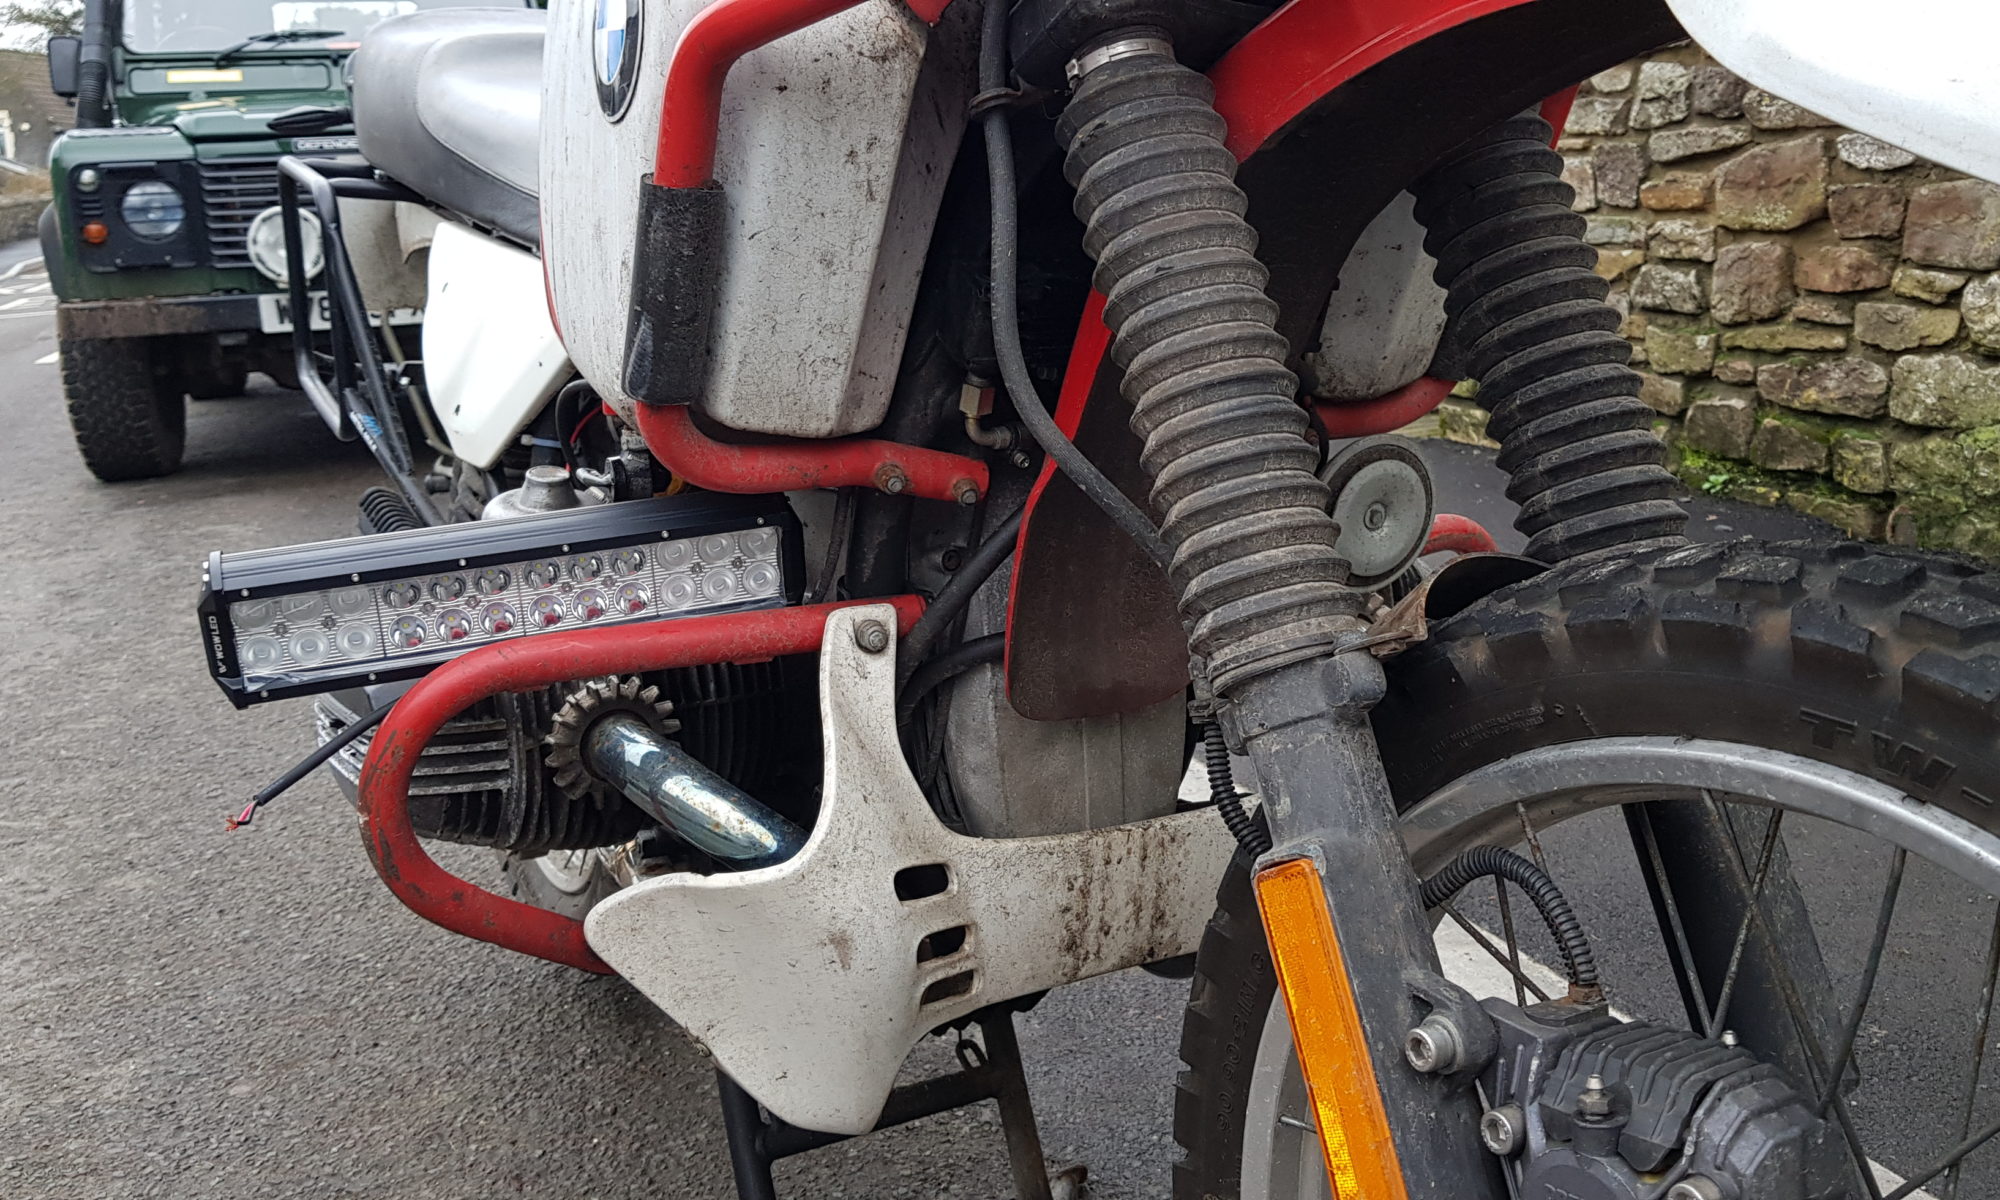
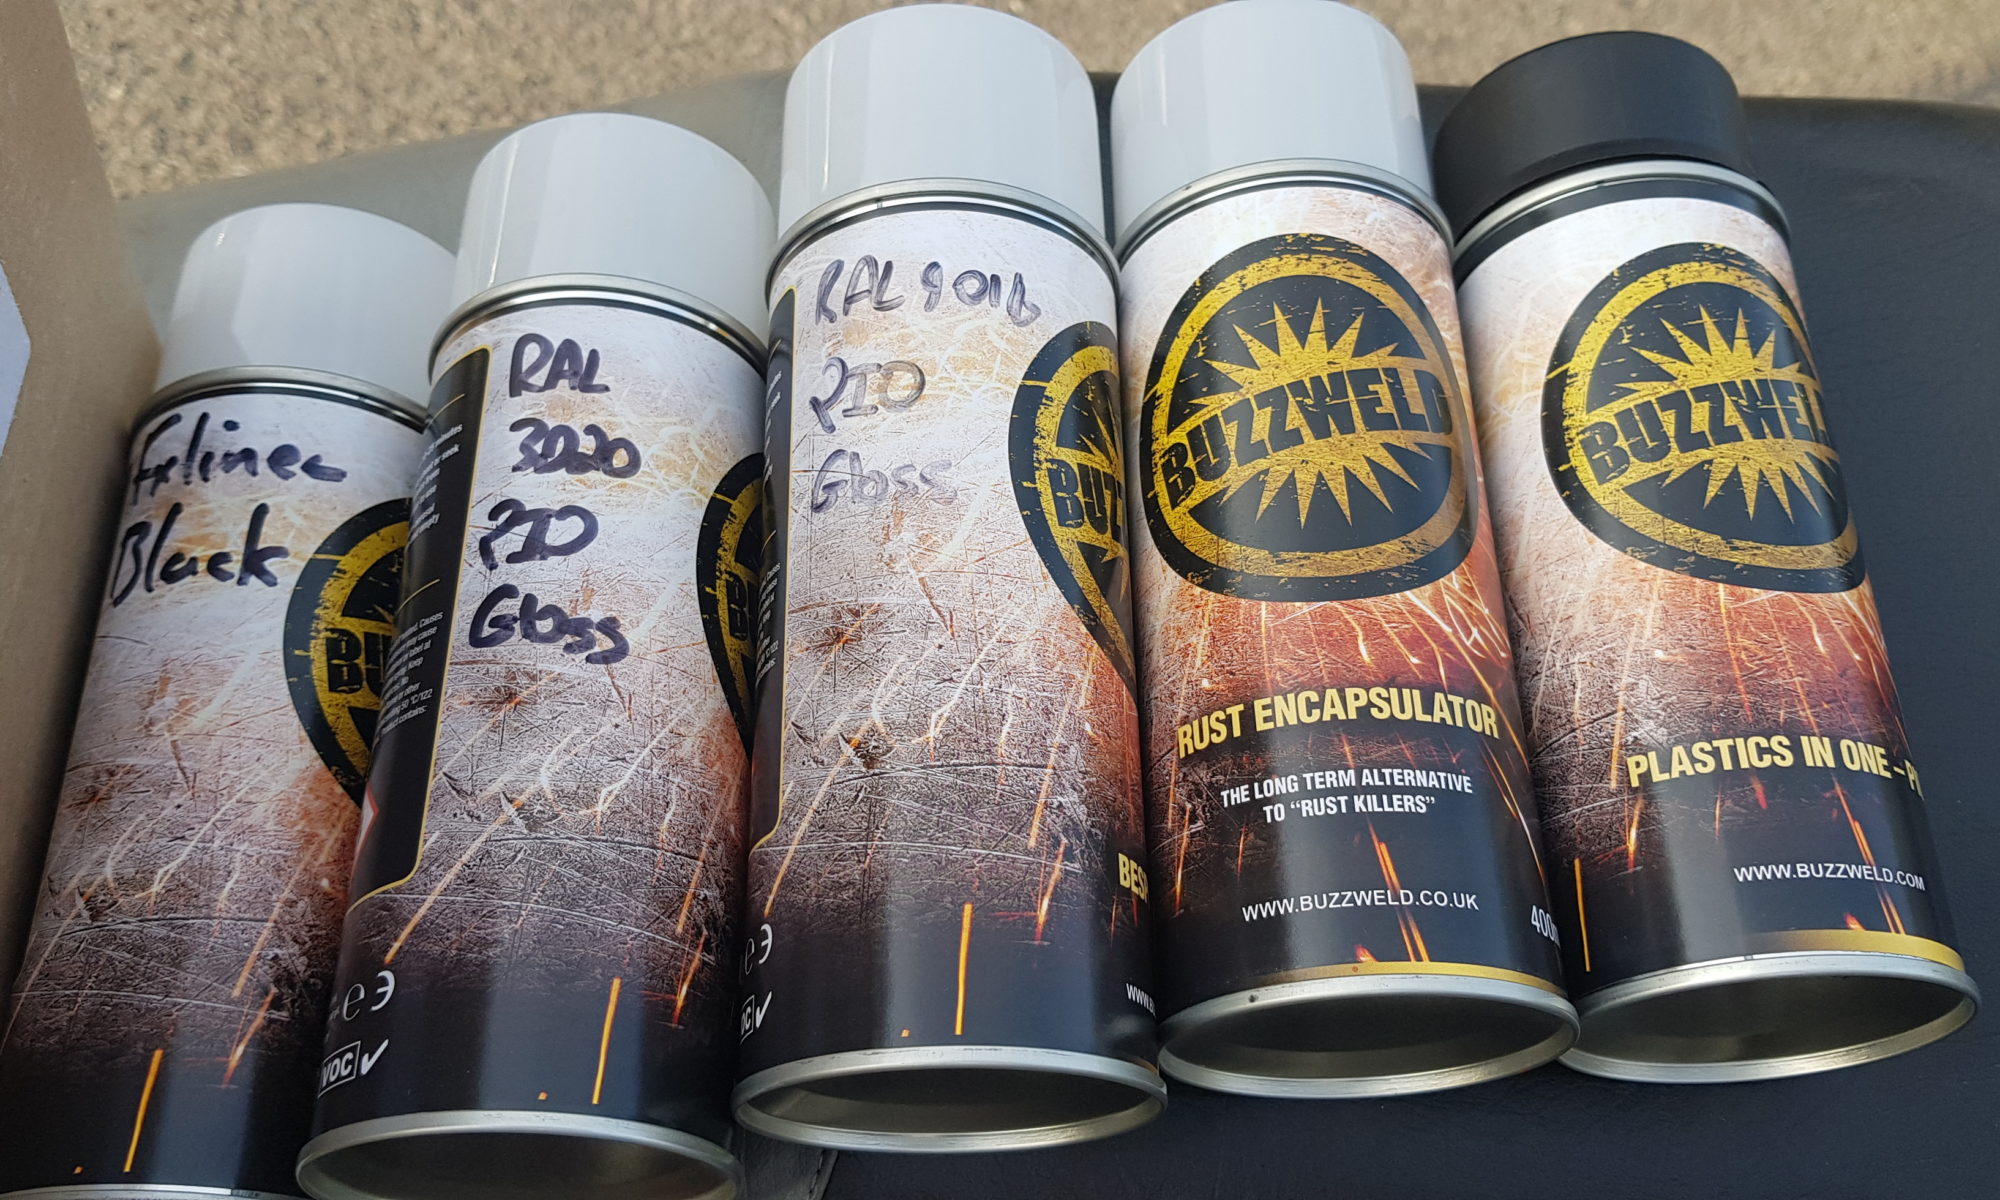
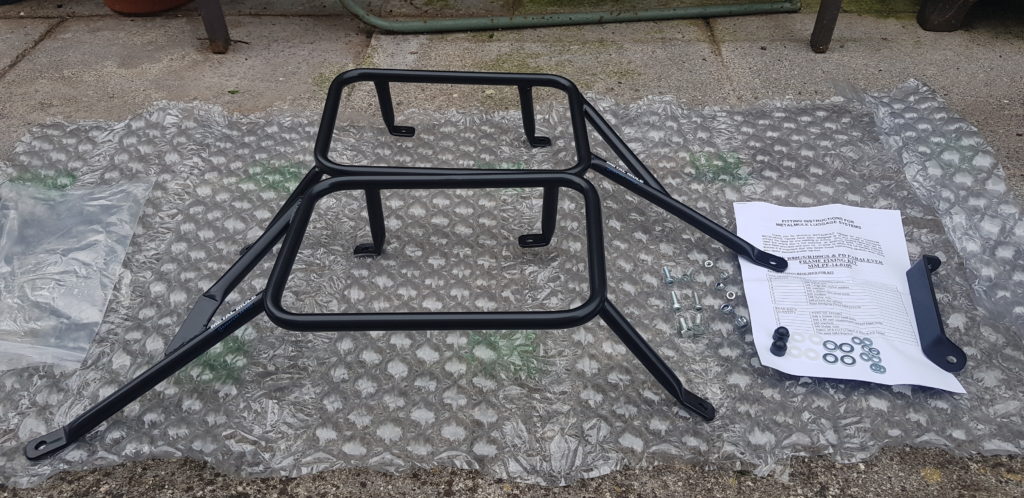
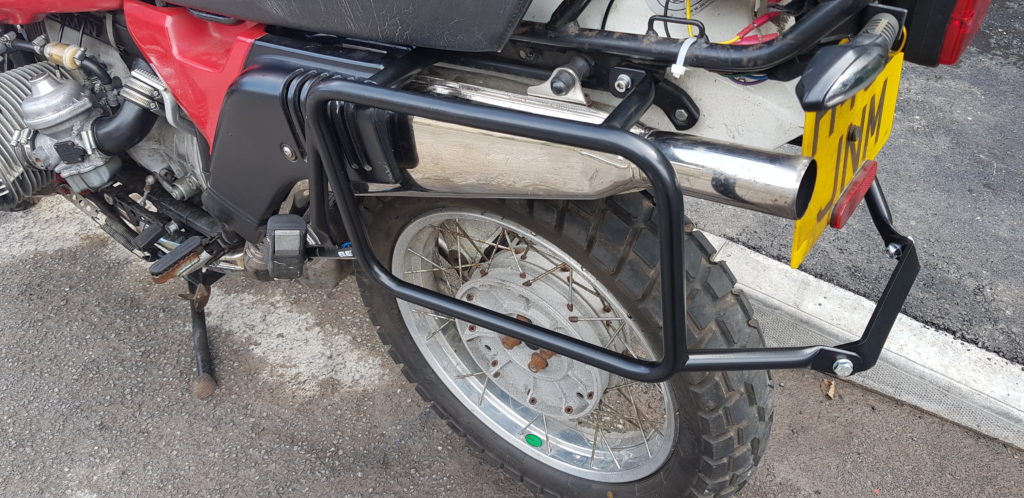
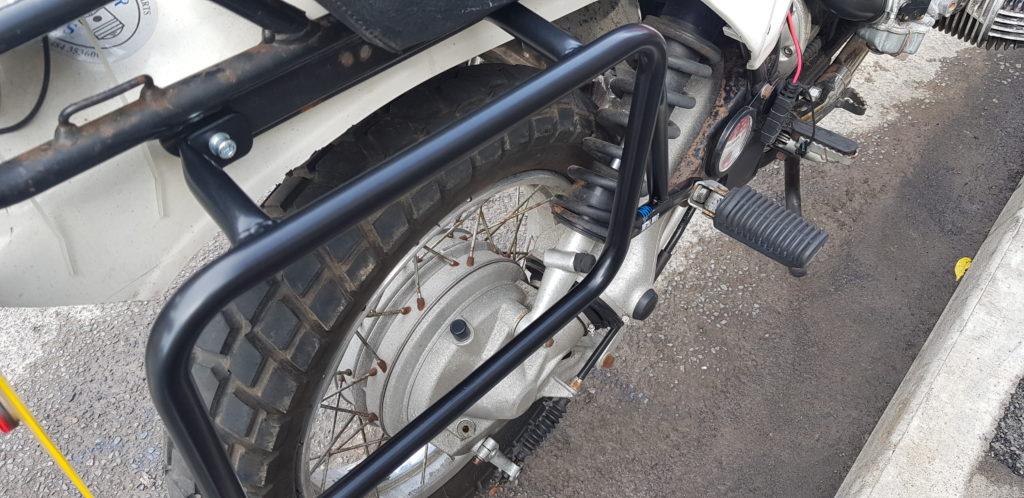
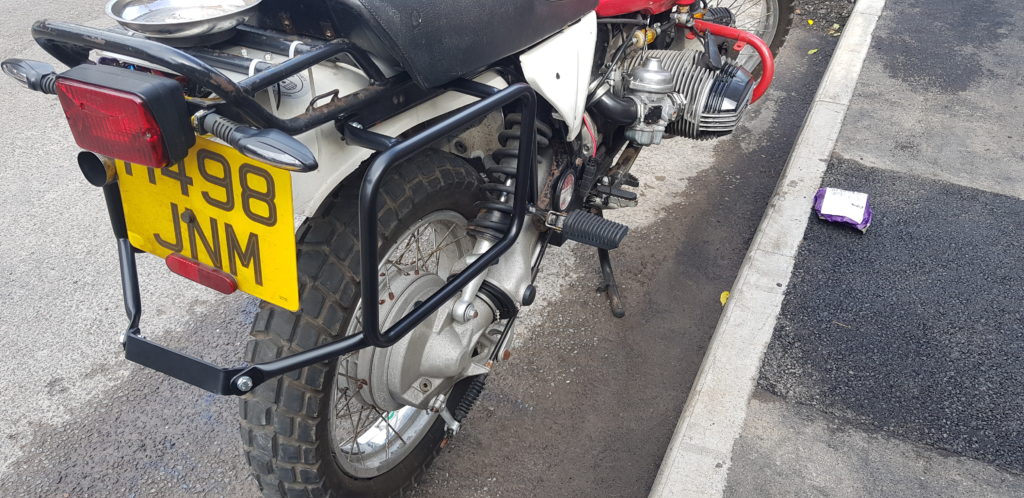
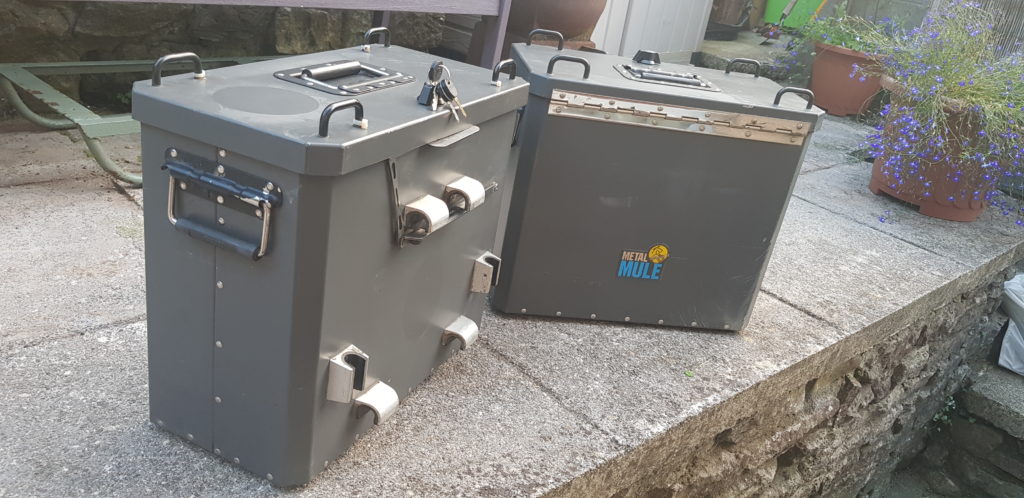
The stuff I painted last week are nice and dry but still hanging up as the weather is crap and only a small sighting of blue sky just before darkness descended has left me little enthusiasm to get the next bit done. Though I have had a shipment of Raptor Paint and Tint of red which I plan to use on the crash bars, more on that later.

The Painting Begins

Since buying the BMW the paint finish has annoyed me. There are patches where the primer can be seen, cracks where the parts have flexed and the paint hasn’t, and a horrible mark left on it when someone removed the cover off the front brake and promptly let brake fluid drip down the paint.

Last weekend I started to take the front end apart and have spent the week teaching myself FreeCAD so that I could design some spacers to fill the hole where the indicators go as I have been using large washers for now.

Outer, Middle and Inner spacers. To be cut from Perspex using my 40W Chinese Laser Cutter
Parts ready for sending to my Laser Cutter.

There is a storm planned for the weekend so today seemed like a good time to get a few bits done outside leaving me tomorrow as to play with the Laser etc.

A bit of wet and dry and some scotch bright to flatted the surfaces down, I have tried to remove some of the marks from the old paint job and the runs.

I am using the rattle spray cans of “Plastics in One” from Buzzweld that I picked up at the end of the summer.

I will inspect the parts once they are dry and I hope that they flatten off as currently its a bit orange peel in texture. I suspect that was because I wasn’t waiting long enough between coats.

I am not an expert painter, but the only way to learn a skill is to try it. I still have side panels, fuel tank and now I have seen the red, a front mudguard as well.

More light Igor

This weekend I visited the local bike show where I bought this BMW but this year it was more of a club event rather than autojumble etc. So disappointed that I didn’t buy another bike (part of me was a reasonable sized 2 stroke) I returned home and thought of what else to do.

I have been thinking about the lighting or lack of lighting on the bike for some time. So recently I purchased a LED Driving/Fog 300mm Light Bar thing for not a lot thinking it would mount to the tabs that the oil cooler mounted on but are free now I have moved the cooler. Well, I test fitted it to the bike.

Test Fitting of a cheap LED driving/fog lamp.

But that looks just silly. Therefore my plans are to mount some round lights up on the crash bars around the headlight. I have some LED work lights that I think should do the job.

The other part of the problem is the headlight I have on the bike. It looks to be out of position by a fair amount, and I have been testing a LED headlight bulb that has the same issue I had with HID, nice and bright but once the light starts to drop off it almost feels like it has gone over a cliff edge. I ordered some Osram Nighbreakers as I have them fitted to the Land Rover and are rather nice so I began the task of getting to the bulb, then I thought I better look at the adjustment screws for the lights and the next thing I know.

Part of the reason behind removing it all was the panels needs to come off before I paint them. The crash bars could also do with a bit of paint. The headlight screws are rotten and don’t adjust. Also in the process or taking bits off I noticed some more bodges by the previous owners and I would like to fix them.

While I also have the clocks off I am going to look into replacing the dash lights with some LED stuff. Not for brightness but because every amp I can save gives me more amps for other things.

Brake Light Mod

While working on the bike I had noted the rear brake light isn’t standard and just an old Britax one from a trailer. Even worse the bulb holder isn’t properly seated so it rests against the lens and is starting to make a mess of it. I looked into buying an original(ish) one but they aren’t cheap for the whole unit and as the rear mudguard has been cut I doubt it would fit anyway. There is LED kit for it but again that would end up with me spending almost £101.40 for a rear brake light.

So I asked if anyone had tried to make one and I got told it isn’t worth the effort etc. That lead me to think OK, I will just buy a tidy looking cheap one from China to replace the one I have and for £3.50, I did. It arrived and was much smaller than I would have preferred.

Sod it I thought, let us have a go at making one. I dug out some LEDs I had bought for a project and set to the task of making an insert to hold the LEDs. A bit of measurement here and some Illustrator there I had a fairly good idea of what I was after, I did design it to have even more LEDs but I only had 20 so had to reduce it down a bit.

I am able to cheat a little as I have a Chinese 40W laser cutter and some Perspex that can be used. It took 3 runs to cut all the way through but it is a nice neat cut and does the job.

The LEDs aren’t standard shape therefore I used a hotglue gun to stick them in place. Its not neat but this is more a proof of concept.

Now time to tidy the wiring up.

Then add pick which ones I wanted to use for standard tail and brake.

I soldered the wires and then used some Wago connectors to go on the end. They have a nice latching system and it means easy removal if it doesn’t work. They are also rated enough for the task I want.

A quick fit to the bike, and time to test.

Then fitted its even better.

FYI the LEDs I had have all got little resistors so they run fine on 12V. I may have another go with a neater solution later. I could possibly use some of the LED strips you can buy.

Phone Holder – Quad Lock

With the new bike, I am searching for a navigation solution. The KLR has the Garmin Zumo550 but there is an issue with the cradle and I can’t seem to find any other ones about. I might be tempted by newer satellite navigation devices but its a big spend for a something I just for use on the bike. I use Waze on the phone when driving the car and at work so I started to look at a way to hold the phone on the bike.

With the Black Friday deals the other day I spotted a deal on the Quad Lock phone holders. The system they use has been recommended to me via several friends so I took the opportunity to order one. It isn’t cheap but it is rare to find something to mount a mobile phone to the handlebars of a motorcycle securely.

They make holders for quite a few different phones but my Note8 is no longer on the list so I opted for the universal fit, but somehow I managed to click something wrong so I ended up with the case for a Note9 which fits close enough to be happy.

Fitting is rather straight forward and I do like that they have some thread lock type stuff on the bolts to reduce the risk of the bolts coming out/loose. This kit comes with all the bits and tools for fitting it, even different rubber things for going over the bars. The hardest bit was finding a location where the phone wouldn’t fowl the screen etc. I haven’t been for a ride yet to test it as it was dark by the time I was done.

I have somewhere in a storage box a 12V to USB (fast charge) that I will fit on the bike at a later date so that I can charge it as I ride along.

A few miles are done, the list is growing.

Now that the bike has an MOT etc I have been making use of the bike and visiting friends etc. During this time I have started making notes on things I would like to do to the bike.

The one thing that needs doing sooner rather than later is the front fork seals. The bike handles fine but it is weeping a little from the left hand fork leg even though the picture makes it look otherwise. This I plan to do a full clean and change of fluids. Partly thinking of fitting some new springs but as the bike hasn’t been used much it might be an unnecessary expense.

Other things such as the paint have taken a step forward. I met up with Craig of Buzzweld in Bristol and took his advice and purchased some very nice red and white colours that are RAL colours (RAL3020 Traffic Red & RAL9016 Traffic White) and not your mixed paints like I would get if I asked for a BMW Alpine Red or White, so I should get a stronger colour from them. But I will be using a paint they supply called PIO aka Plastics in One with only a bit of scotch bright it should go straight onto the platics and its flexible. Got a tin of back to do the seat as that could do with a bit fo a tidy up. But that might be a Xmas break type of project.

After visiting Buzzweld I then went over to Castle Coomb circuit and spoke to the people at Merlin Motorsport where I picked up some oil pipe and the connectors I need to change the pipes so I can hopefully get around the issues I have with the relocation kit I bought.

Other little things like a Surefoot side stand as I can’t get the stand down while sat on the bike, I am a little short and the bike is rather tall.

Plus looking for a new rear brake light as mine is melting, but to fit a pattern replacement could cost 50 to 100 pounds so thinking of alternatives.

But I did fit a part to the bike and that was the cruise control adjuster. Not 100% sure how to use it but might be handy if I ever make the mistake of going onto a motorway.

Luggage

For a time I have been thinking of fitting some sort of luggage system to the BMW. It allows it to be a more practical bike. I am a fan of being able to ditch the bike kit and wander about the shop/town without getting a sweat on because of all the bike clobber.

Having asked a few places about pannier kits for the R100GS PD BMW I found not many sources of new kit. There were offerings from Motorworks but my eye was caught by a firm I saw many years ago at the Dirt Bike Show and that was Metal Mule. They thankfully still sell the pannier kits for both the BMW and the KLR. But I initially was a bit worried that the panniers and rails etc would come close to 2k for what I wanted. But after a bit of searching on the bay, I managed to find a pair of second-hand boxes for less than the cost of one box. Next thing I know, I have some panniers and a new set of rails on the way to me.

Fitting is fairly easy task but I did end up taking more of the bike apart than I wanted. Because the get the RH footpeg off I needed to remove the rear wheel. To get at the LH rear most bolt I needed to remove the mudguard.

In the process, I also managed to find another piece of the puzzle that is the history of this bike. Looks like it’s been down on the LH side hard enough to bend the rear subframe, bend the handlebars (in two directions) and snap part of the original pannier frame. I know this as the pannier frame rails matched up fine on the RH side but LH was a 2cm out of alignment. I managed to get it to work bu using a longer bolt and pulling it together that way.

Bent Bars & More Light

Bars,

As I have been riding the bike I have taken notice of a few bent parts, especially on the left-hand side. One part is, of course, the handlebars.

Thankfully as a seasoned crasher of off-road bikes I can manage to ride most bikes with bent bars, I just take a few miles to adjust then I am fine. It was strange when I got off the BMW and took the KLR for a spin.

The search began for new bars and a visit to see JimJams down at Gossmotox in Yeovil had me testing handlebars. The closest being some Renthal Classic Desert Racer bars with the part number 666, but they would hit the tank etc. I went back onto the internet and asked about and Colt Self was nice enough to remind me about handlebar risers. So a bit of late-night searching got me a set of cheap 1″ & 2″ (25 & 50mm) to try and because I had already done a trip to Yeovil I ordered a set of bars, sorry Jeffers, I will bring cake down to apologise.

Eventually all the bits arrived and I started to get all the bits off. Which is a faff as there is just one screw that clamps the switch gear on then you need to slide it off. I swore a lot and even had to resort to a strop and a cup of tea. Because the bars I had tried only a week or two beforehand made it a very easy task to swap parts over, this time it was a complete nightmare which ended up with a bit of switch gear snapping.

I assembled the bars and went to start the bike only to find the indicator switch failed and now the light switch wasn’t working properly and was jammed. Some more tea later I decided to take apart the switches and thankfully I managed to rescue the very small ball bearing that had found itself where it shouldn’t be. Not many pictures sadly as I was now on a bit of a mission and I was worried I would lose bits if I stopped to take pictures.

Lights,

After a late-night ride home from a friends place, I noticed the BMW lights are very similar to my similarly aged KLR. Totally and utterly useless, I felt the Matchless with it 6V electrics built by the king of darkness (Lucas) had better vision. This I think is partly due to a bent headlight unit. An attempt to make some adjustments didn’t go to plan as the threads are rusted into the plastic. But as a stop-gap, for now, I decided to swap out the sidelight bulb for a LED unit, brighter but also less draw so won’t kill the bike if I am trying to get it started. But that had to be modified as for some reason the contacts on the bulb wouldn’t always make a good contact in the holder, so I laced a few strands of copper wire though the circuit board holes and that solved the problem.

The headlight has a H4 LED conversion bulb that I bought ages ago for not a lot of money and I have yet to test it at night but it may fair better than the old H4 that was in there. Otherwise it will end up with a Osram Night Breaker which is my choice of bulb these days.

Let the Shake Down Test Commence

With the bike now running on both cylinders, I have now begun taking it out for short rides to get it warmed up and to make sure it won’t leave me at the side of the road miles from home.

First thoughts are the handlebars are rather bent so I took a trip to see Jeff & JimJams at Gossmotox.com to see if some Renthals would fit but after a bit of time faffing around we had tried a few different ones with the Classic Desert Racer 666 bars being the closest but sadly not enough height to avoid knocking into the screen and tank. So a bit more thinking is needed on that front.

But I did do a thing I have done to all my bikes, took it on a local byway to get its tyres dirty. This is a local byway near home which is an old Roman Road but its quite tame, enough that I have ridden a CBR600 along the byway with no issues.

Now I have managed to put 100 miles on it so when I got home I took the opportunity to do another oil change, the first being to remove the 8ltrs of petrol/oil mix. No filter change but just another swap with clean oil. But while I was there I decided to change the oils in the Bevel drive and Gearbox, thankfully it is the same oil I use on the Land Rover Defender. But it is horrible oil that has the ability to get on to everything and its stinks.

Now to take it for a longer ride as the weather is nice.

Handguards and Mirrors

One of the items I bought early in this rebuild was a set of genuine BMW Handguards ( 71 60 2 315 860) as I could still buy new ones. These are manufactured by Acrebis and are the same shape as the old original ones so have the same 90s styling. Handguards aren’t required for riding but they do keep the cold air off your hands as well as rain. They also help protect your levers when riding on byways (yes I do plan to Greenlane it) from branches hitting them and causing it to either active the clutch, brake or worse both.

The kit is rather easy to fit and rather basic. But it does require the mirrors to be installed as they partly hold it in. So I bought some copies from M&P as I didn’t have any.

BMW Handguards parts diagram.

The Right Hand Side is held in place by the mirror mount and part 12 covers the brake reservoir and is held in place with two self-tapping screws. The Left Hand Side is held in by the mirror mount plus a bolt with a spacer which prevents it from interfering with the clutch cable.