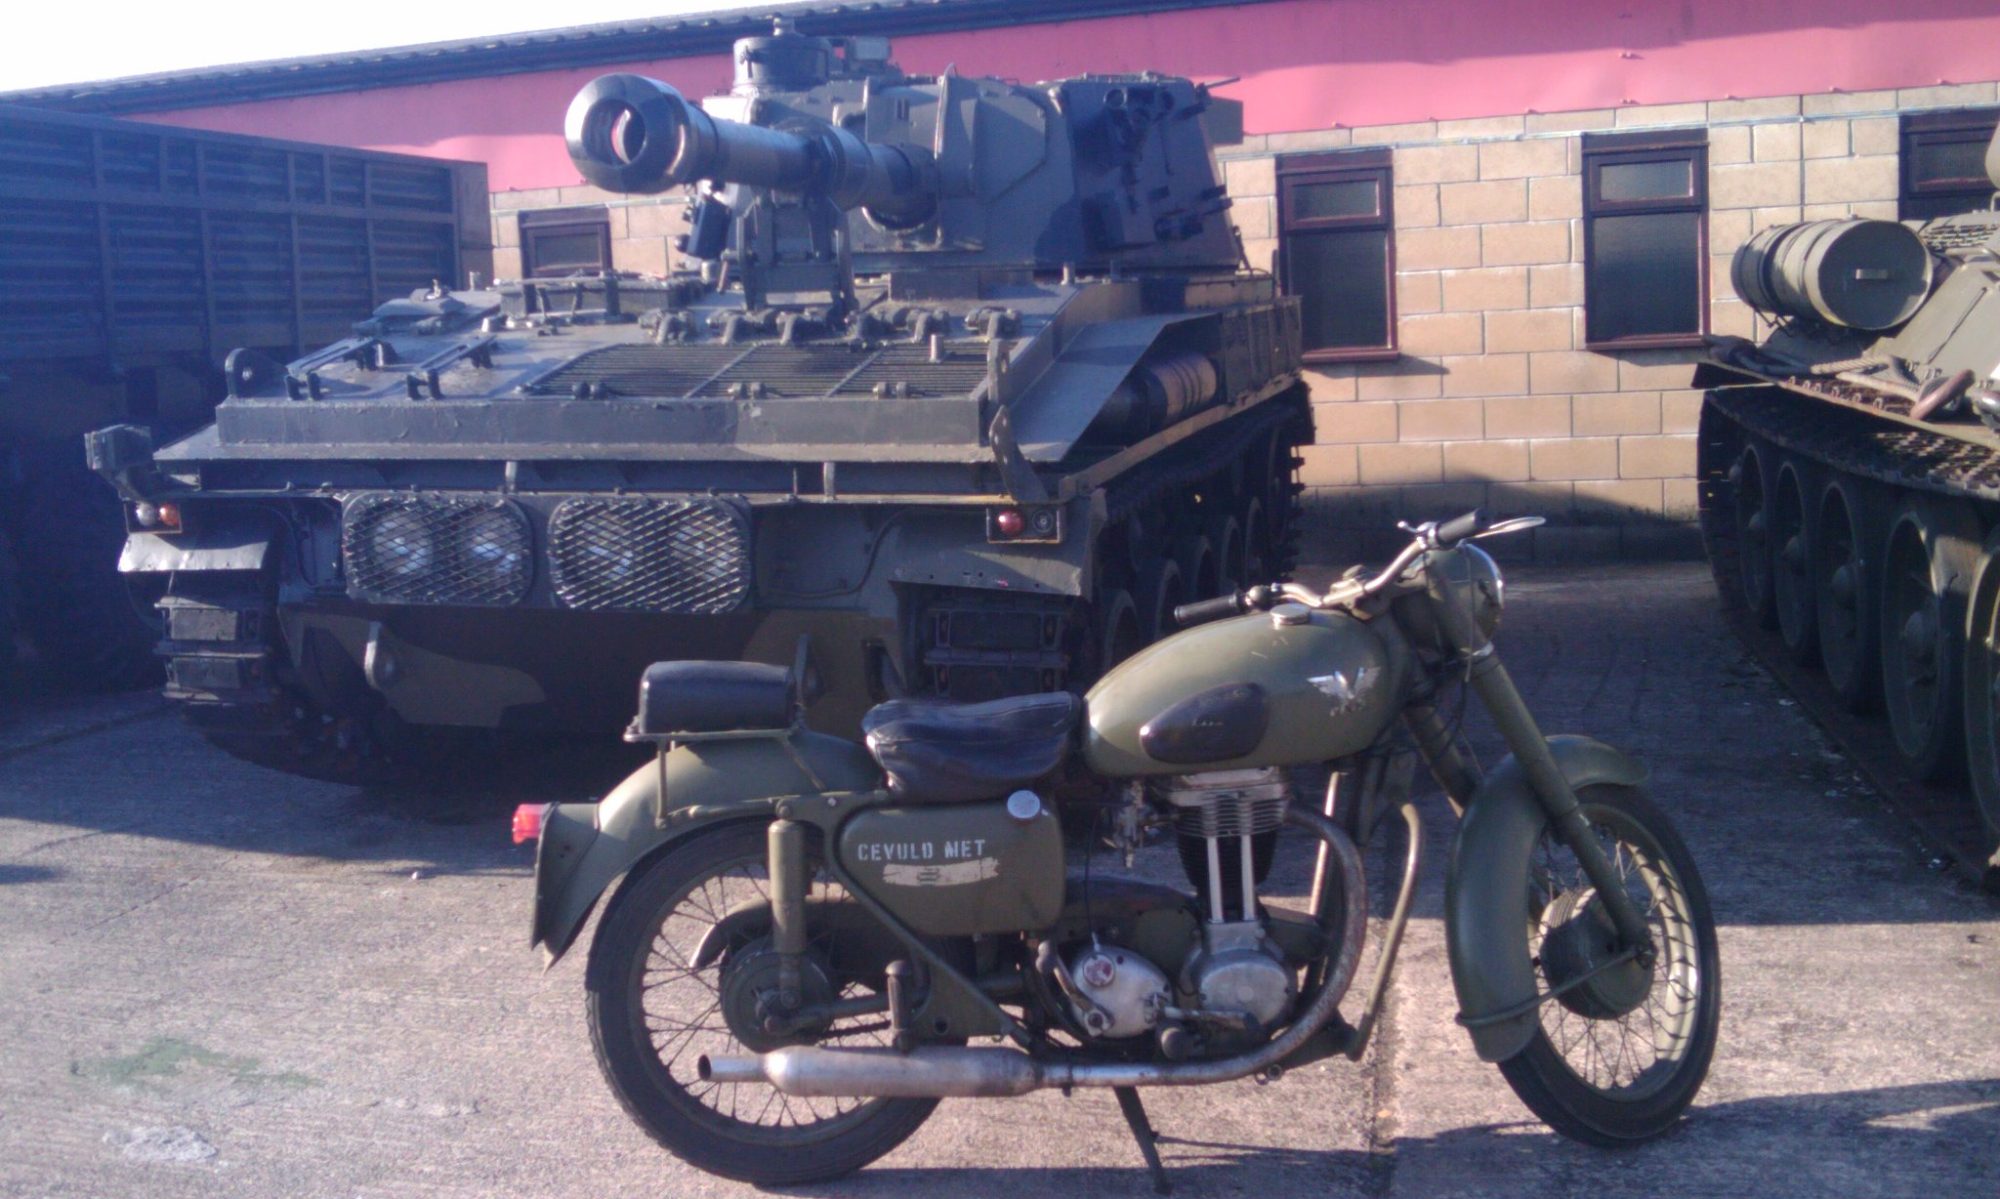
Now it is time to fit the loom, not too hard on these old bikes but you still need to start off with the right mindset so make a brew and drink it as you work out what to do.
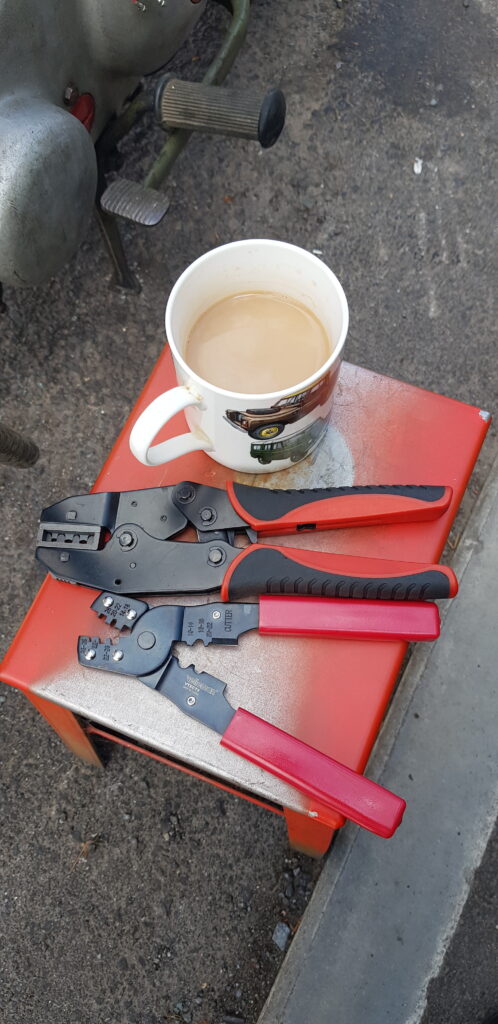
Basically, that is my crimp tools for un-insulated wire and I tend to use both of them as work on this bike. Some are better for the bullets others are better for others. Though I ought to look at what AMP/DMC/Tyco make for this as I am sure it is expensive but they would do the job right.
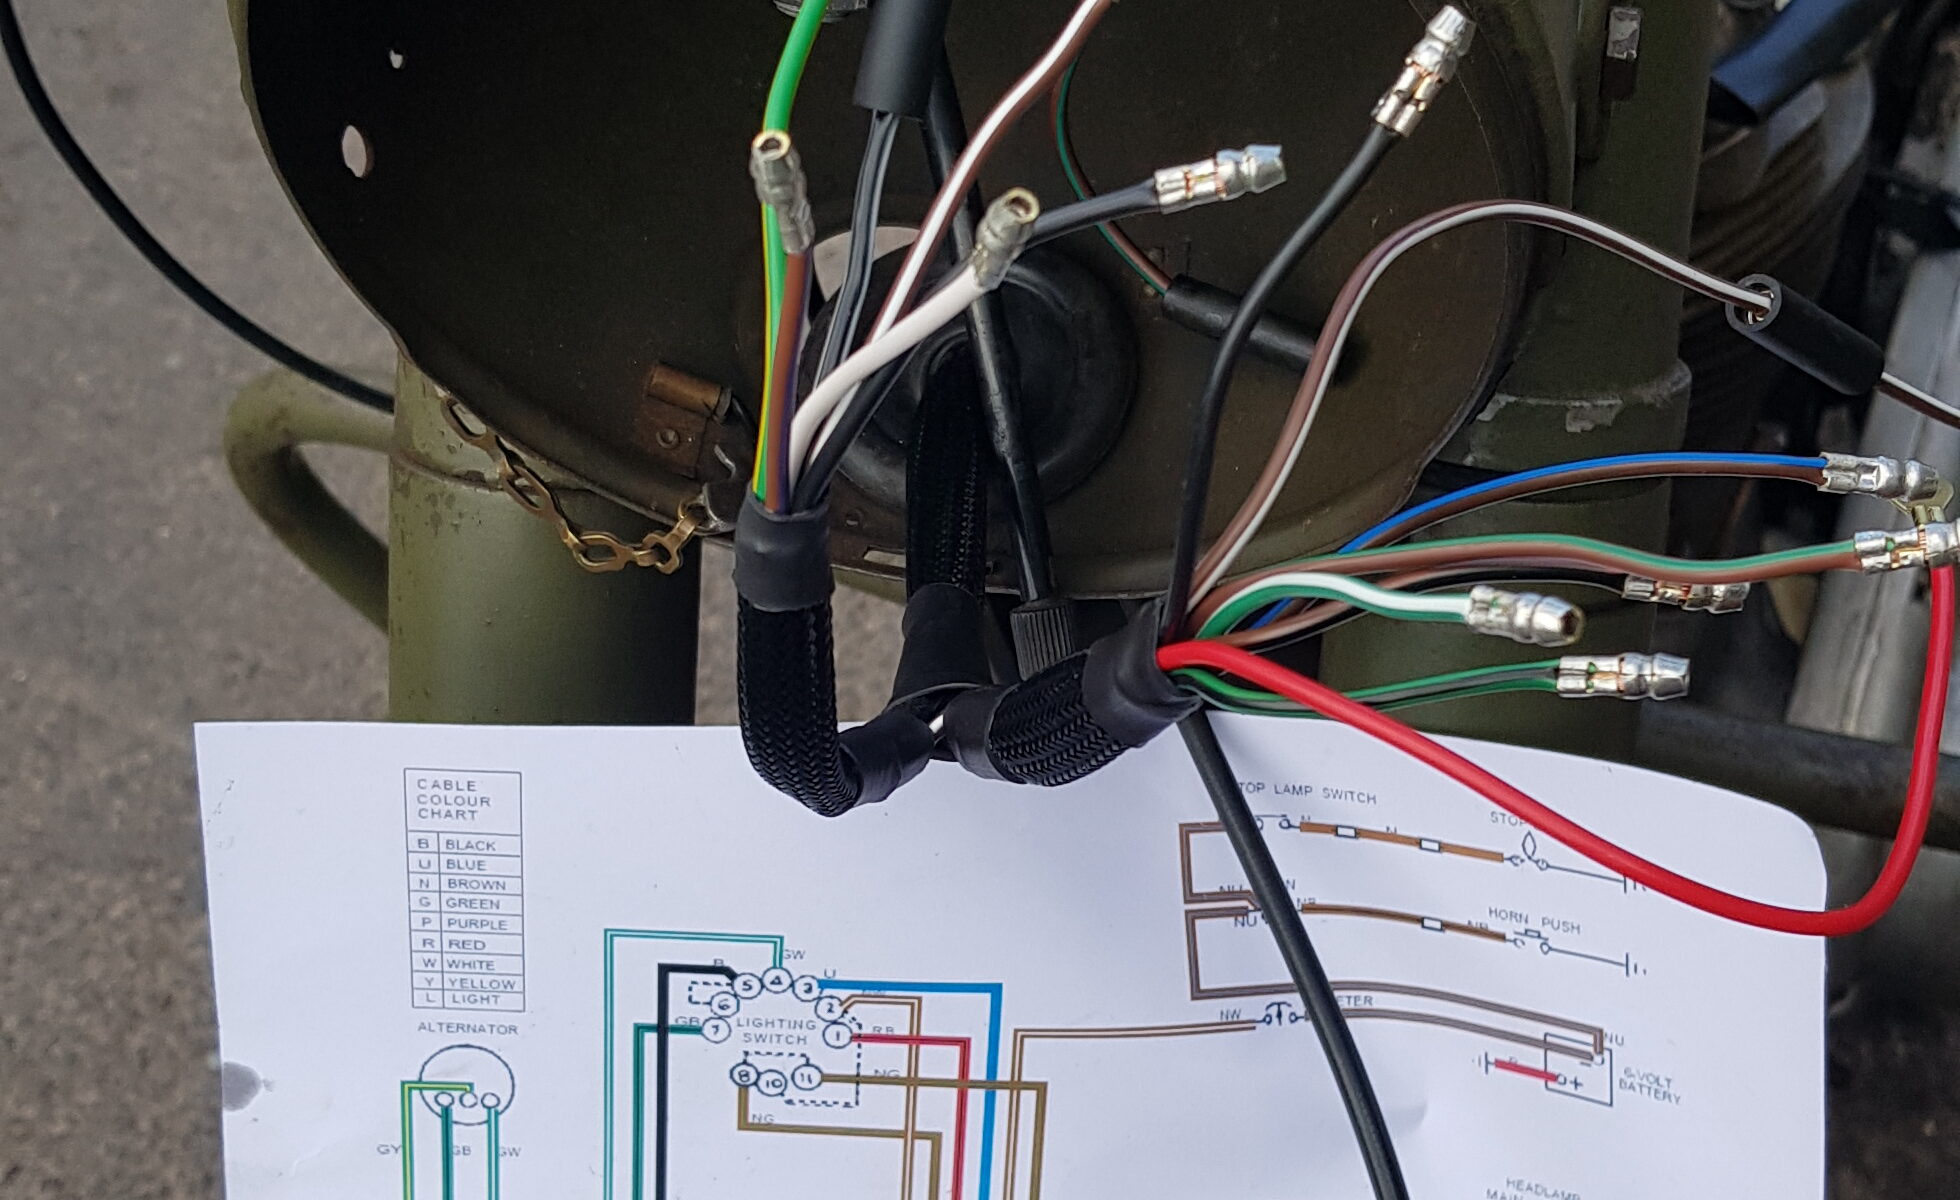
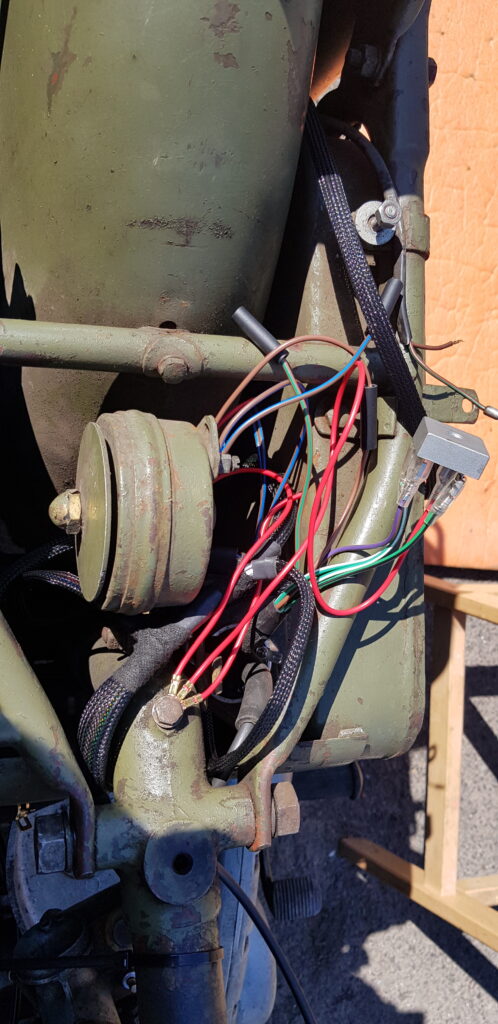
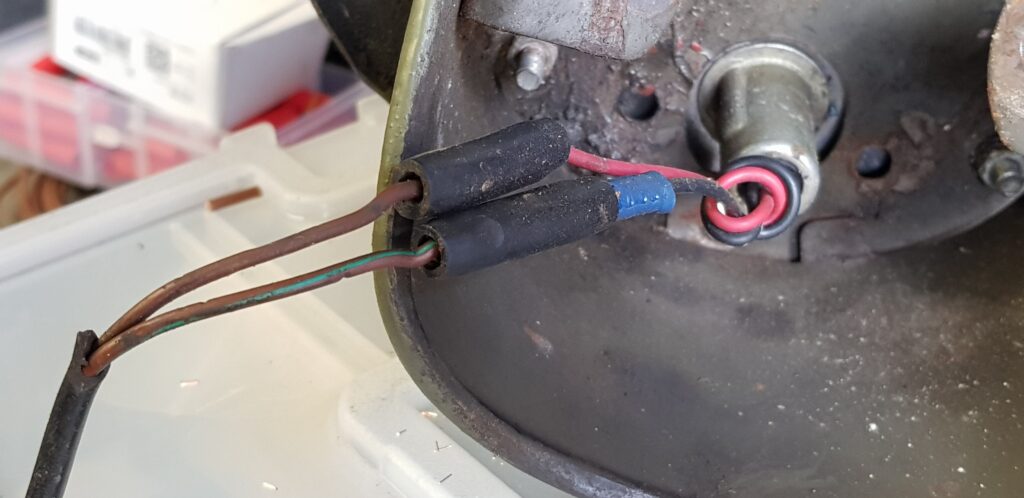
It didn’t take long to feed the main part of the loom into place. Now the fun task of crimping the ends and making the various connections.
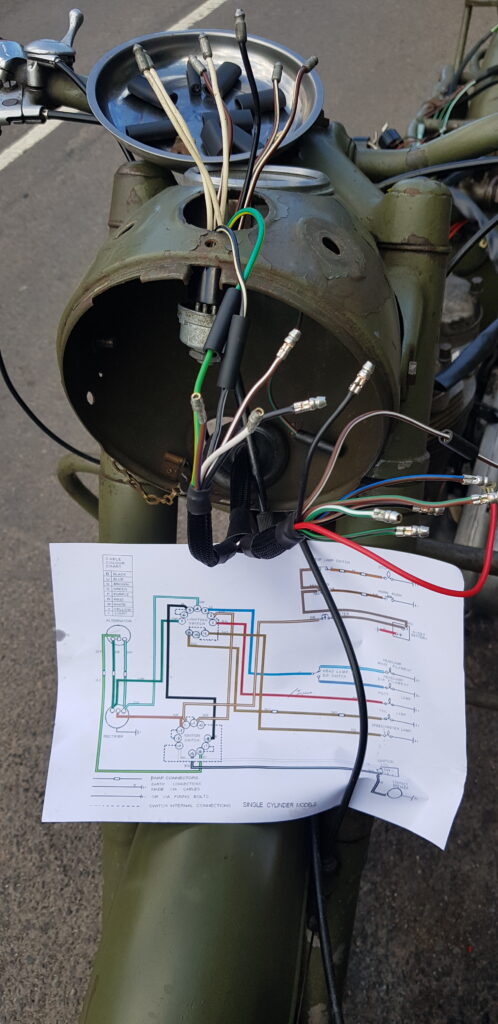
Lots of tea was needed for this task as its a right pain to follow the diagram and get it to work. The switches I have don’t seem to have the same bridged connections as suggested in the wiring diagram. Thankfully it isn’t to hard, but you can still make mistakes (more of that later).
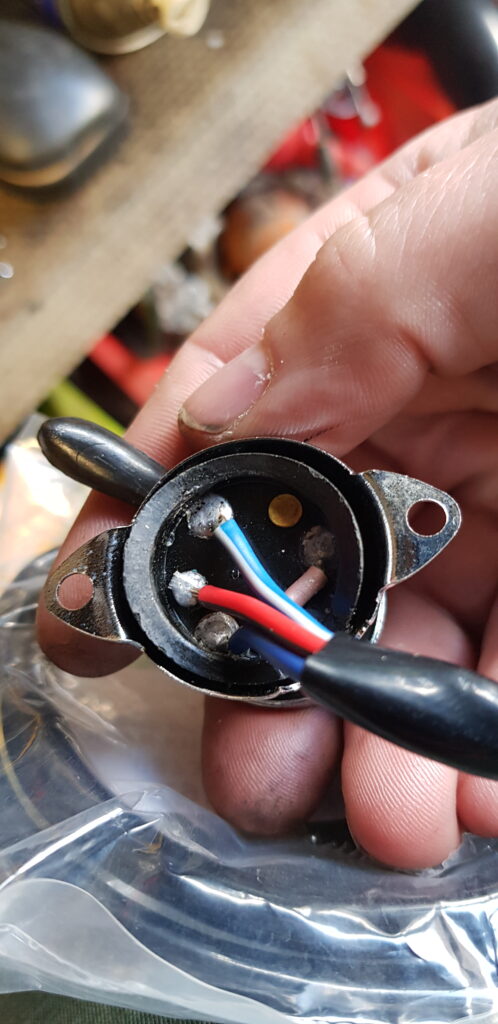
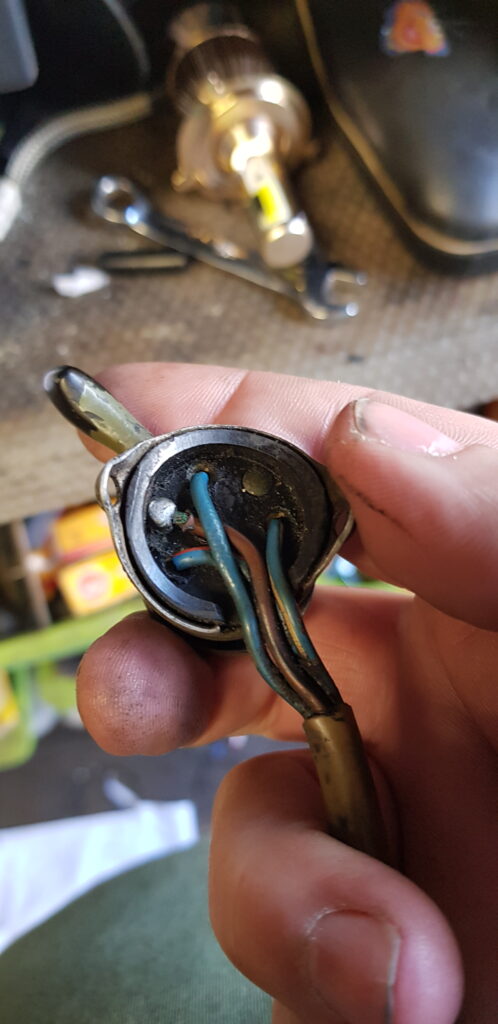
While I was in there I had thought it would be a good time to fit a new horn & dip/main switch but annoyingly the new switches aren’t the same and the wire colours were wrong. Oh well, not wasted, this will go on the AJS once I get to it.
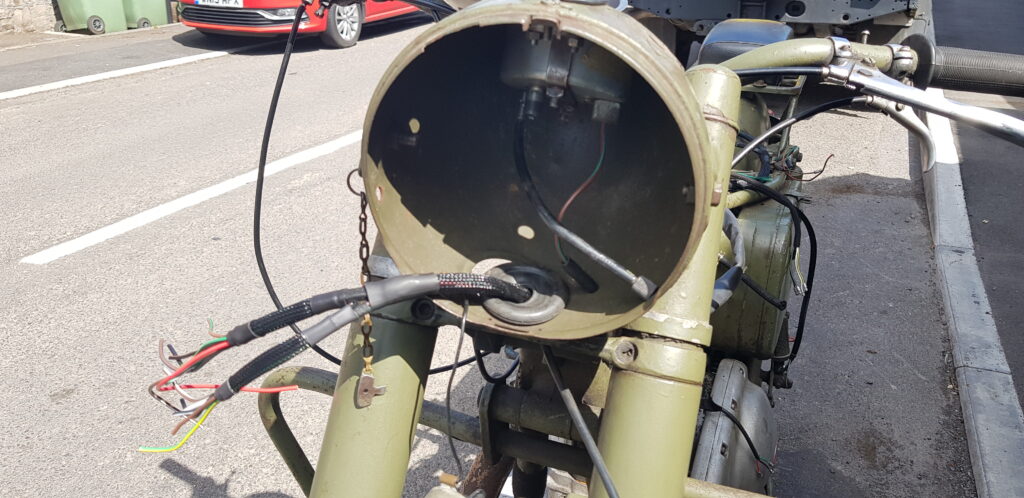
After a lot of faffing its starting to come along,
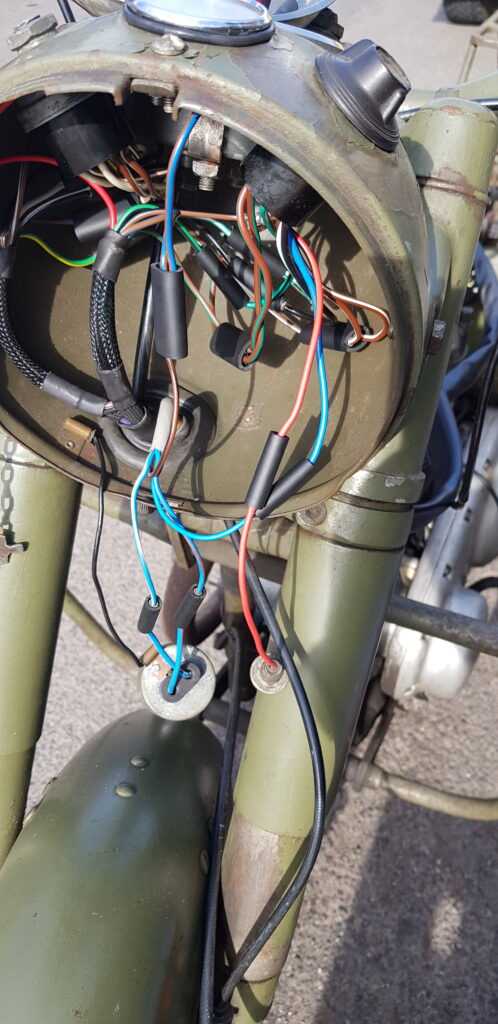
As with the modern loom, I had tried a few months back I also fitted and extra earth to the headlight for extra care. I must say the old way of using these connector blocks is quite nice. You can usually and up combining a few connections with little mess or bulk.
Then it was time for the midsection to get a look at. I fitted a modern rectifier (KPBC3510) as I was suspicious the old one was not in the best of shape. The modern bridge rectifyer I bought at the bike show but a search shows its avaible at RS for not a lot.
New unit in 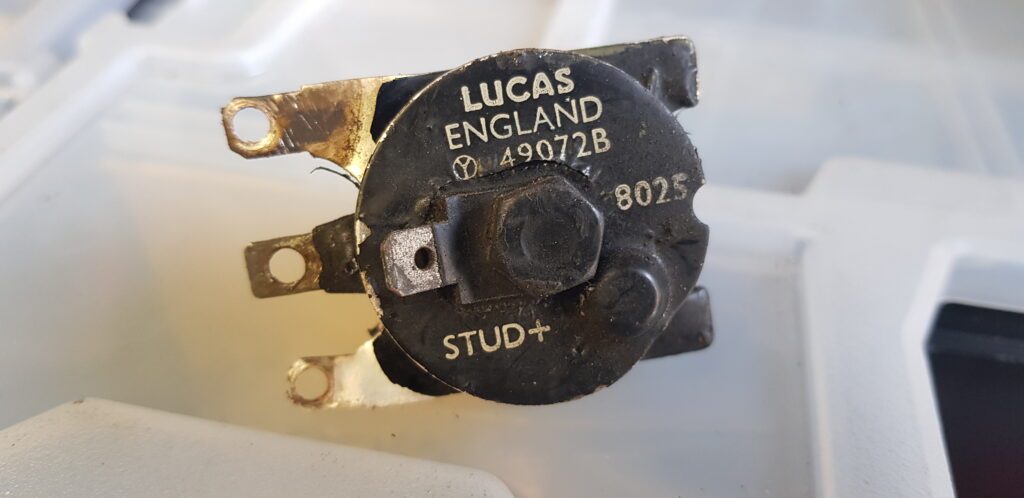
Old 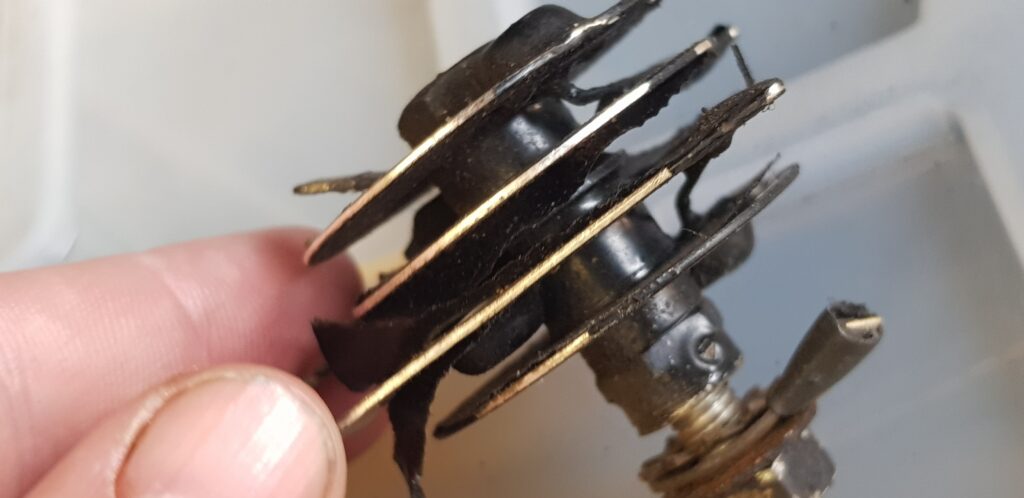
Not in the best condition.
Then I had to wire in the rear brake switch and rear lights. The rear lights have caused me issues in the past, at one point using the rear brake was enough to act as a kill switch for the bike which was never fun as I approached junctions. I had again ordered a new rear switch only to find that the mounting holes didn’t align so more stuff for other bikes.
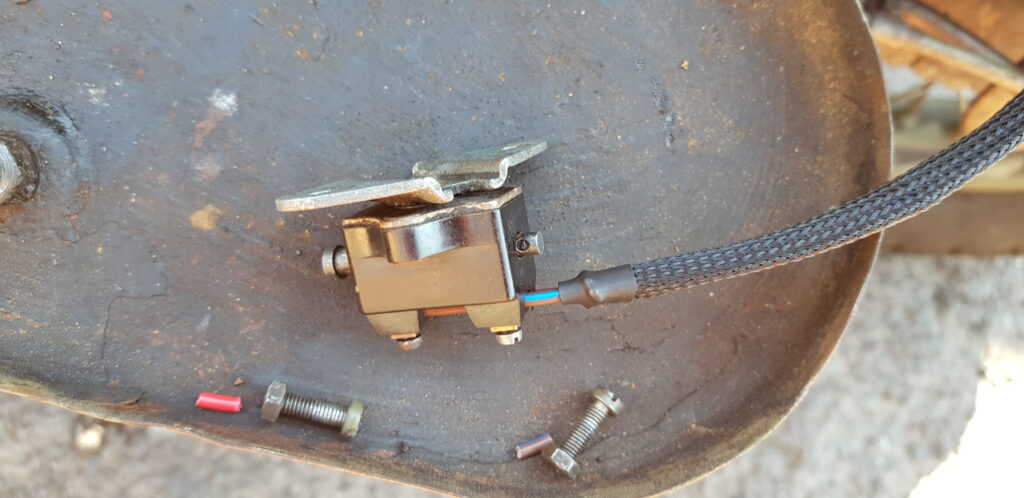
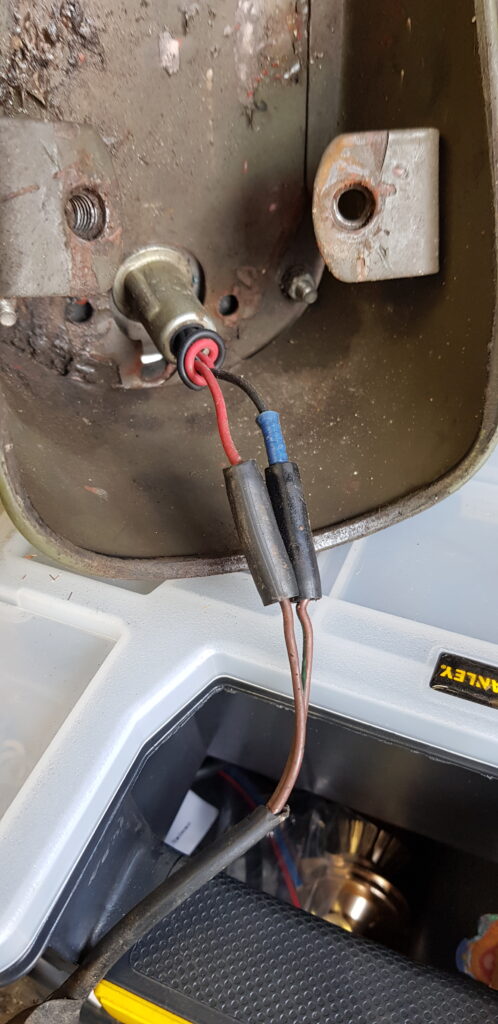
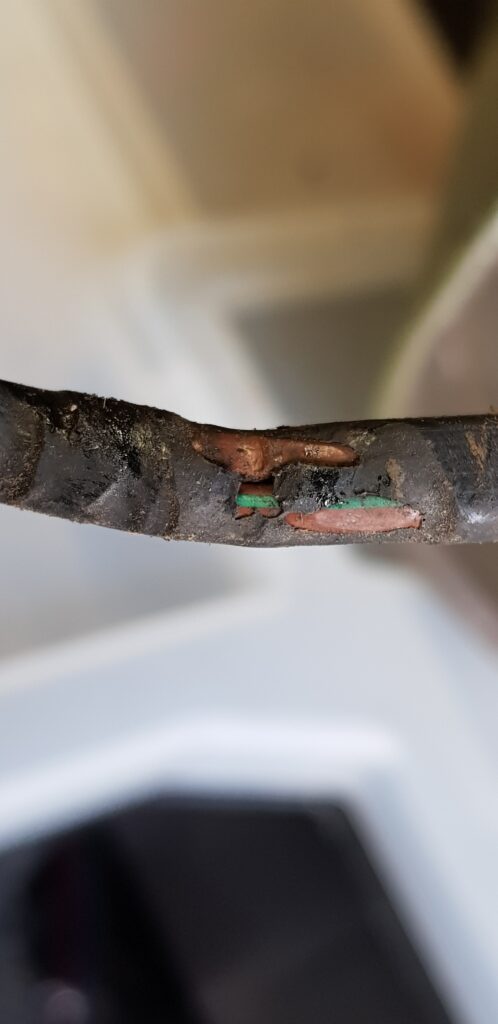
I’m glad I did this as the wire wasn’t in good condition. Then it was just a case of wiring the battery up and the ignition coil which again wasn’t too mad.
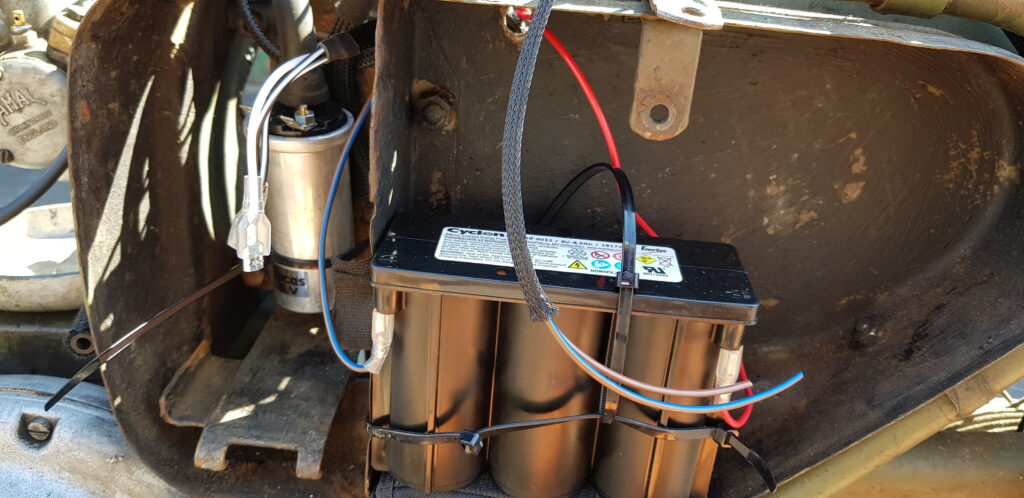
After all this, I revisited the Points and condenser. I replaced both units as I had a suspicion that the condenser was on its way out. While also in there the springs for the auto-advance/retard unit were replaced. Many of these bits aren’t that expensive but at least give you a bit of confidence when it comes to starting.
Now it is all done, so I do a few tests and erm it’s not working. Not getting a good spark and but the lights work but if I hit the horn I don’t get any sound but the horn gets warm to the touch rather quickly. More tea, and maybe dinner I rechecked my wiring in the headlight, I had make a error and had turned the horn into a dead short for the battery and the points wasn’t getting any more than the power from your kick. Thankfully I had used good thick wire so no burnouts. I was kicking myself for not fitting fuses but then again I didn’t see any fuse boxes I liked the look of, may fit one in the future to be safe.
After that was sorted out I took it for a ride and its working fine, then dad went for a ride. Later a neighbour who last saw this bike on the road the day he moved in 6 years ago managed to start it and off he went for a ride. I have yet to take it on a long ride but I will soon.