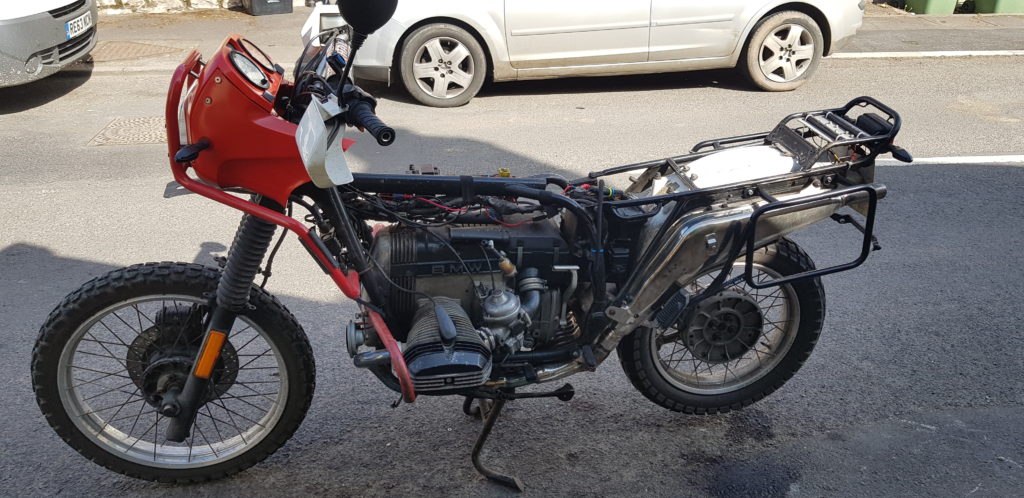
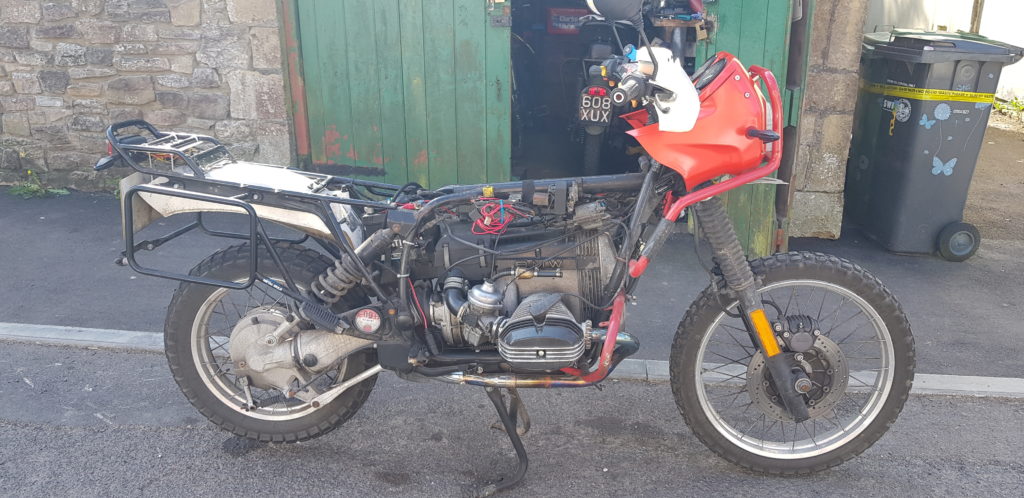
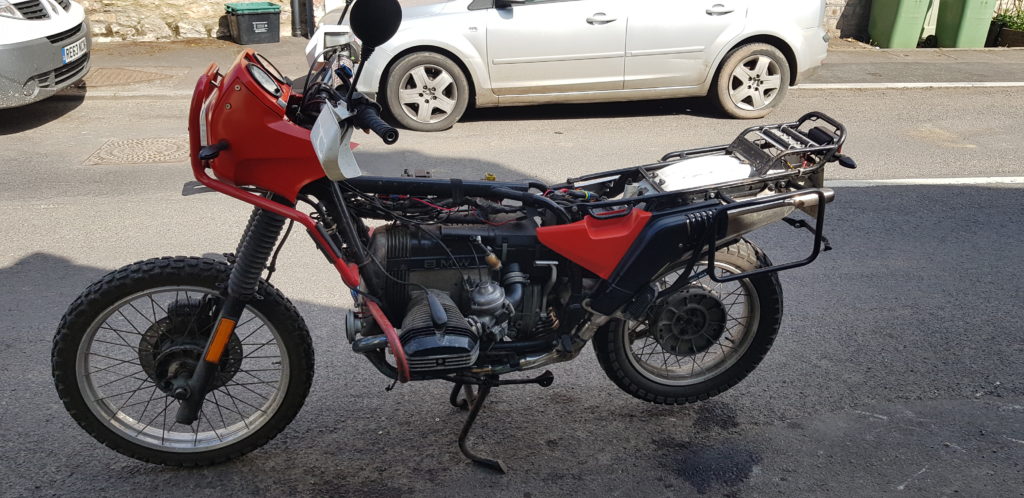
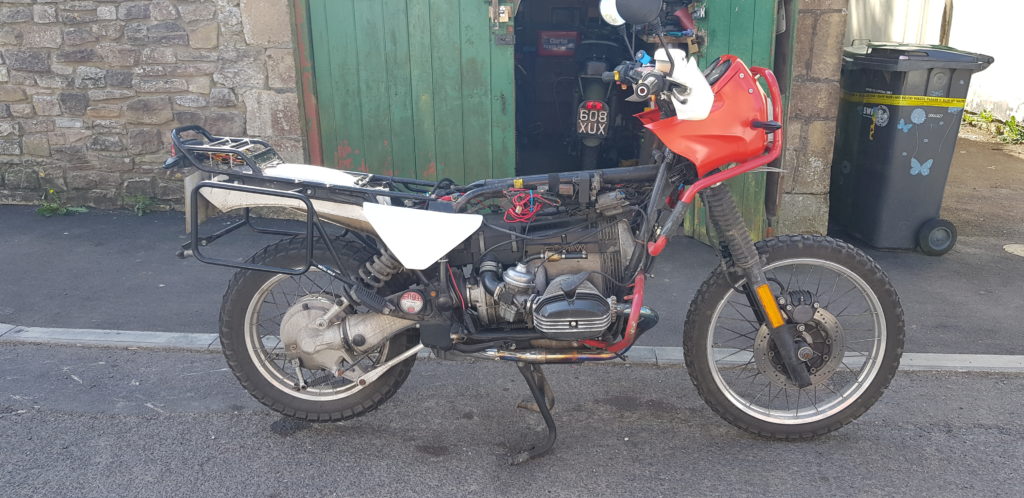
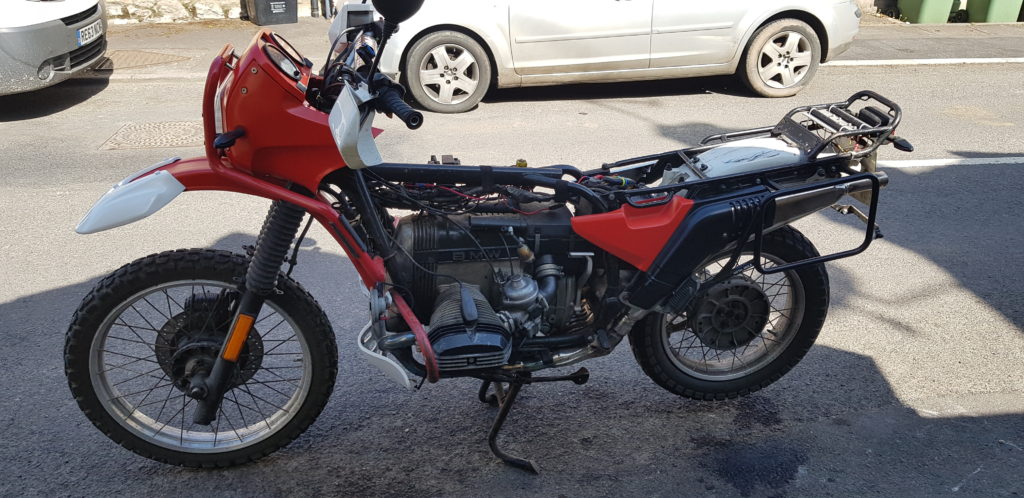
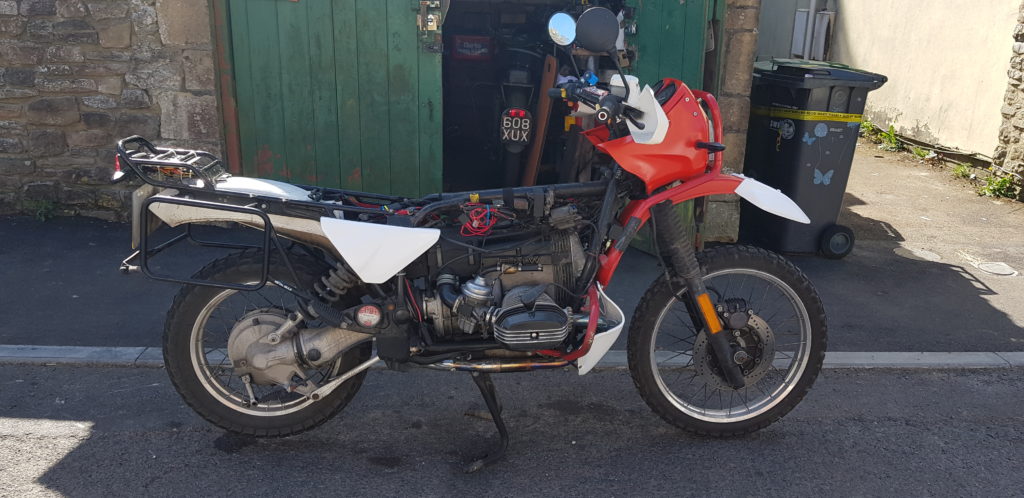
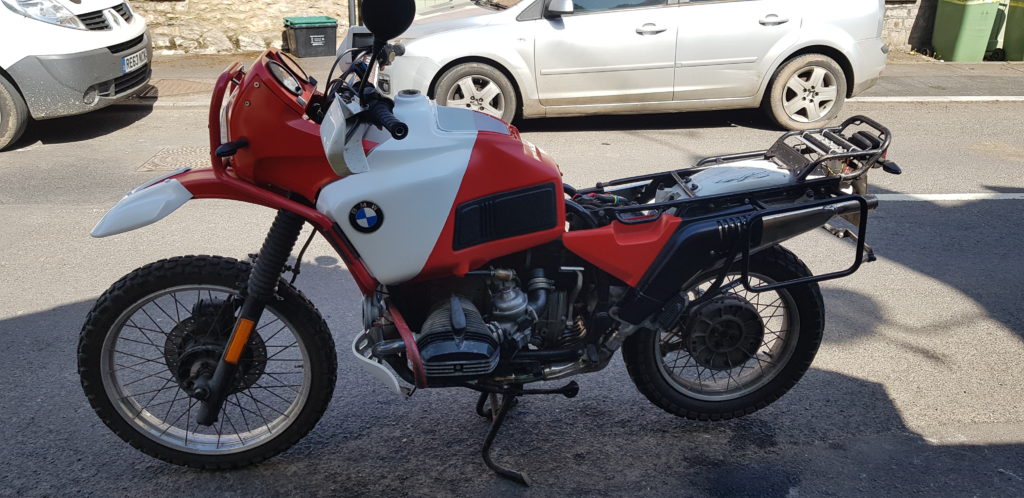
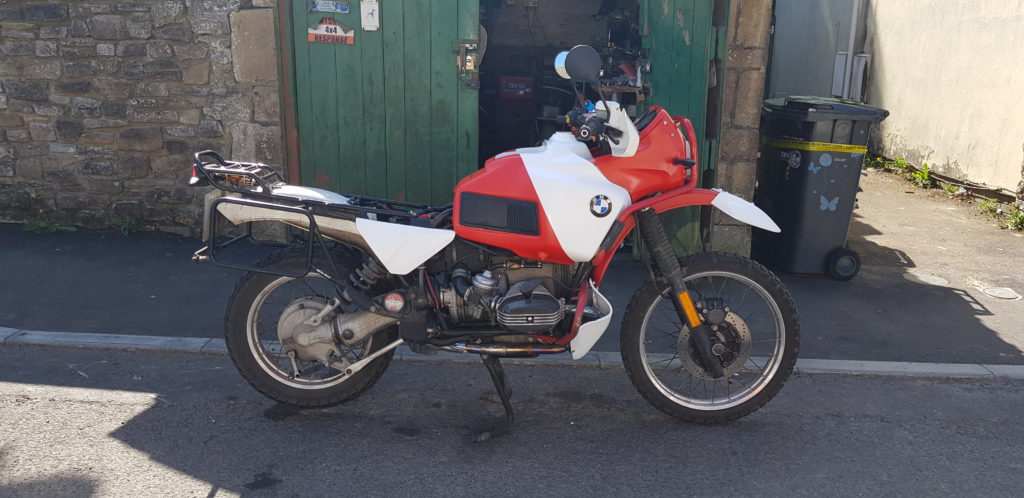
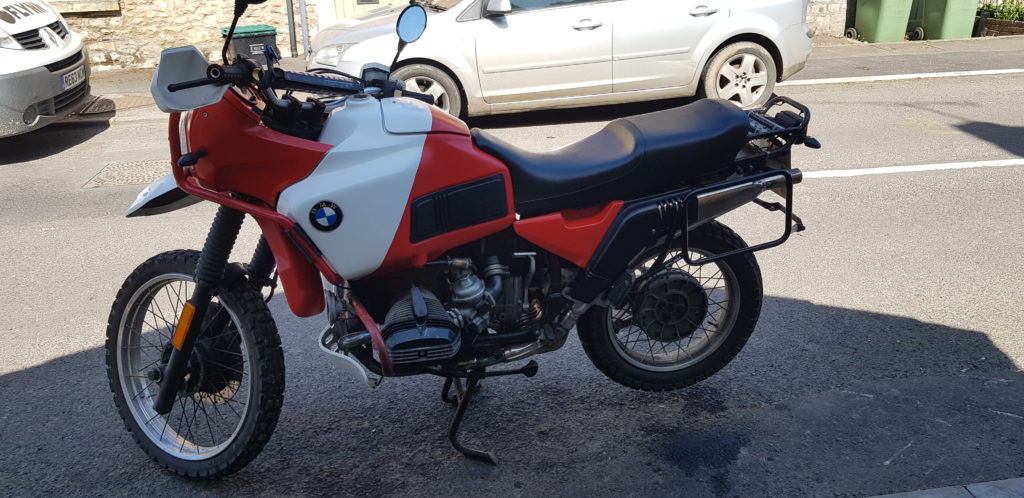
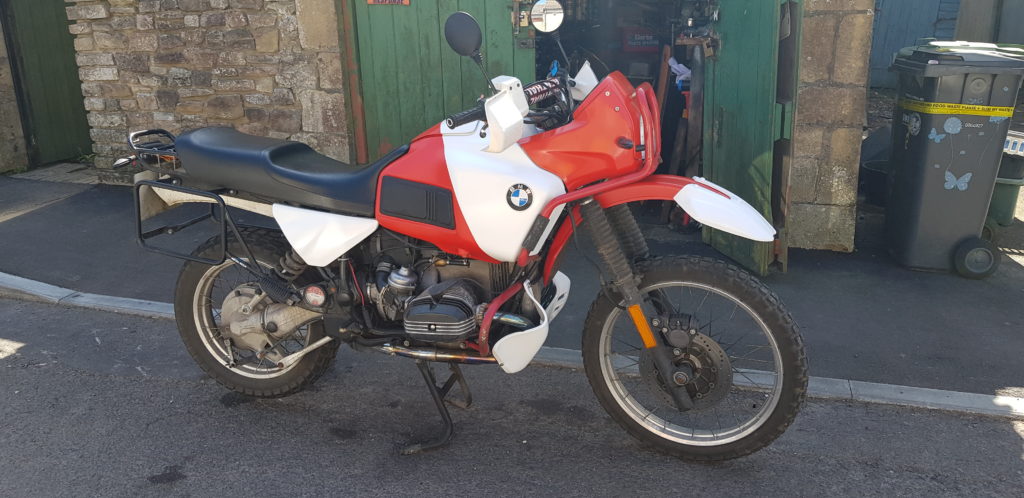
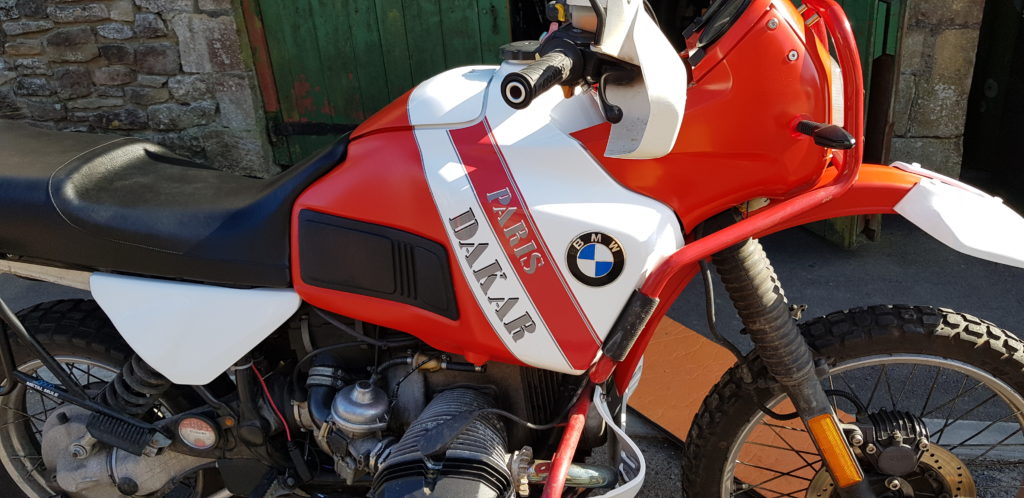
The Easter Bank Holiday weekend loomed and that would give me 4 days of OK weather to try and get the bike into a tidier condition. I started Friday morning and started to strip her down.
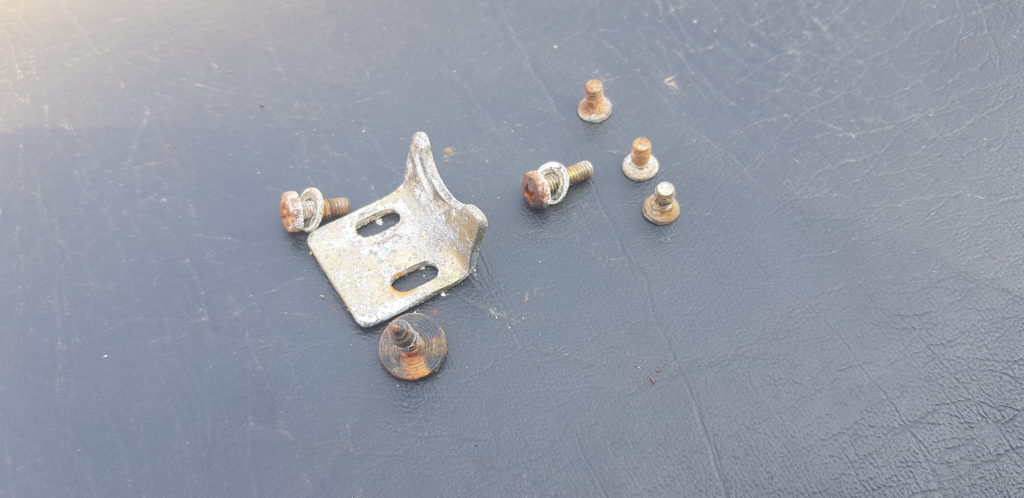
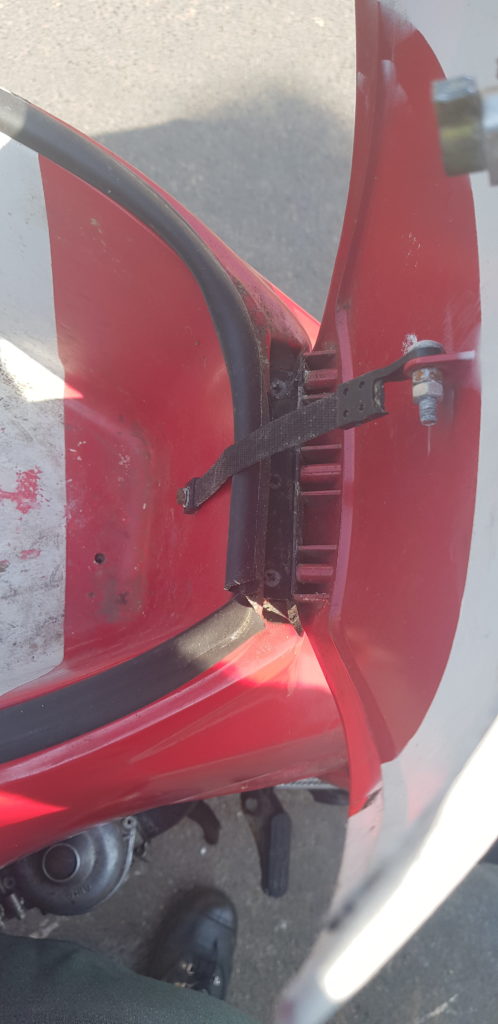
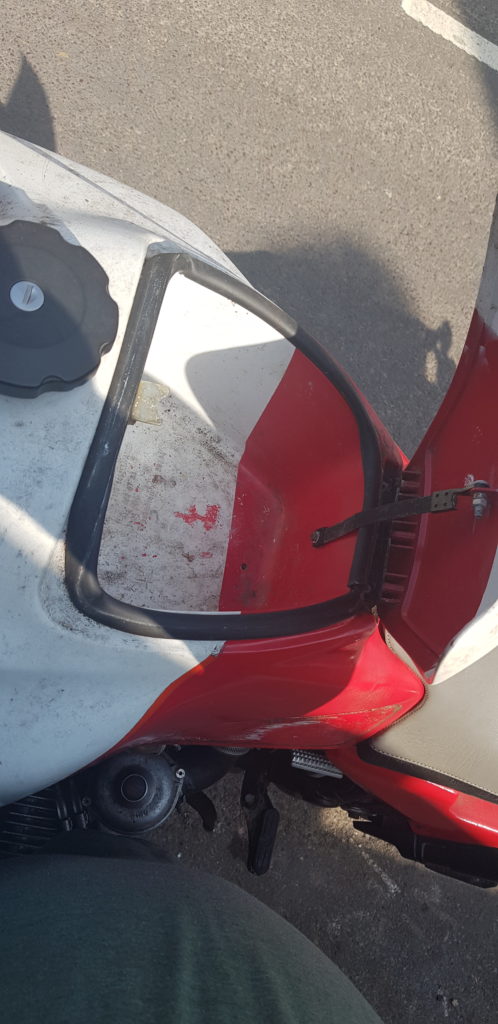
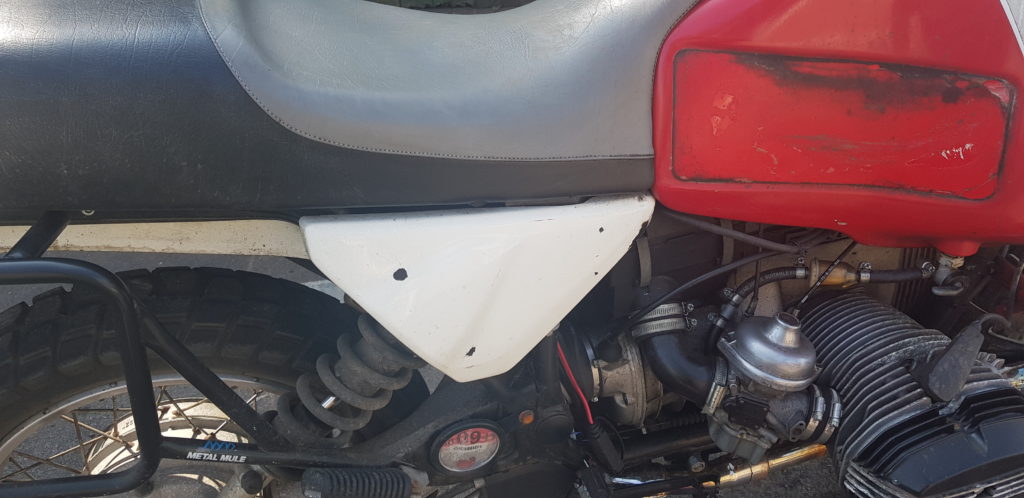
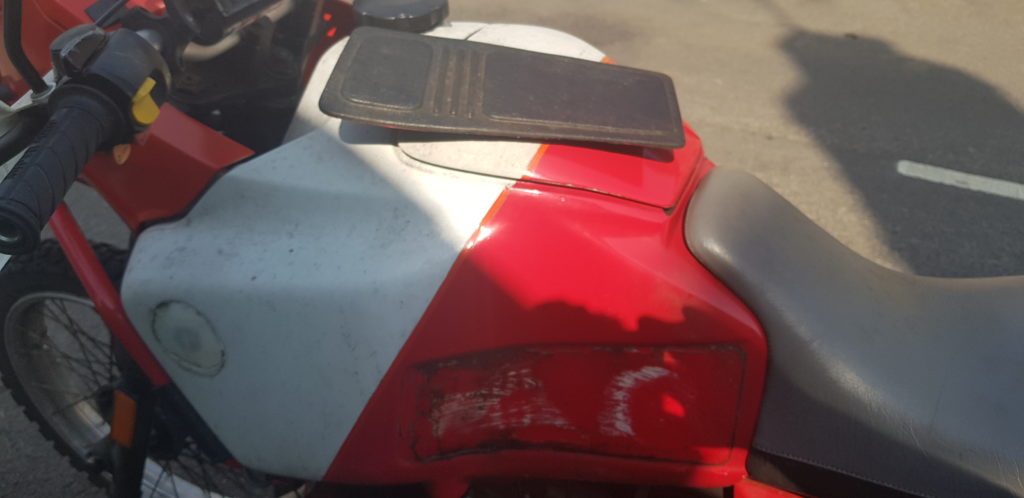
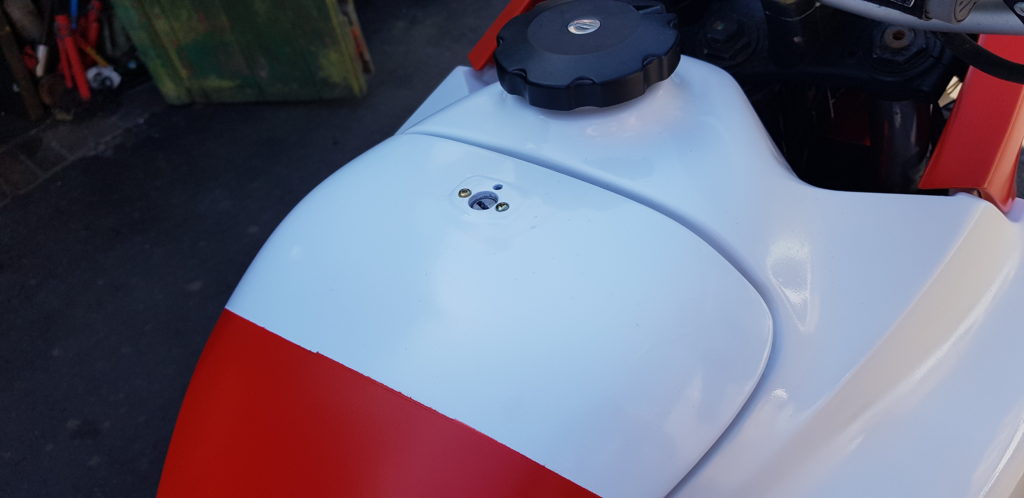
There was some rather crappy looking bolts in there top part of the tank, even a self taping screw stuffed in for good measure. The knee pads were stuck on with some silicone and needed to be refitted.
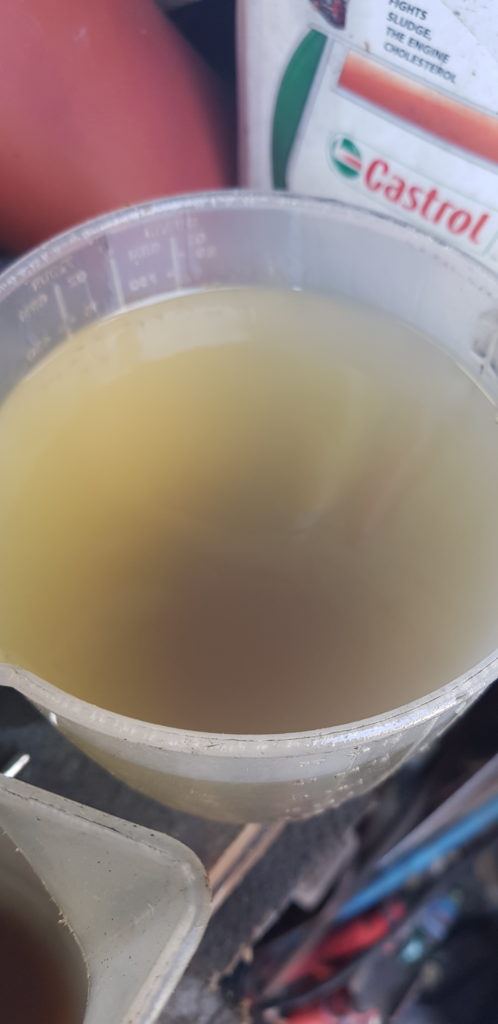
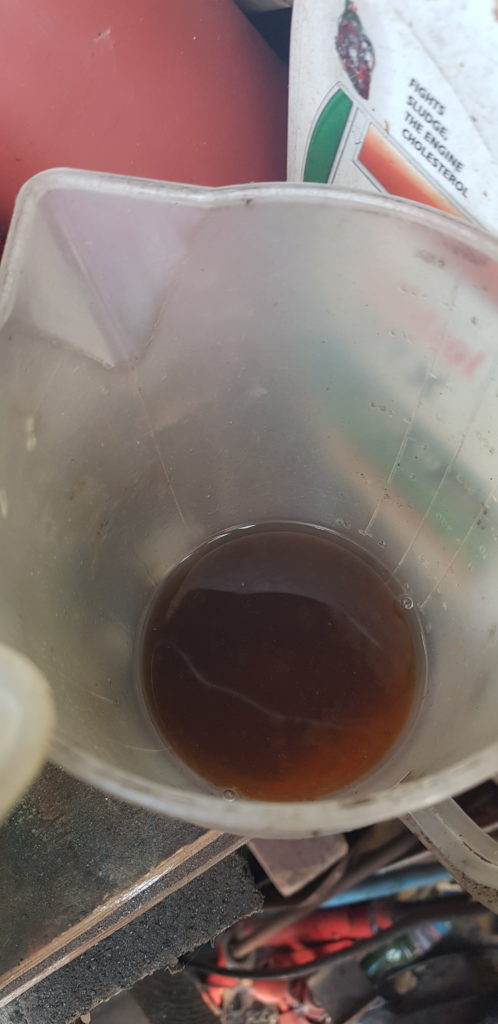
That also meant I had to drain the fuel out of the bike. I had run out of fuel a few days earlier and had put some 15ltrs in and rode it to work and back etc. (with COVID-19 this is how I get any chance to ride). I attached a bit of pipe to the taps and let it drain.
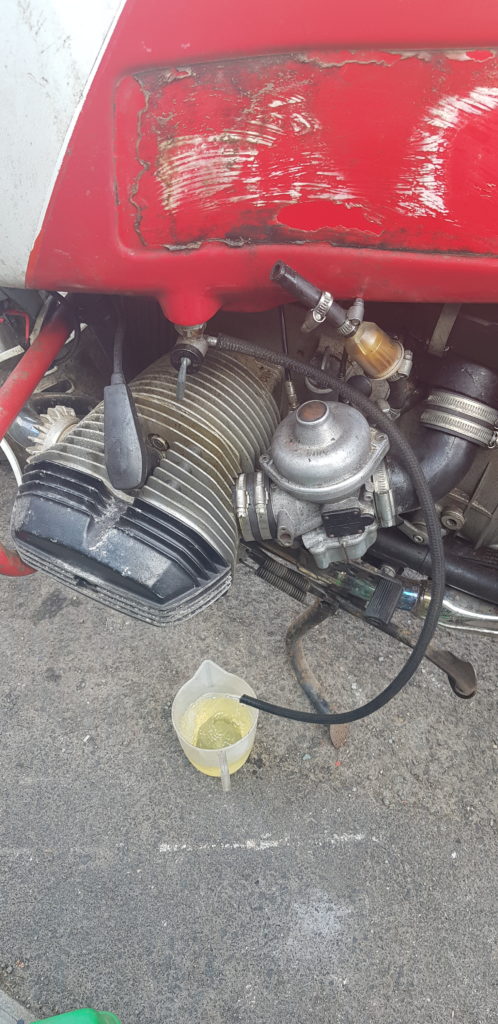
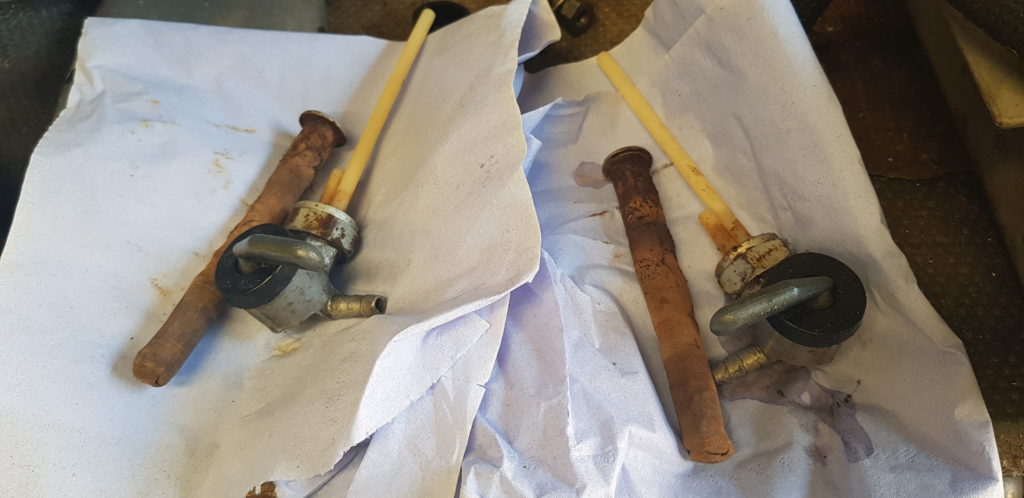
I got most of the fuel out but the condition of the fuel at the bottom of the tank wasn’t great. I have cleaned the taps etc once before.
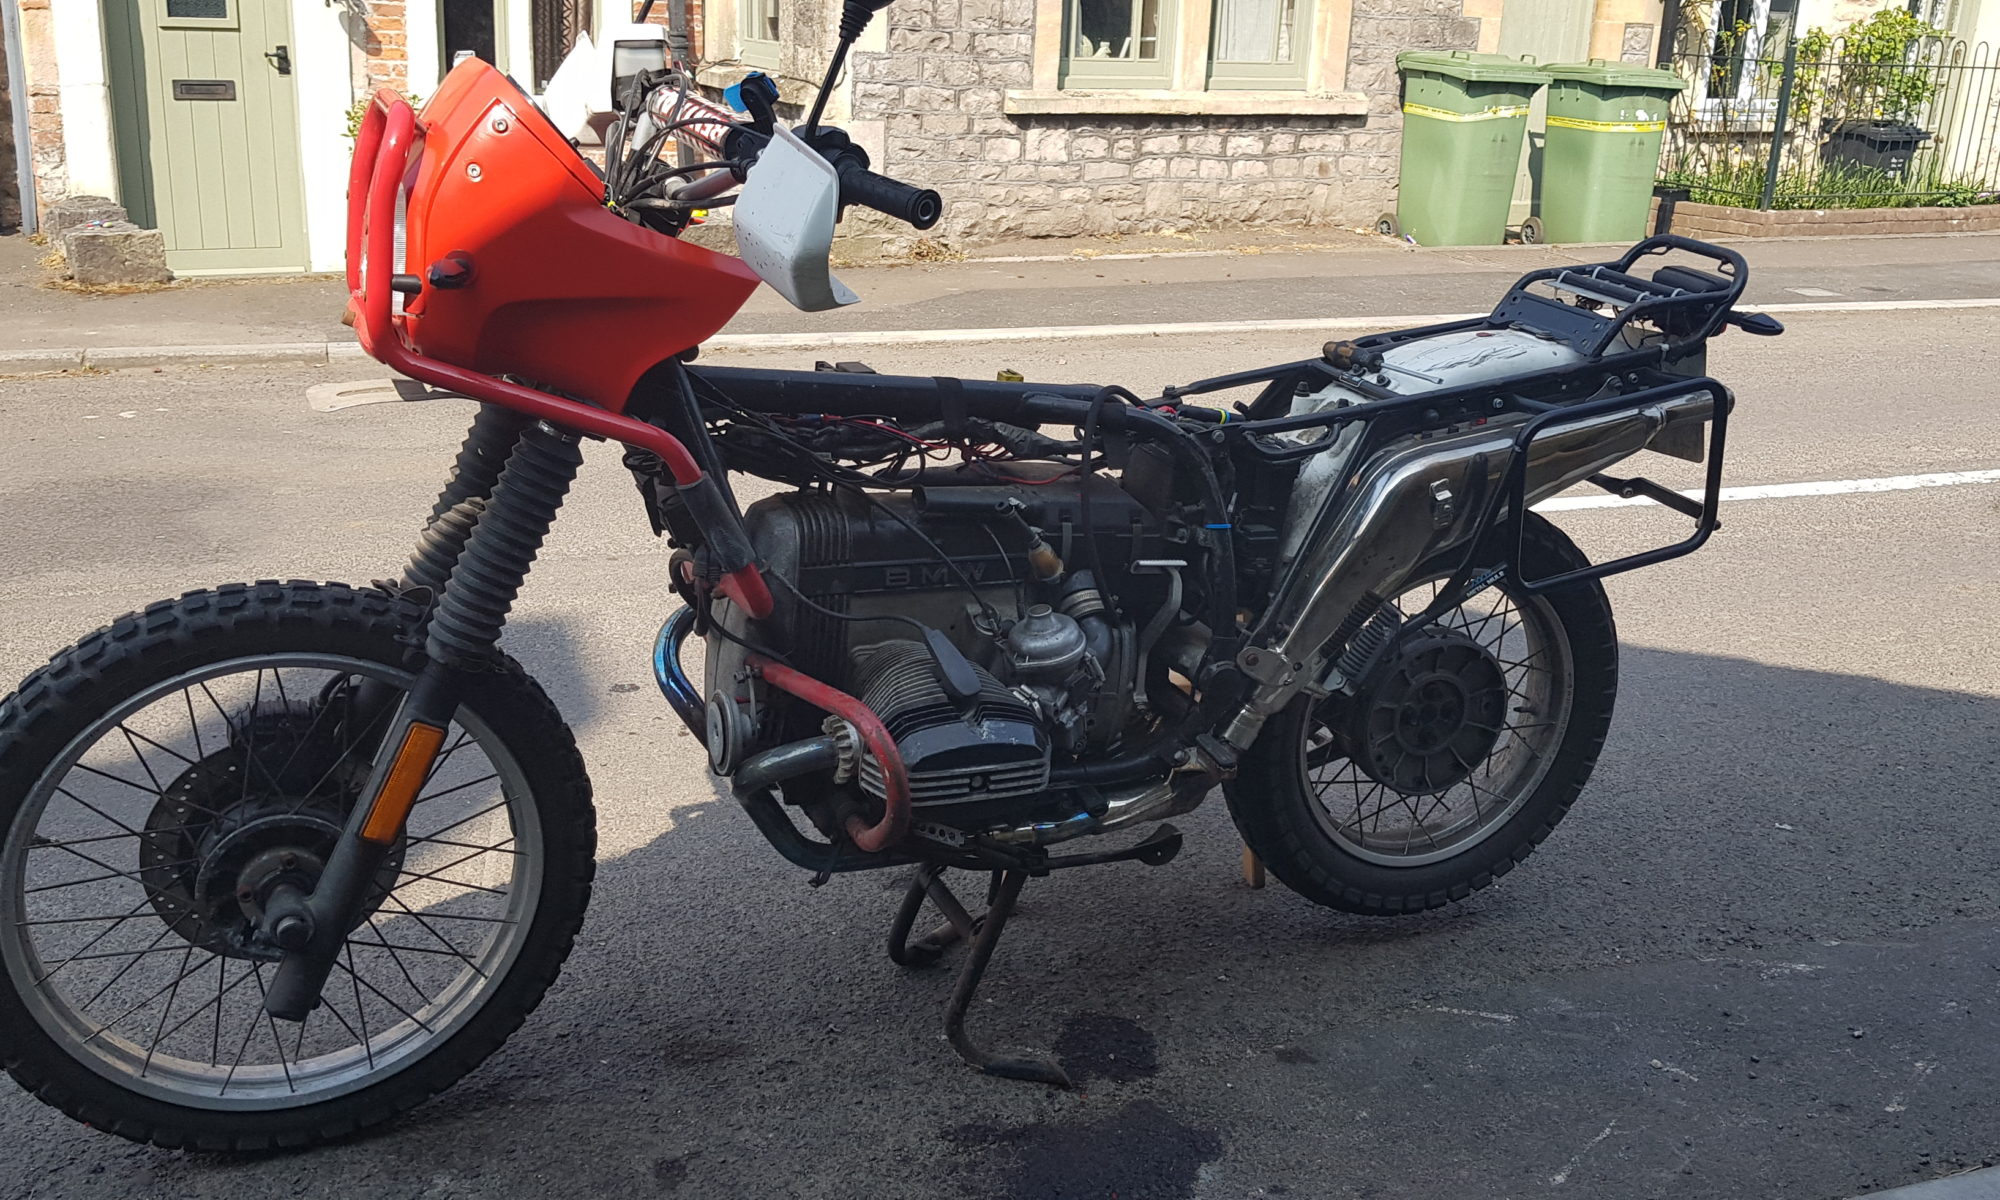
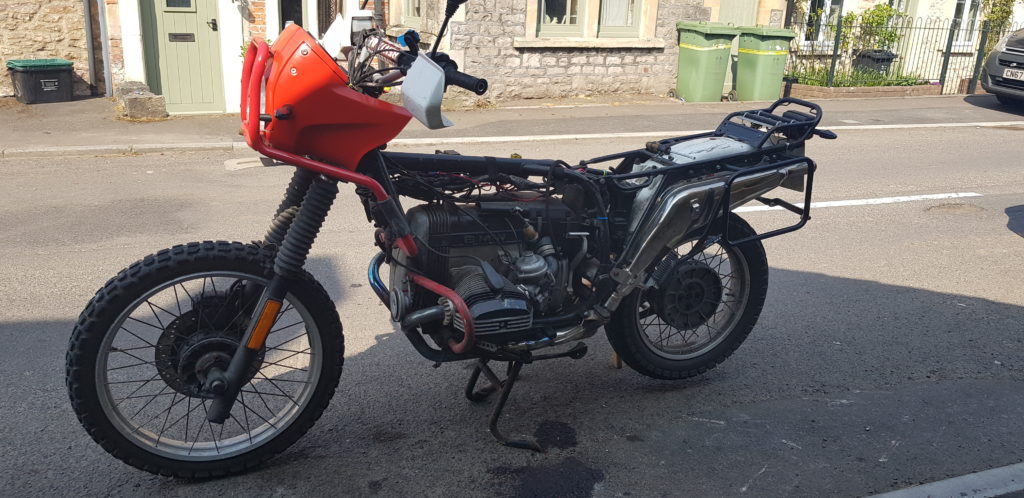
Now with the bike totally naked, I did contemplate sending the picture into Bike Exif but I have been informed the lack of exhaust wrap, the correct sized tyres, and I had handlebars meant I lost enough points and they wouldn’t use it.
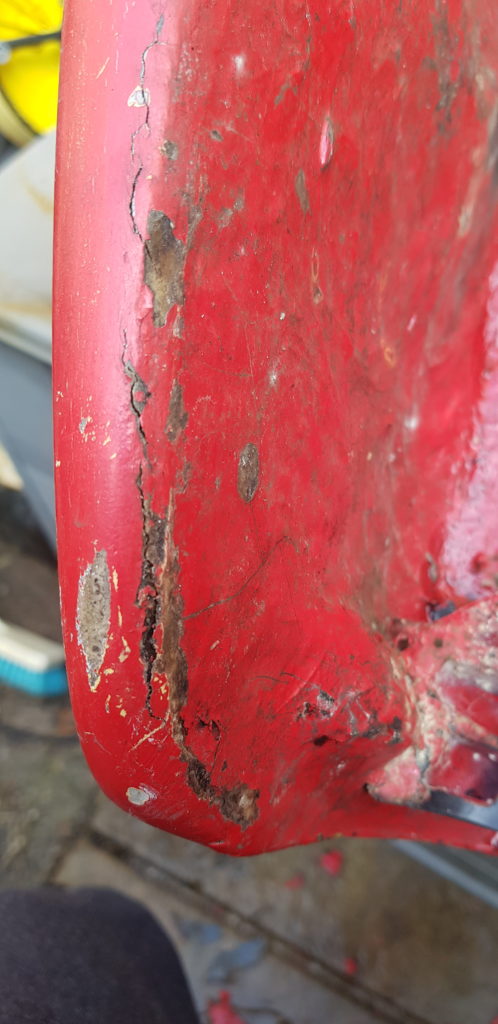
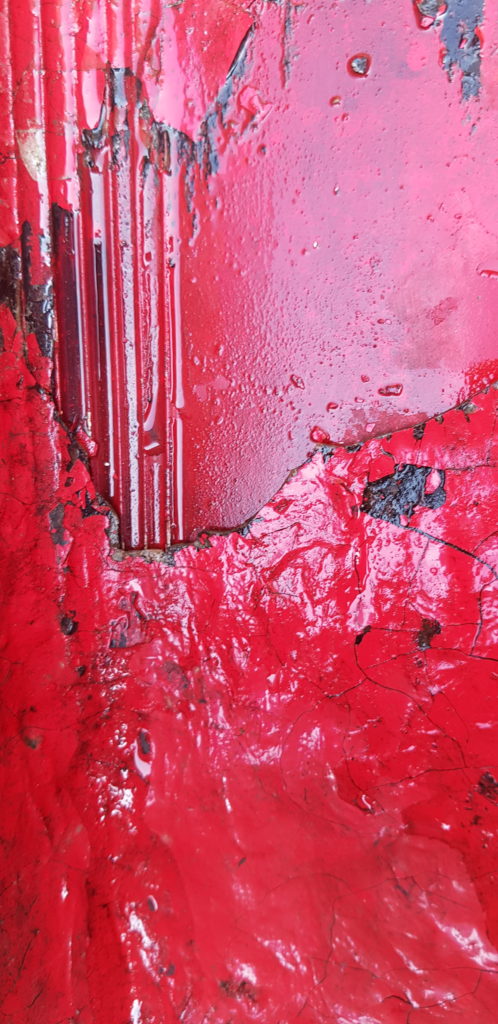
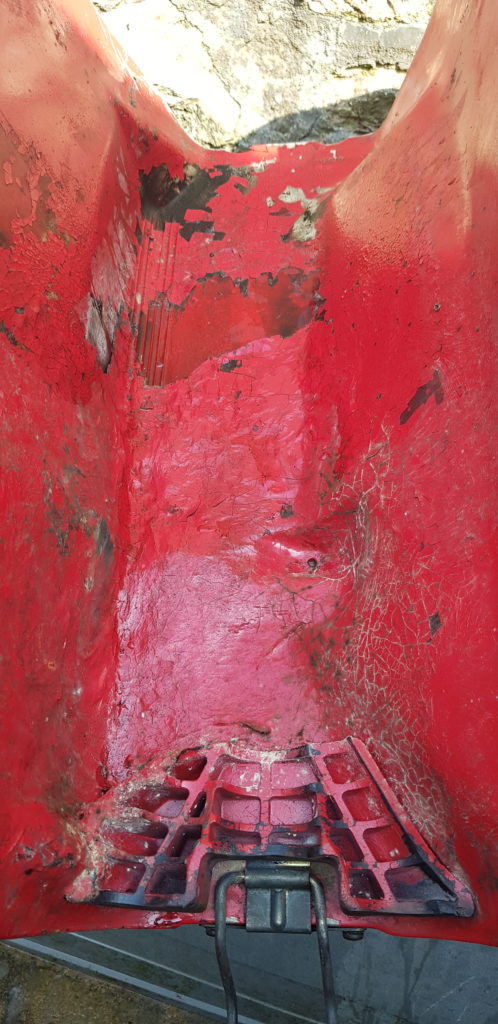
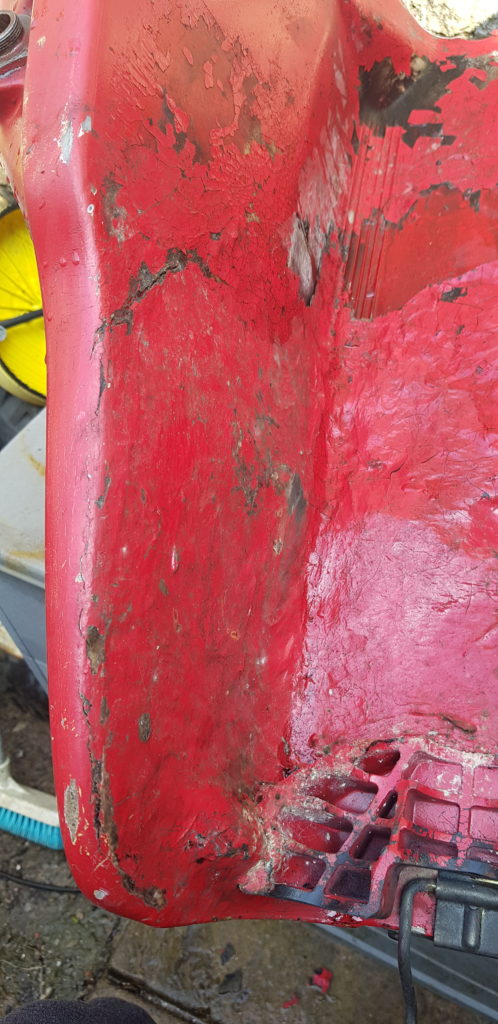
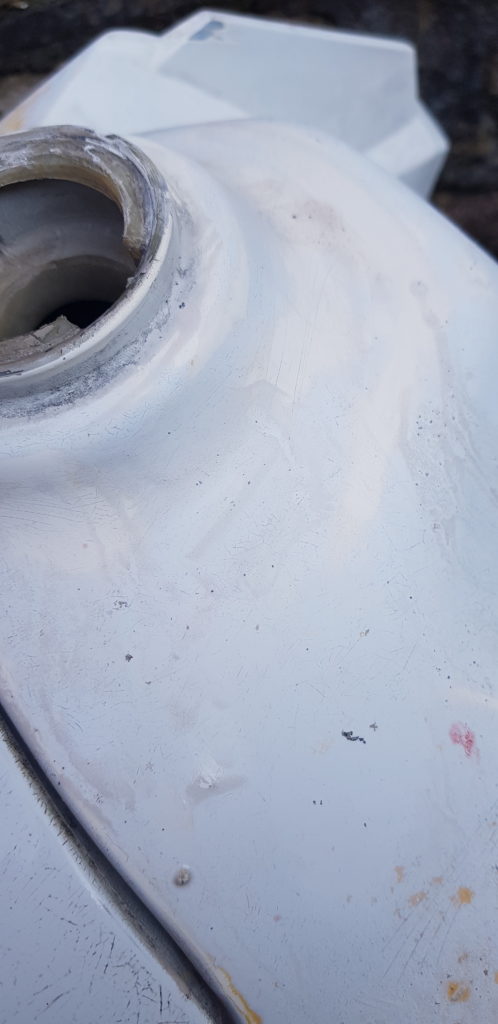
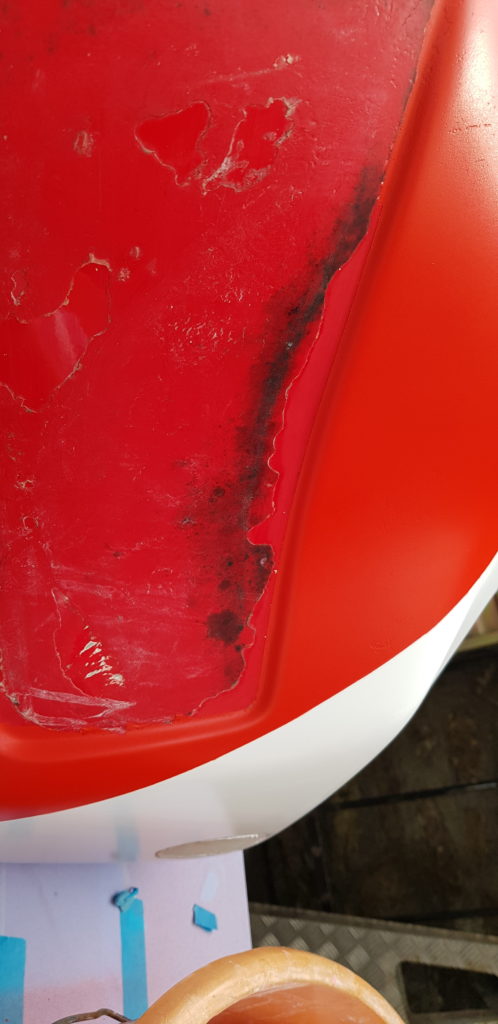
After emptying all the fuel out I took a good look at the tank and paid more attention to some of the repairs done to the underside of the tank. I think its been repaired with fibreglass and as much as I wanted to pick at the stuff and see how bad it is I left it alone. I will keep an eye out for a replacement tank I see HPN do a 45ltr version, 10 extra than the standard BMW so that would be tempting.
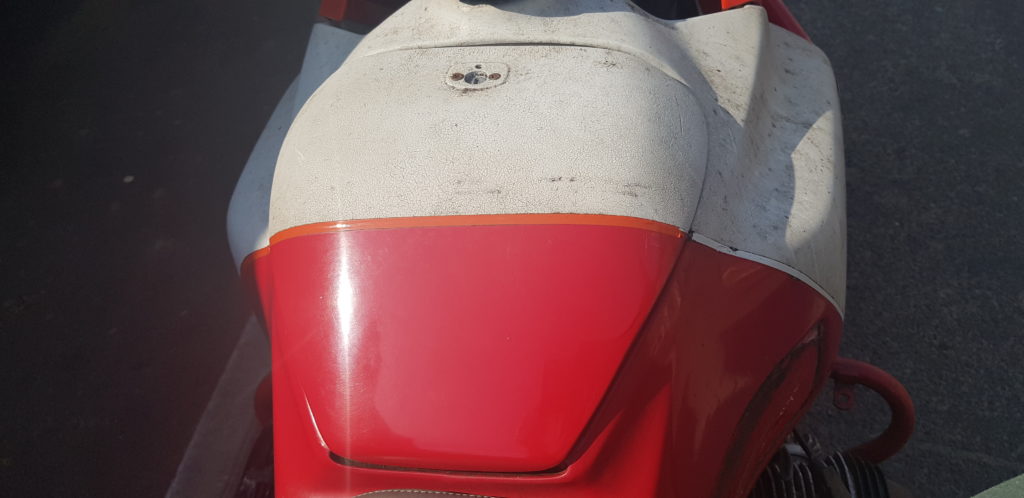
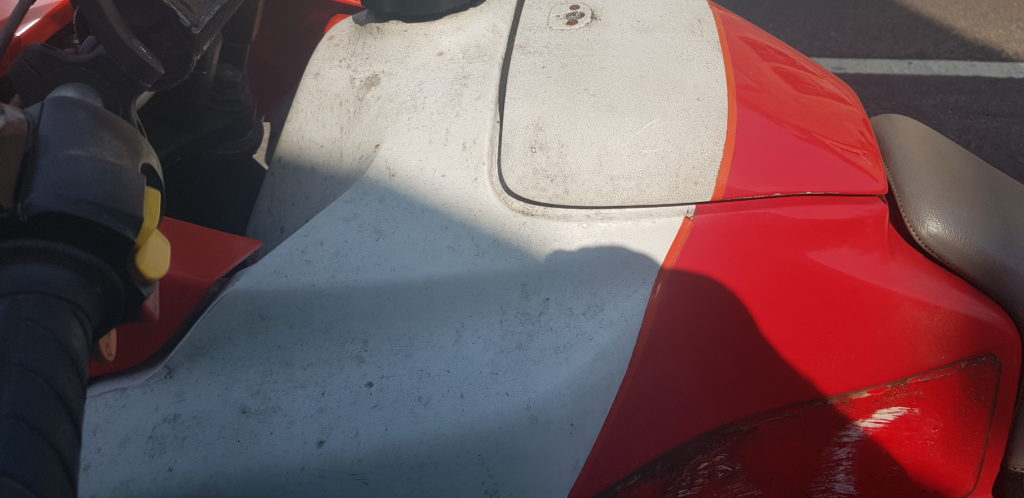
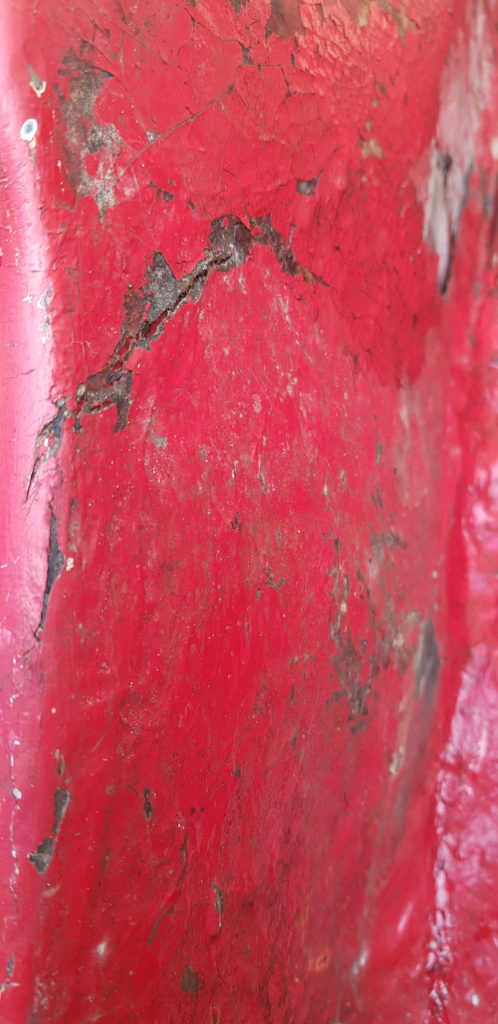
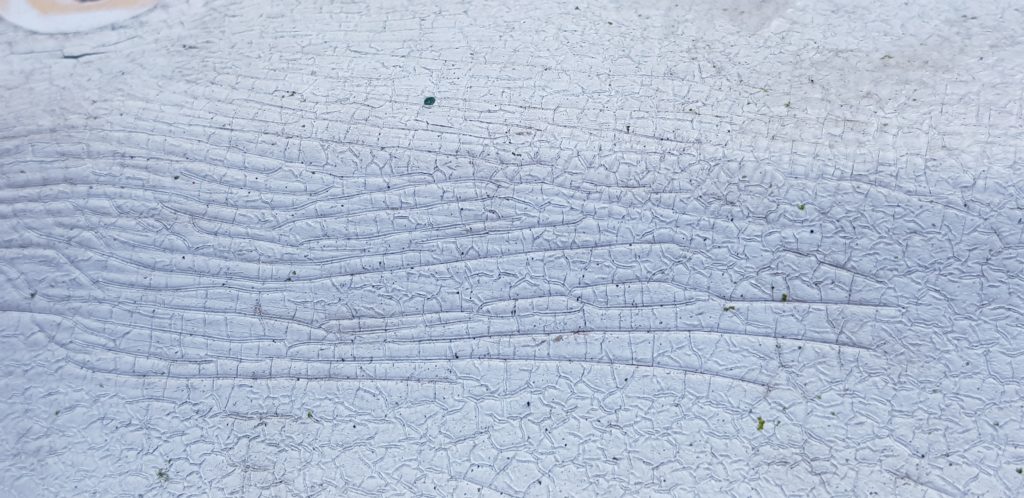
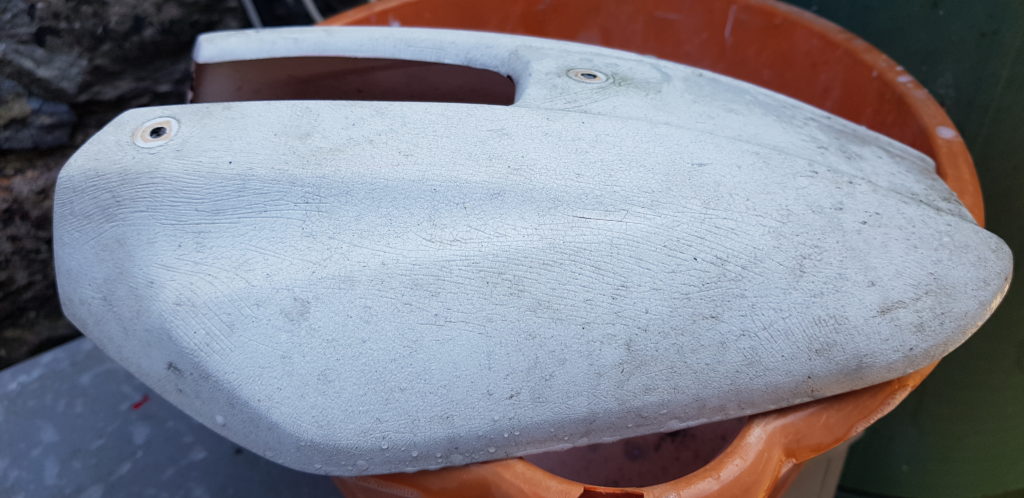
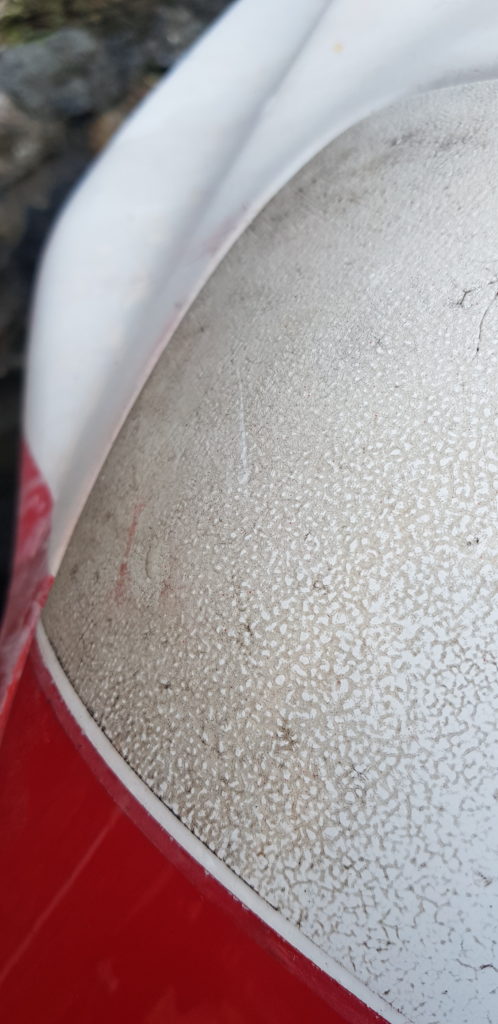
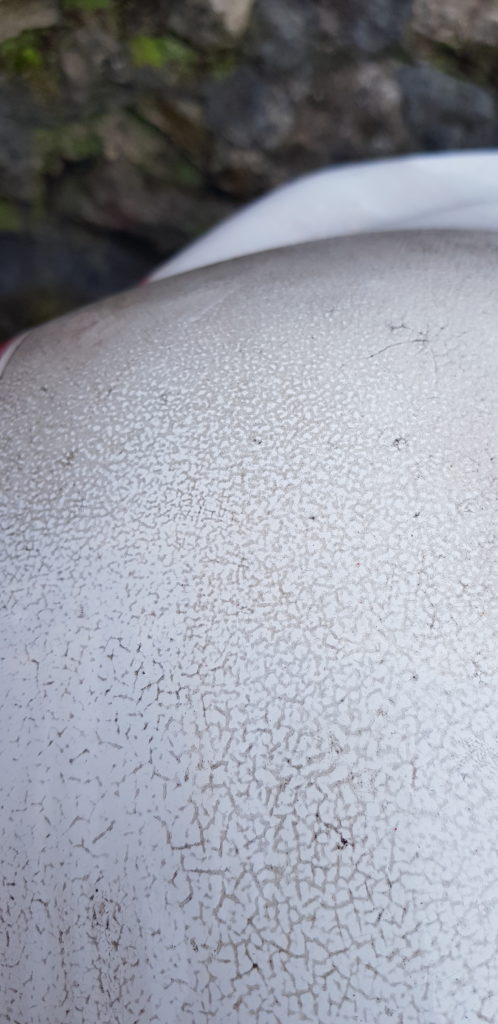
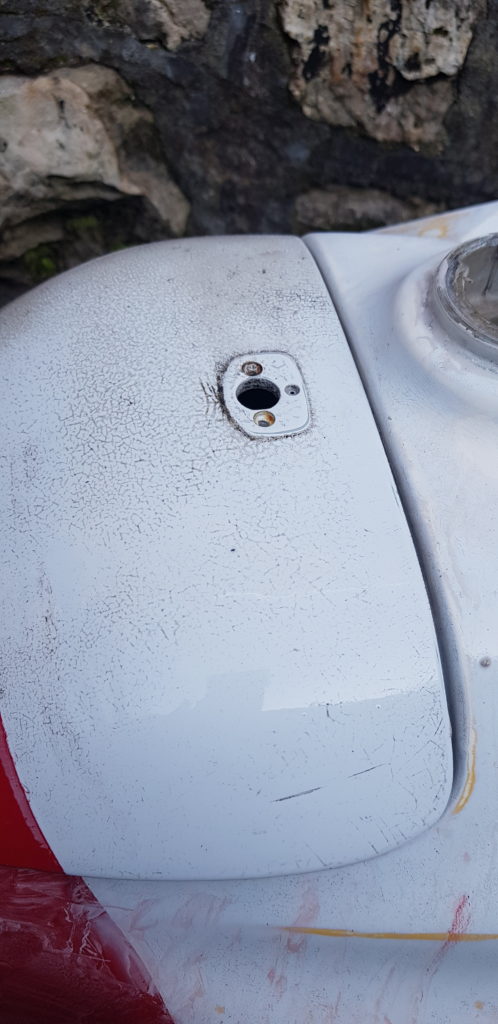
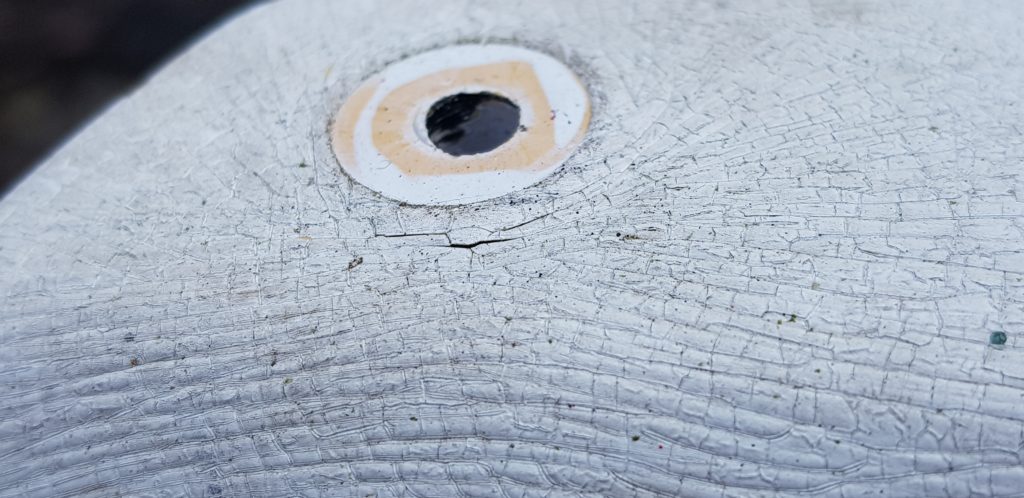
Now the ahem “Fun” part. Prepping the stuff ready to paint. This took the rest of the day and most of the second day. Not helped by the condition of the paint especially the white, now I believe the tank has been re-sprayed at some point and that paint had a nasty reaction to something and had developed a texture akin to elephant skin. This is mostly the reason why I wanted to paint the bike as the texture meant I could never get it clean.
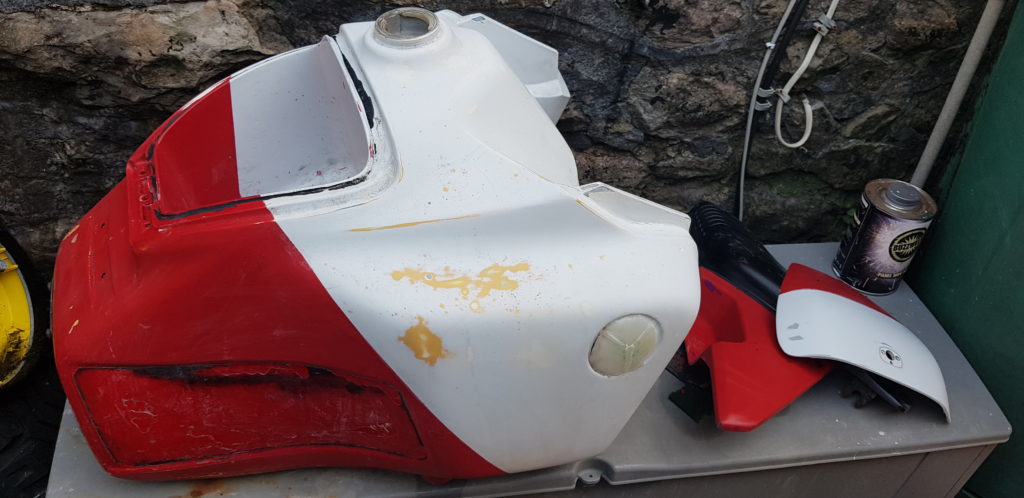
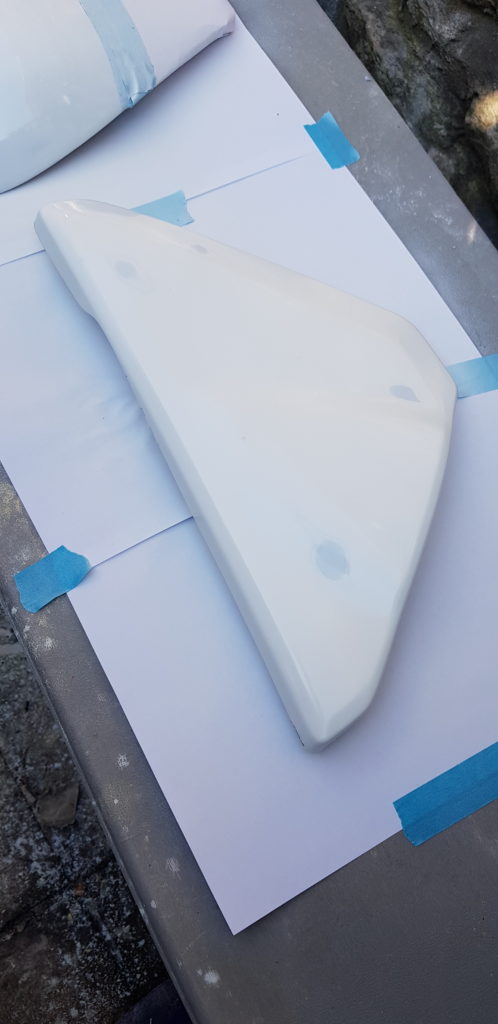
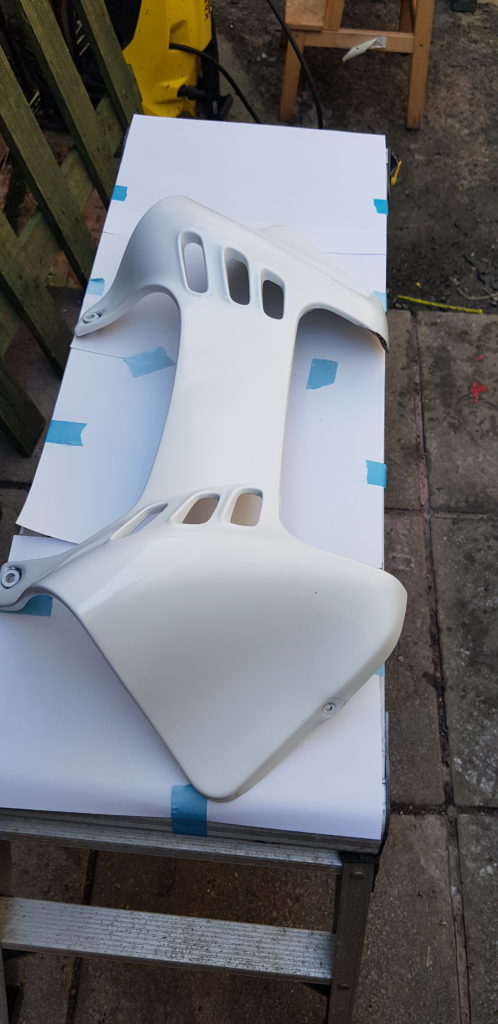
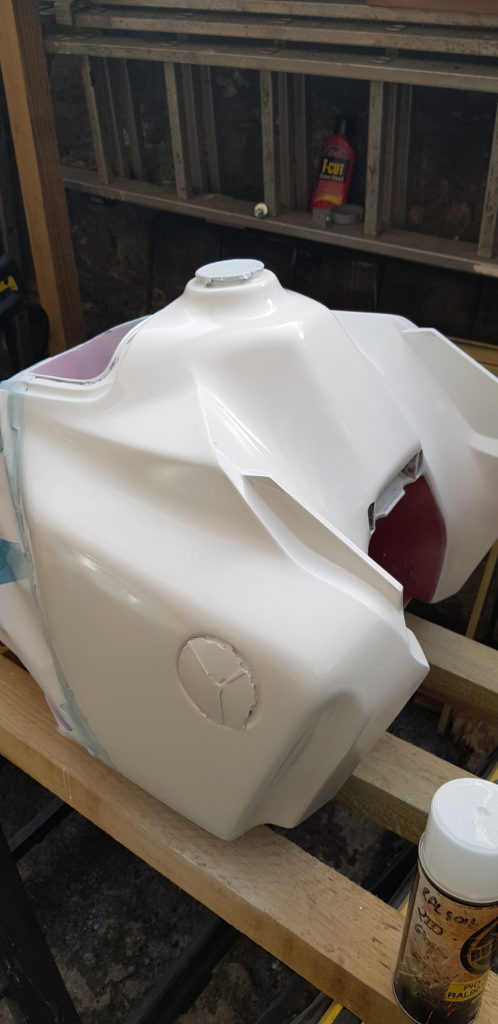
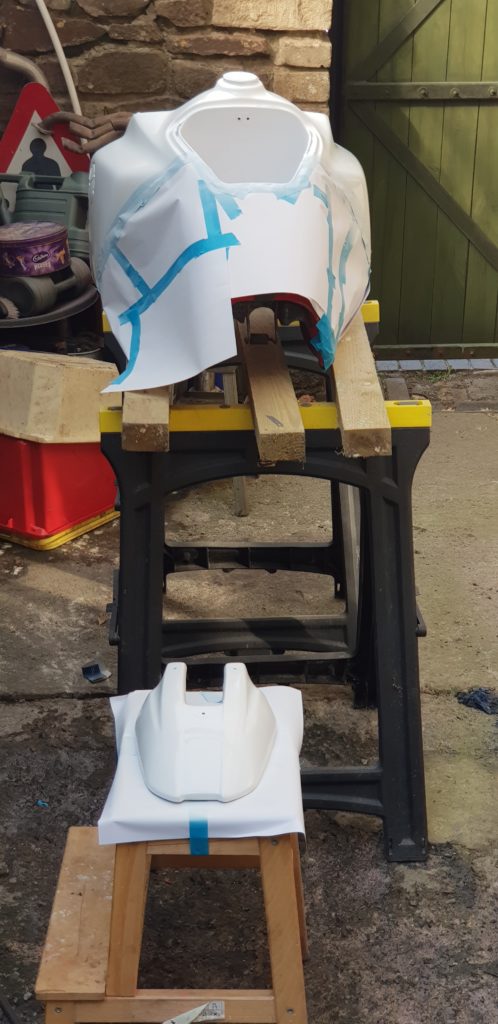
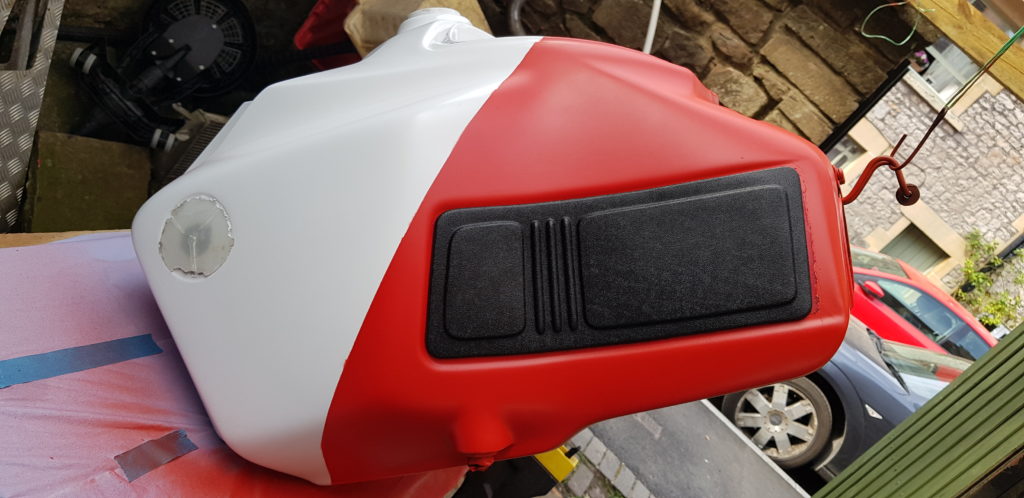
It had been suggested to me that I would be the best idea to paint the white bits first so I masked it off and set about it using a paint I purchased from Buzzweld called PIO (Plastics in One) which is a self-etching paint for going onto plastic materials. I hope it has enough flex to cope with the plastic tank. Craig (the owner) had mixed me up a can of Traffic Red and Traffic White which are RAL colours so has less of a mixture of tints so a stronger final colour. I will admit my prep work wasn’t the best and there was plenty of bits I missed but I was starting to get really tired of sanding stuff by now.
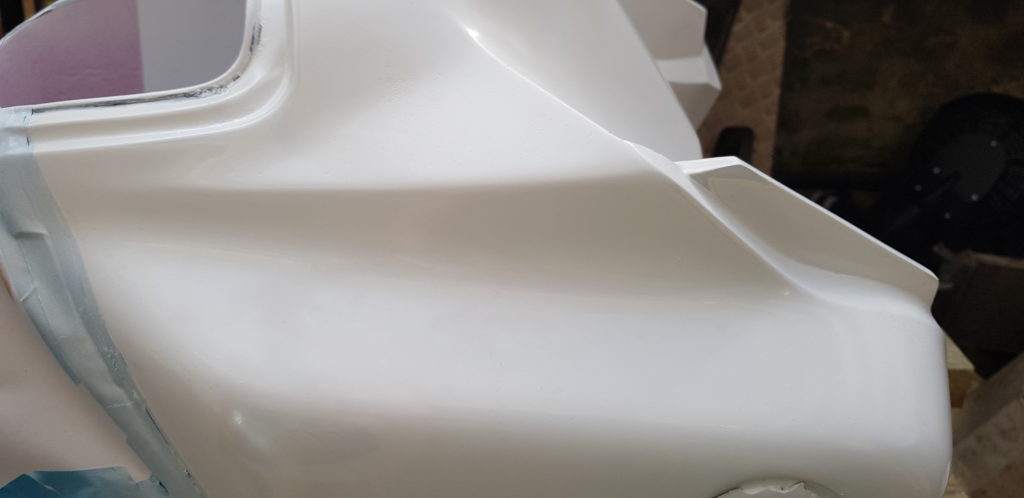
The white isn’t very good at coverage so it requires quite a few layers, this lead to the inevitable impatient me and runs. So some parts might need looking at in the future but for now, it looks OK from a distance. I left everything to cure for the evening, so that I could get to work on the red bits on Sunday morning.
Sunday was a special day for it was Easter and my Birthday. But the forecast was for Thunder and rain by the afternoon so work had to start early.
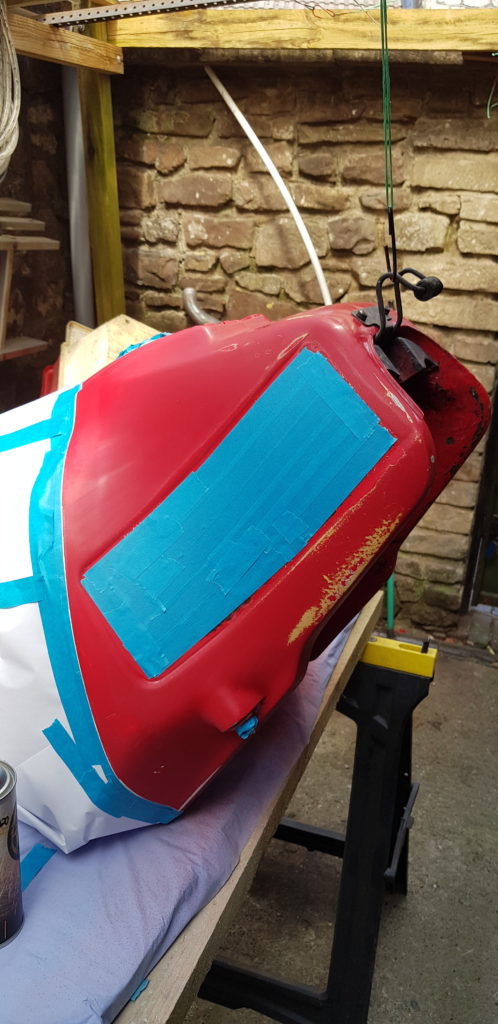
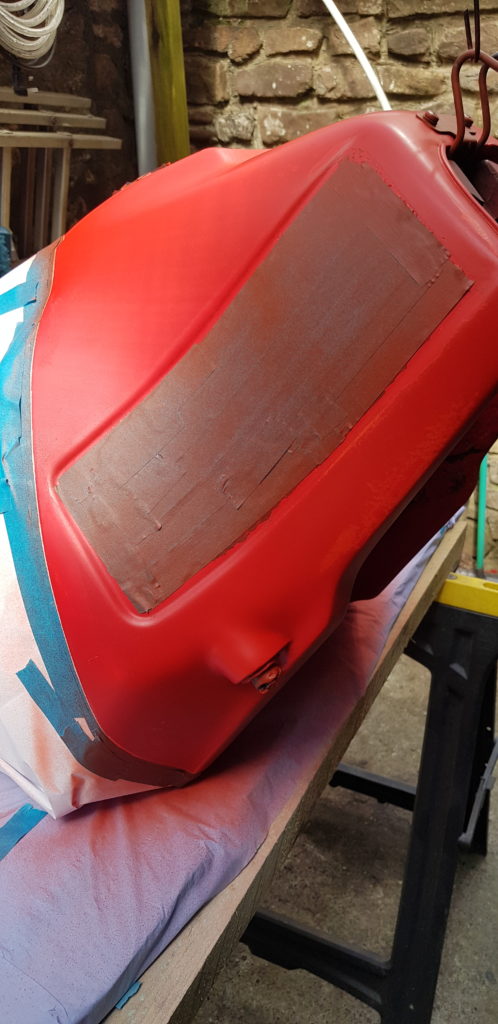
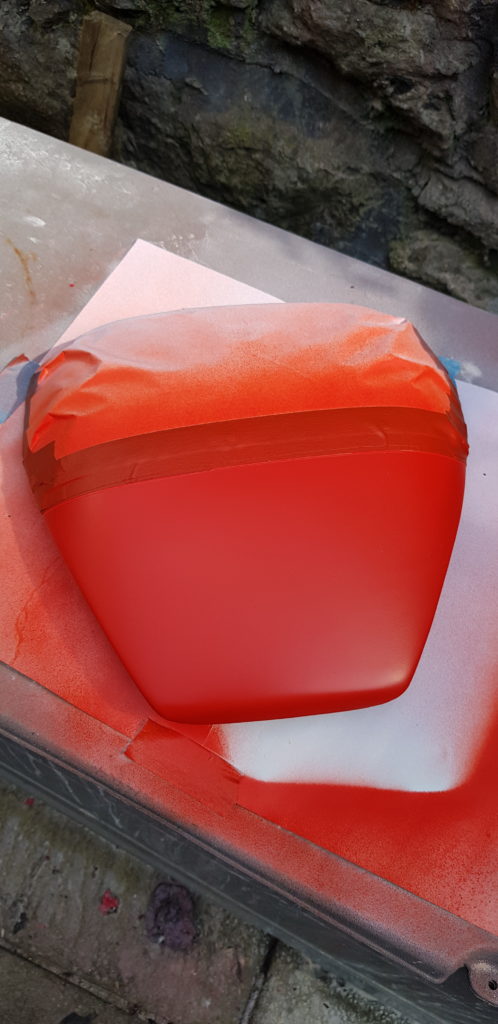
Thankfully the red is better at covering than the white and it went down nicely. This red is more of an orange-red than a blood-red but it is still nice. Due to a little mess up, I ended up with Satin Smooth for the Red paint so its a bit more of a matt finish but it still looks nice and I like it.
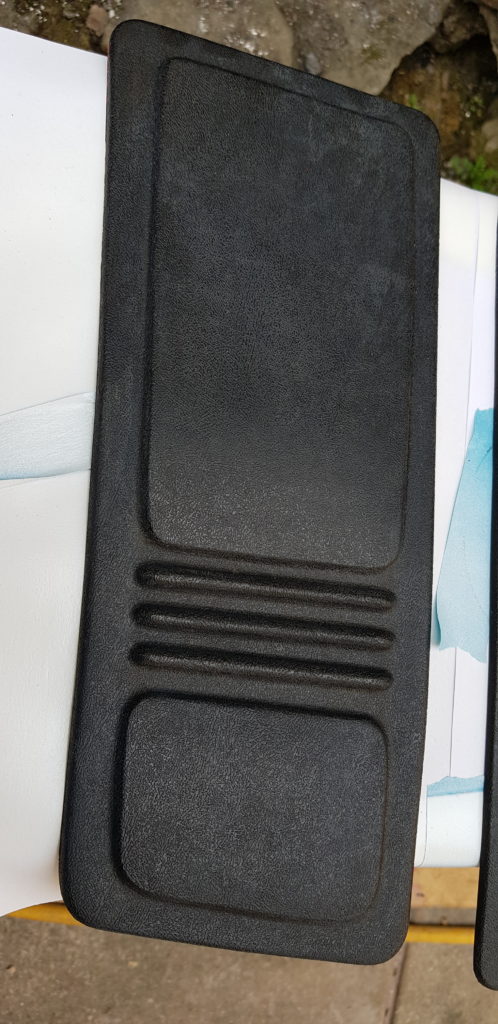
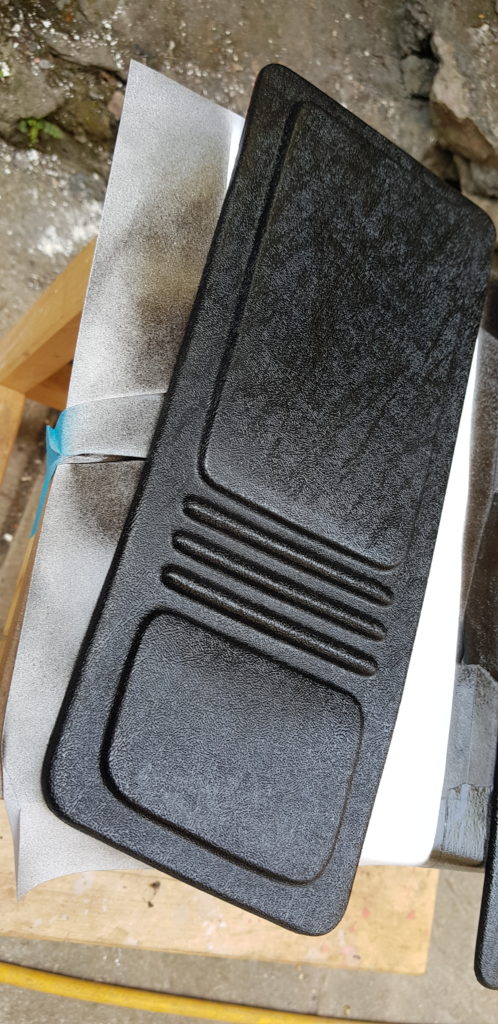
While I was at it I thought I would give the knee pads a spruce up with the Plastics in One paint.
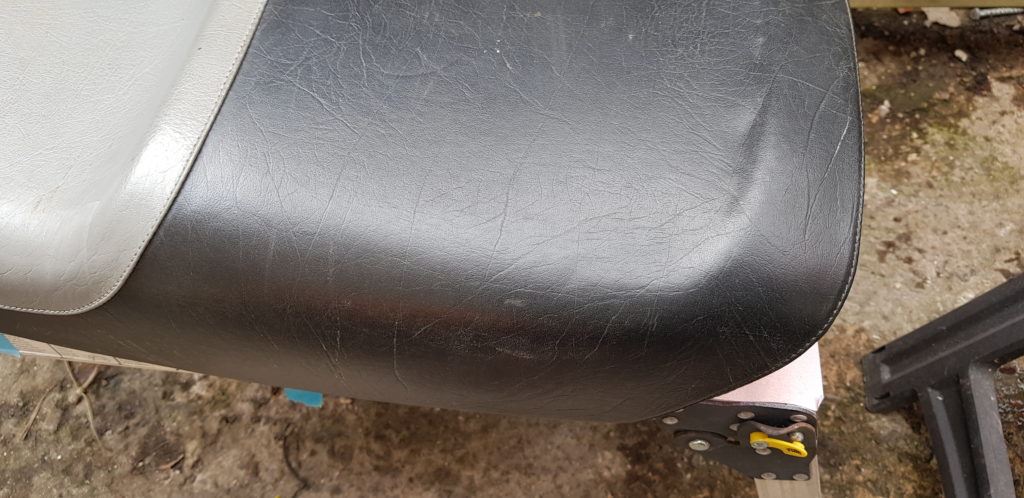
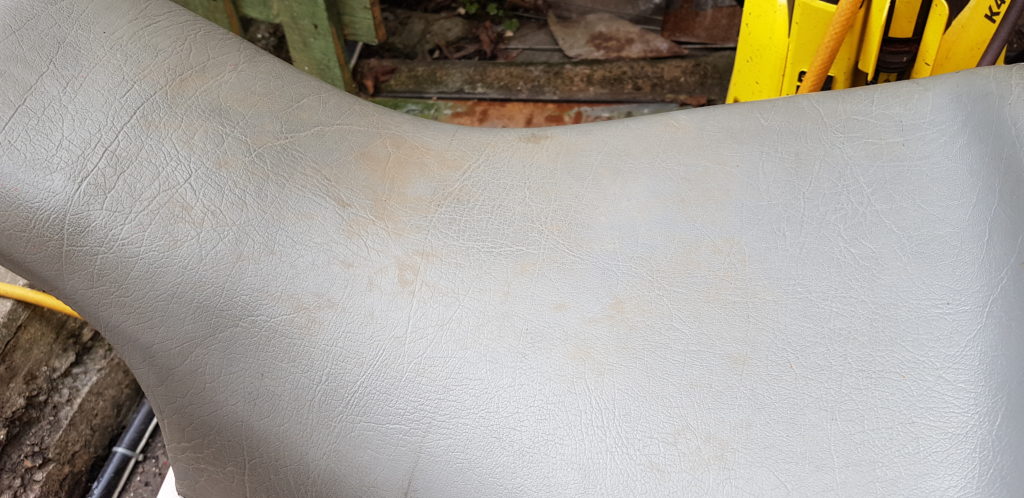
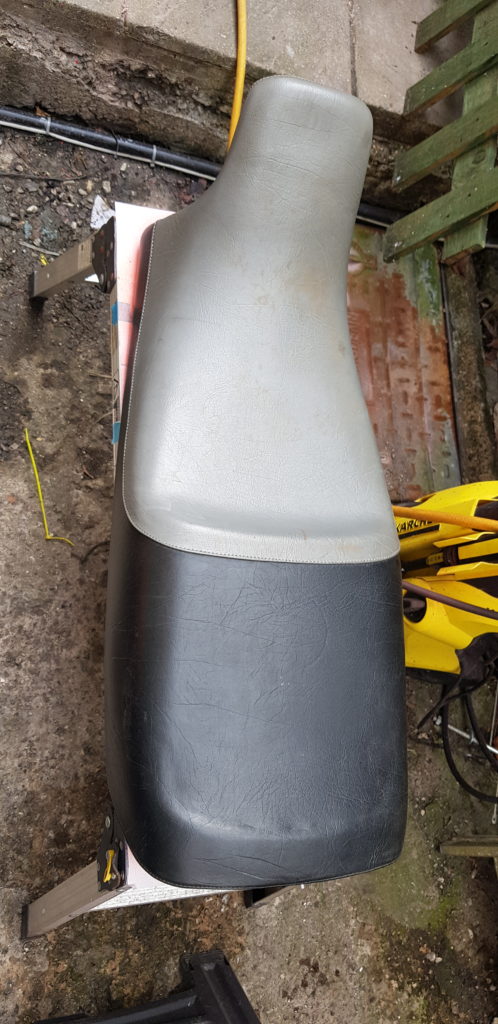
Then I looked at the seat,
So I painted it as well. According to Buzzweld it should be fine for vinyl etc so its worth a shot just to get it looking tidier.
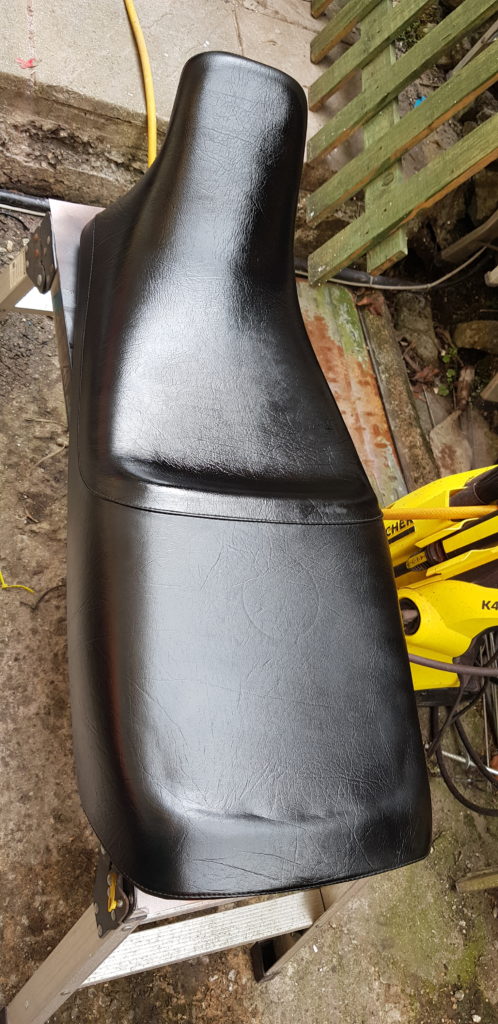
Took only two or 3 coats but a improvement.
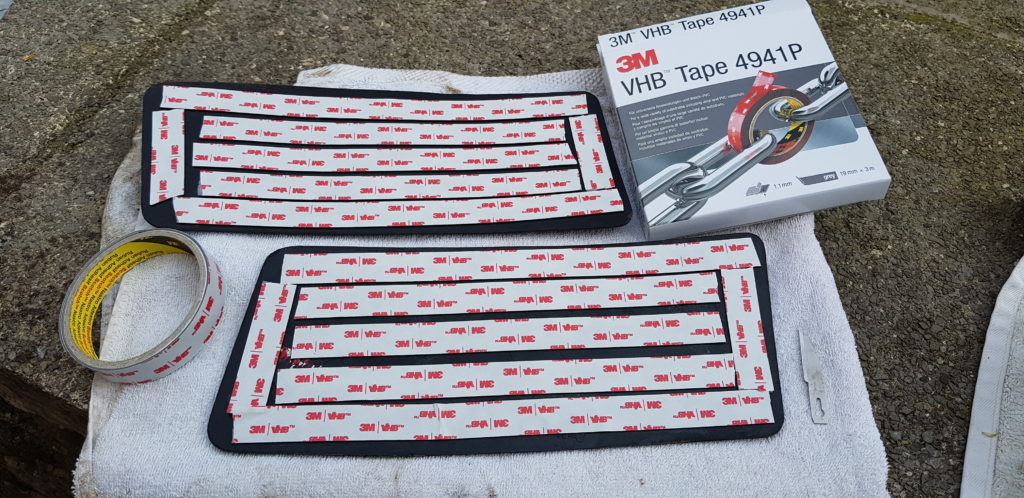
Now to begin reassembling. I had removed a lot of the sticky crap that was holding the knee pads on and had masked the area so that I had a good surface the get into. Being a snob I had opted for 3M products to stick stuff back on as I know the stuff they have works.
As you can see from the tail edge there is a little bit showing. This will be touched up at a later date once I get some more red paint. I then looked at where the BMW badge goes, much to my annoyance its silicone and not many glues like to stick to that, I am not sure that is original fit but I can’t seem to get it off the bike, I have tried some RTV silicone stuff to stick the roundels on and will see if that holds.
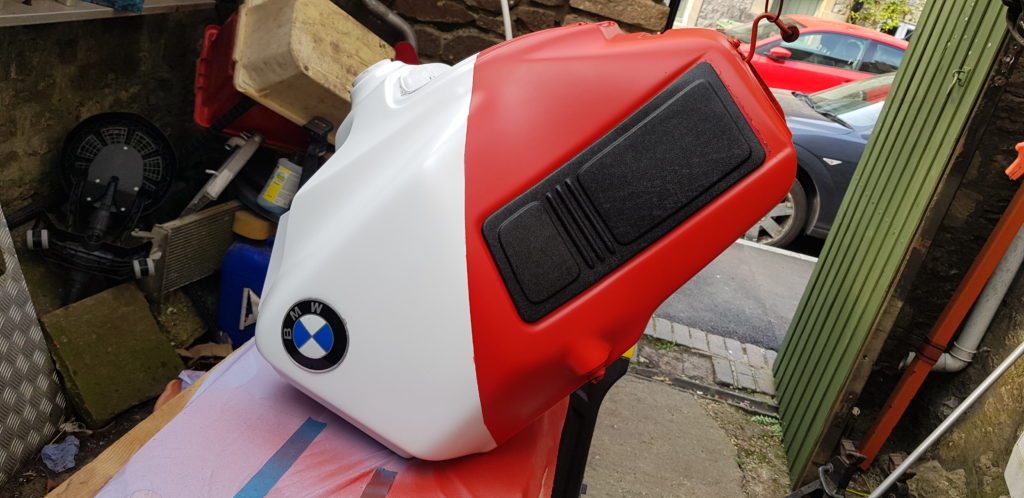
Starting to look more like it now. I am pleased how a bit of fresh paint on the knee pads just gives it a new shine. At this point I gave up for it was my Birthday and there was a BBQ in my honor and I am not the kind of man to miss that.
Monday morning arrives and I start Re-assembling the bike.
First the Side Panels went on,
Then the Bra and Front Mudguard,
I am taking the opportunity to replace some of the bolts and nuts etc. mostly because I can. Now the Tank goes on.
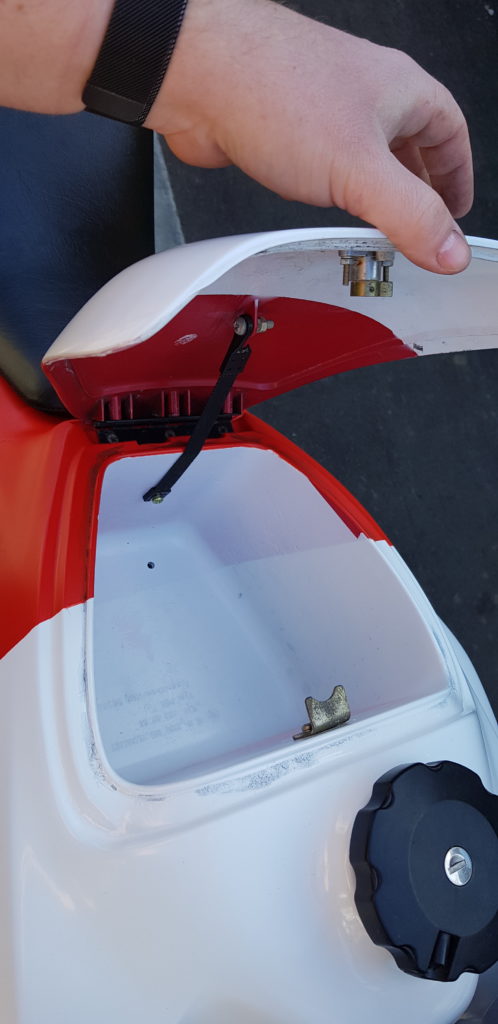
Followed by the seat and the top storage box cover.
While fitting the cover I again replaced quite a few nuts and bolts, because I disliked some of the self tappers, scrivets etc.
I plan to make some sort of tray to go at the bottom to prevent stuff from getting wet at the bottom. Even maybe adding a liner of sorts in there. I have ordered a new seal for the lid as I do have a bit of rubber that came off but it looks tired.
Now comes a bit that I wasn’t really looking forward to but I know it needed to be done. Stickers. The bike didn’t have any other than a bit of faded pinstripe tape to hide the seam. I bought a kit from heritagestickers.eu for the ’91 bikes as I preferred the Paris-Dakar before the lawyers got there and stopped BMW from using the words and they went to PD.
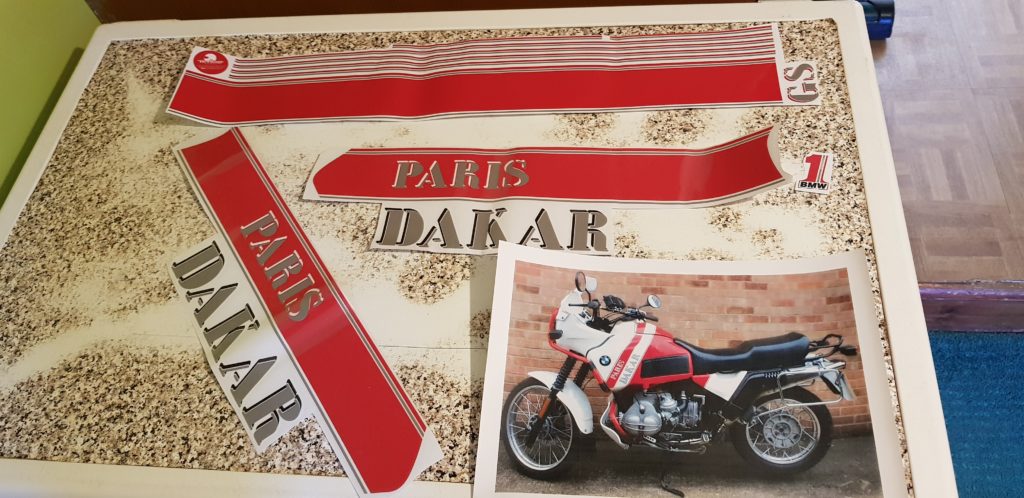
Sadly no real instructions of how to fit these, but I did find a OK picture of a bike on the net. I promtly went outside and stuck on the first one,
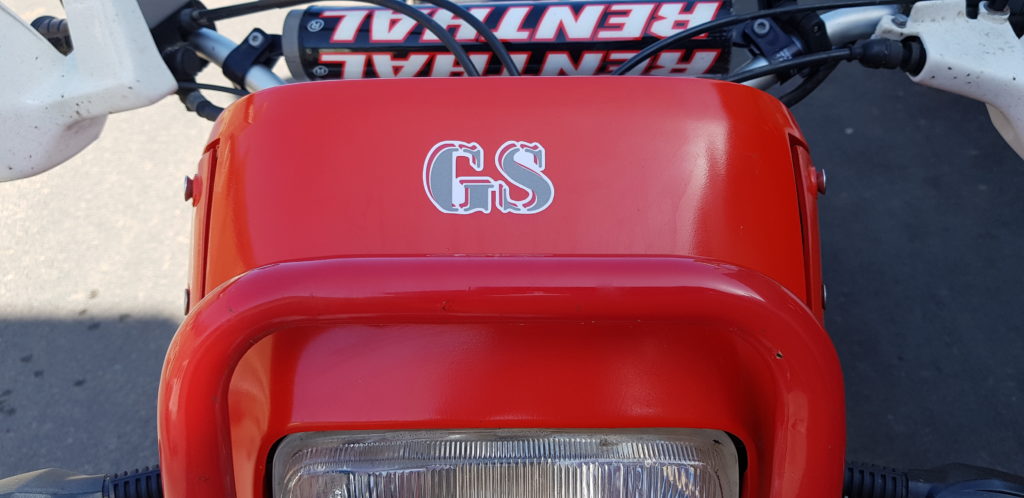
I just wetted the back of the sticker with some soapy water to allow for placement. The wind was very keen today so no point in getting the hair dryer out to get them warmed up.
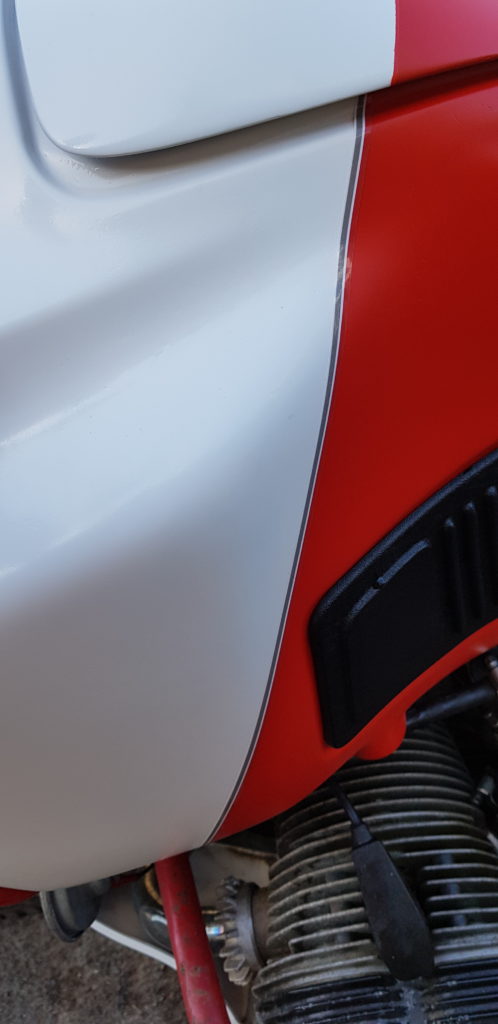
I then did the pin stripes. That was a pain to get right, it is a very curvy tank. I used a small gas powered soldering iron with its end used for heating heat shrink to get it to bend to the angles and to get it to dry enough to stick.
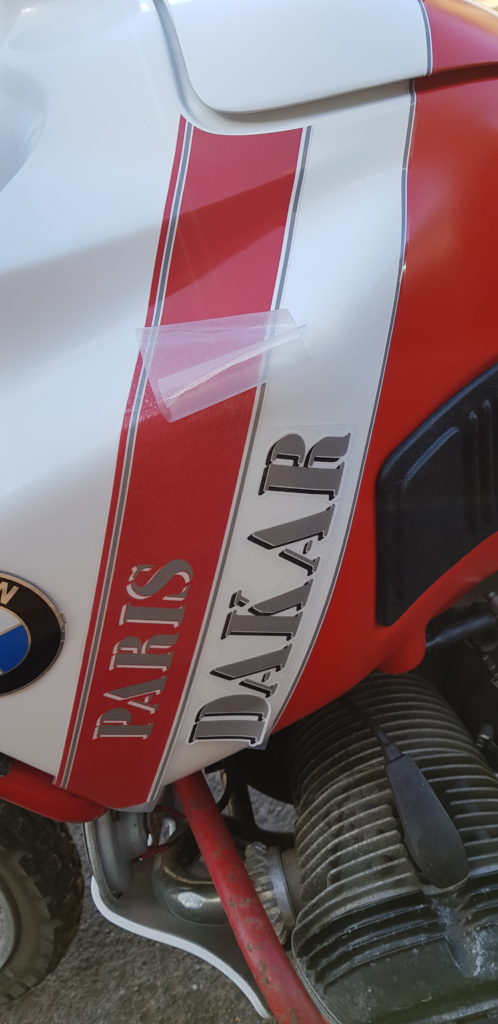
Now for the big stickers, oh my what a swear inducing effort that can be, thankfully I managed to just drink lots of tea while attempting to ignore the wind that wanted to help me with this part. Much like the paint job its not perfect, but hopefully its Fit From Far Away.
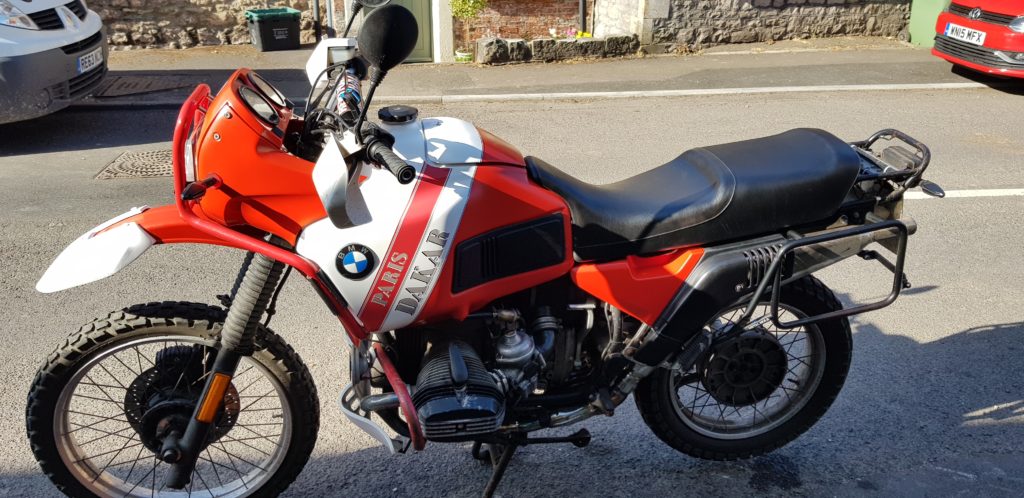
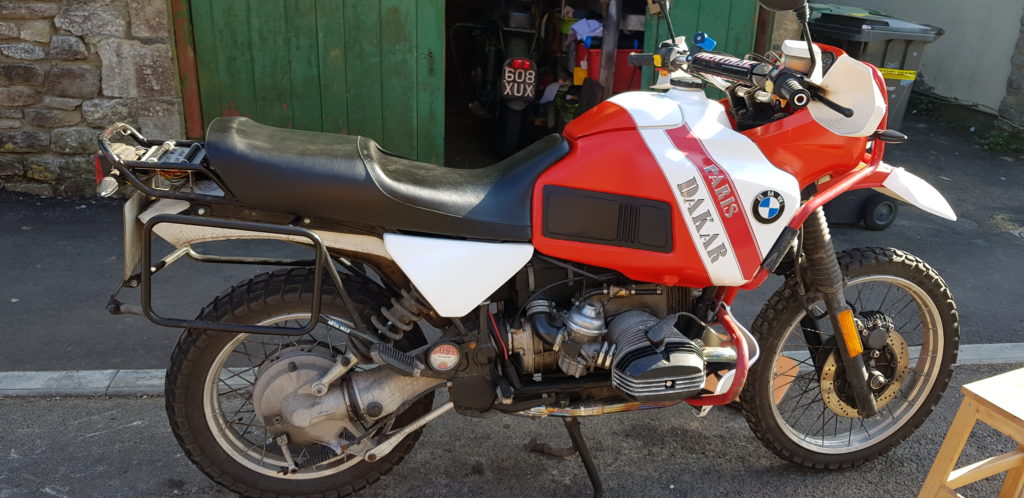
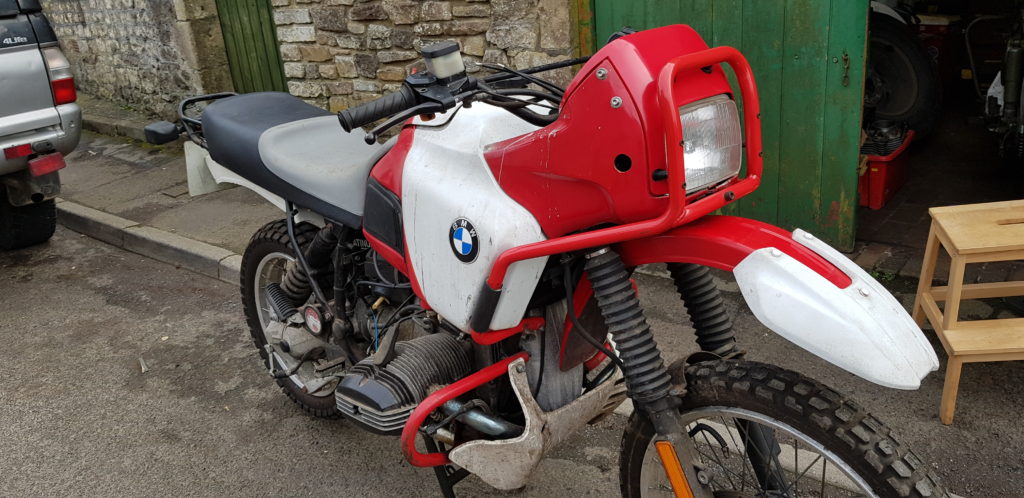
I have got some tape to go over the top of the tank but I am reluctant to do it as I will have to cut it to go around the hold for the covers lock. Fuel taps etc to be refitted after they have been cleaned. Oh, and a new rear mudguard has been ordered so that it can be finished and looks pretty. The screen will go back on once my friend “This Old Hoddy” finishes making some bolts as I can’t seem to find any place that has the BMW ones. Sorry for the long length of this post but it’s been a busy weekend where I have managed to tick off one of those little jobs I have wanted to do since I got the bike. Below the difference a year makes.
