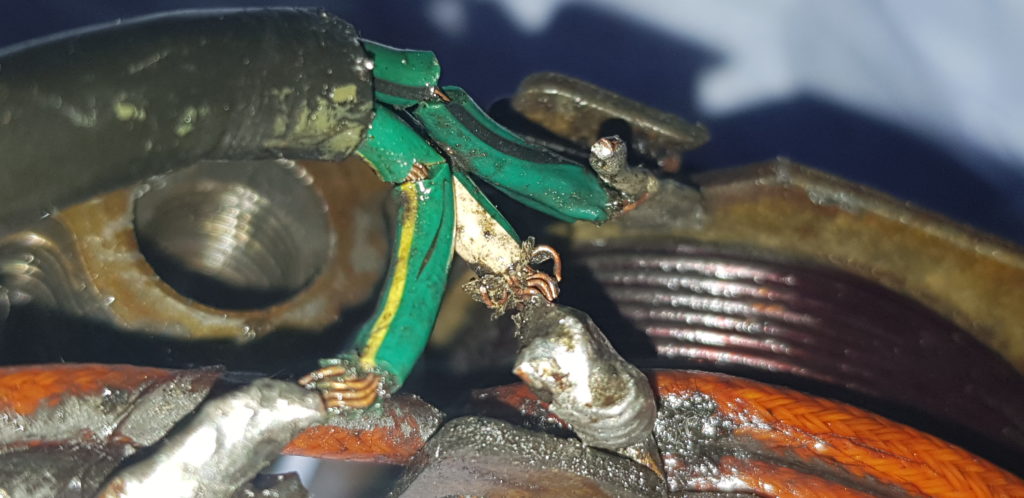
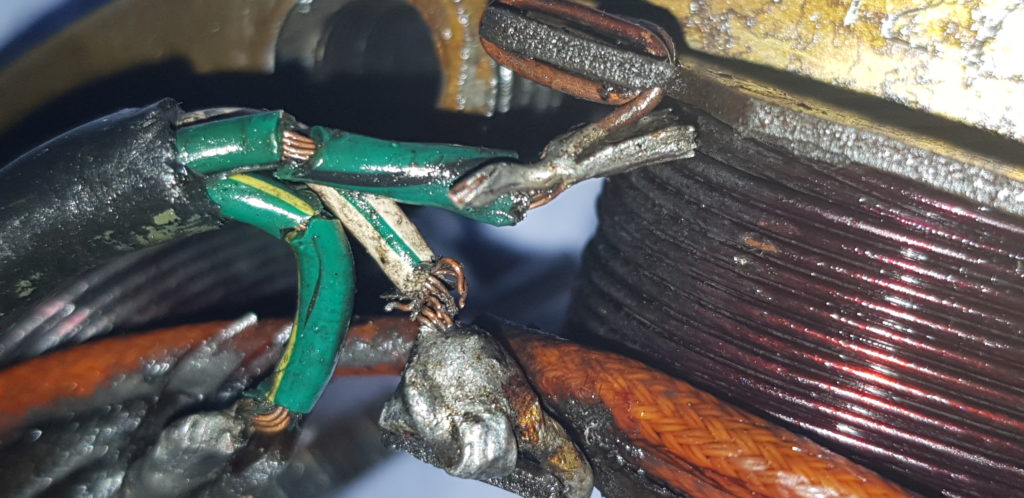
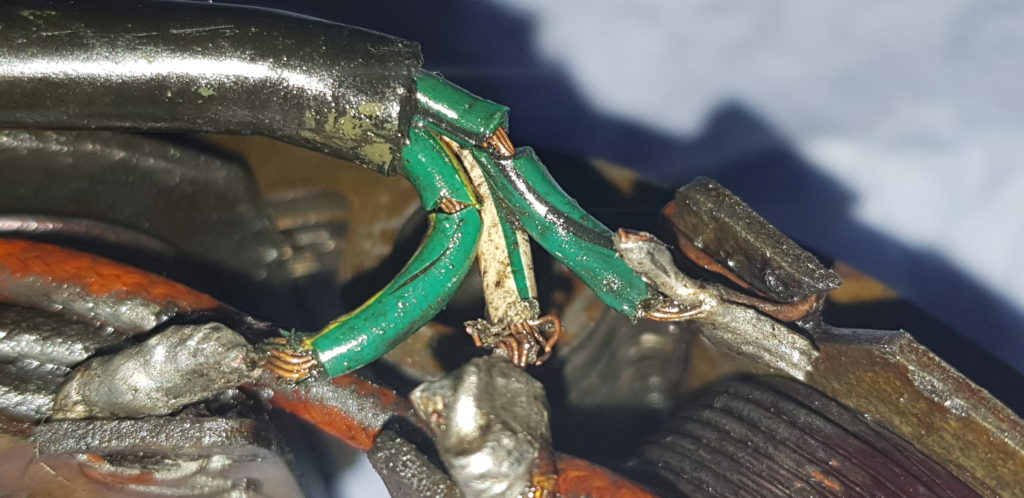
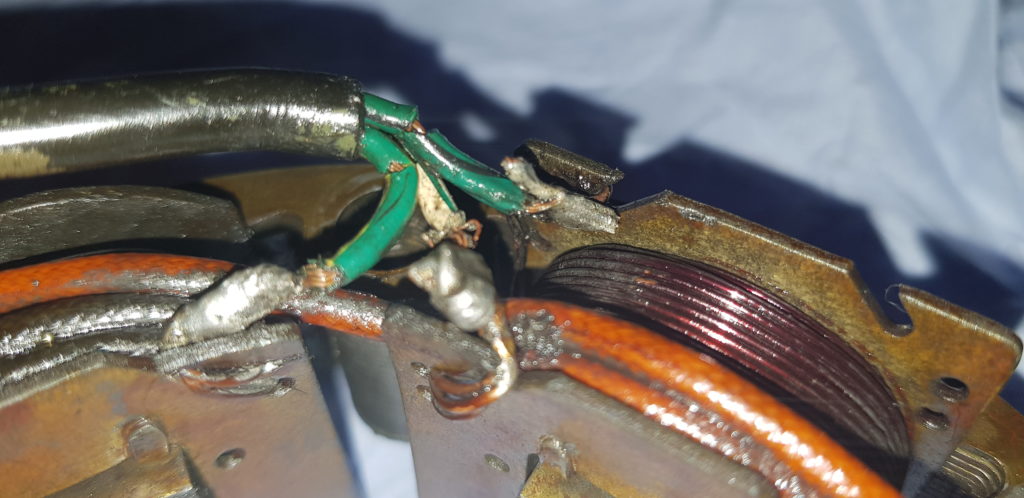
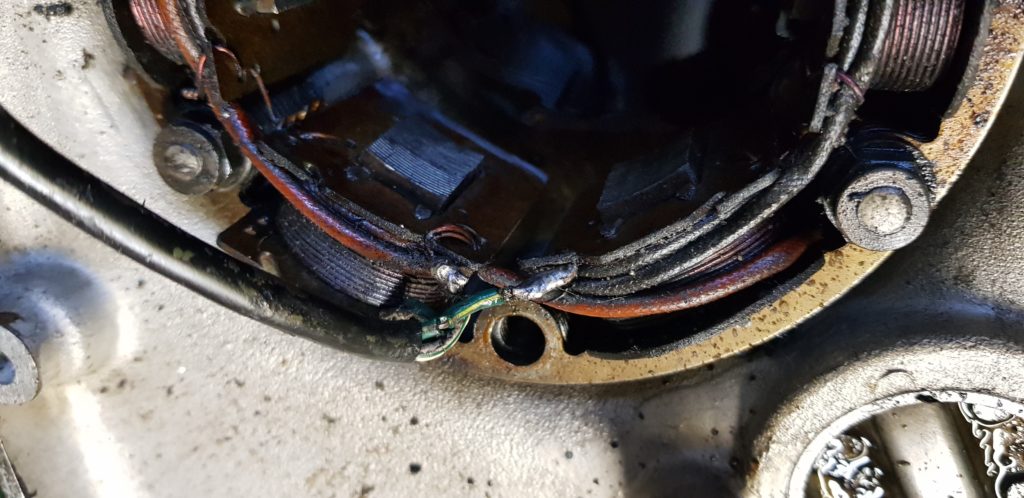
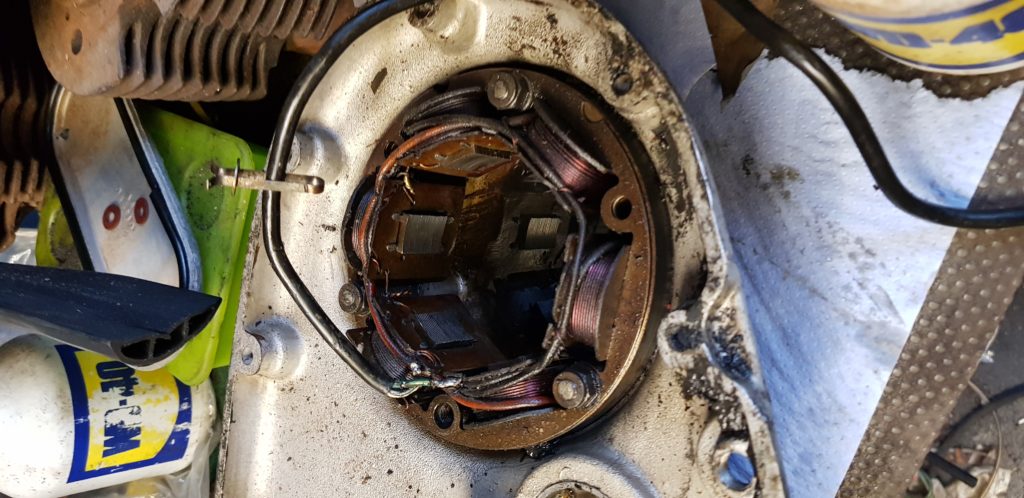
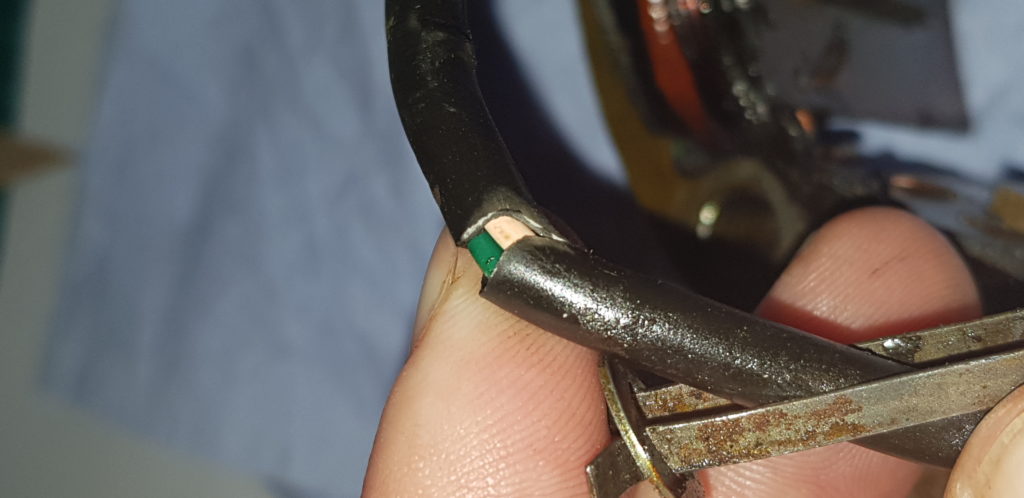
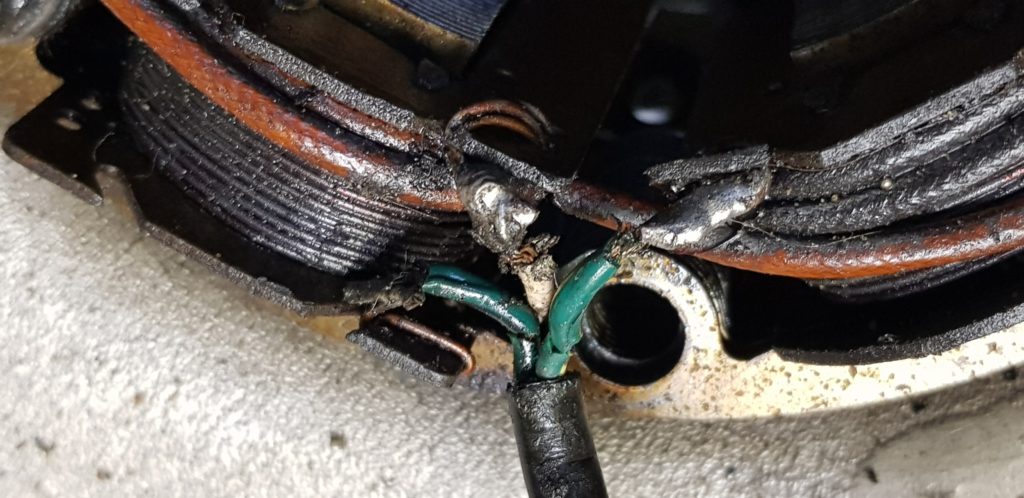
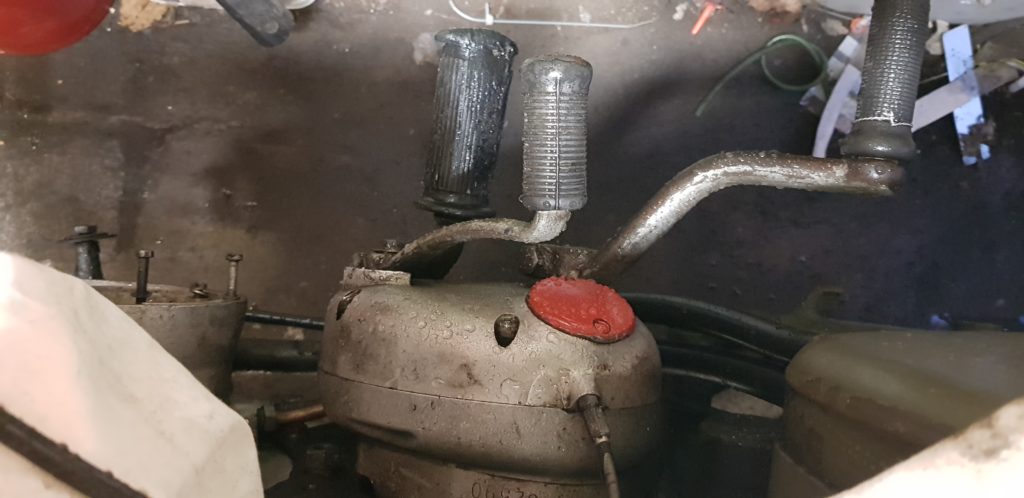
While looking about the Matchless it was noted some of the wires on the alternator looked a little cracked. Well, the wire has died, in places, the insulation has gone hard and cracks upon flexing.
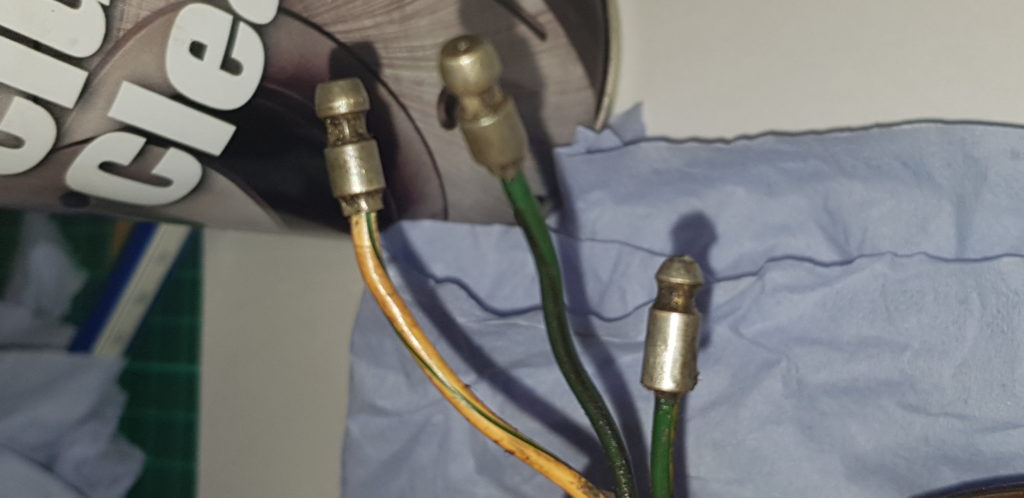
A quick search on Vehicle Wiring Products website and I have ordered a length or two of 3 core wire. Plus some crimp on 4.7mm Bullet connectors. I may well be able to unsolder the old ones but I don’t want to make the assumption I can.
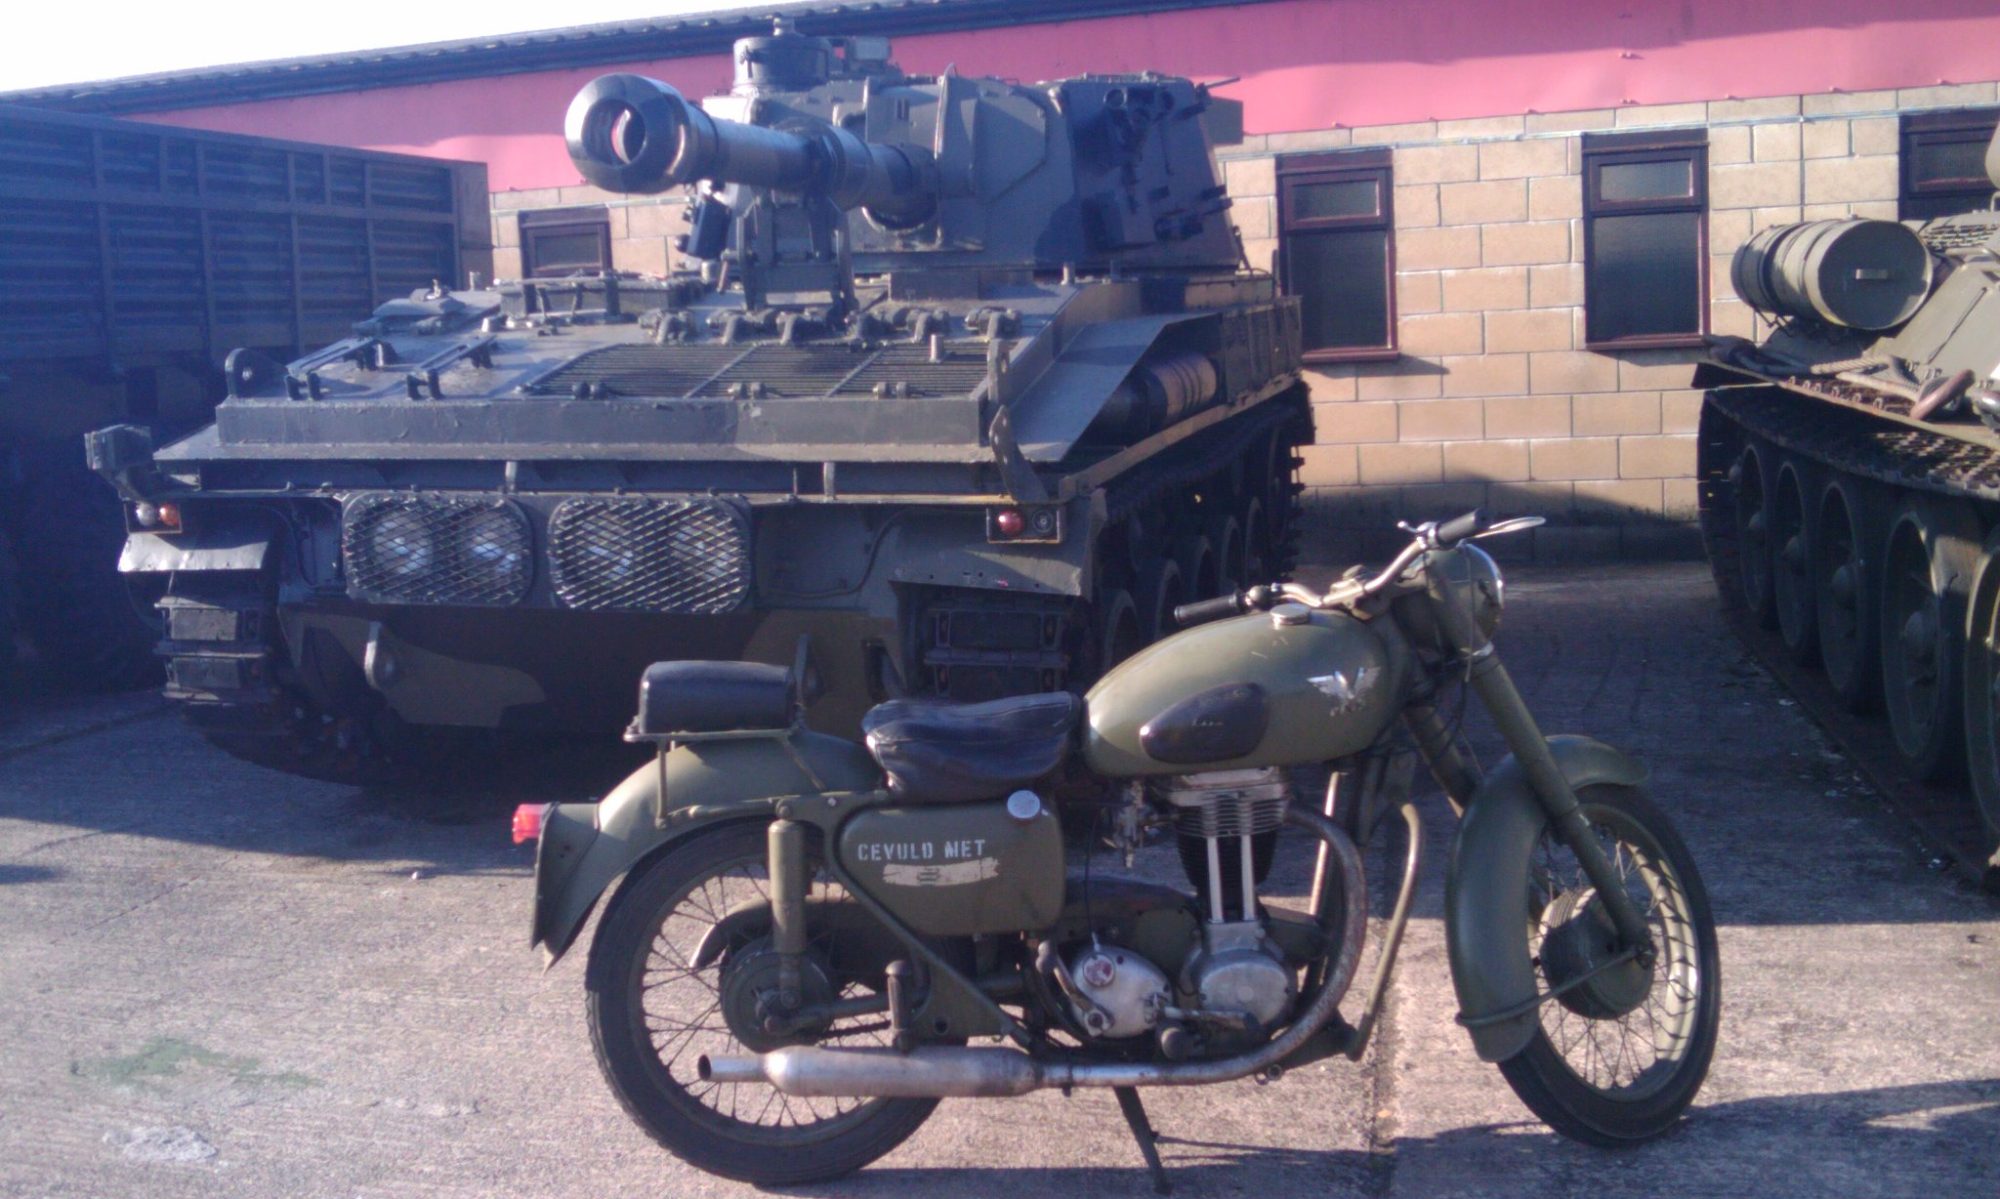
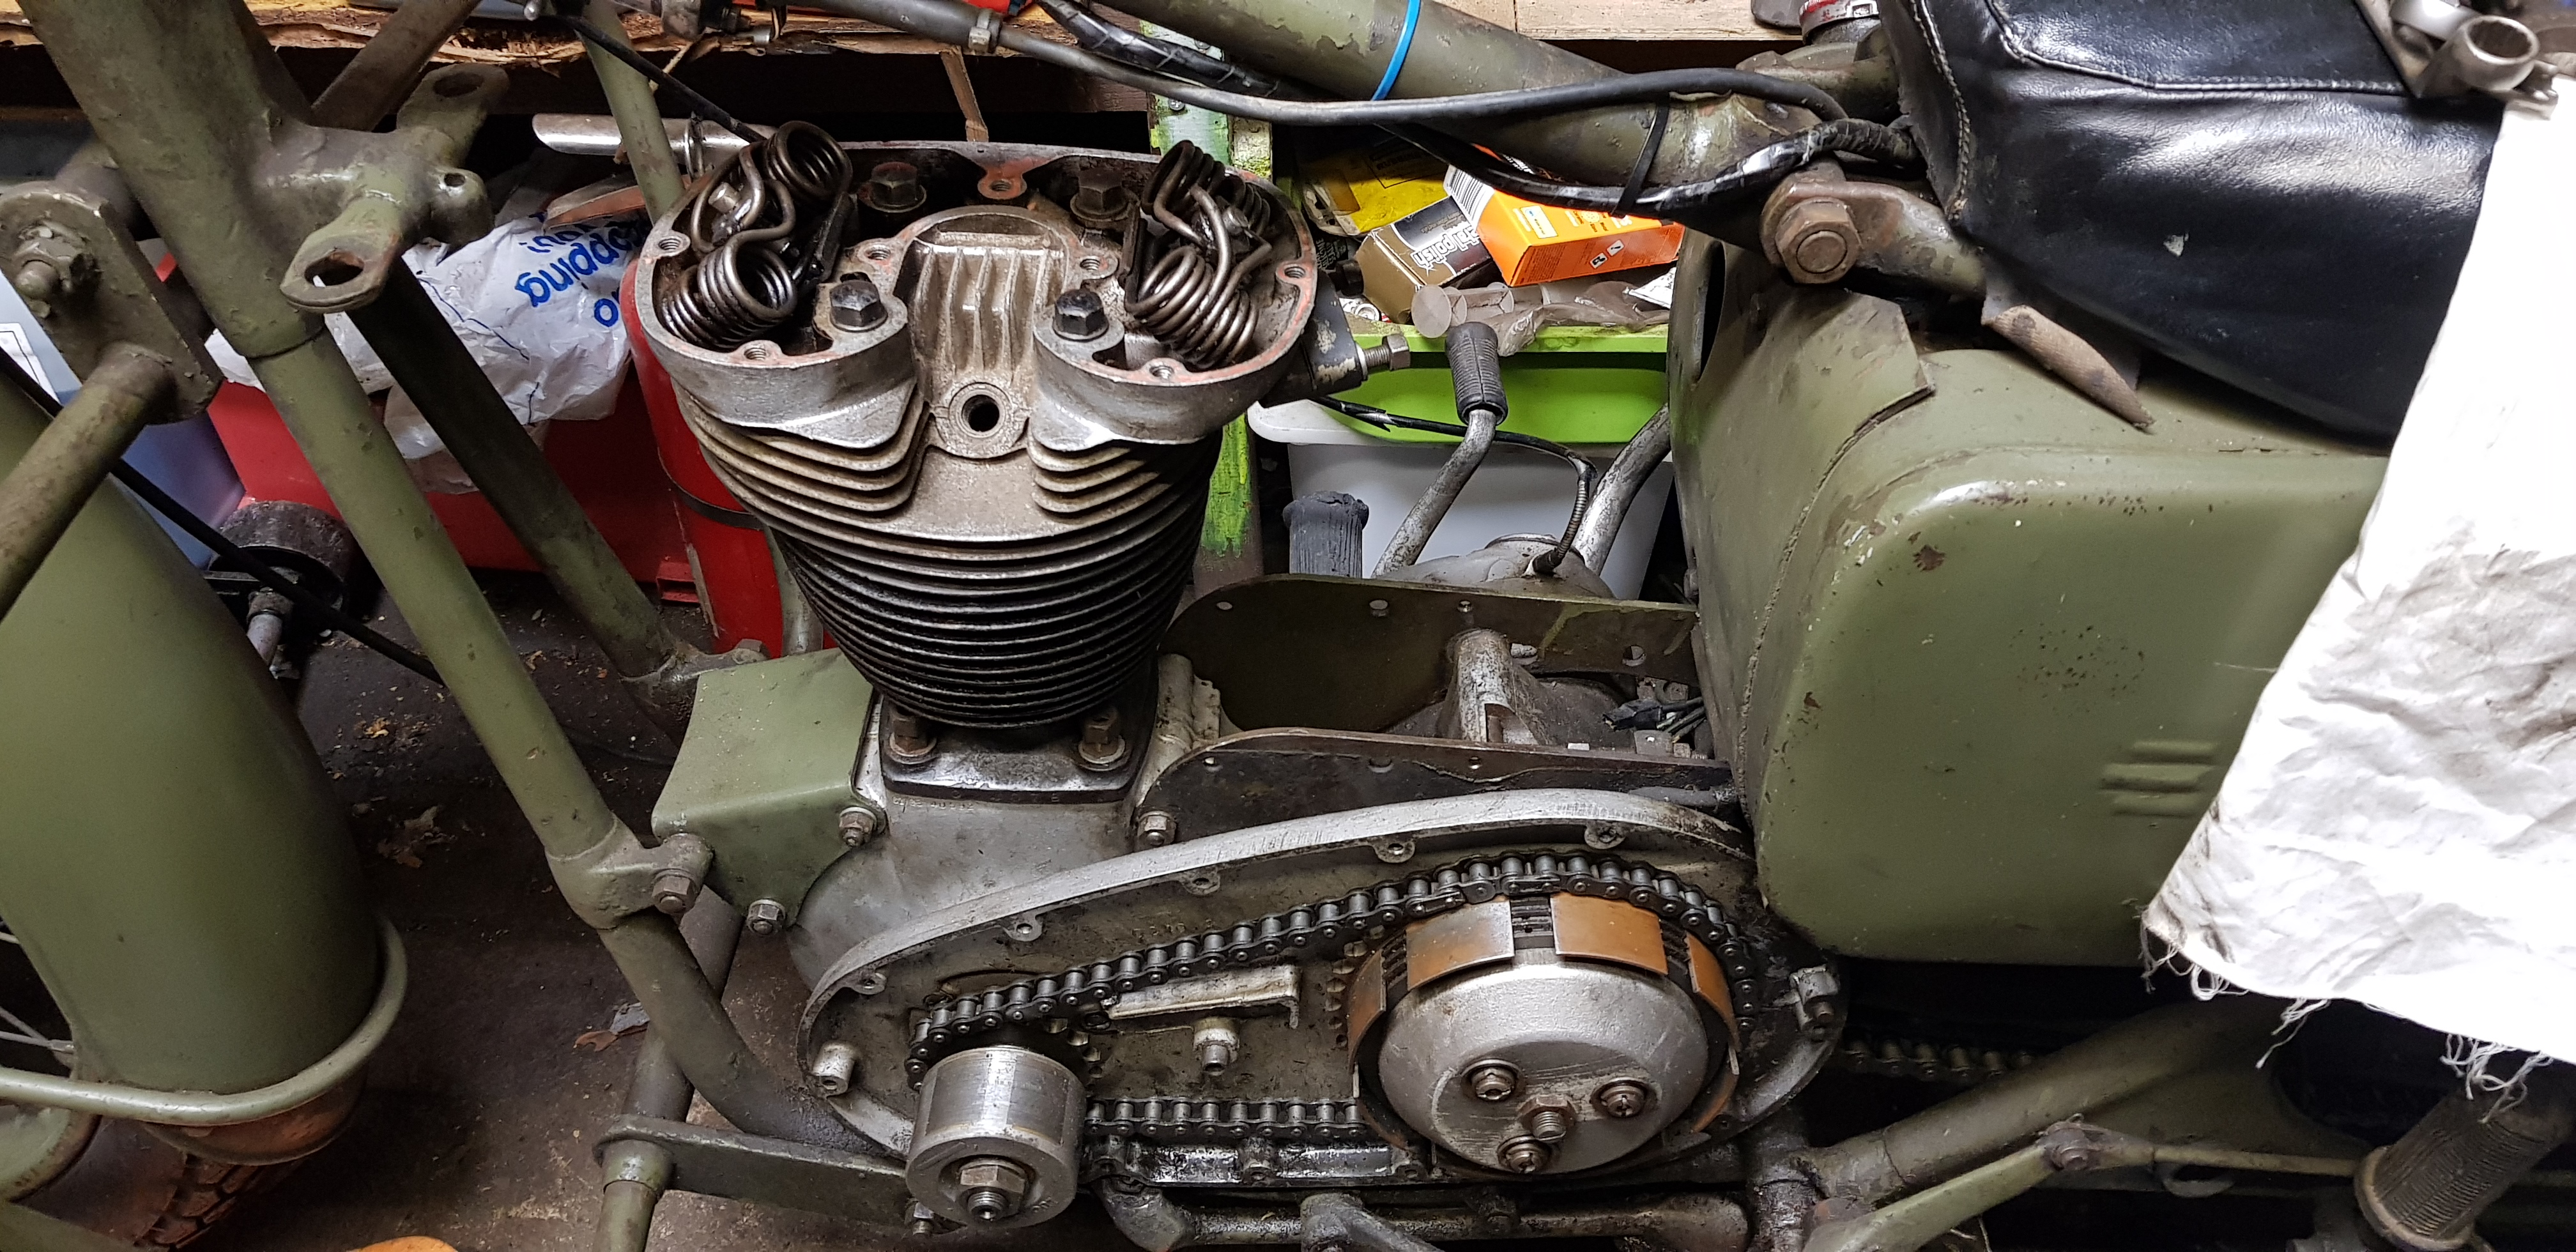
Many years ago I broke the Matchless on the way home from a weekend in Wales. The piston crown came off and bounced around the top of the engine, this meant the engine needed to be stripped down to find all the bits in the bottom.
This didn’t take very long but as we have a collection of bikes and some rather repair intensive 4×4 vehicles (Land Rovers) the Matchless was left at the wayside. I am reluctant to take on the task of rebuilding it as I didn’t take it apart and many of the parts have been sat on the bench alongside the AJS parts that were gradually going back together ready to go into the AJS.
This week my dad had the chance to spend a bit of time in the shed and managed to get a good part of the bike back together. Sadly he snapped a piston ring as it tried to refit the rebored barrel and new piston. These where originally for the AJS so had been fitted for that engine.
Sadly we pushed the kickstart over, on the engine a few times and there seems to be a lack of compression so we suspect that piston is also cracked, or the barrel.
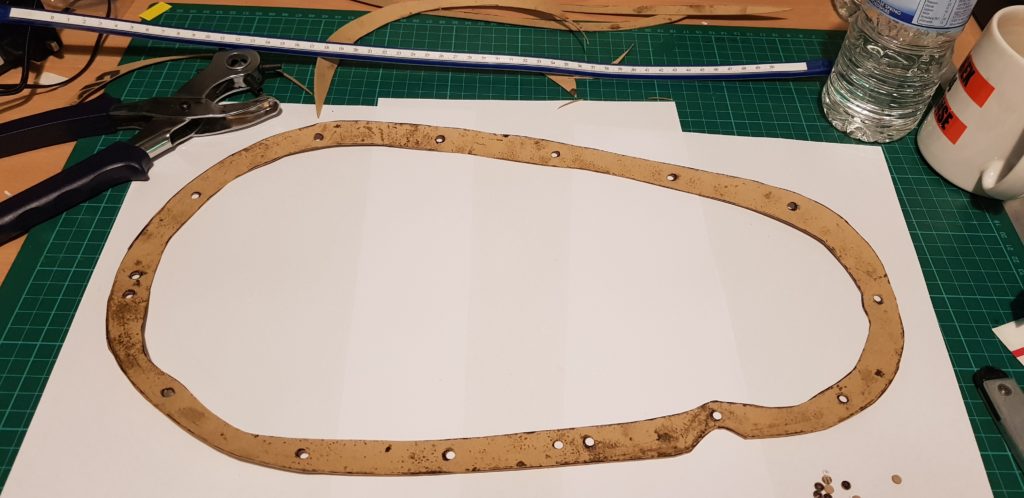
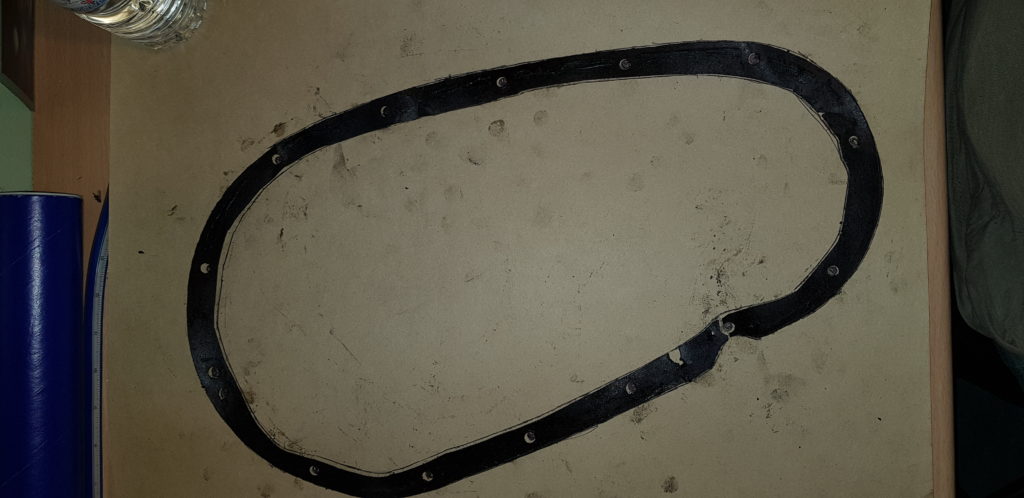
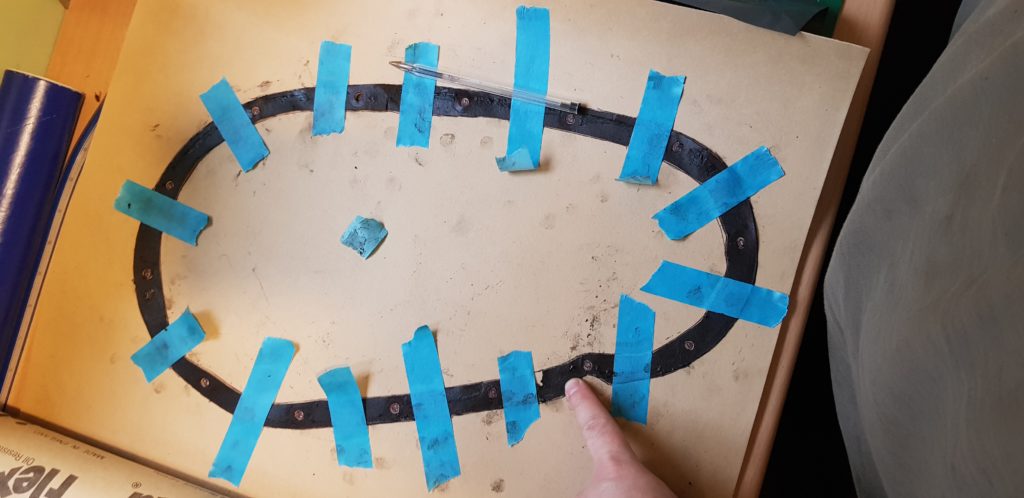
I did make a gasket for the chaincase as that was another thing we needed to do. I used the old chaincase gasket as a template but I had to tape it down as its been in a folded state for a few years. It was then traced and cut out with a sharp knife.
The oil pipes need to be looked at as they seem to be a bit too loose and potentially could leak. I plan to source some clear pipe of a suitable diameter.
Another task is to resoldering the wires on the alternator as the 1960 wire insulation is starting to fail. I haven’t tried to do this yet as the parts need a clean before I tackle it with the soldering iron.
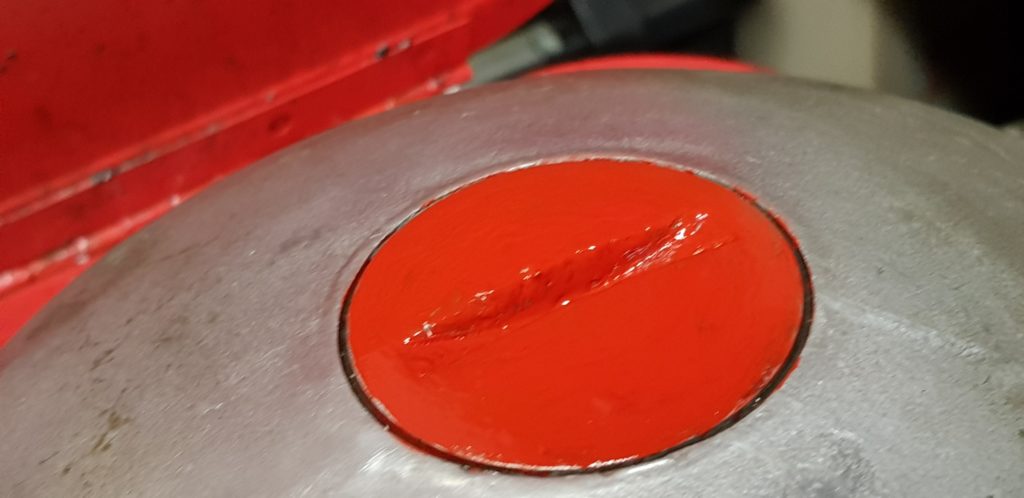
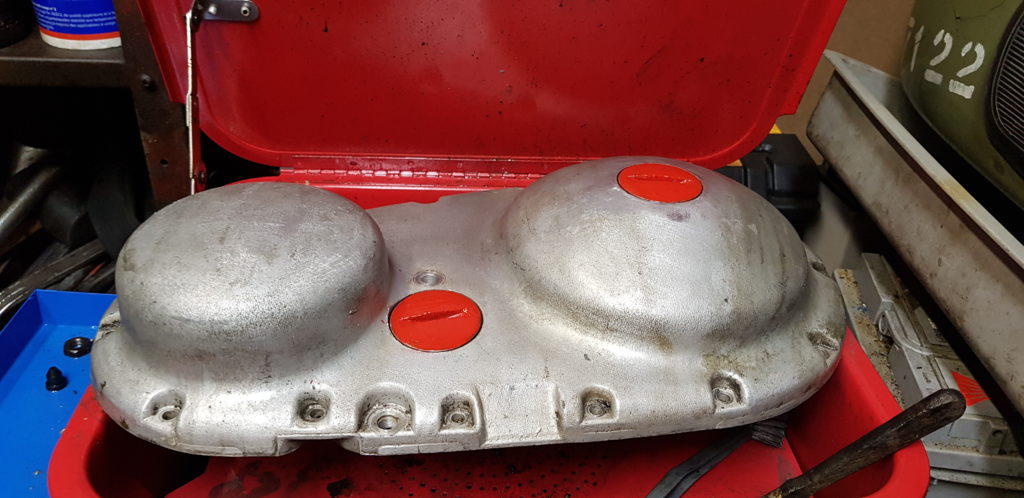
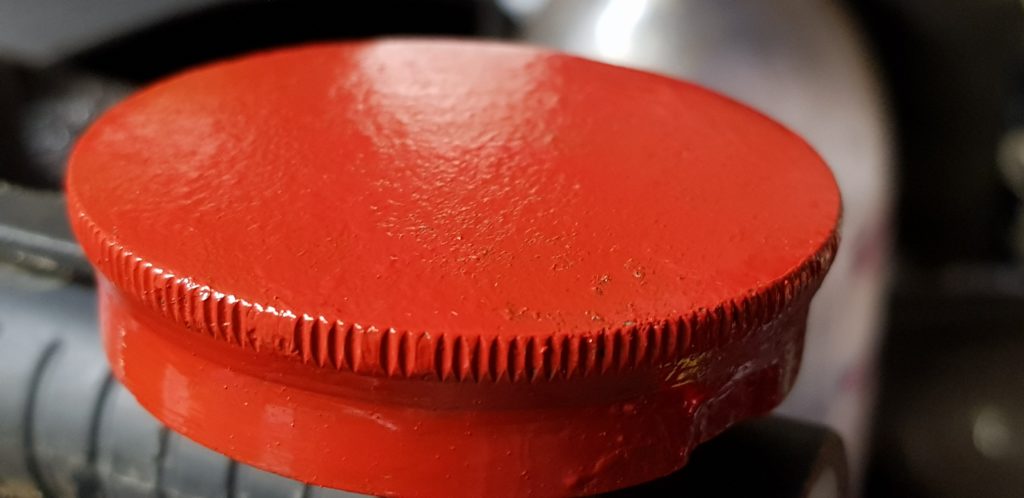
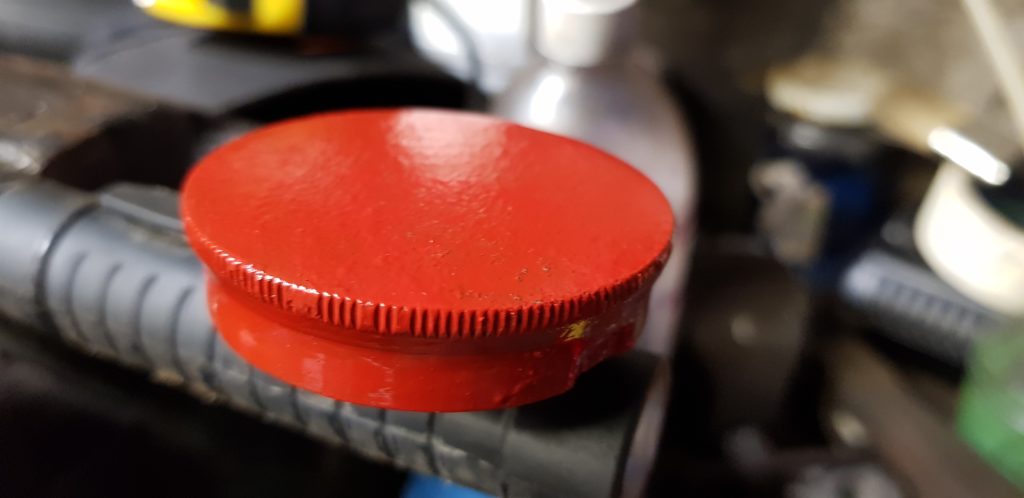
This meant today’s plan was to have a bit of a tidy up in the shed so I could get to the parts cleaner. But while at that I did some paint restoration, and with in keeping of the military treatment I didn’t go overboard on prep before painting. The parts were cleaned and just with a small brush and some enamel model paint I repainted a few parts that were originally painted red, though a slightly deeper red than I have applied.