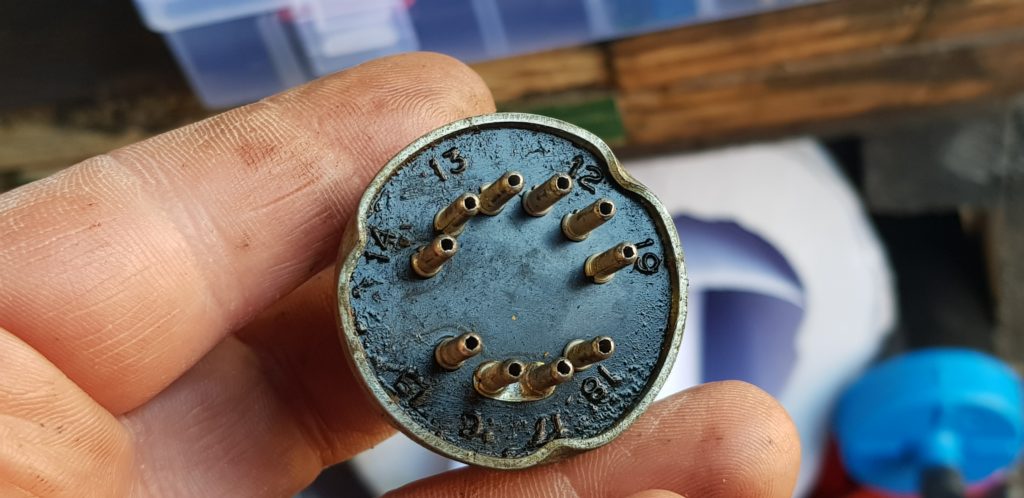
I have ordered parts to put the dash back together but after 2 firms failed to have them in stock even though the listed them as in stock on their websites I have ended up ordering some of the bits from America so it may take some time.
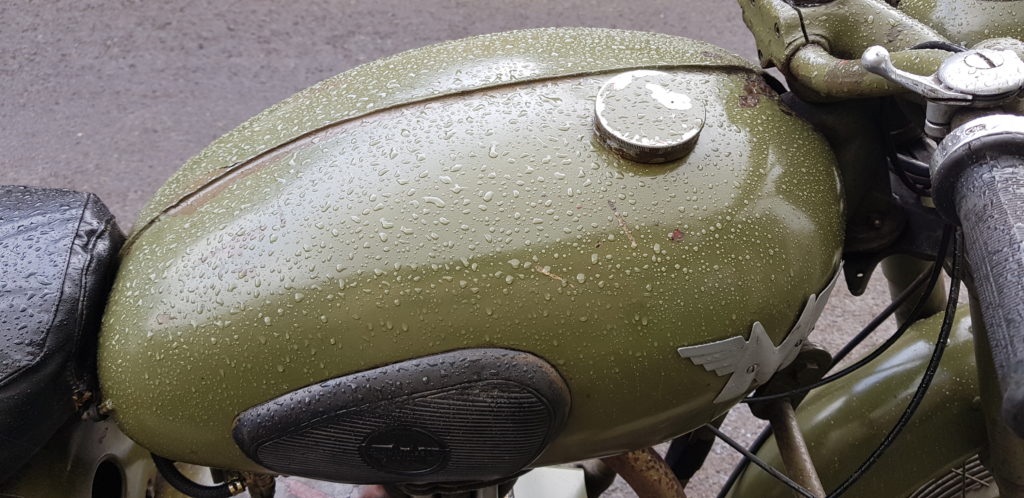
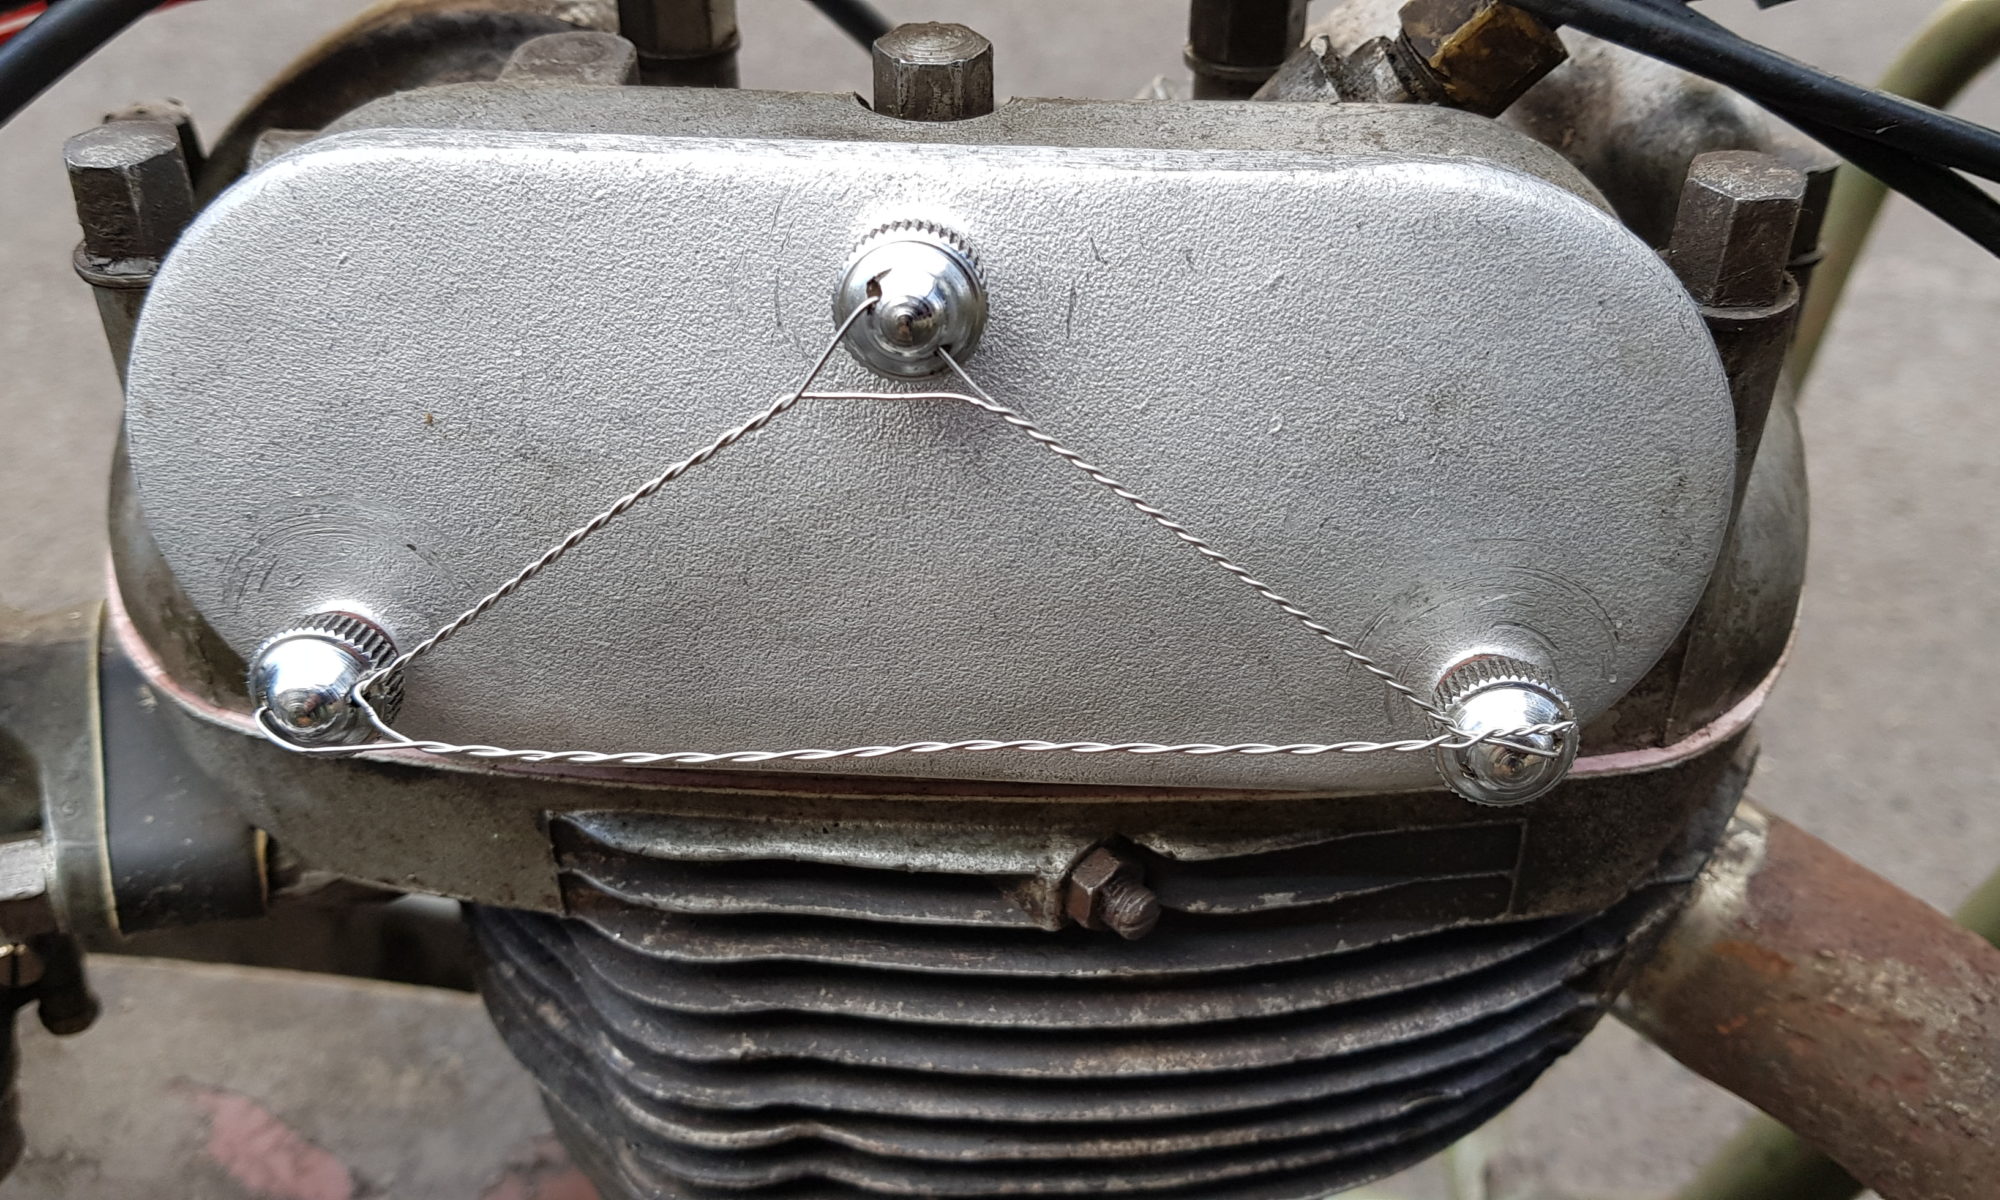
In the meantime, I am mostly plodding along with bits to do. One of which was to swap out the bulbs in the clocks to LED. Its a theme with me. The pictures where taken with fixed exposure mode so they should so comparable brightness.
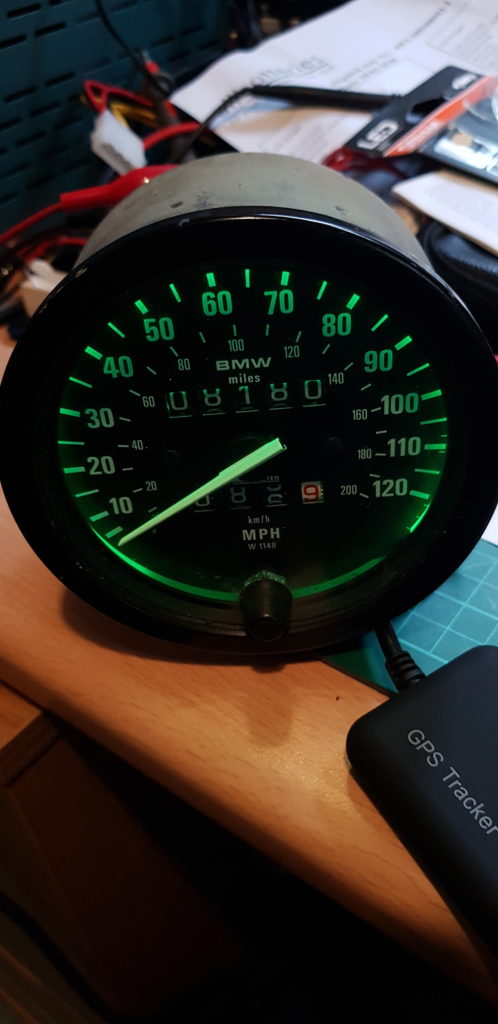
Green LED 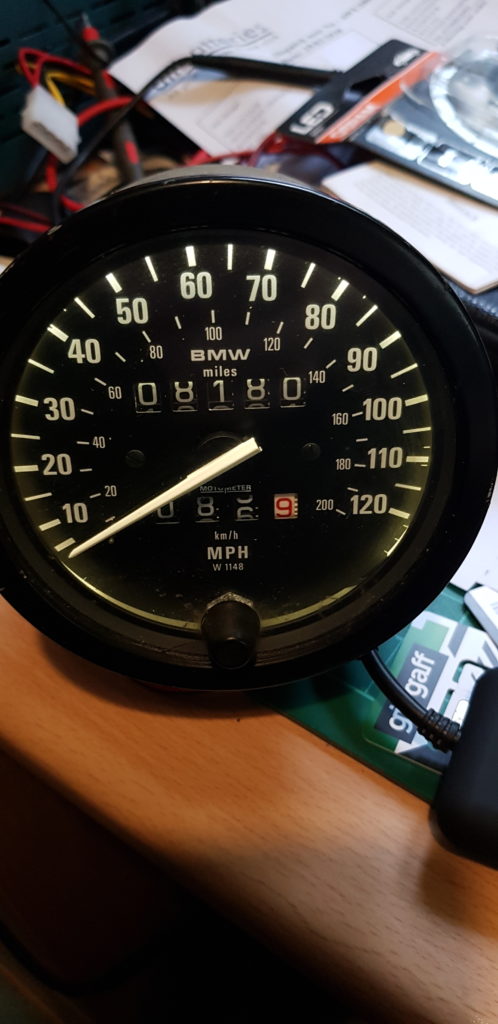
Osram LED 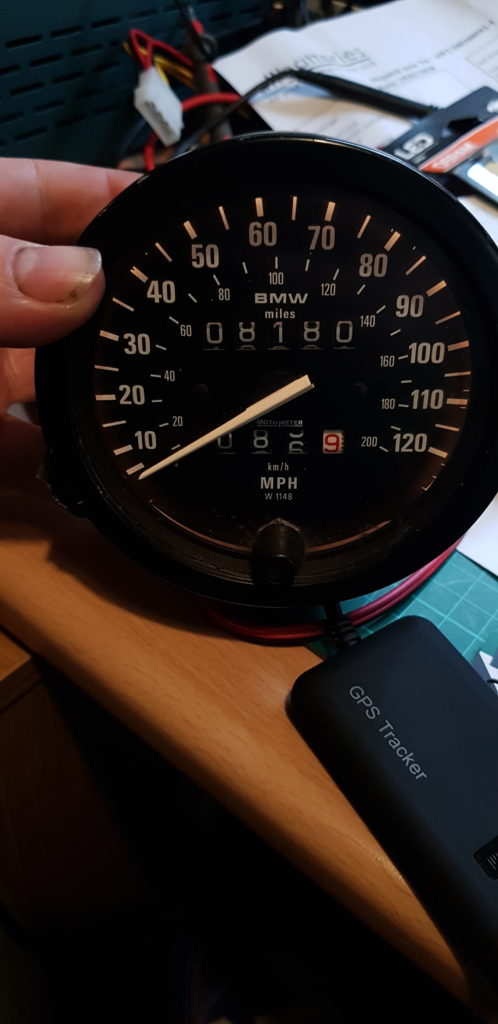
Filiment Bulb 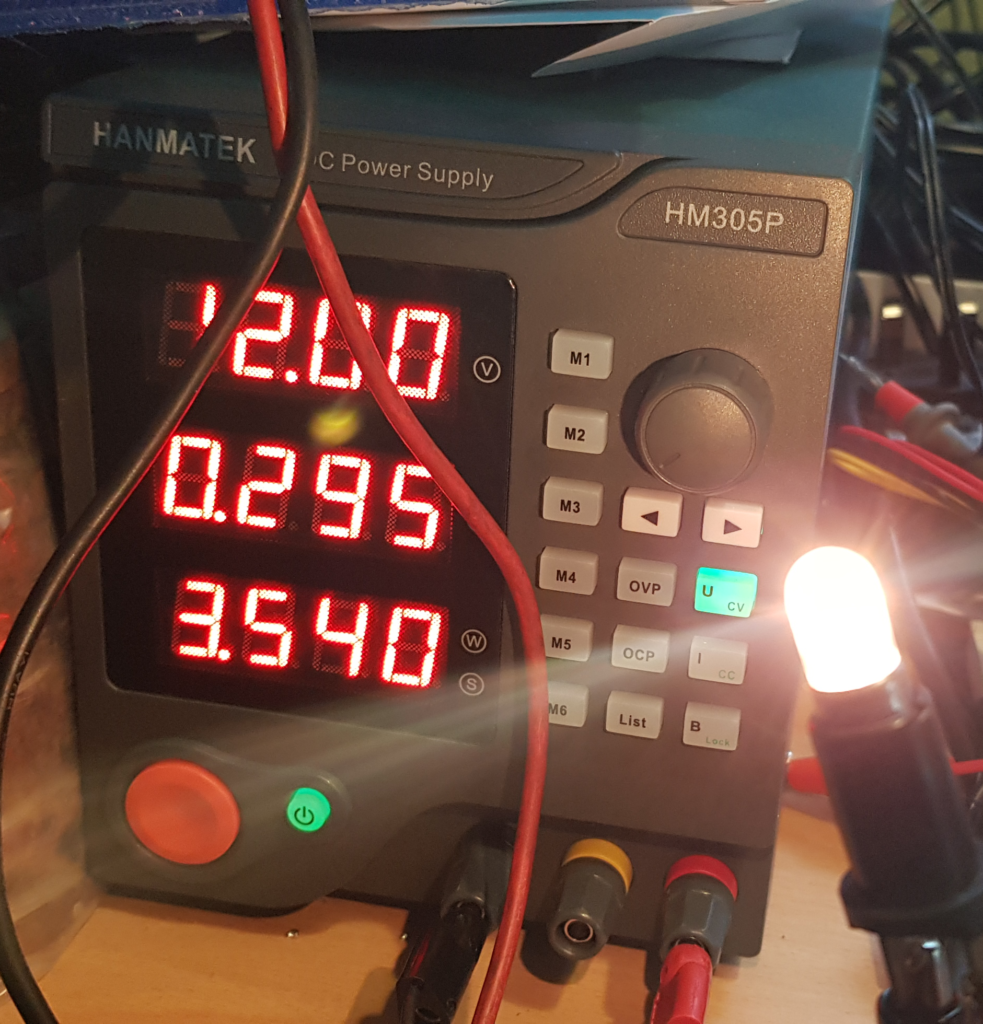
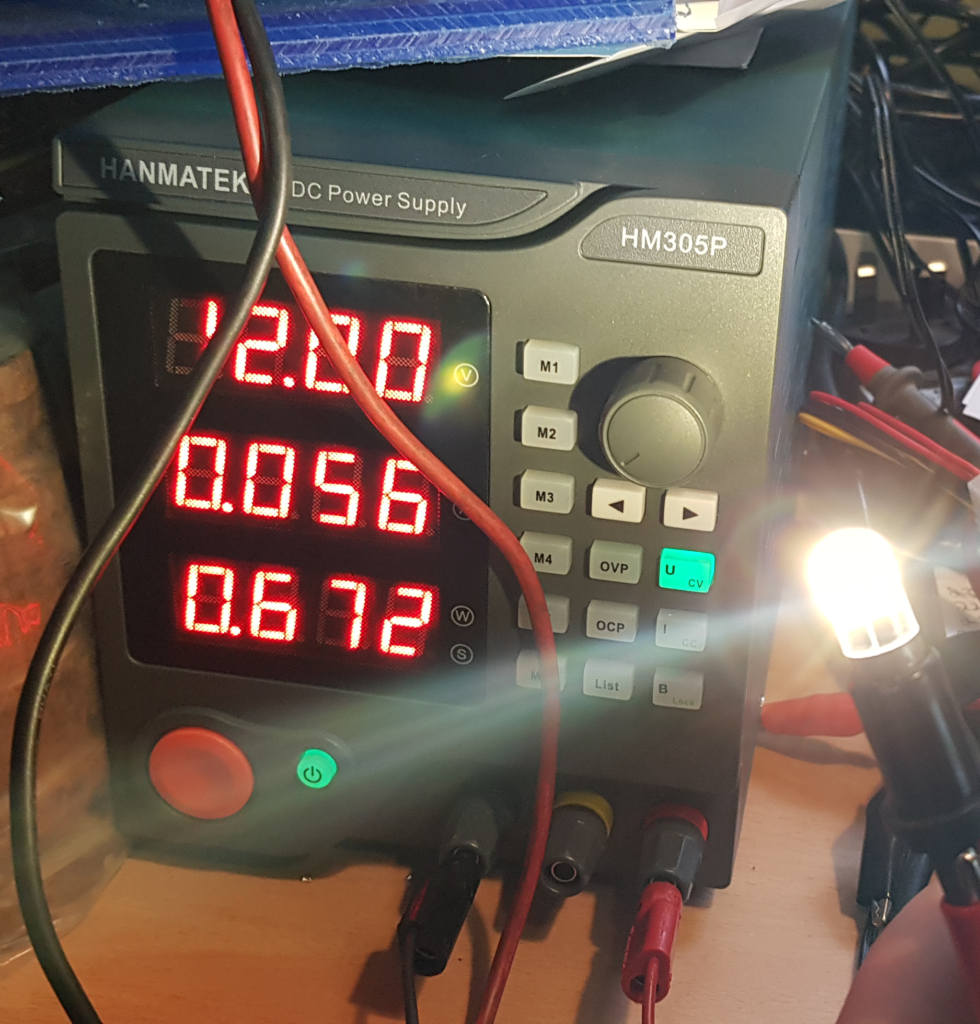
Now I had ordered Green LED bulbs as that is quite good for your night vision but being a dumbass I ordered 1 rather than 2, it took over a month to arrive so I wasn’t too worried about ordering another. I then bought some Osram LED ones in white and they do look nice. The power-saving is again quite a bit, yes my Desk is a mess.
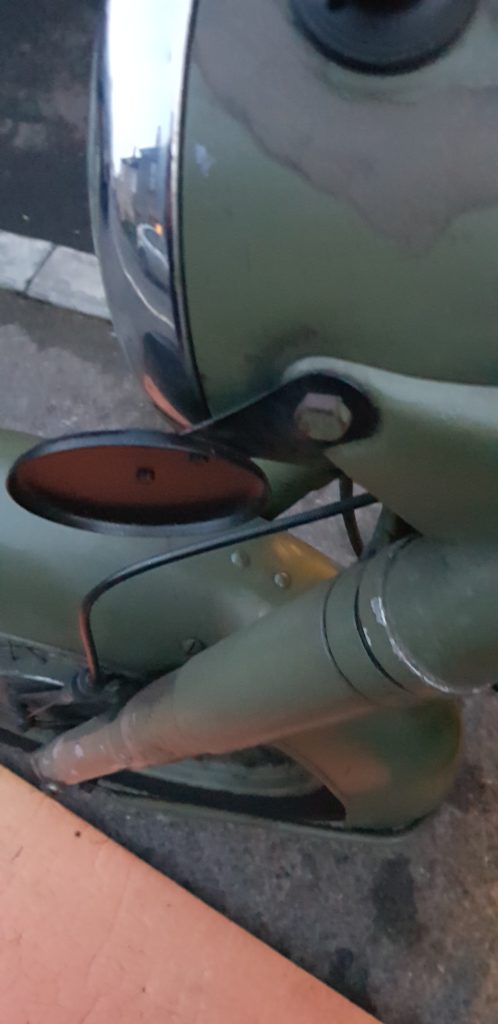
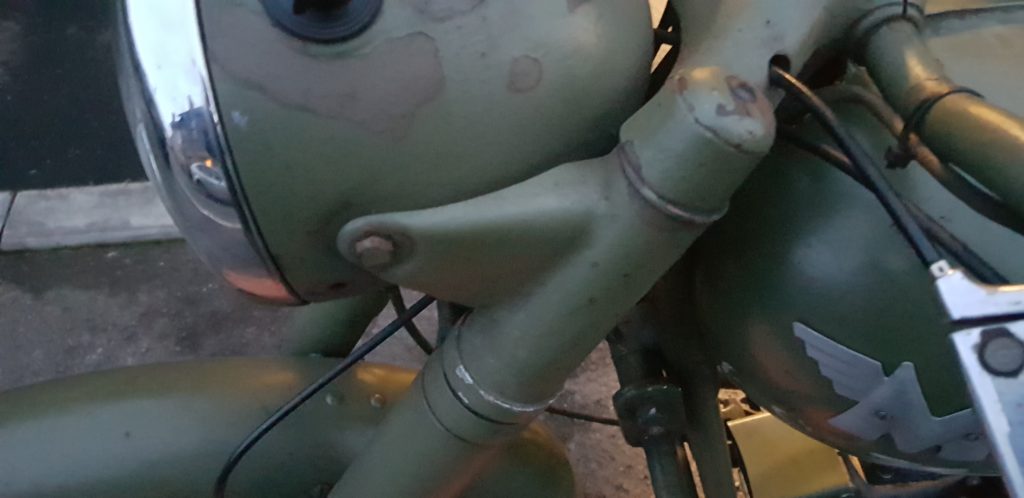
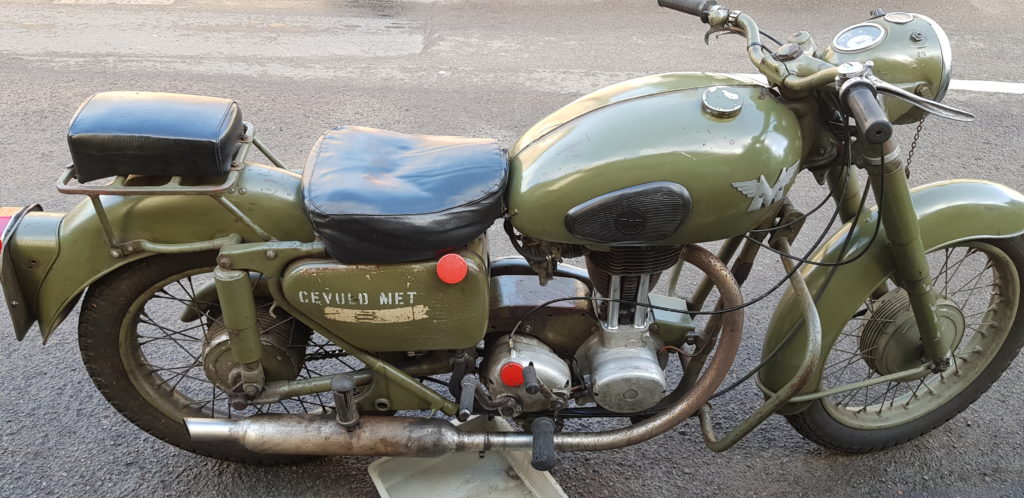
Btw in case you didn’t see it, I managed to find the original grill for the headlight for the bike at the Classic Bike Autojumble near home for £3.

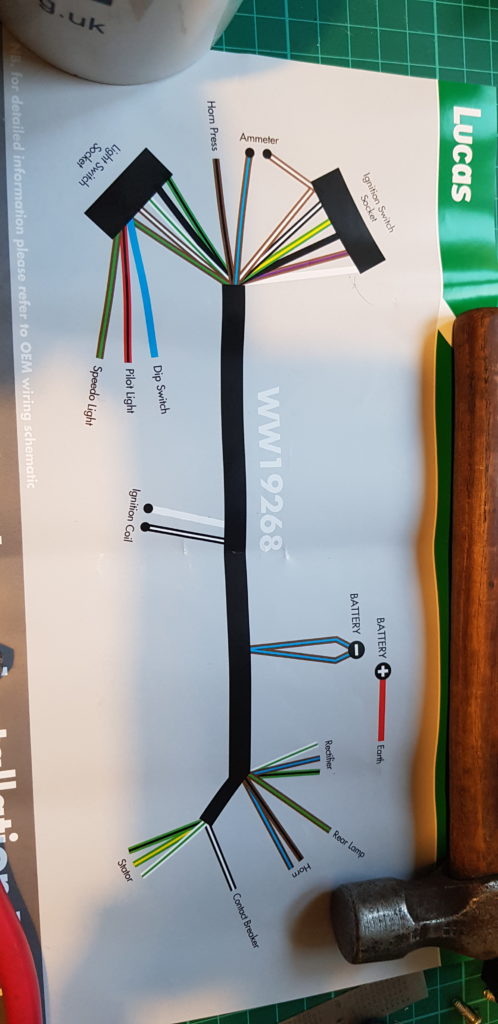
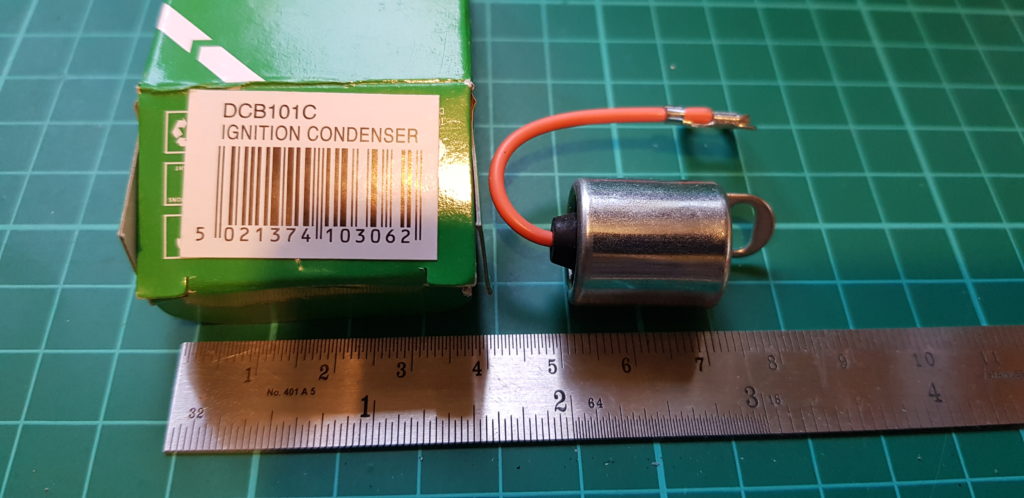
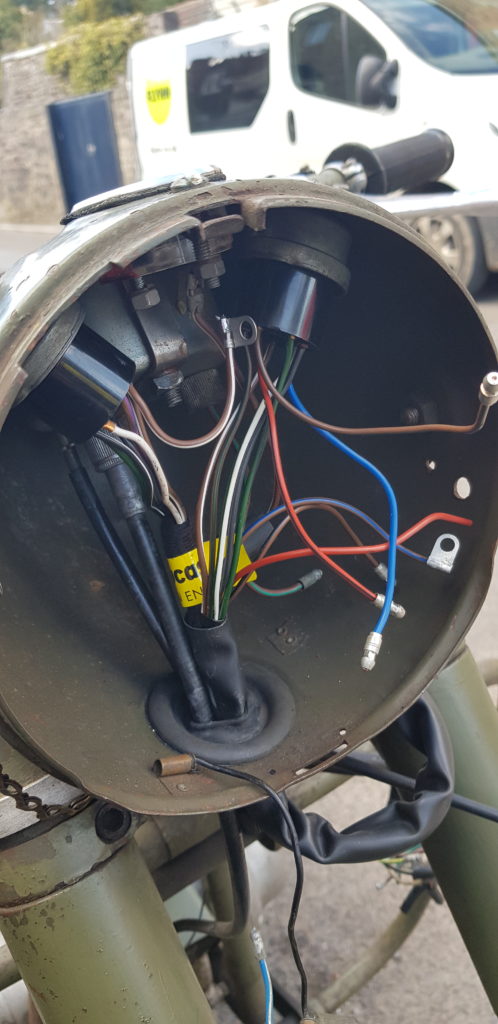
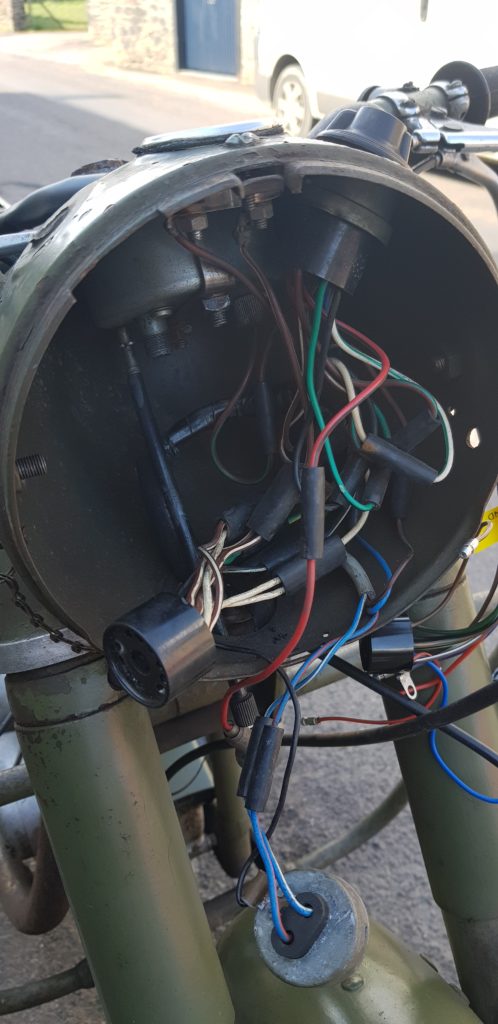
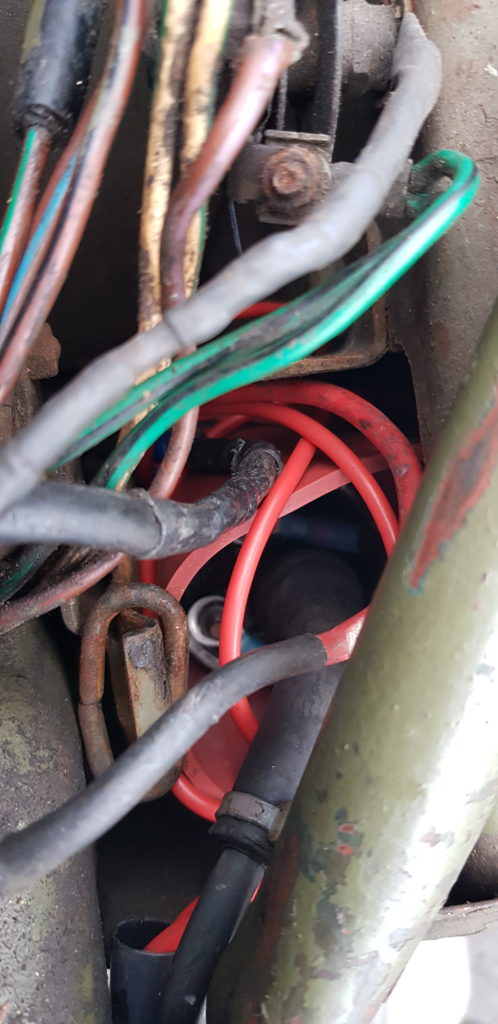
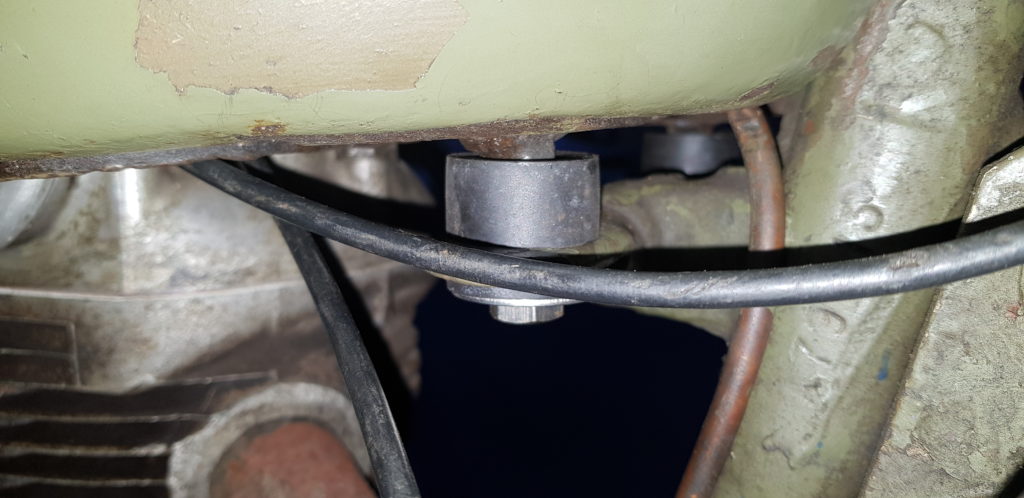
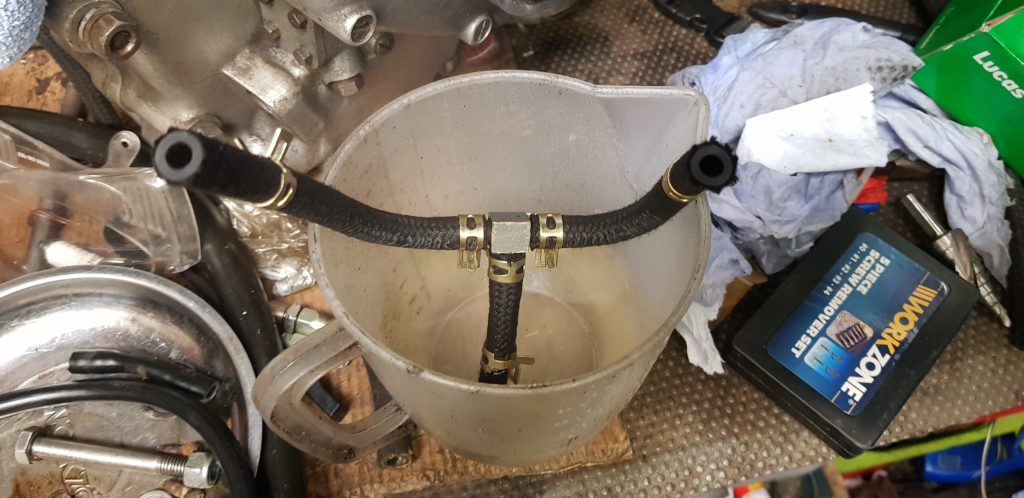
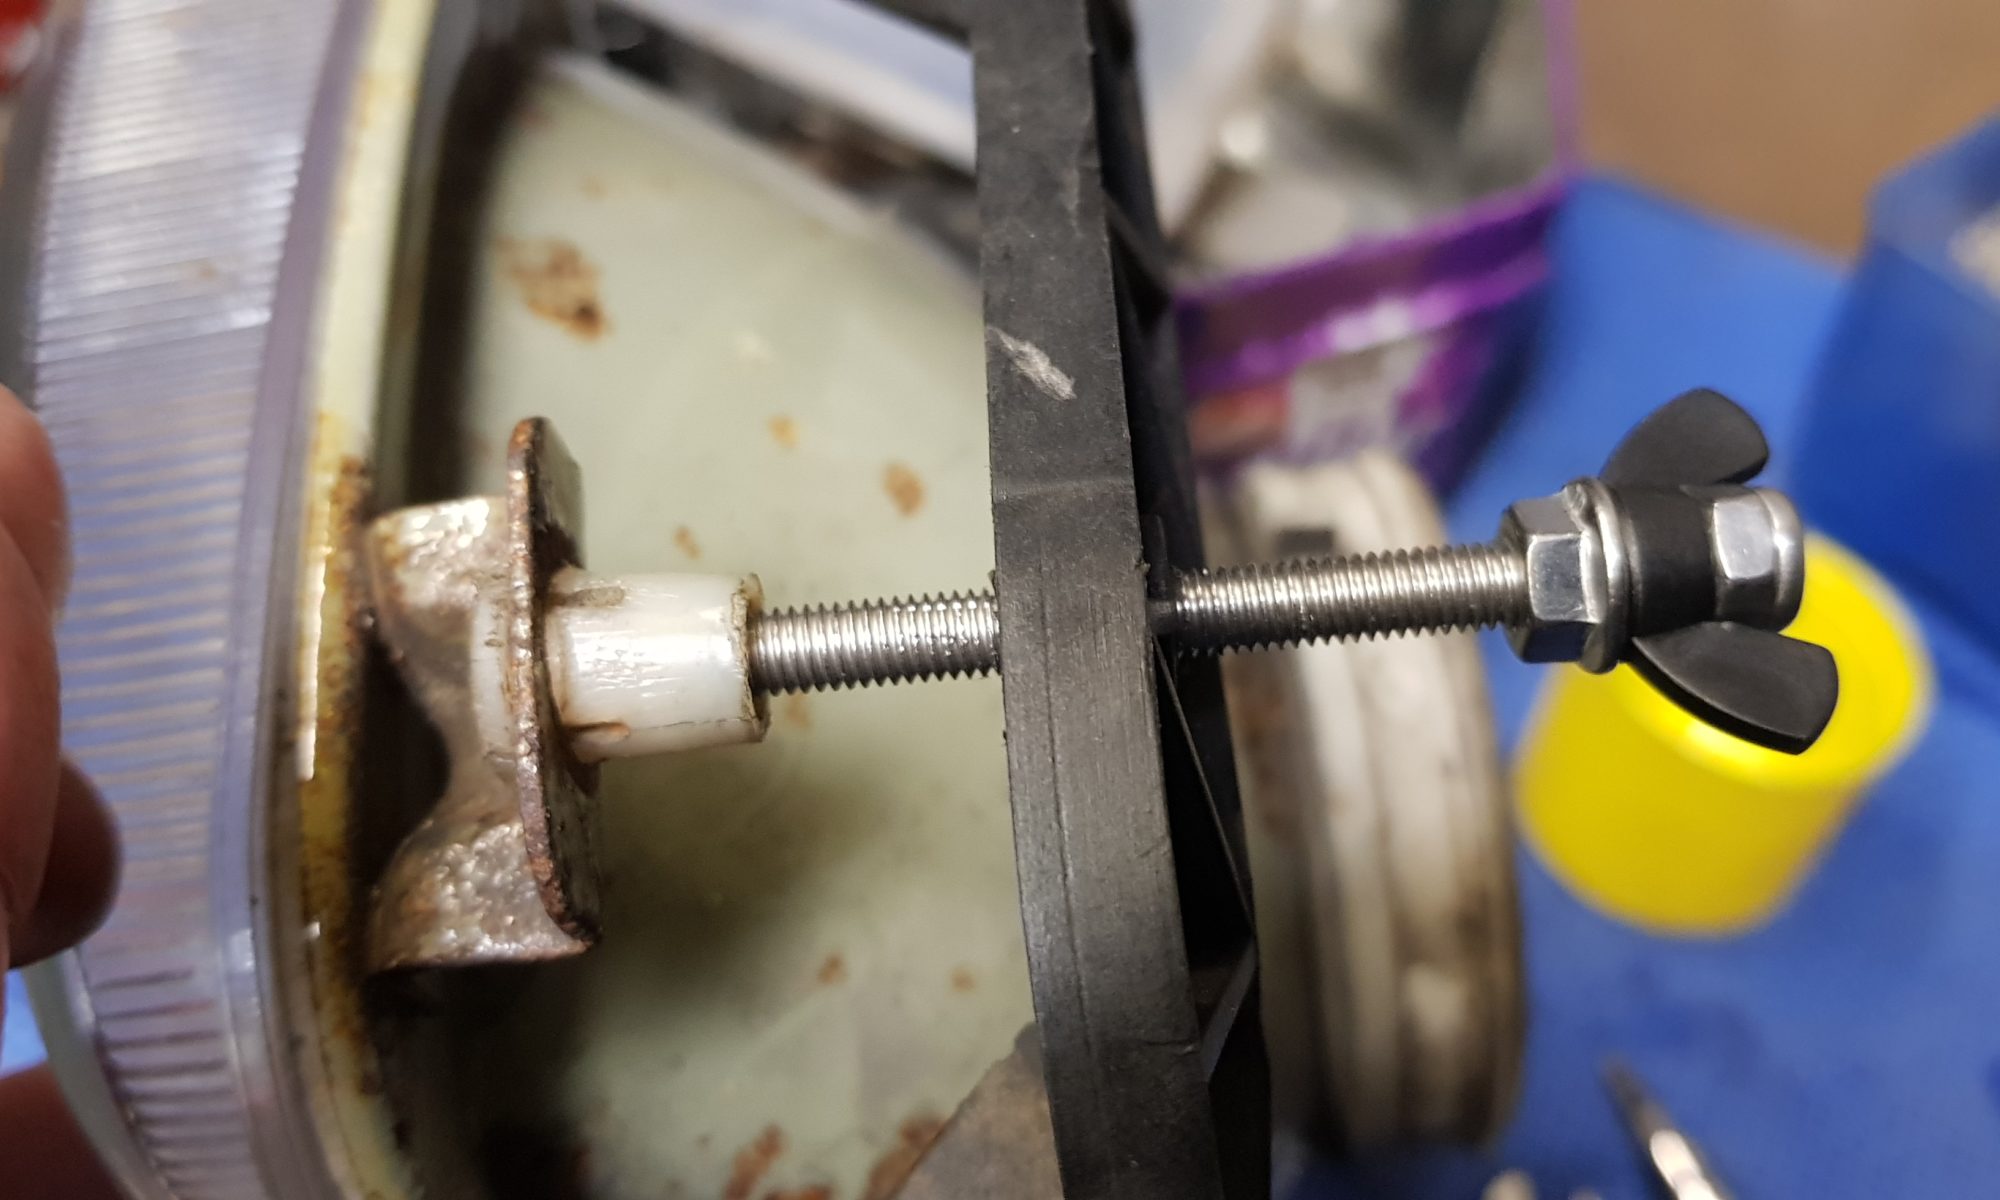
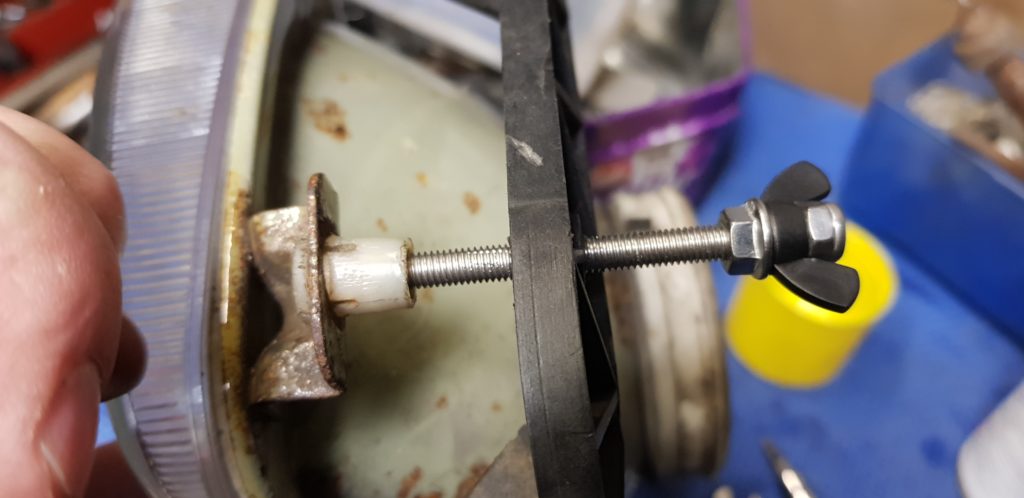
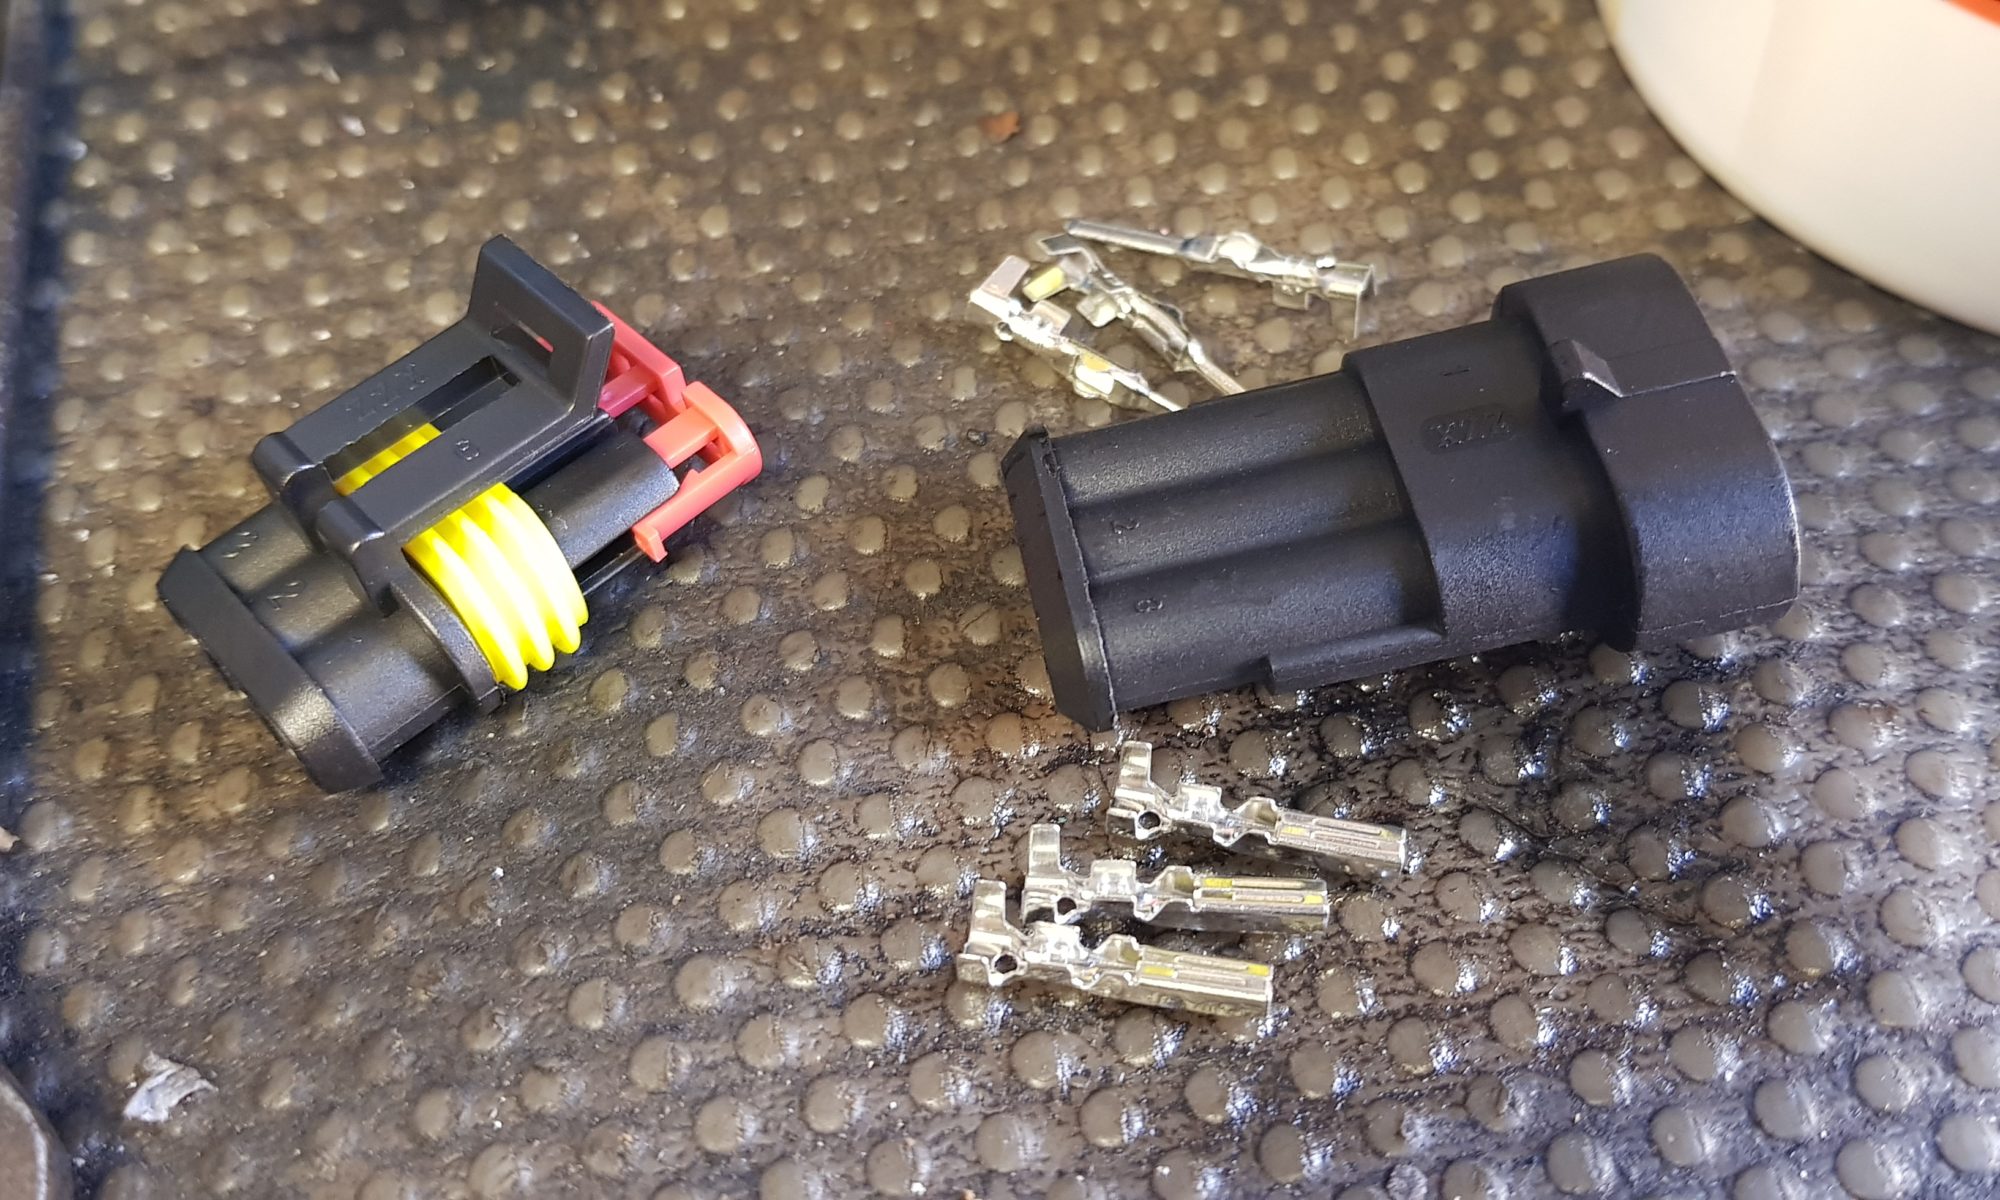
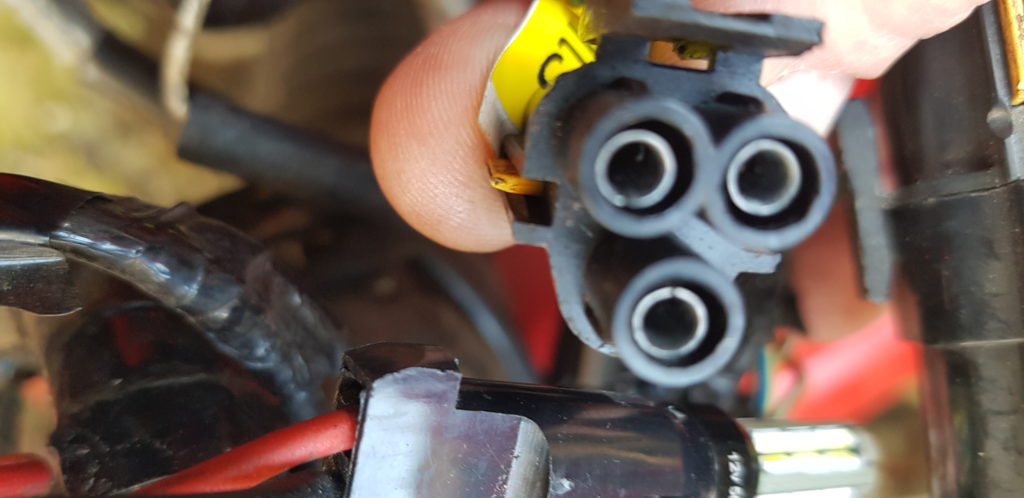
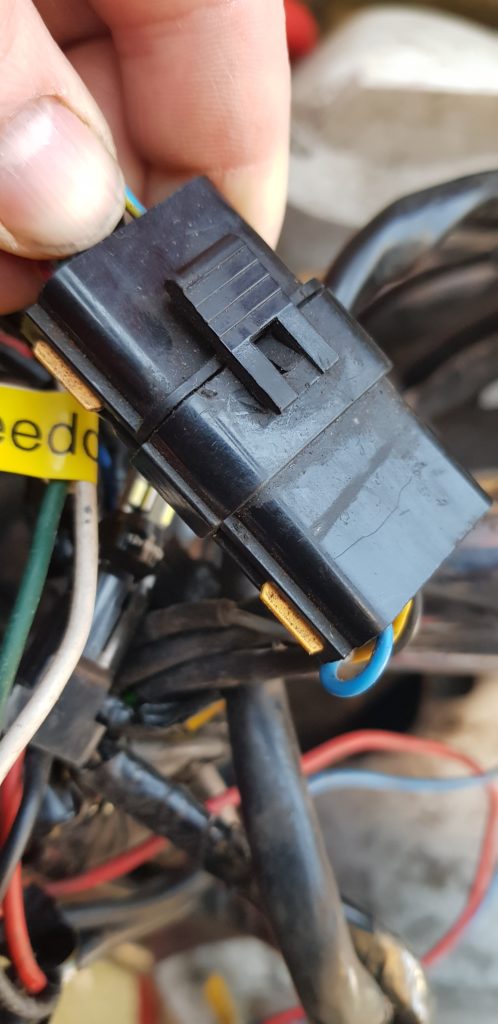
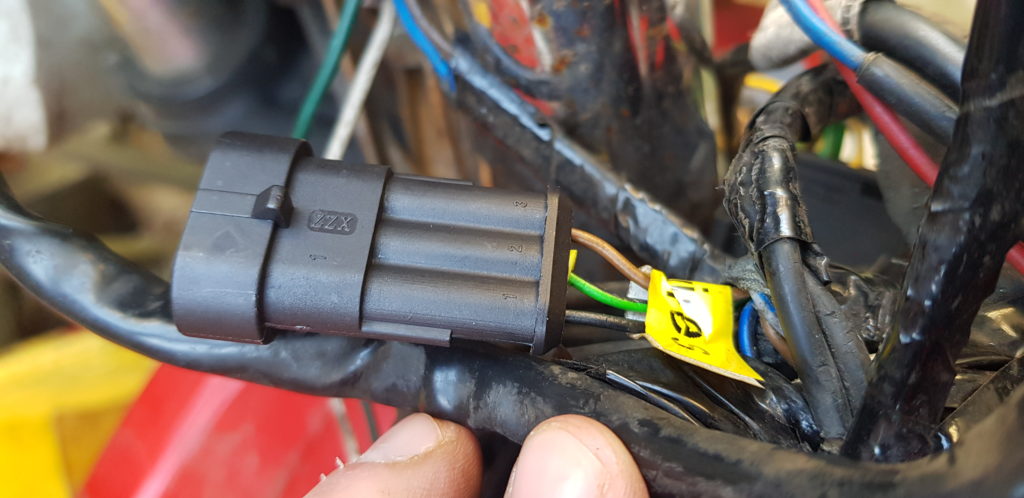
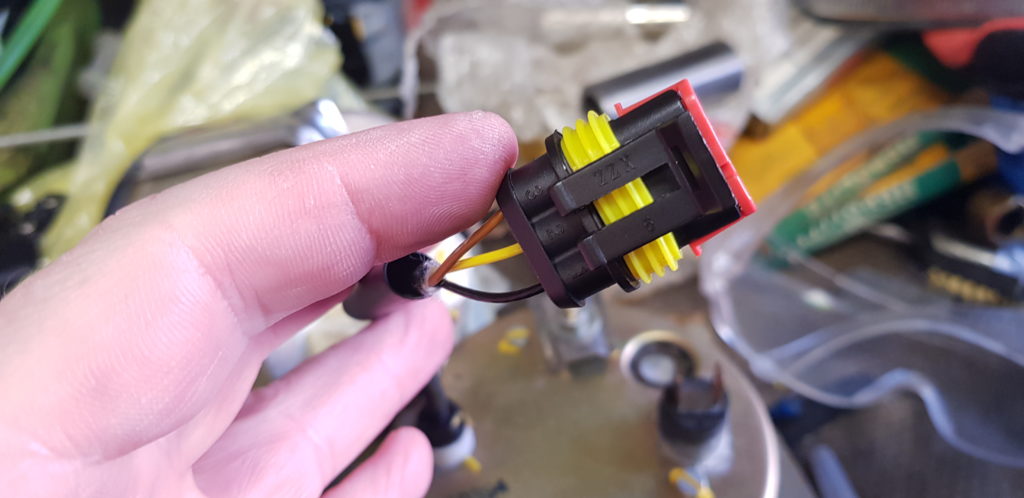
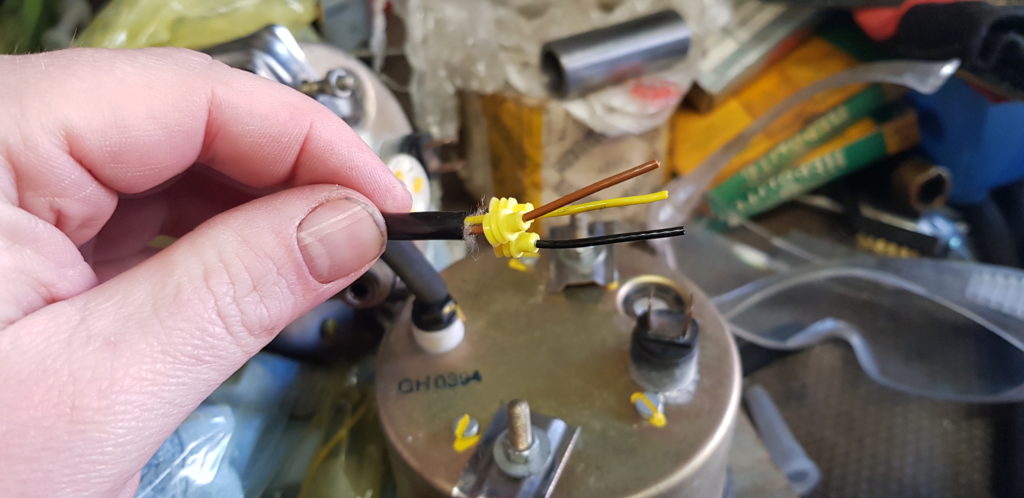
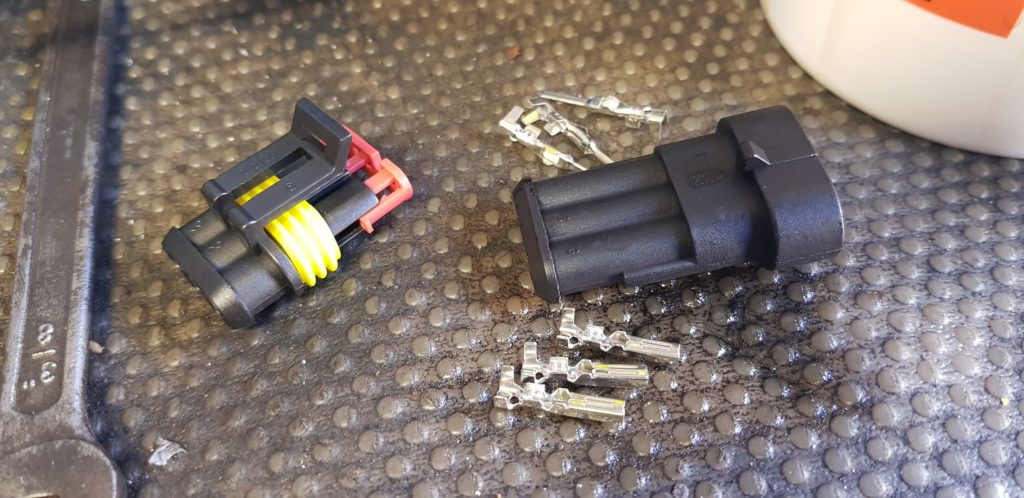
Back to fettling, on removing the clocks some of the wires for the Rev Counter got damaged and until I figure out the connectors BMW used back then I just went for the cheap option of a 3 way Delphi Superseal Connector, they are cheap and fairly waterproof.

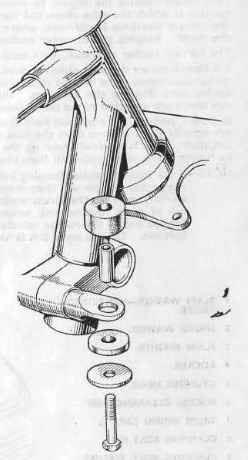
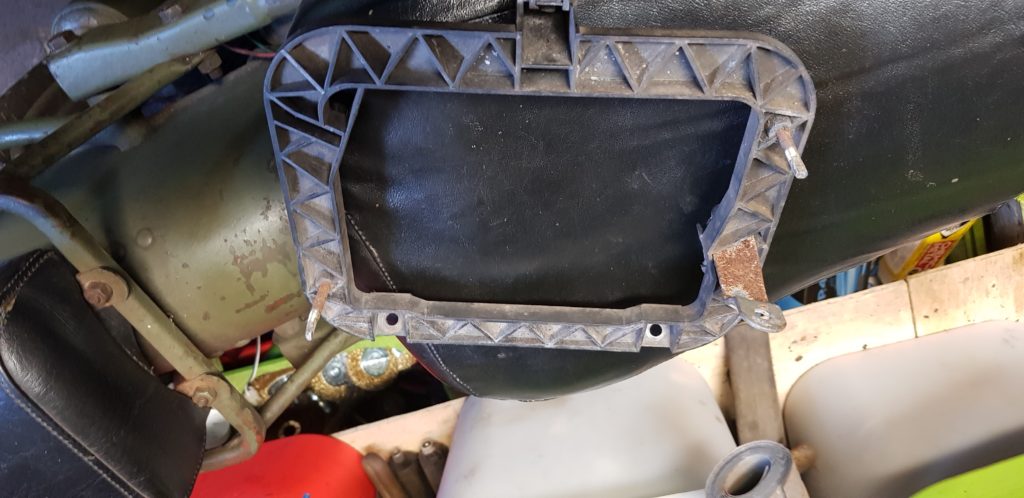
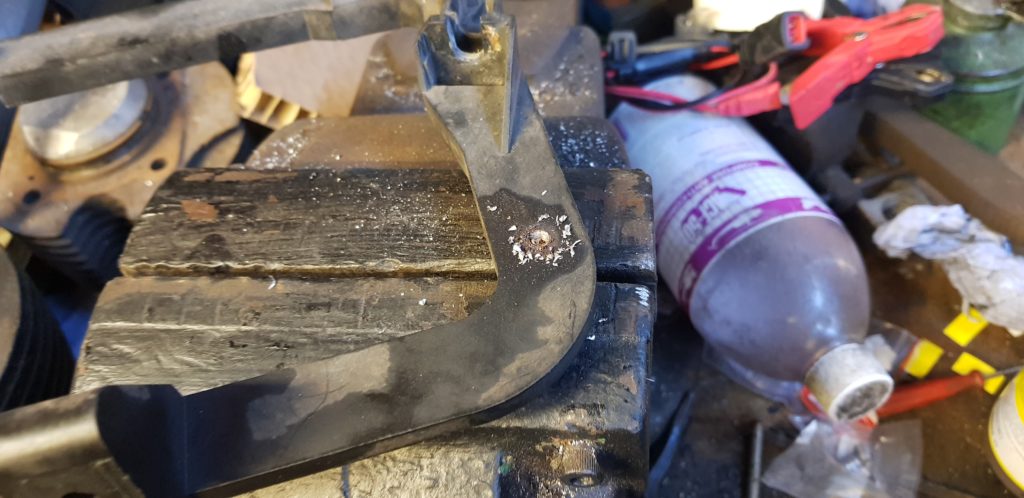
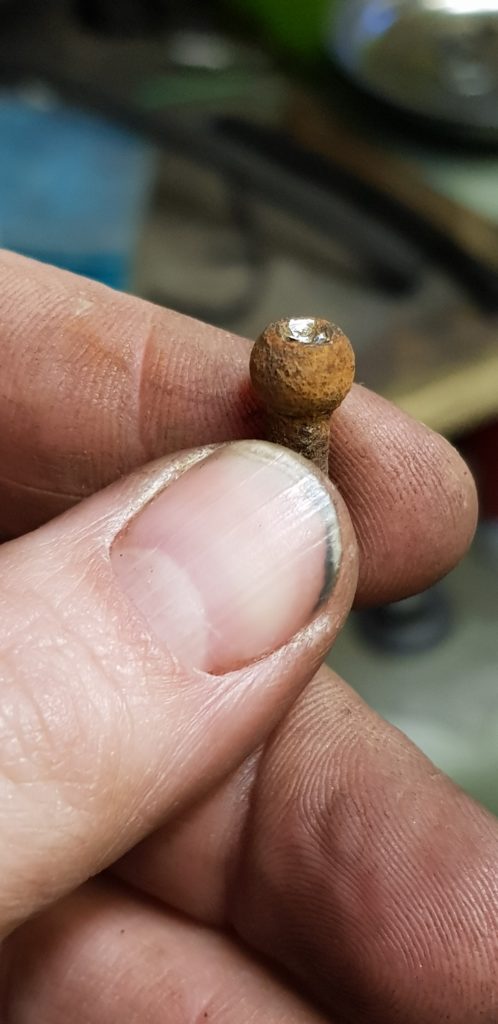
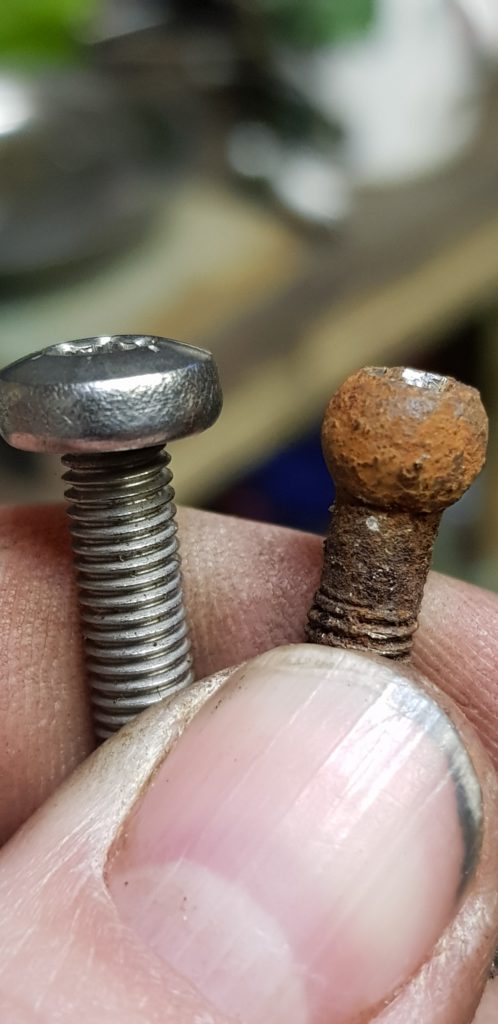
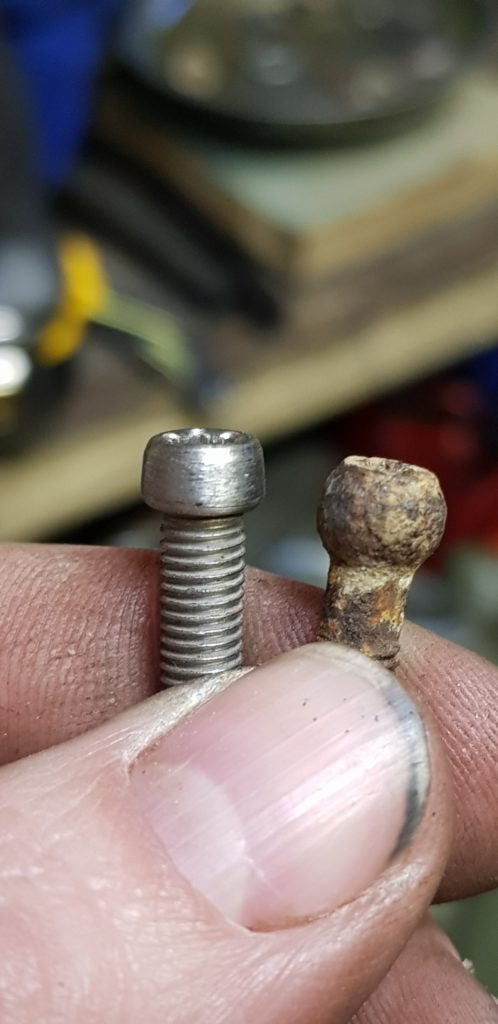
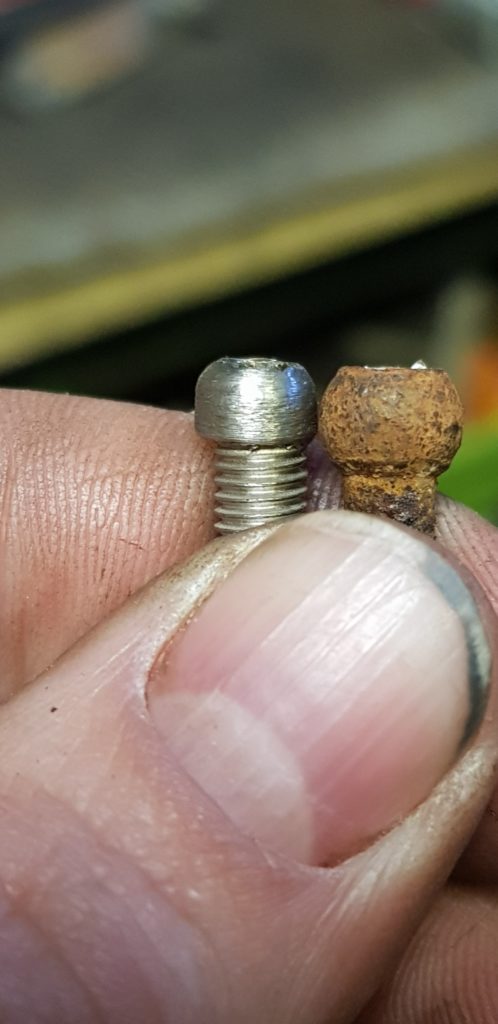
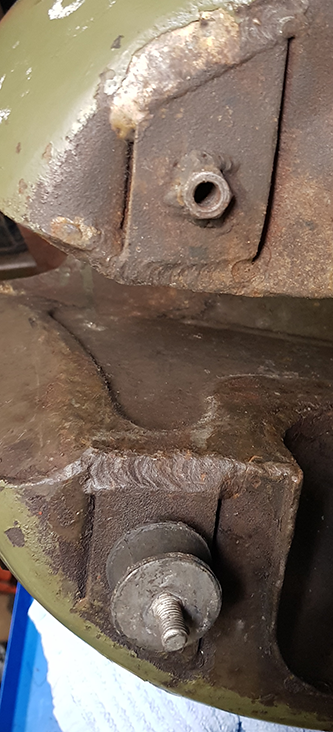
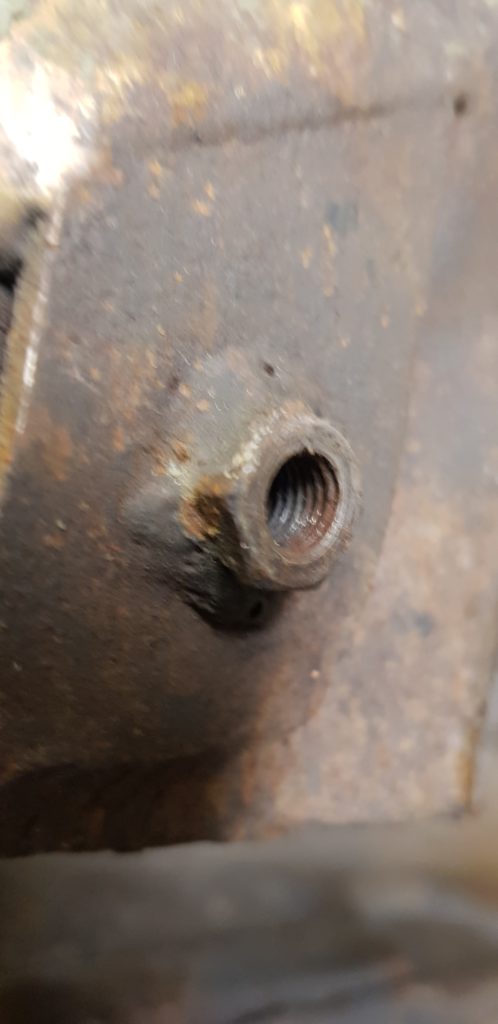
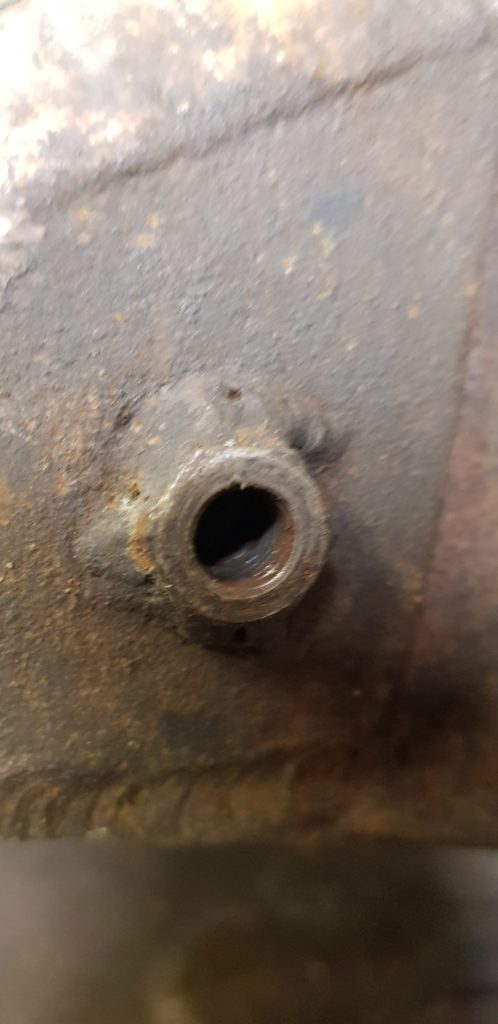
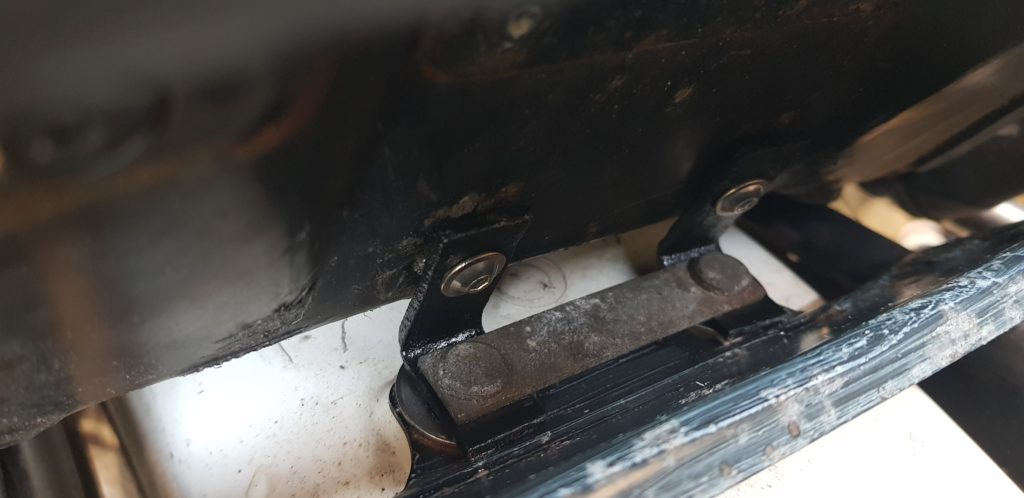
With that done I turned my eyes to an irritation I have had for a while. namely the seat bracket. When I got the bike the seat was loose but there was a bracket there. I looked to see if I could buy the genuine BMW parts but it seems I am missing bits from the seat so therefore no locking seat for me. The bracket on there annoys me as the two screws don’t actually bite into the plastic so are going to fall out at some point. I, therefore, ordered some of these,
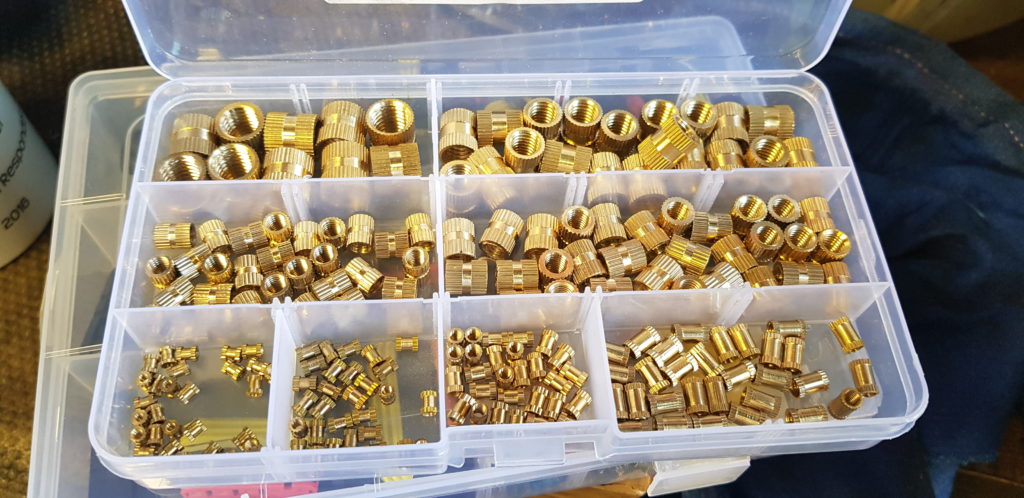
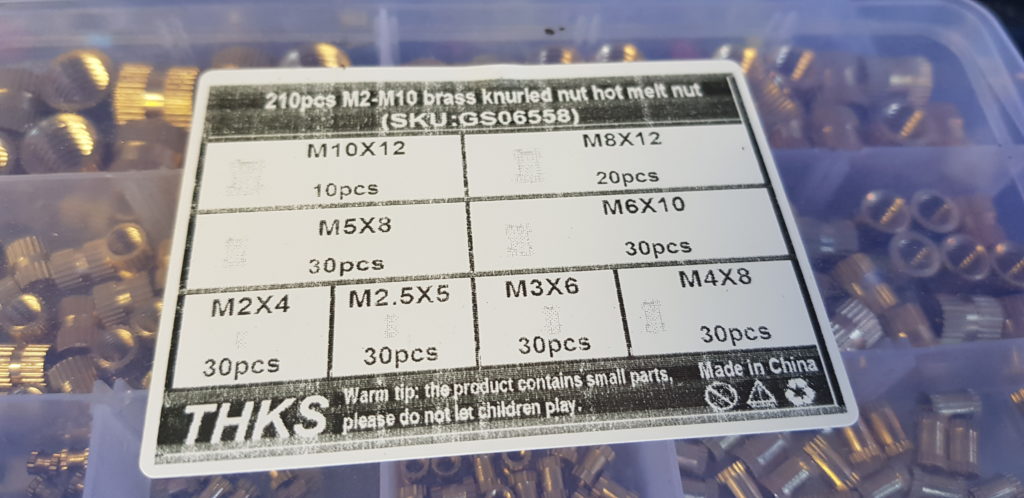
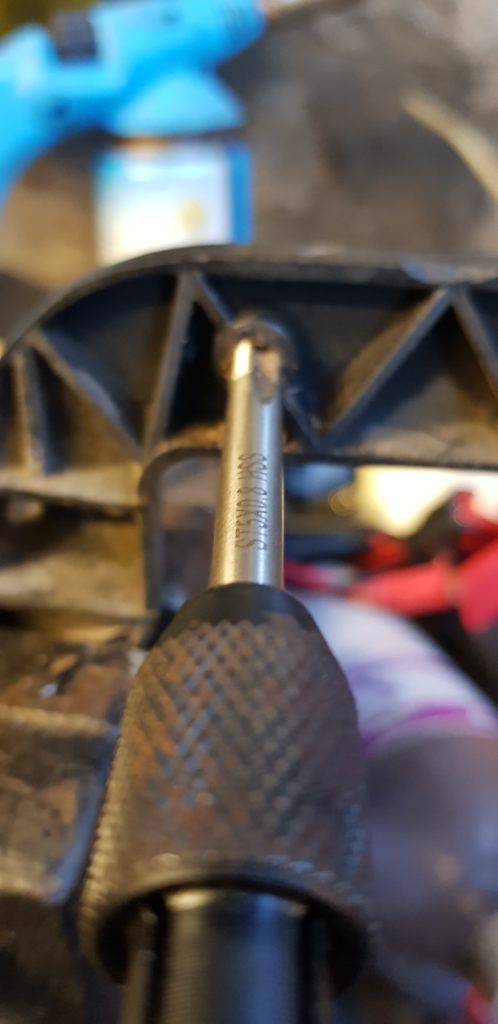
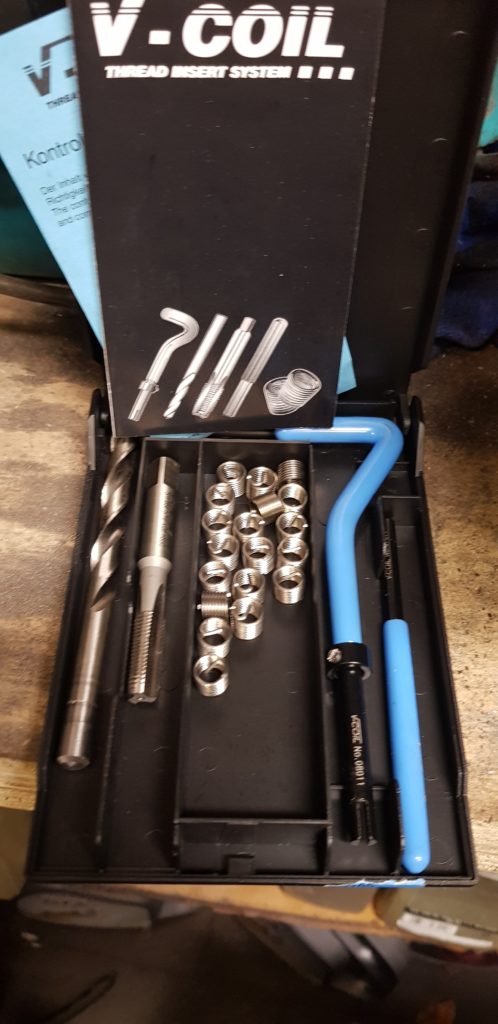
I do like to collect lots of random stuff, as my boss says “you are a magpie”. These are more for the 3D printing fans but I thought I could press them into the plastic and then use the thread as a way to prevent it from getting chewed up by self-tapping screws.
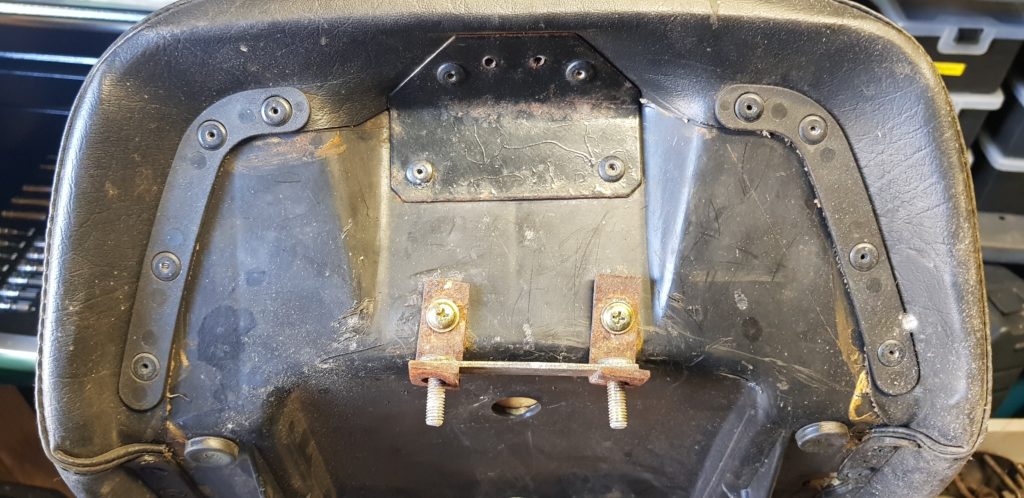
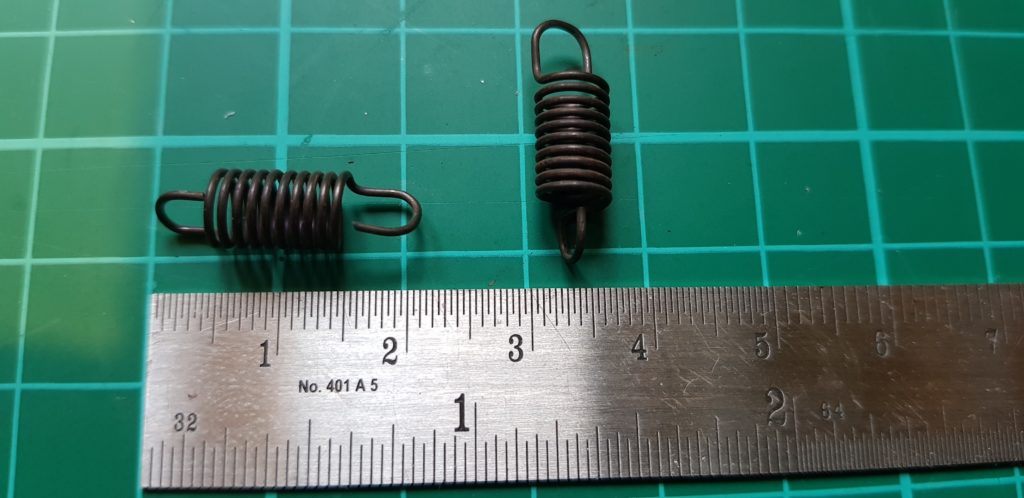
The Bracket I inherited 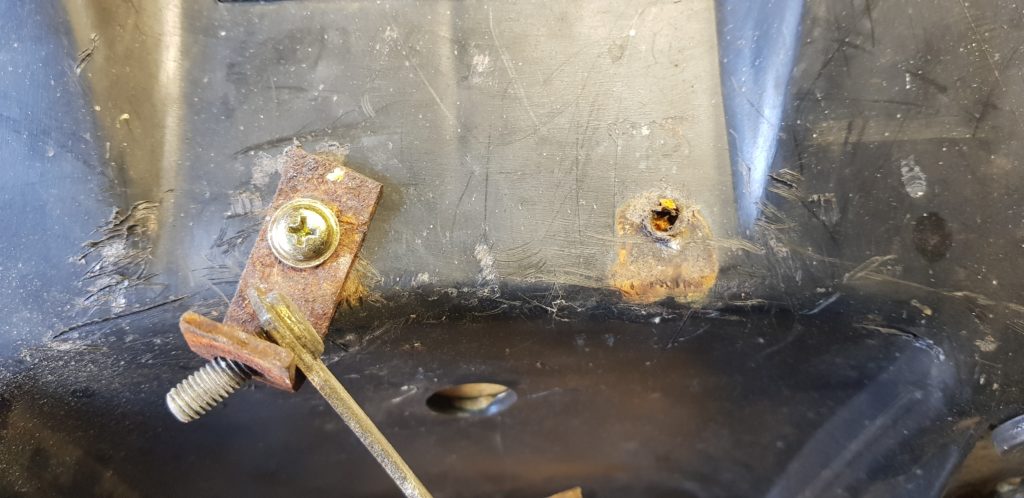
The screws don’t very well. 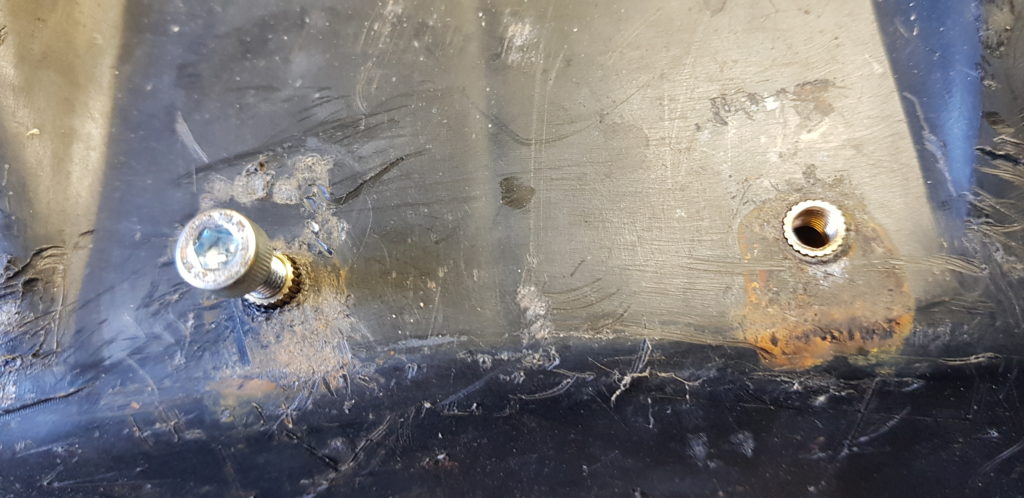
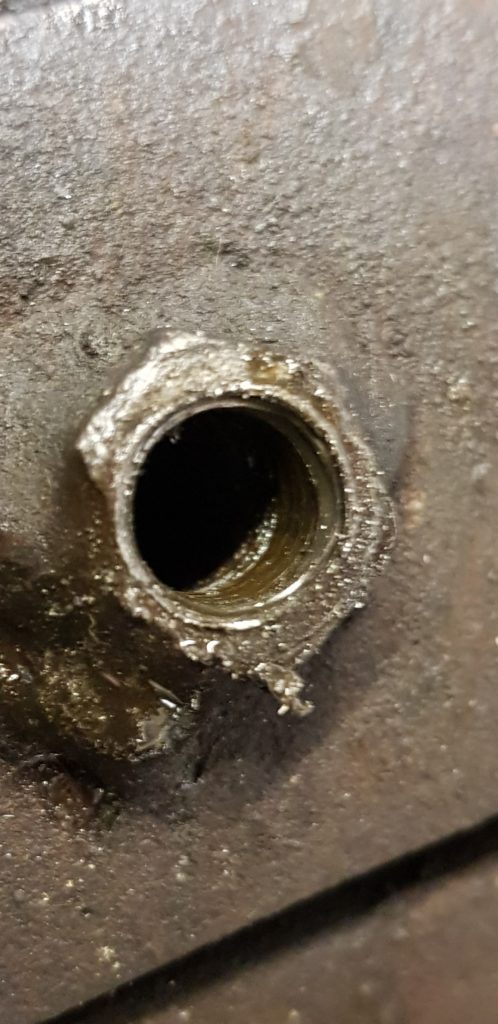
Tapped in with a hammer, and a bolt. 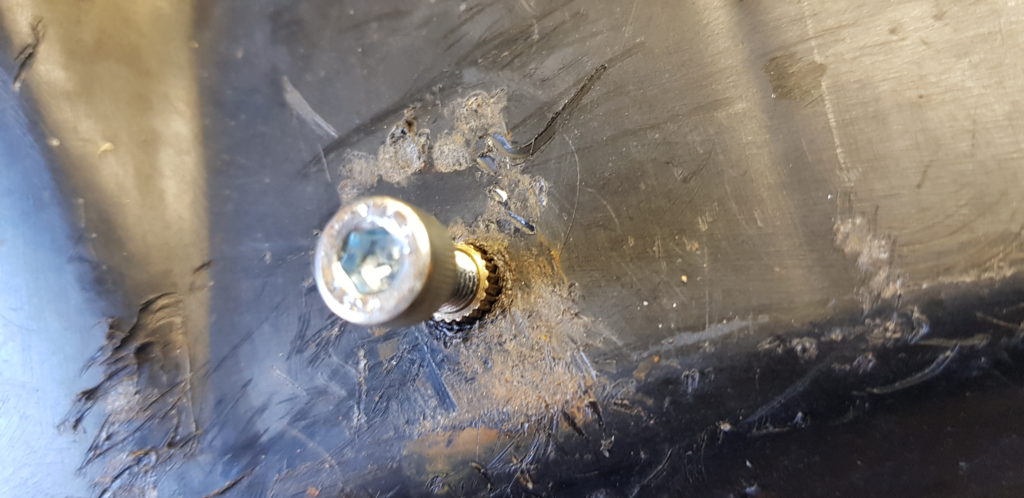
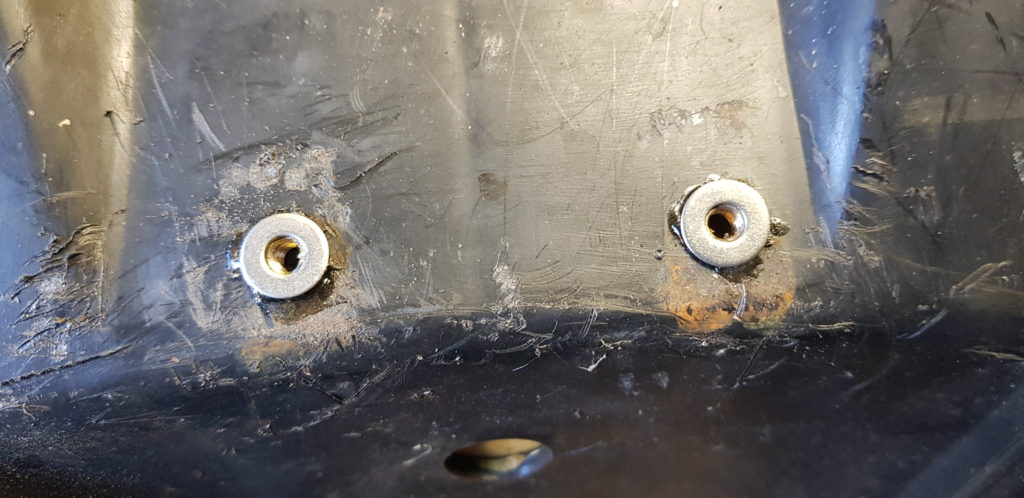
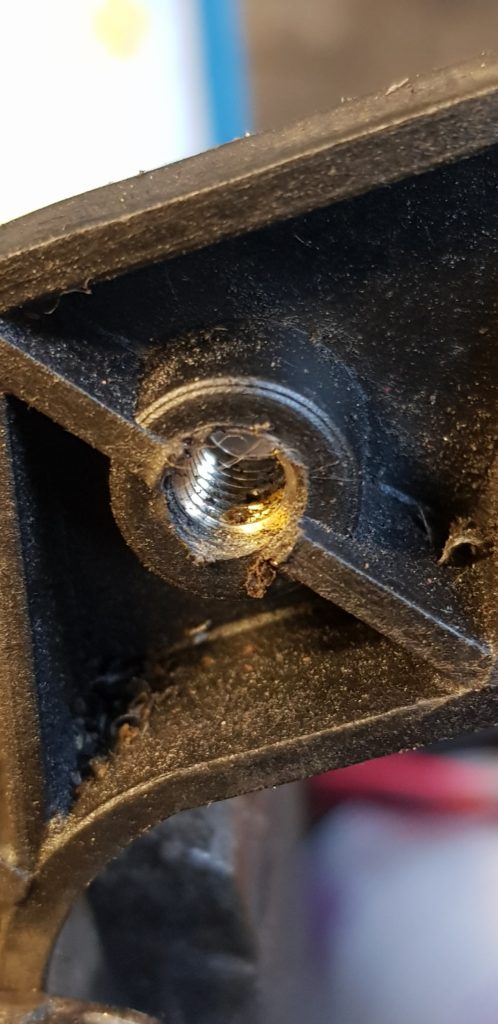
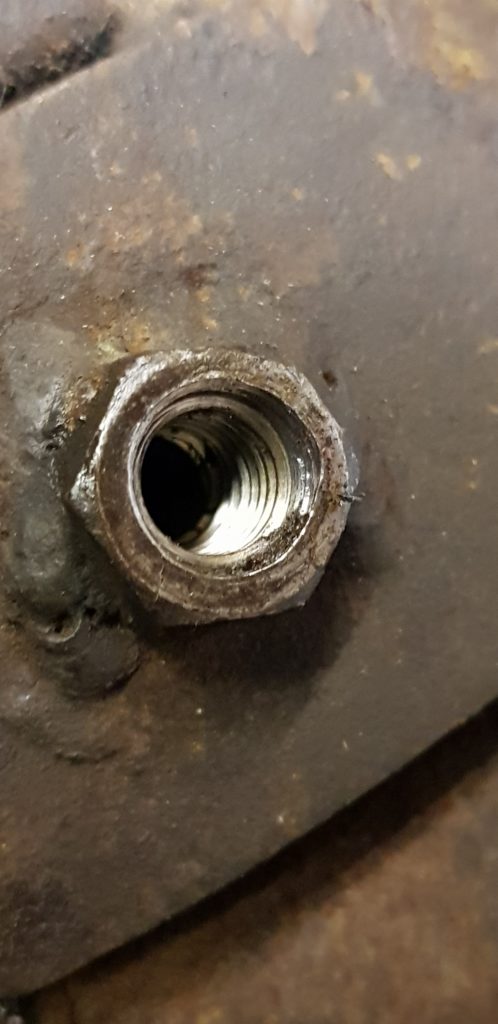
It was a simple task of cleaning the hole up with a drill, then tapping in with a hammer, using the bolt to make it a little easier. I did try to heat the insert up with a solder gun but that didn’t work. But the hammer them in trick did ok. I then tried to use an old cable tie and the solder gun to weld it in, didn’t do much other than move plastic about. So I used some glue to give some strength and some washers to help spread the load. Some M5 bolts were then used to hold it in place, I took a few extra mins to give it a quick dusting with paint to finish it off. It isn’t a stressed part of the bike but I would like to stay in place. Time will tell if my bodge of a bodge will hold.