The Rebuilding of the Carburettors

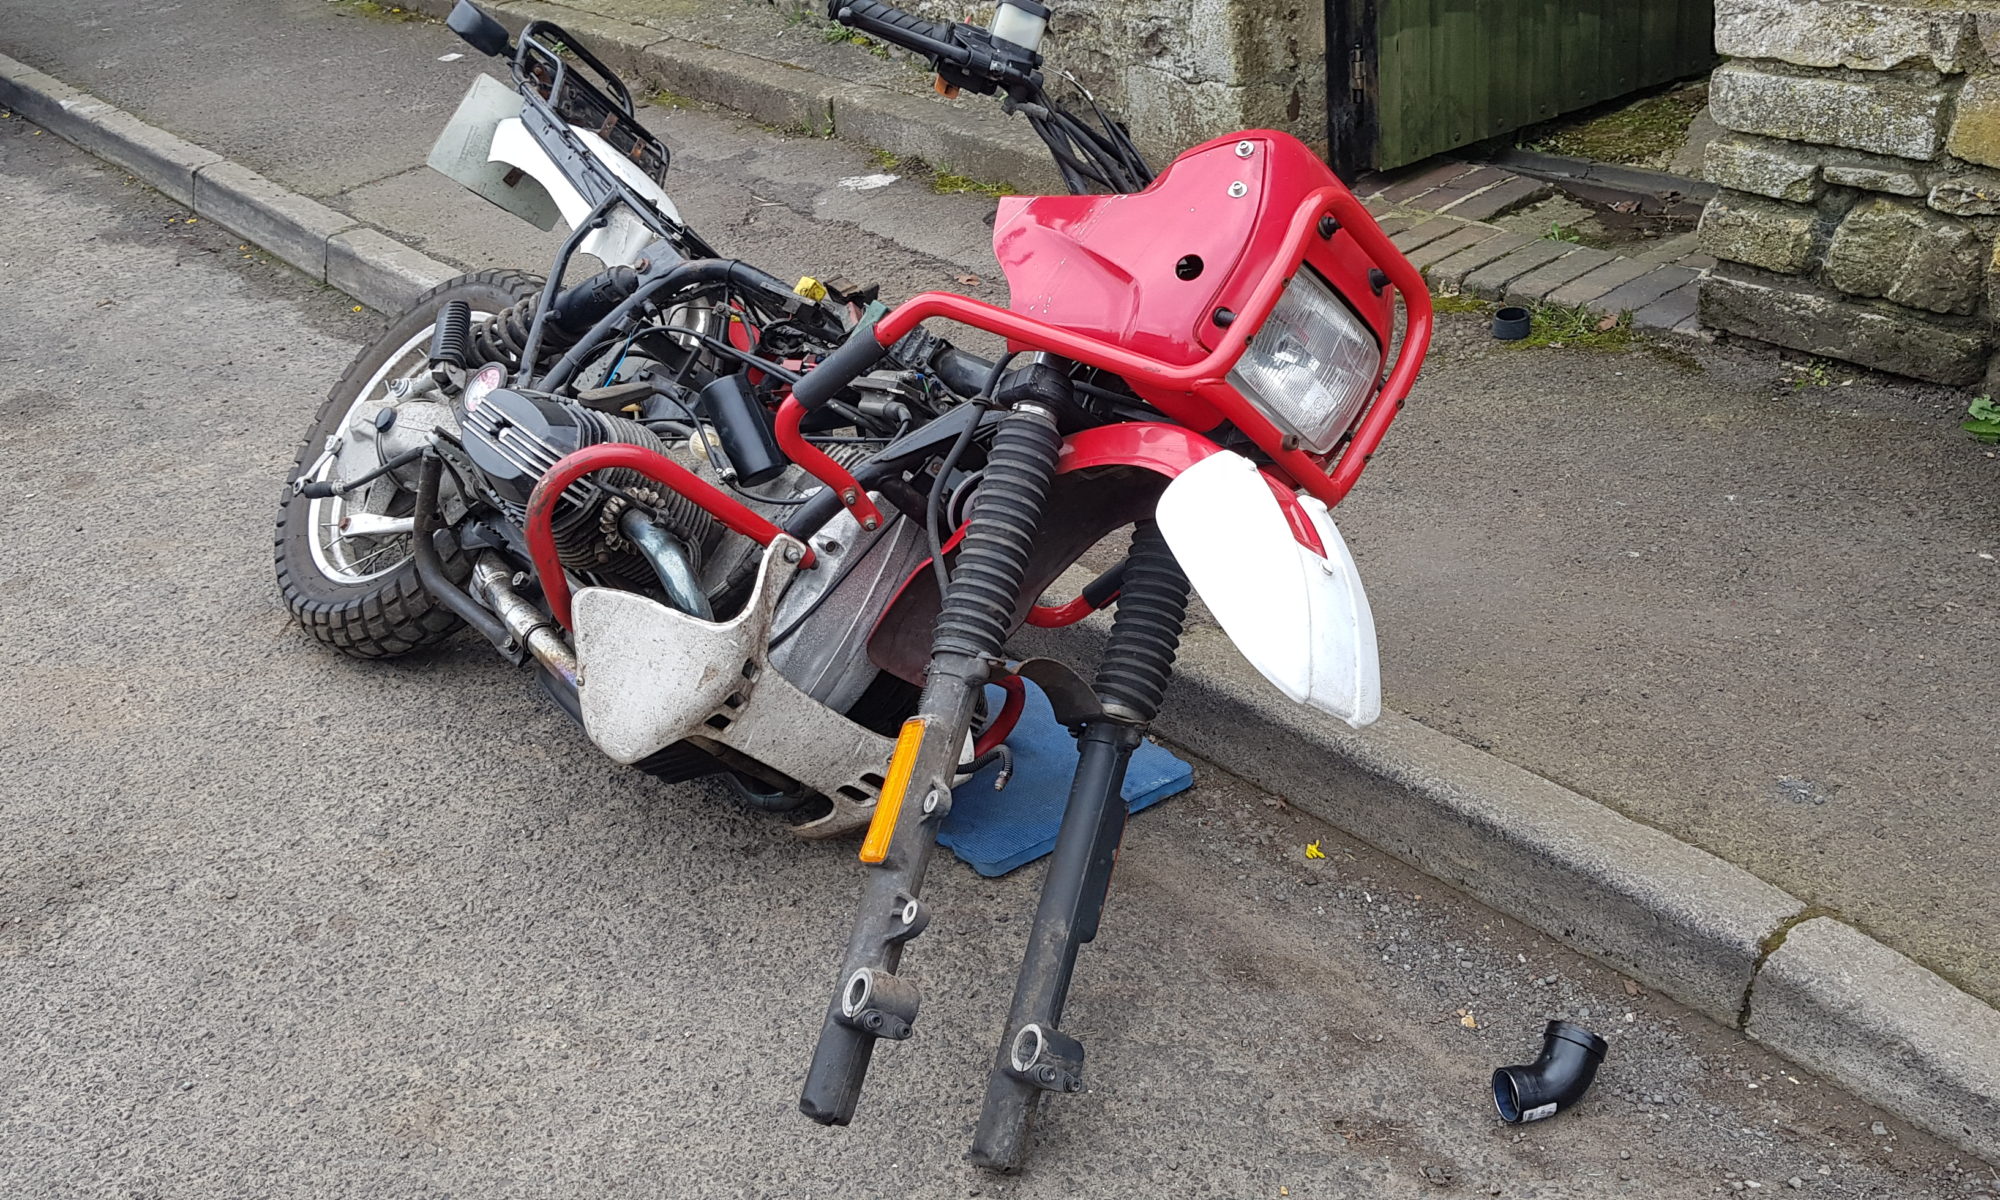
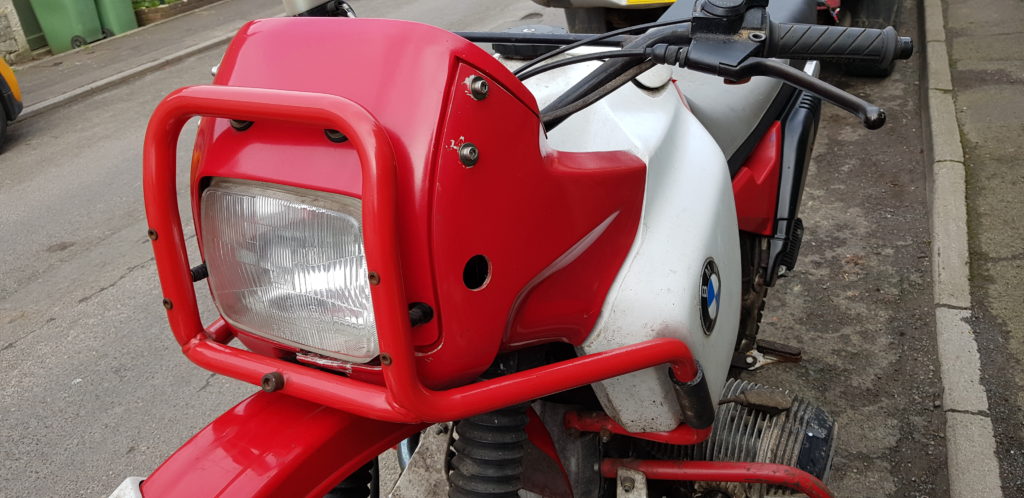
I bought some second hand carburettors on eBay due to the mis-match I have with the
carburettors supplied with the bike.

So after taking apart the carburettors to clean them I decided it would be wise to replace the gaskets but as I was unsure of the standard jetting required I bought a rebuild kit from Motorworks.

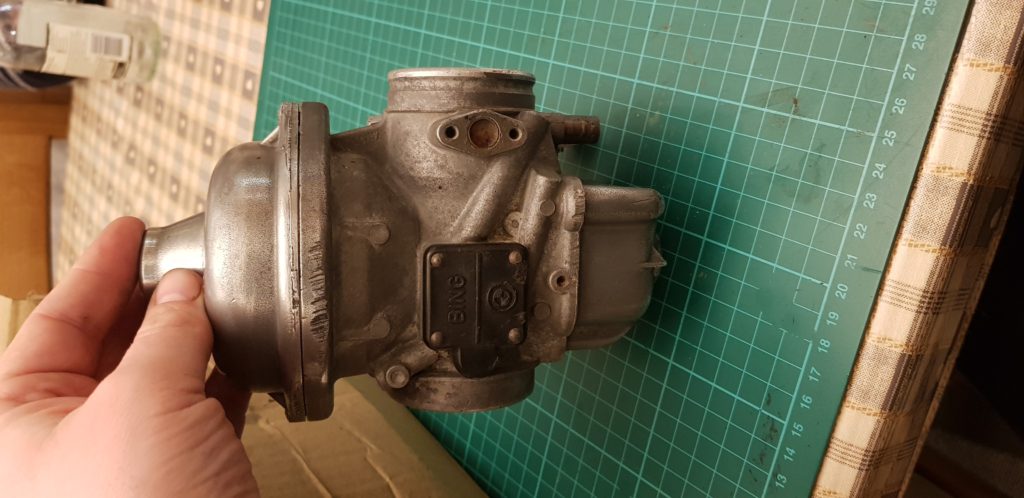
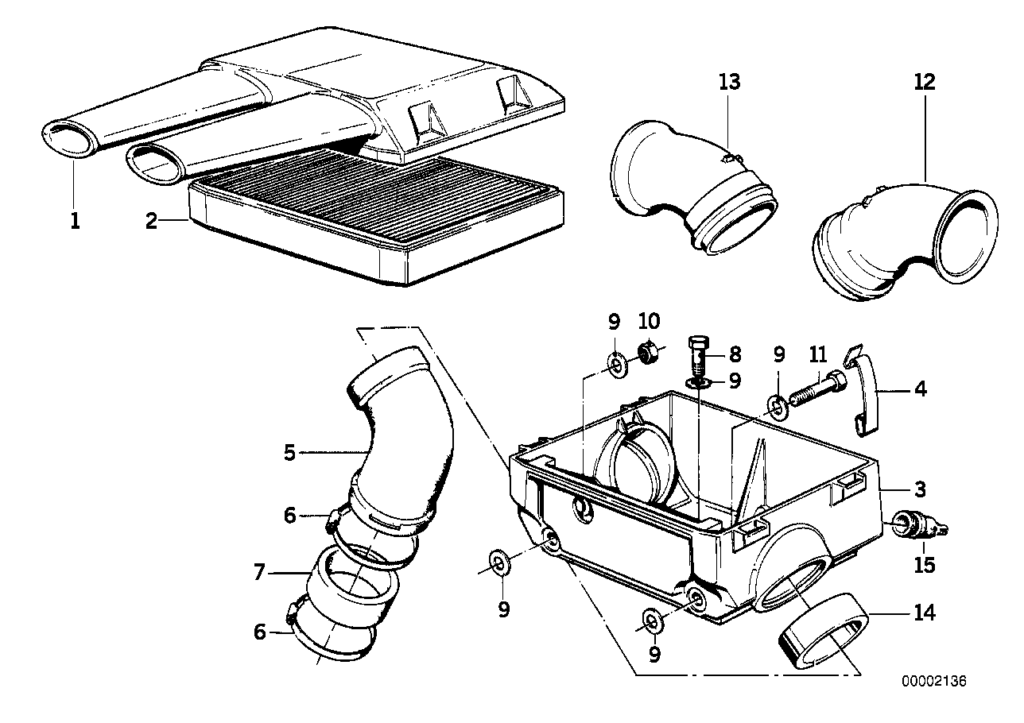
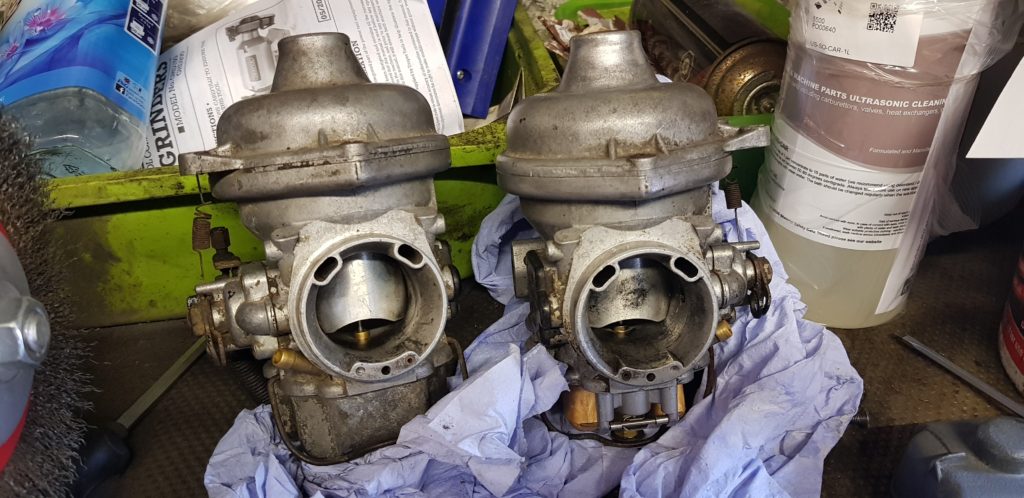
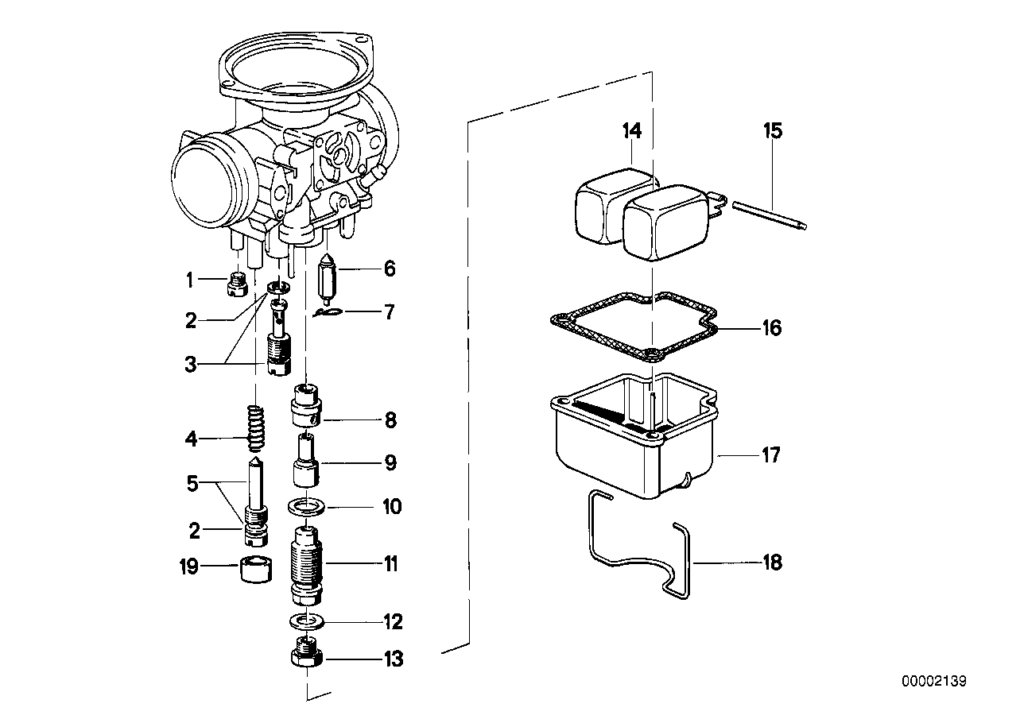
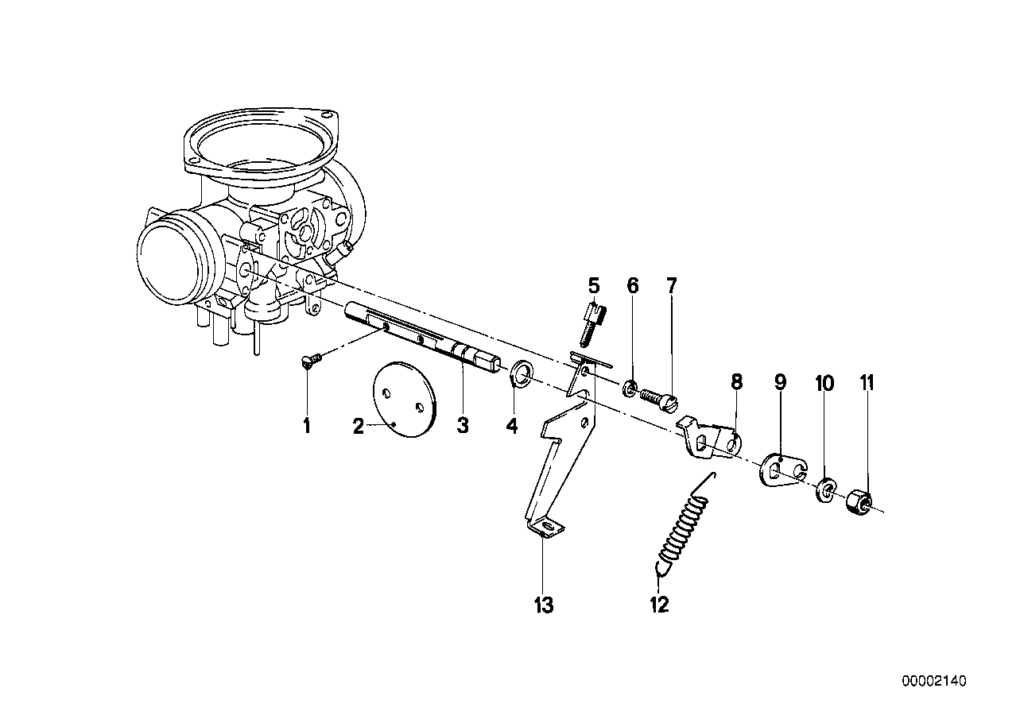
The carbs are Bing 40mm CV carburettors and are fairly easy to work on but design changes make it a bit fun to know exactly the ones you have so the drawings differ at times from what you have on you.

Knolling the parts before beginning assembly.

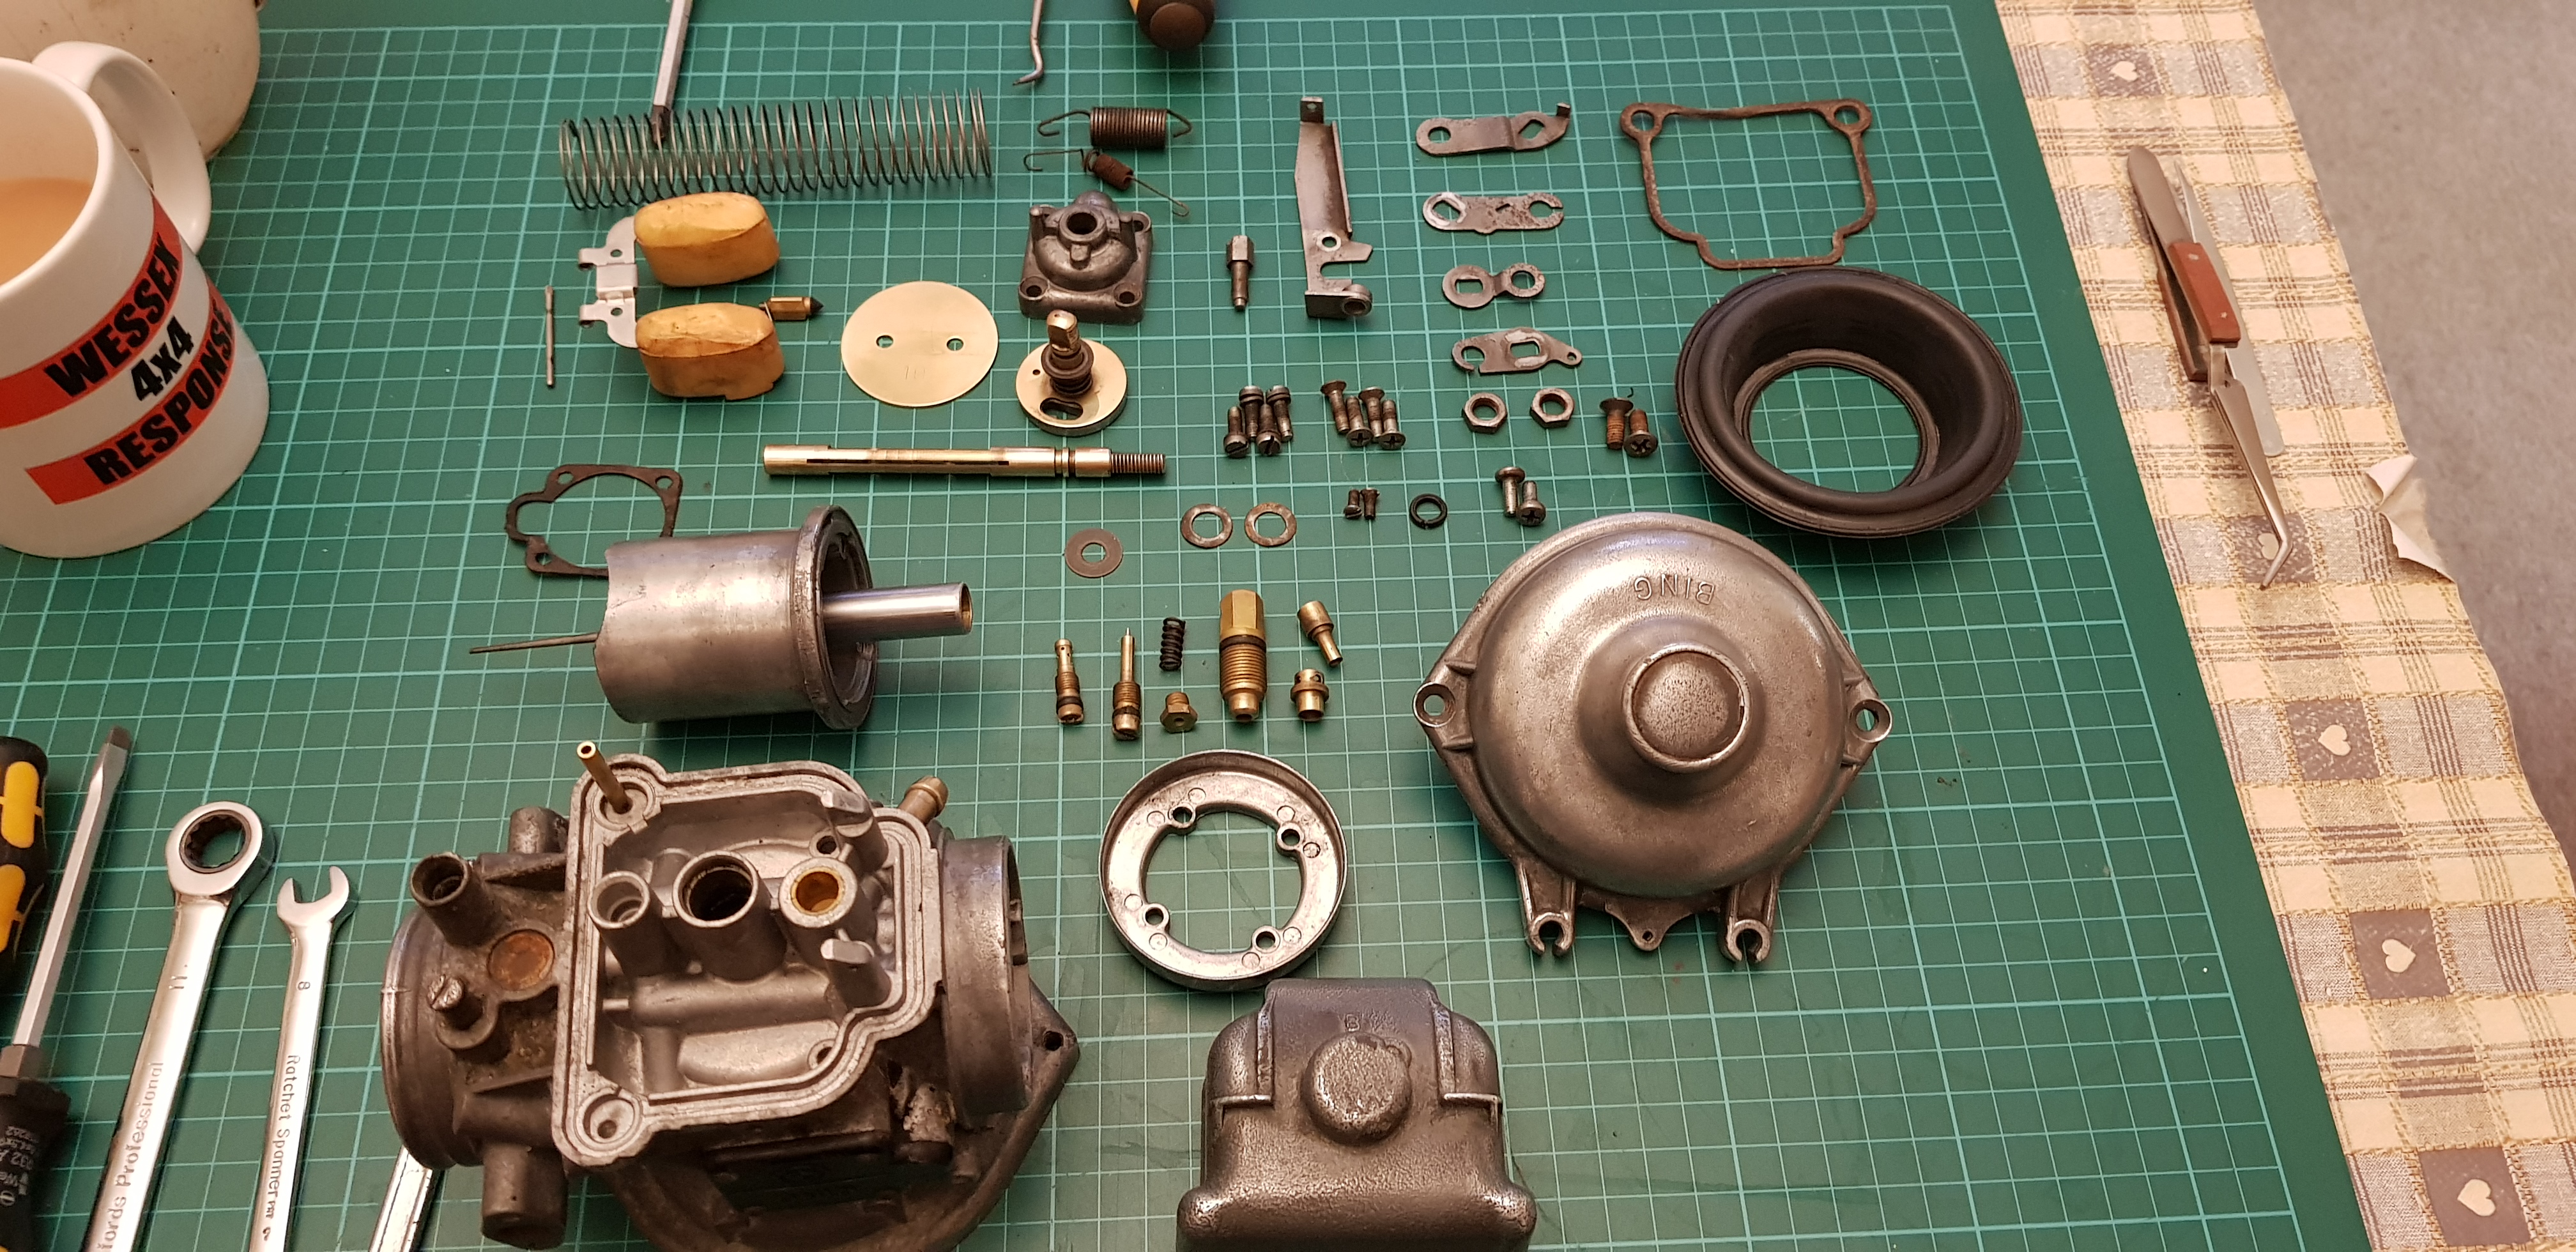
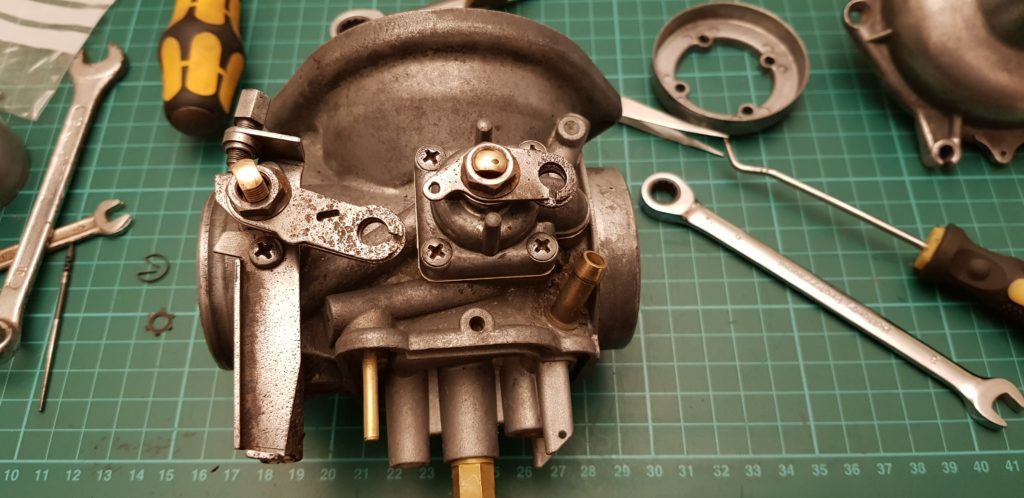
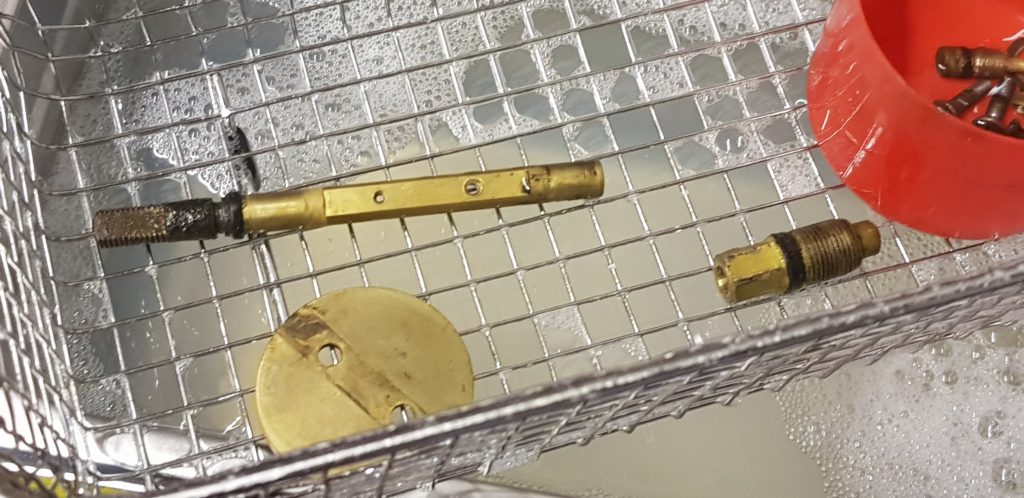
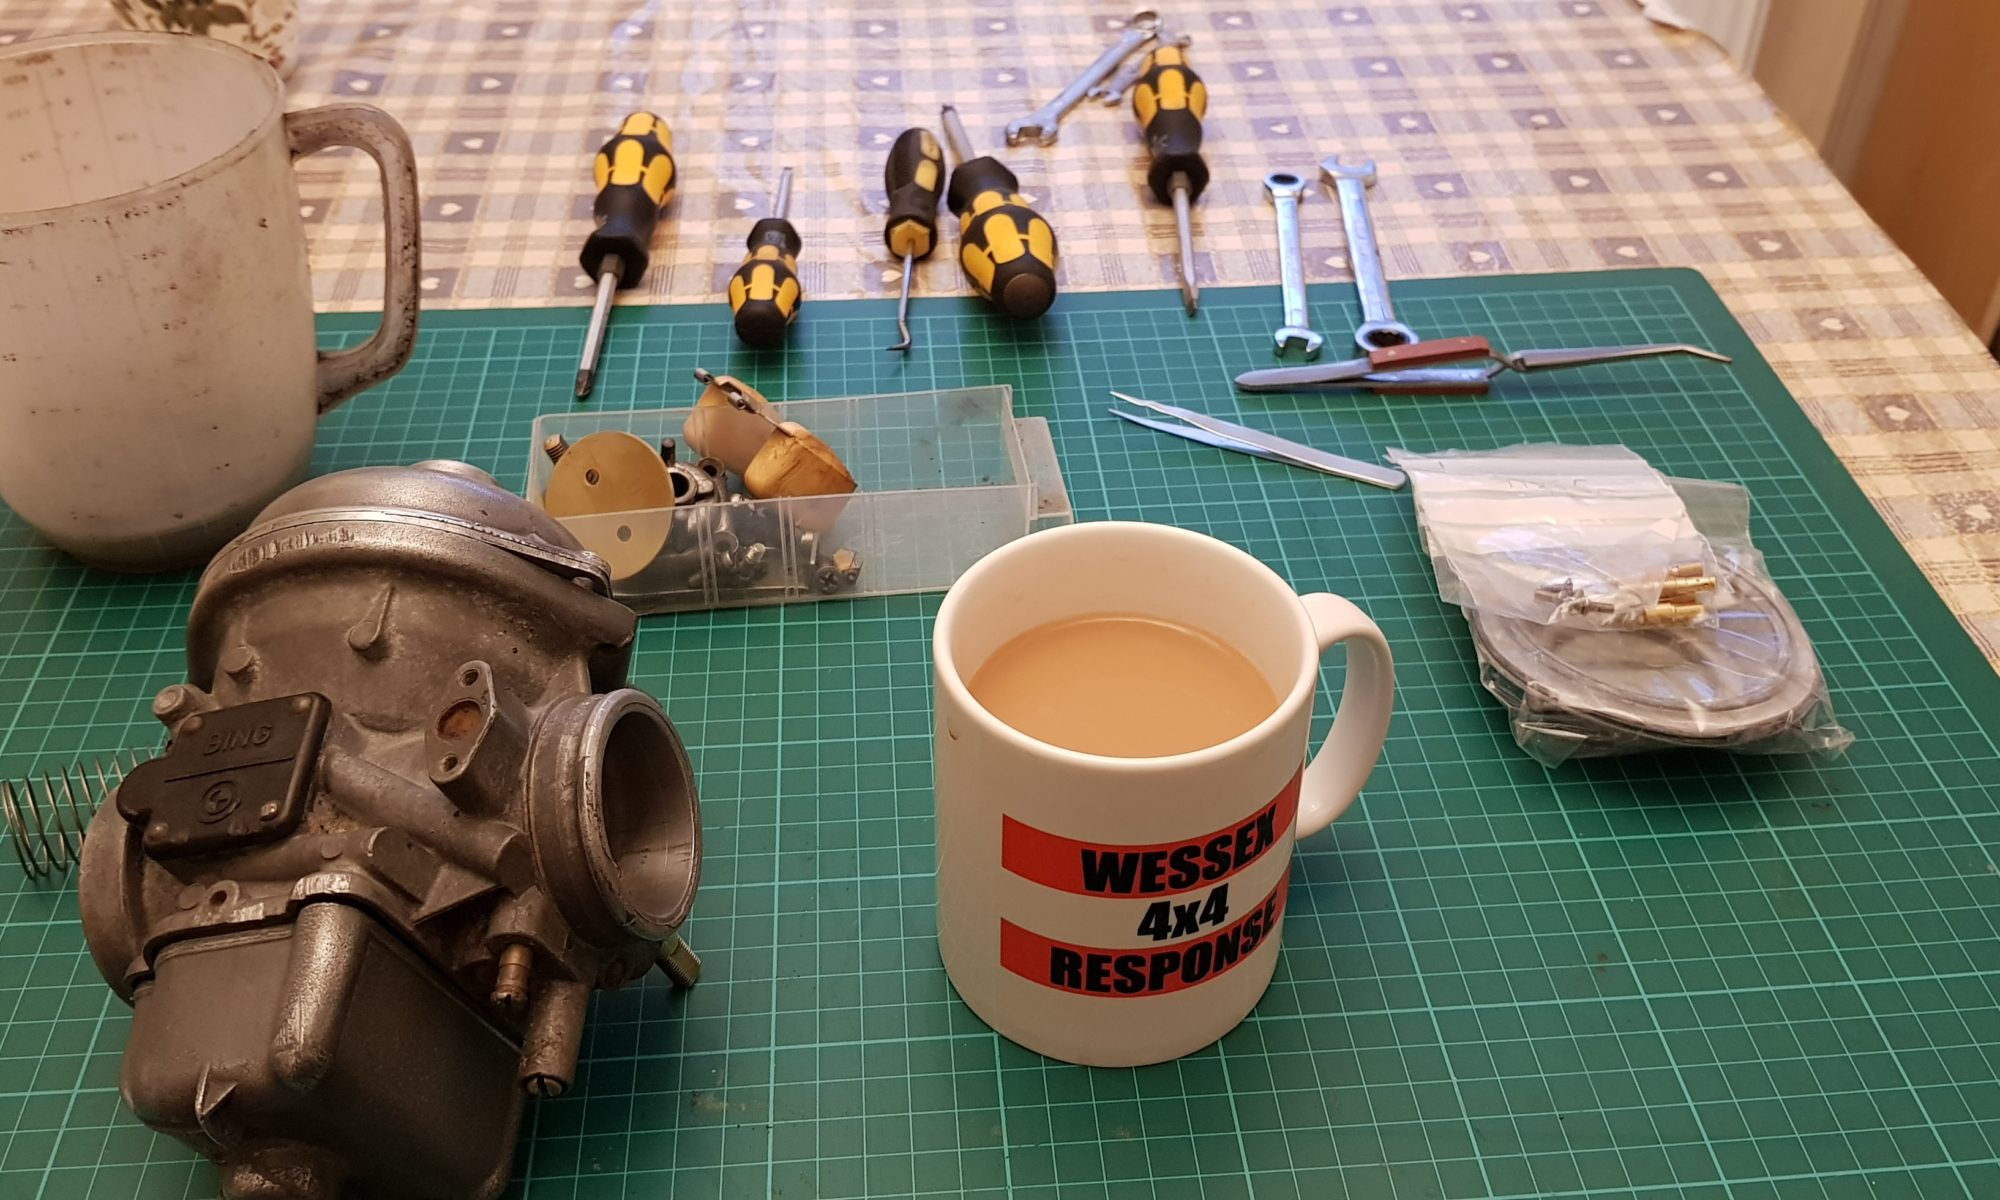
A thing I have learnt to do these days is to do something called Knolling which basically means to layout the items on the workbench in a logical way. Which I find handy for assembling parts as you can see all the parts and often you can also group similar objects together such as screws. The above picture is all the old bits and pictured below are the new bits.

The new parts all lined up ready for me.

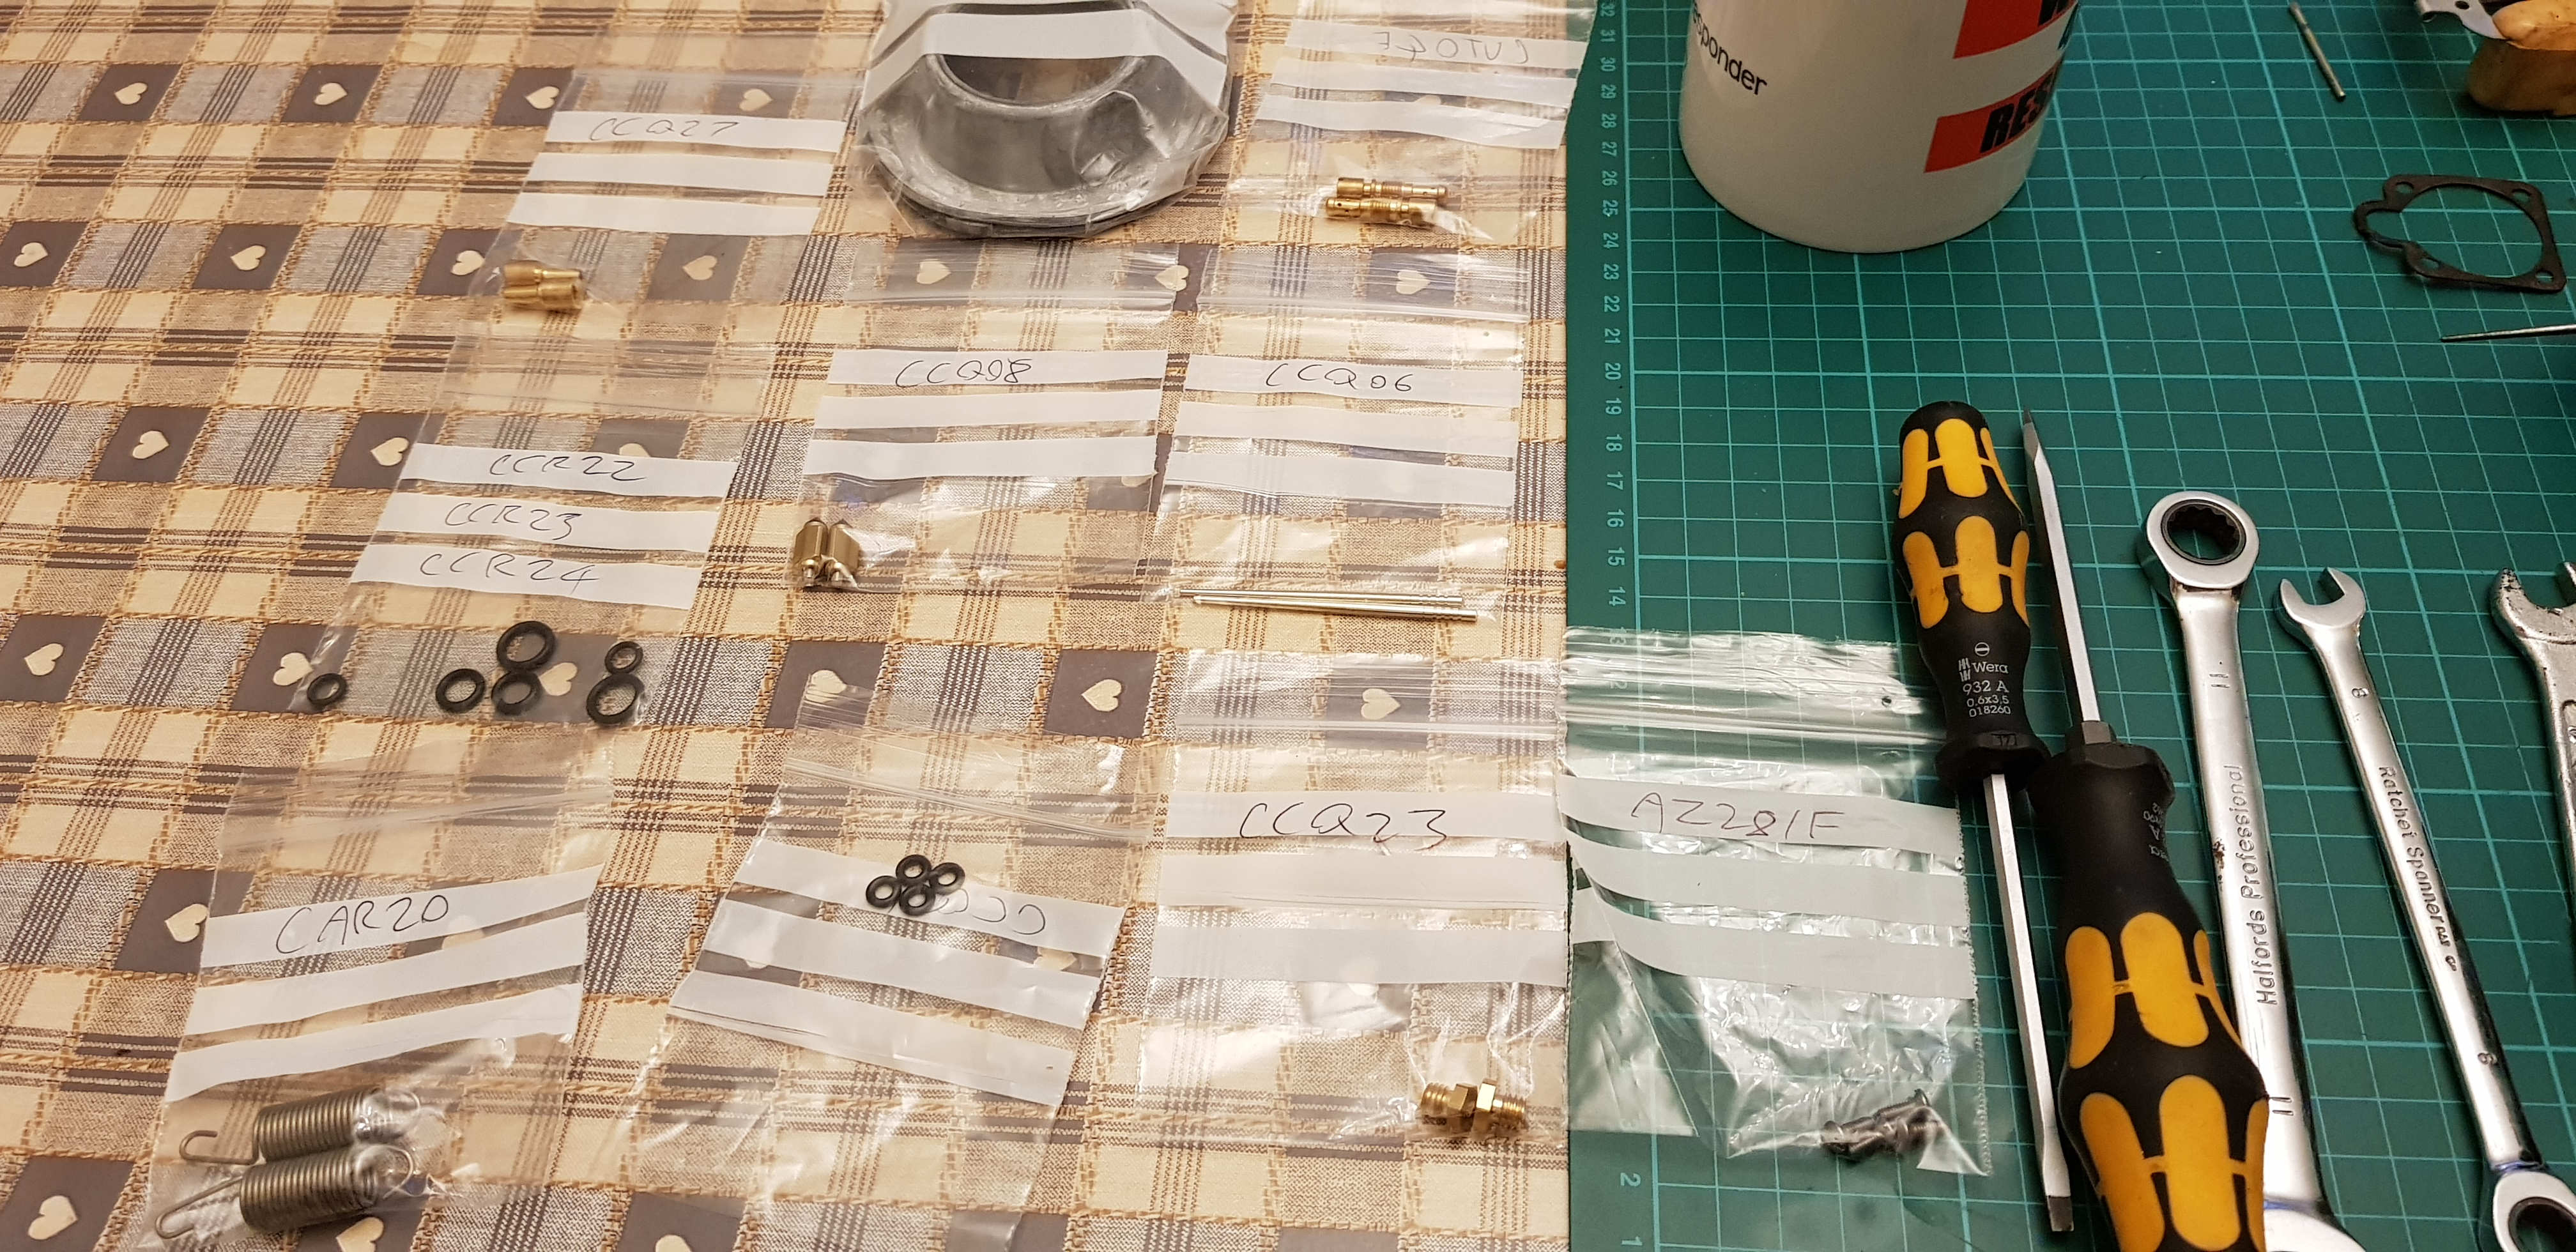
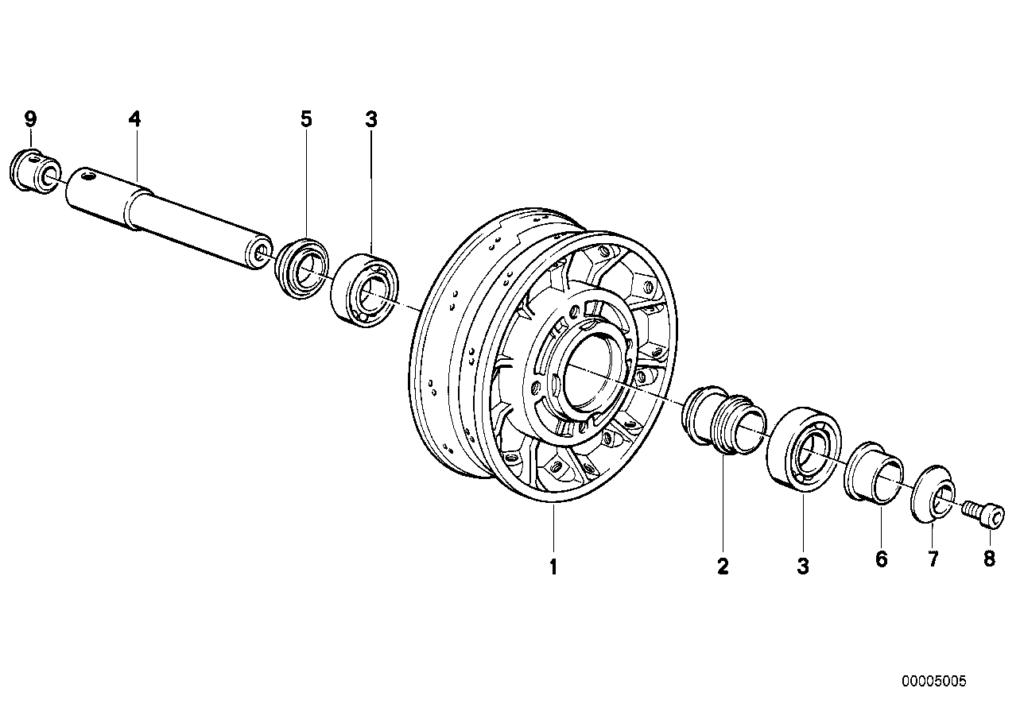
As you might have guessed I am inside the house working on the kitchen table as I needed the light got this, and easy access to Tea. I also printed out the parts diagrams so I could work out the correct way to assemble them.


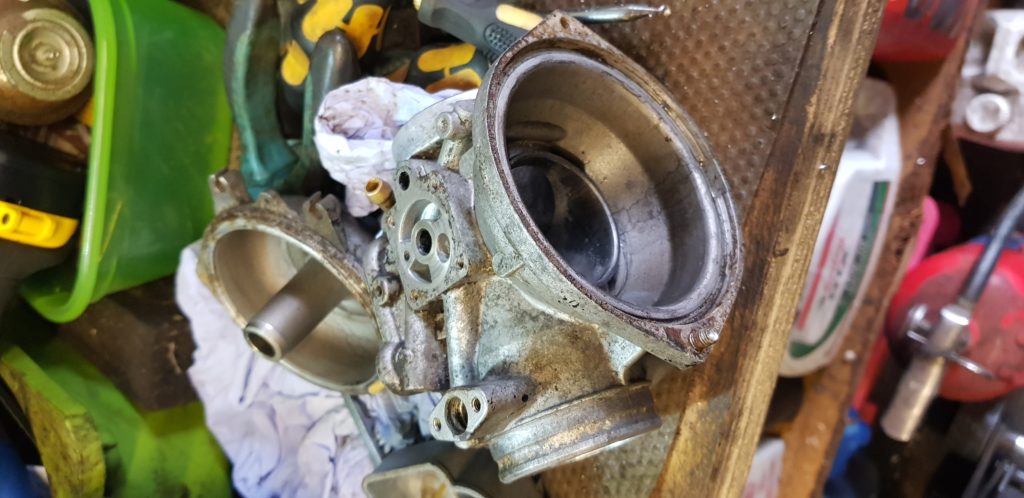
So the some of the bits have changed and but mostly staying the same.

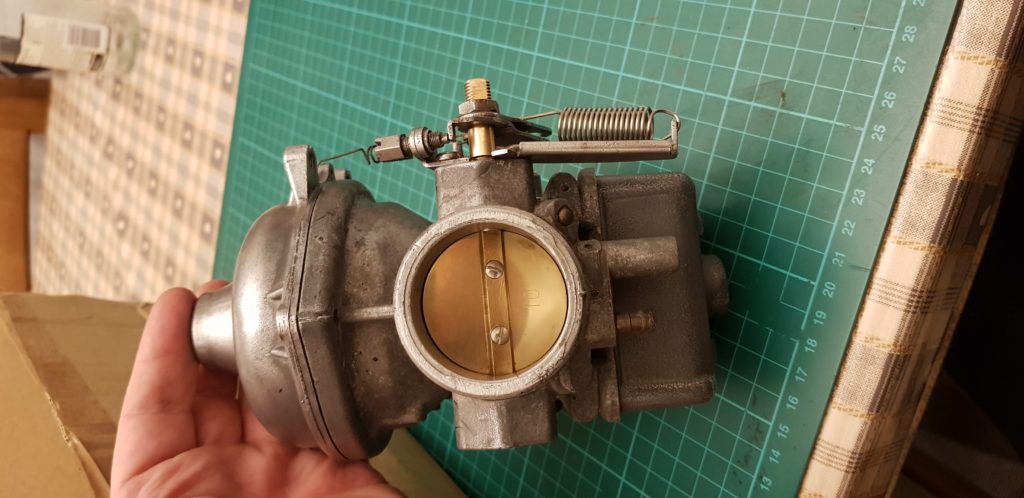
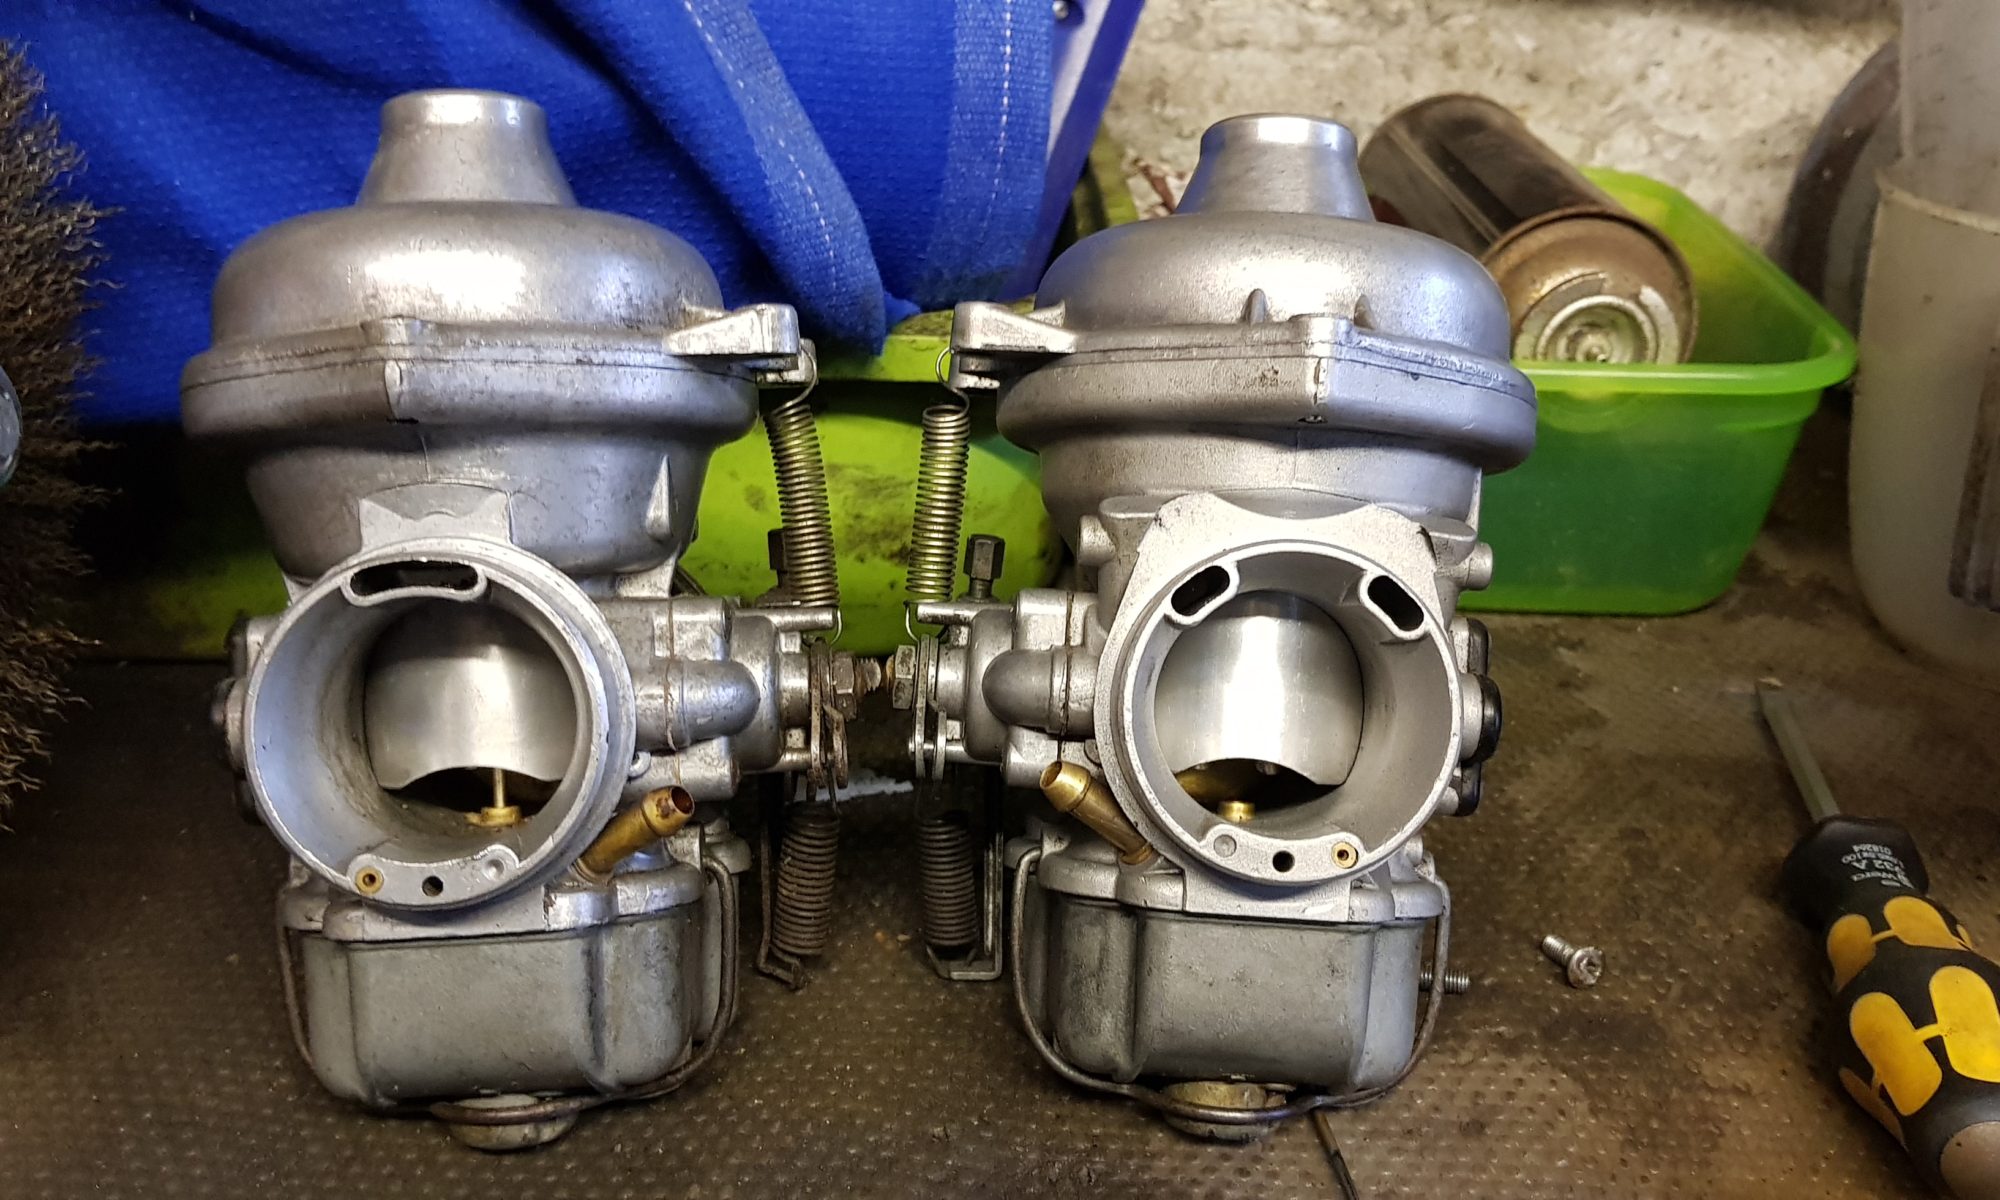
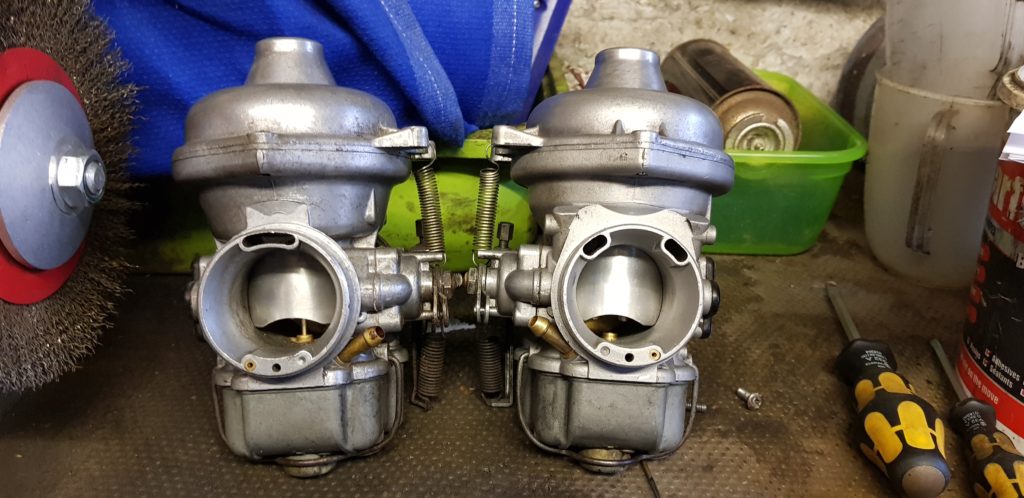
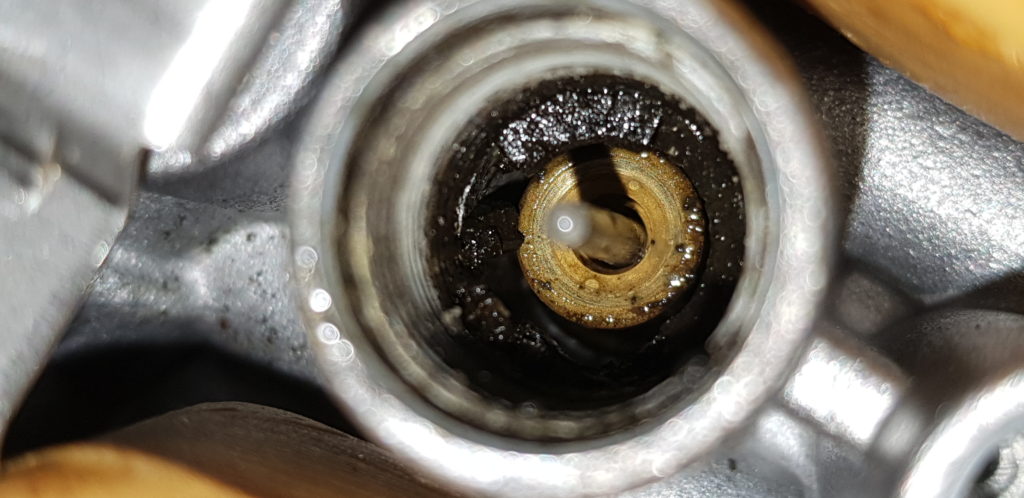
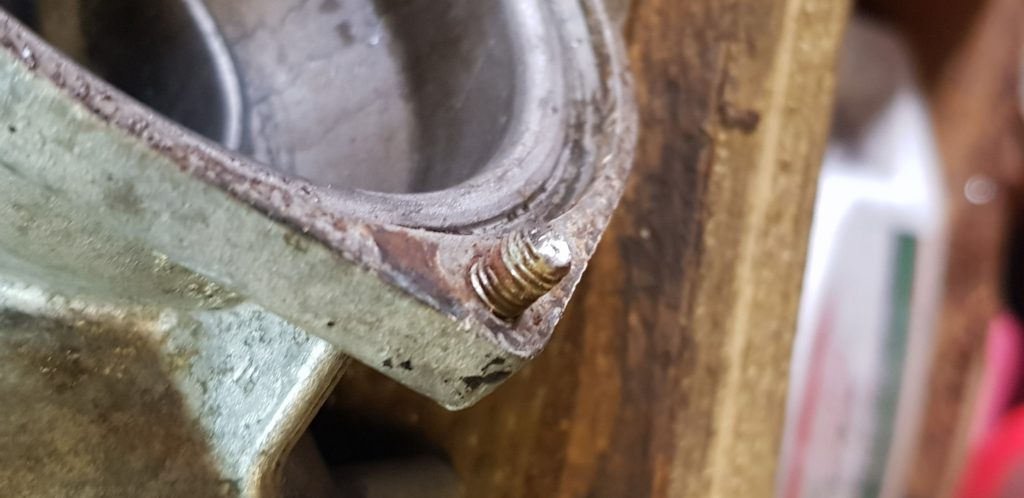
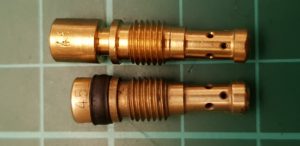
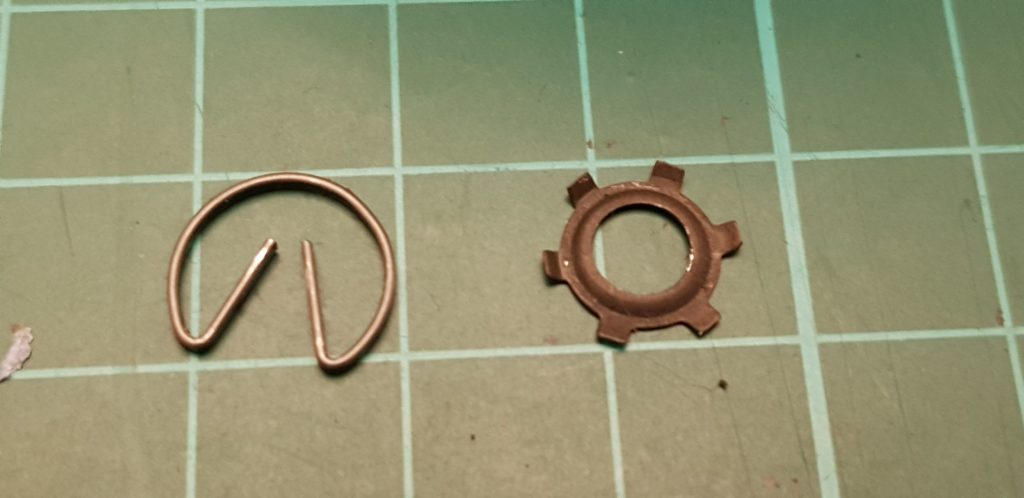
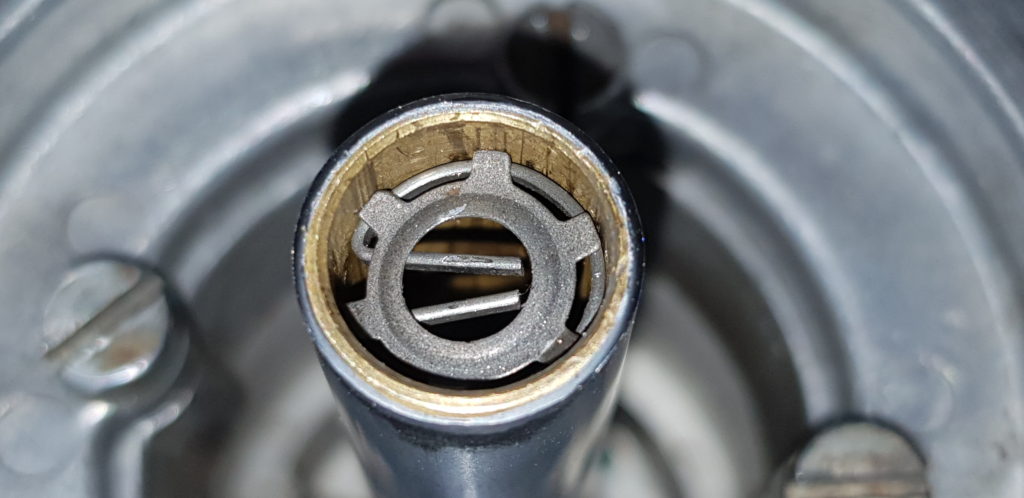
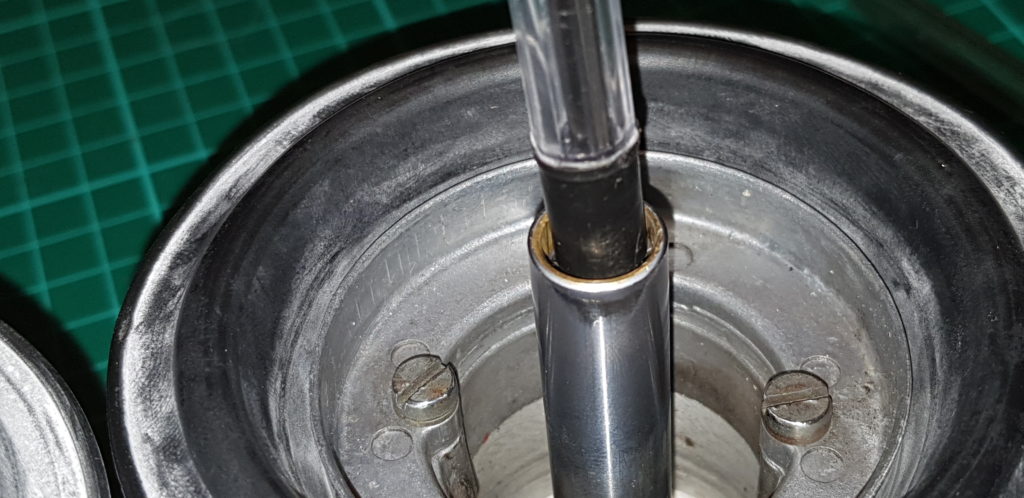
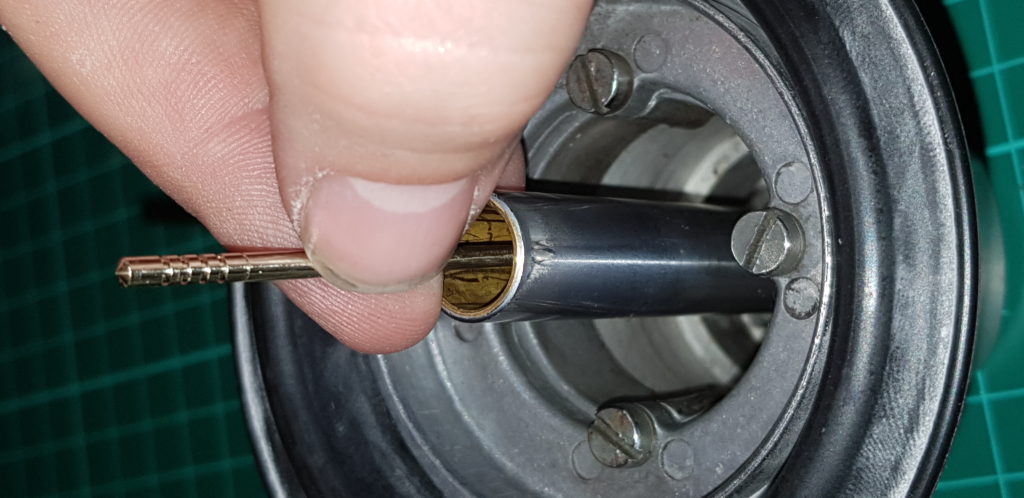
It was a bit of a challenge to work out which o-rings went on the different parts but it was soon worked out. The only bit that caused me any real issues was the needle jet as that wasn’t held in the way suggested in the parts diagrams. As you can see in the images below there was a spring clip that latches onto the pin but annoyingly it wouldn’t fit into the tube and stay attached to the pin. So I put the clip and the retaining washer in and pushed it down with the end of a pen and once it had clicked into position I then dropped the pin in and was able to use the pen again to push it down and though I couldn’t be sure of which notch I got I did get midpoint and both are matching heights.

Now I have assembled the carburettors I need to fit them but that will wait for another day.

Not a productive day

This afternoon I thought as its dry I might as well have a look at solving a few of the puzzles on the BMW. During the week I ordered some parts one of which was the spacers for the front wheel.

After the removal of the wheel I went into the shed to look at the spacers and moments later the bike decided to have a rest, thanks to the engine bars and it being a saggy BMW I was able to pick it up once I got the wheel in there. But to my annoyance with the wheel bolted up the disc hits the fork. Need to think about it a bit more I suspect I am missing something obvious but the wheel maybe from of a newer twin disc bike and that means the wheel might be the wrong way around or the wrong sized hub.

Front wheel parts.

For a break, I took a look at how the carbs connect to the air box. Much head scratching later and I think I know what needs to be done but need some more jubilee clips.

BMW Air Cleaner Parts

Looking at the parts its not clear what bits are meant to be rubber fitting in or over stuff but some googling later and it looks like I must be missing part 14 which I thought was the bit already in the tube and visible on the one in my hand.

But now dad was home and we thought for the heck of it we would just turn it over off of the battery. I thought I better make sure there was oil in there….hmm I smell petrol. So we drained 4ltrs of petrol/oil mix and added some nice gloopy oil. Next, we tried to turn it over, click, click. The damn starter needs some TLC now.

Of bits missing…a evergrowing list.

So as I look closer at the bike the more bits I am finding that are missing.

  • Ignition Switch
  • Front Brake
  • Indicators
  • Screen
  • Carb Attachments
  • Spacers for the front wheel

Then there are the bits that are just wrong such as the rear mudguard that has been hacked short or where the seat latching mechanism has been replaced with some home made bracket and some self tapping screws.

The carbs that came with the bike.

But first I want to get this bike started so we started by taking a look at the carbs that came with the bike and…drat, they don’t match. One is from an older bike and one looks newish but one of the legs on the float has been broken and I know that usually means leaky carbs. So I ordered a secondhand set from eBay as well as a standard original screen. I did contemplate fitting some Dellorto PHM 40mm units but I was getting a little lost on what bits I needed to fit them and decided it was a lot of messing about.

So I went about stripping them and giving them a good clean ready to reassemble. Sadly one of the top cover screws was rounded off so I managed to learn the skill of drilling out the screw without damaging the top cover. Sadly my ultrasonic cleaner died when it came to the last carburettor body but its all rather tidy now. But as I didn’t know the jetting etc for the bike I thought oh well I would just order rebuild kit then I would know the diaphragm and gaskets were all good. Also ordered some secondhand spacers for the front wheel.

A Oops Moment at the bike show

Well the annual VMCC Autojumble at the Bath & West Showground in Somerset was upon us and me and my Dad went down for our regular rummage for bike parts (mostly Matchless stuff), normally we leave empty handed or with some random tools as they looked shiny.

But this year was different while walking around one of the halls I spotted a large fuel tank, upon closer inspection, it was determined to be from a 1991 BMW R100GS PD (PD for Paris Dakar) and the rest of the bike sat there next to it in a somewhat dishevelled state. I looked at my dad and said we have always liked these but they have always just been too damned expensive and this is likely to be another of those moments. Then we looked at the price and we both decided we liked the look of the price and I am in a position to afford to buy another motorcycle. So my dad did his thing of looking about the bike and checking that it was actually a PD and that there were enough bits to get it going again. The owner wanders over and tells us its been stored in a barn for 8 years and he admitted he has borrowed the odd bit from it for his customer’s bikes and he would send us the front brake calliper that he didn’t rebuild. A deal was done and I bought it on the basis I could take it away from the show and save him having to take it home.

The Fuel Tank and associated bike.

So the next challenge was to borrow a lorry from my dad’s work then to load up the boxes of bits and bike and get it home. Walking back and forth I managed to set off my watches “You have achieved your amount of steps for today”. My dad happily walked the bike down to the lorry and was rather smugly happy when people would ask if it was for sale and he could say “no we just bought it”.

Yup, its in a bit of a state.

So I got it home and had to take a bunch of pictures before I started to do anything on it.

At this point, I realised the bike was in a desperate need of a damned good clean. So out with some WD40 and a rag to see if I can clean this bike up a bit. But I wanted to jet wash it but decided better of it because of the engine is open to the elements etc. But I did take to opertunity to take the crappy indicators off and add some bolts to hold some of the panels on.

So its a bit cleaner but requires some fresh paint in places but the plan is to get it running then over the summer I can do the odd bit of restoration to it to bring it back to its former glory.