Now this isn’t one of my bikes. This belongs to my Dad and was bought many years ago.
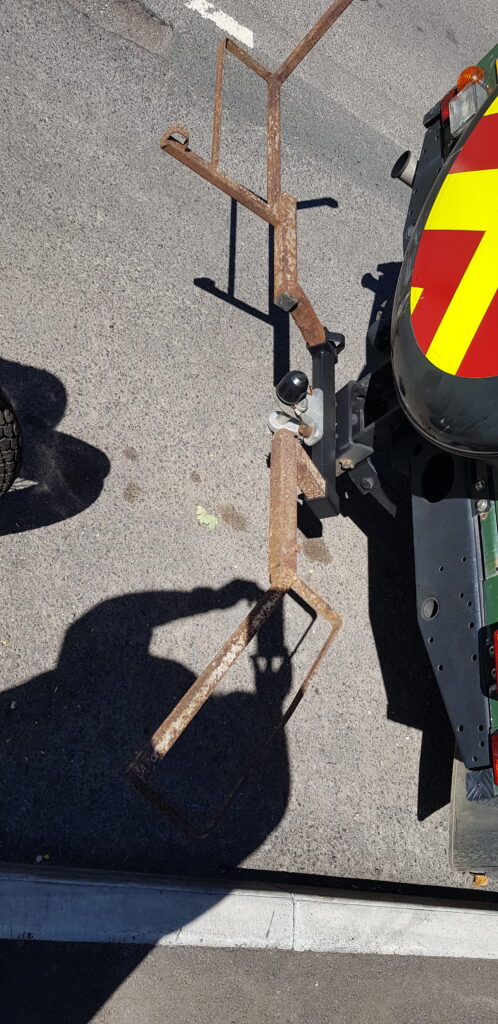
I had to fit the bike rack as originally the idea was to pickup my TY175 but the BSA was in the way so that came home first. I did make a start on painting the rack, might get the rest powder coated.
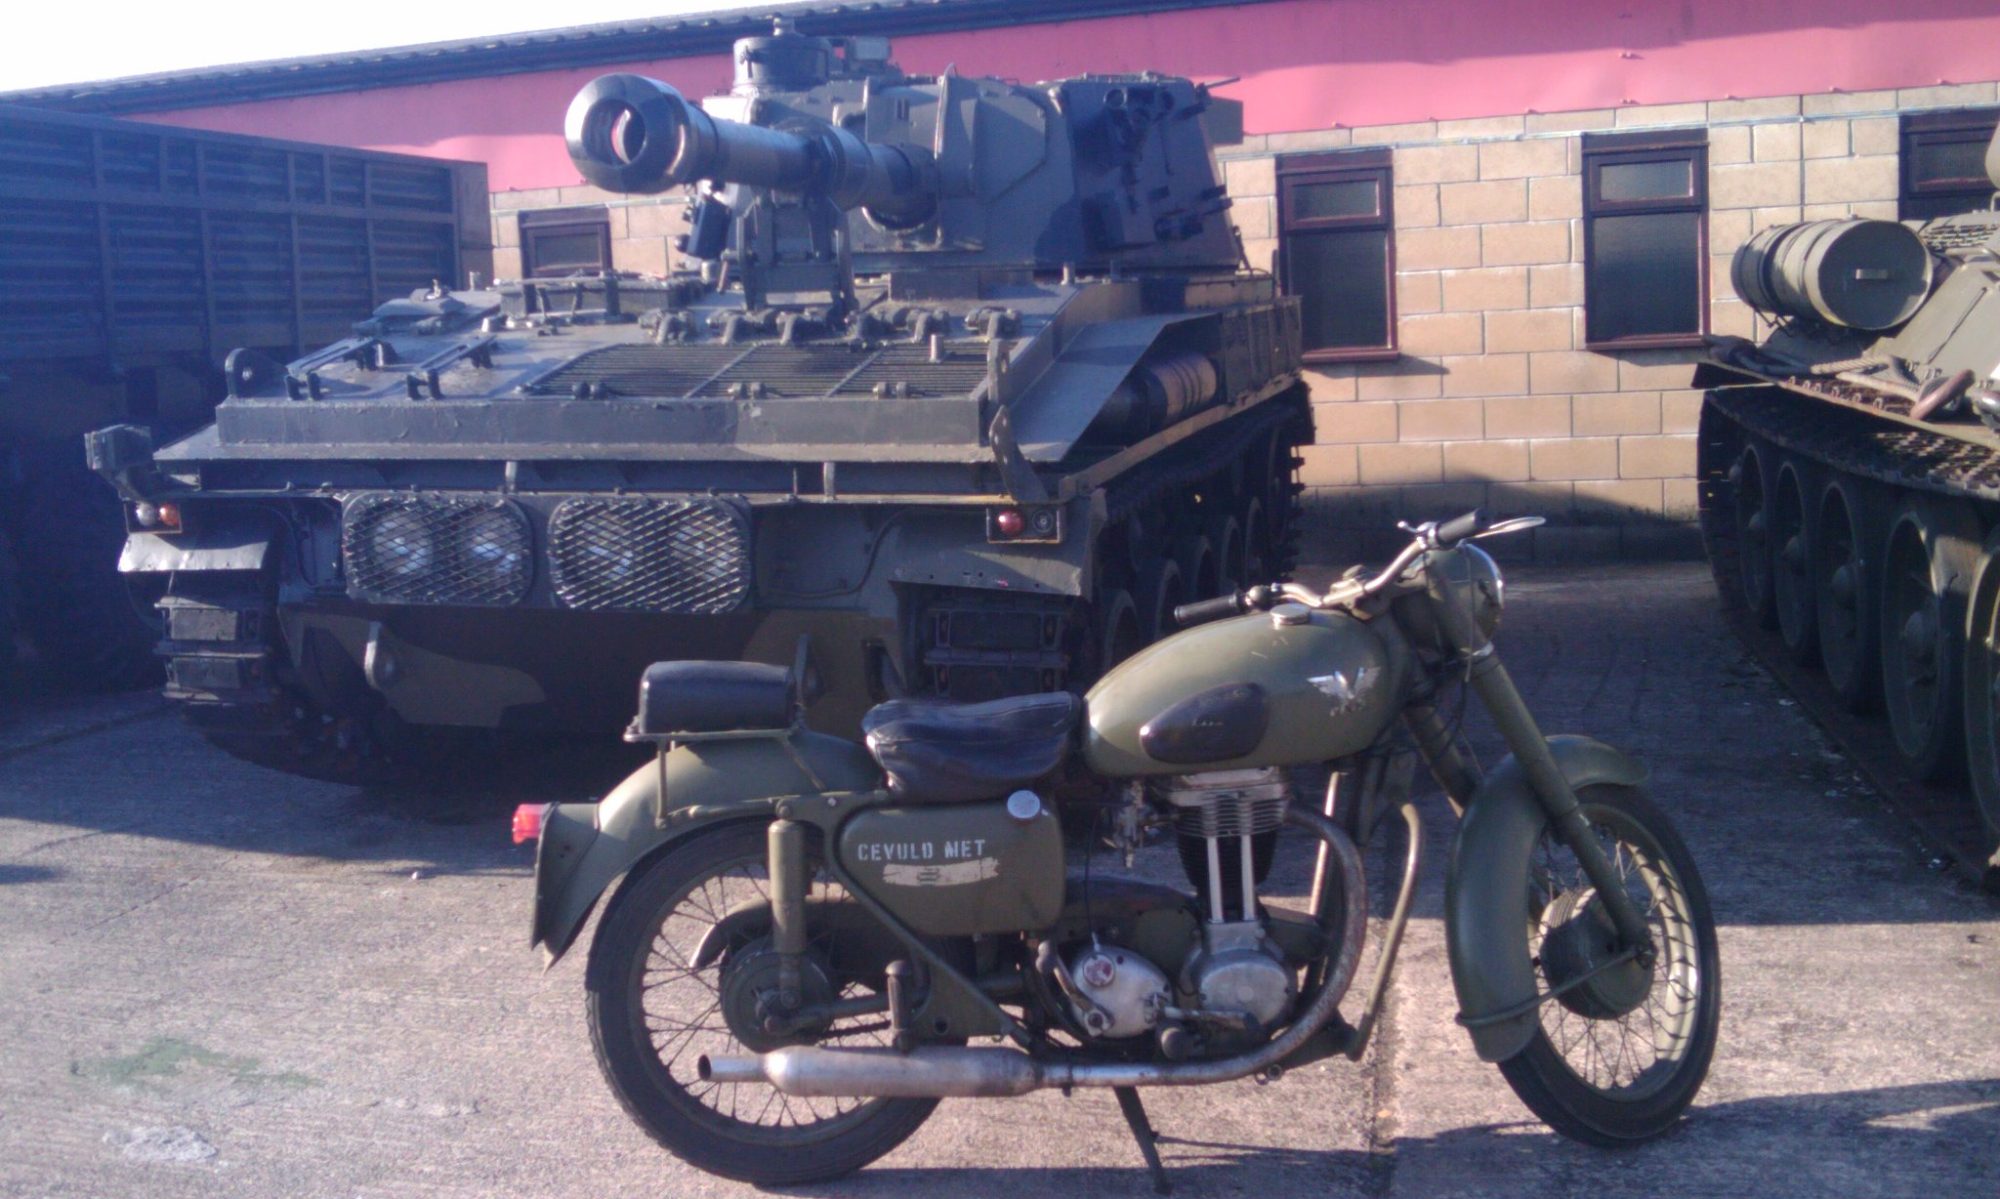
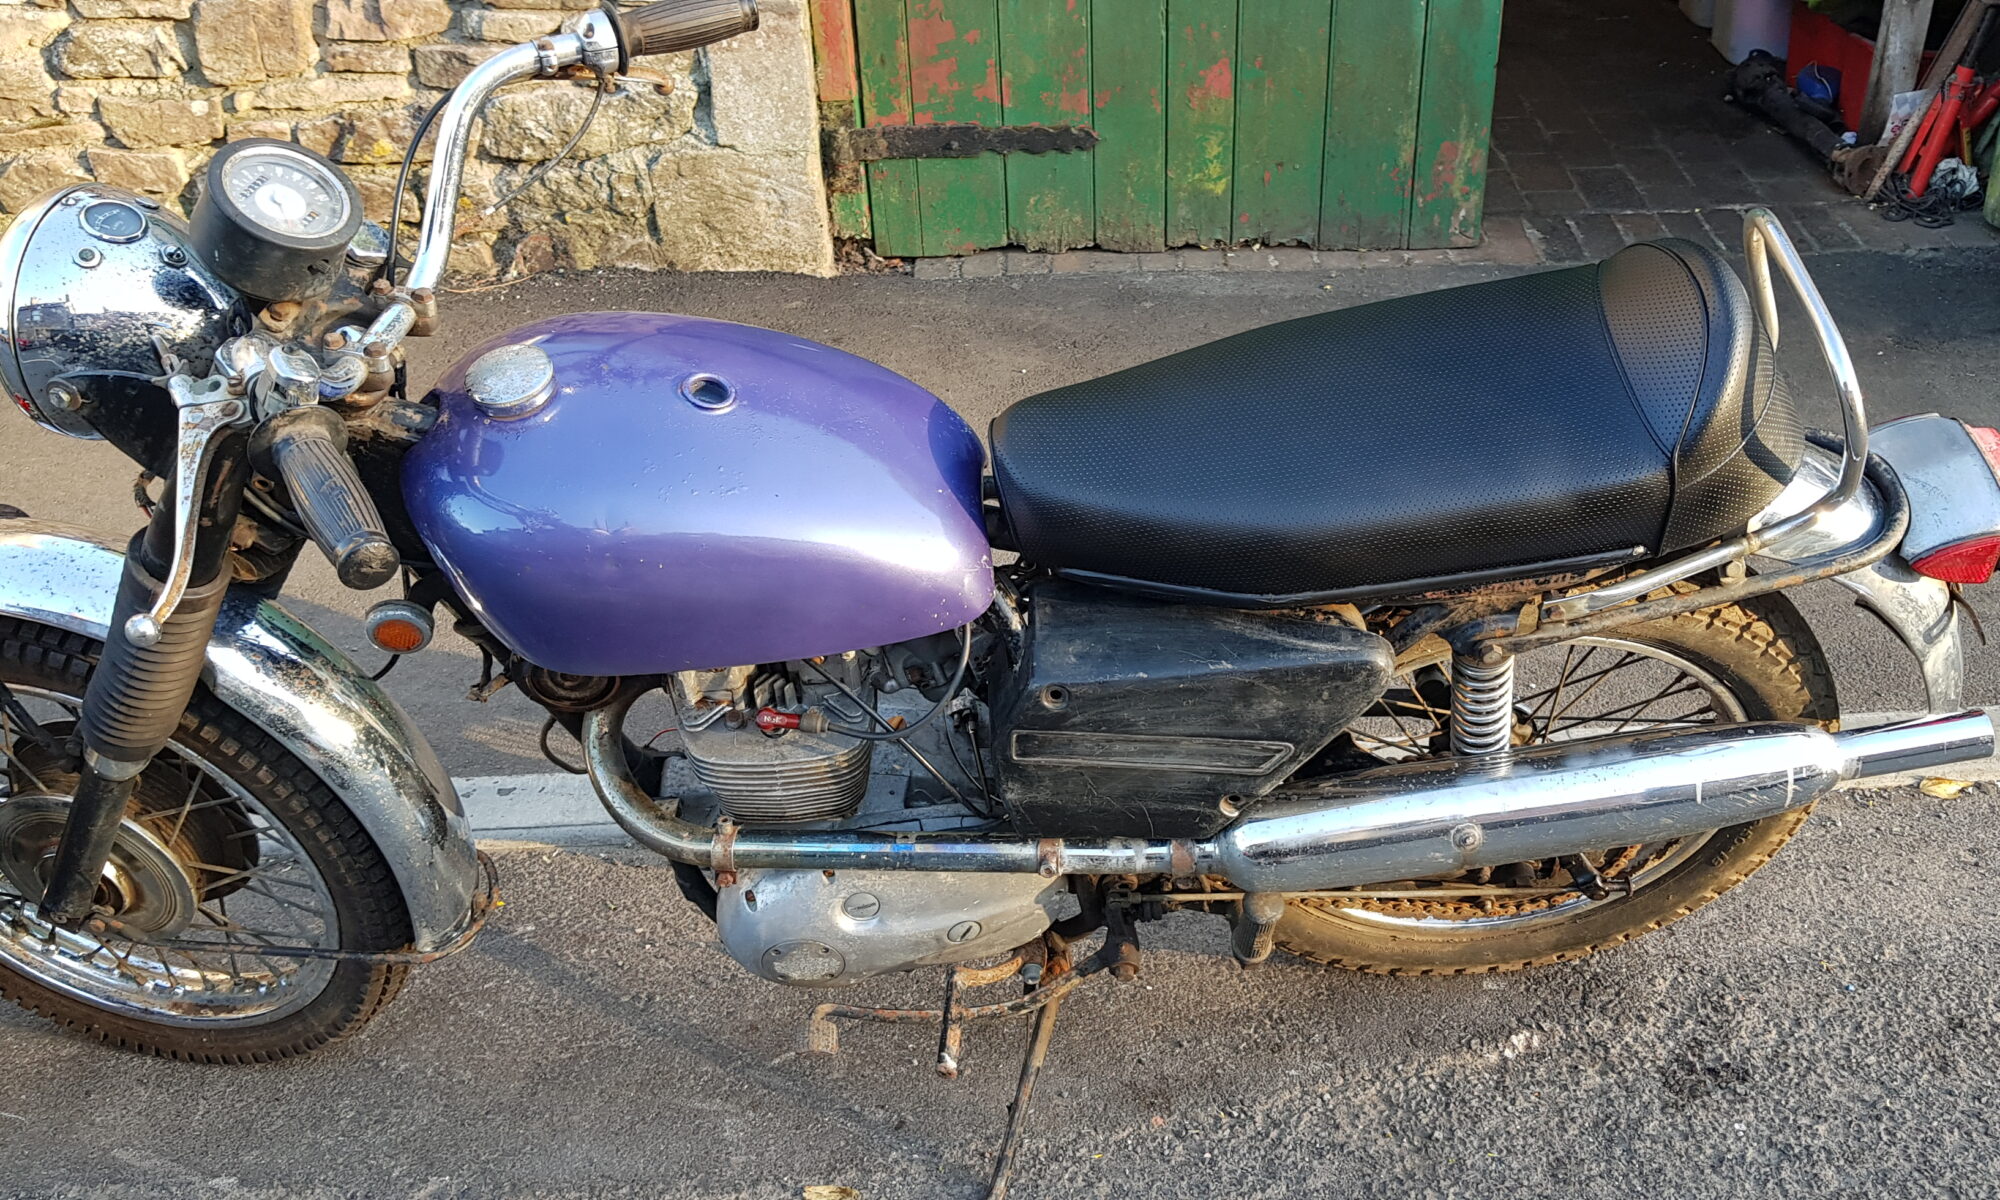
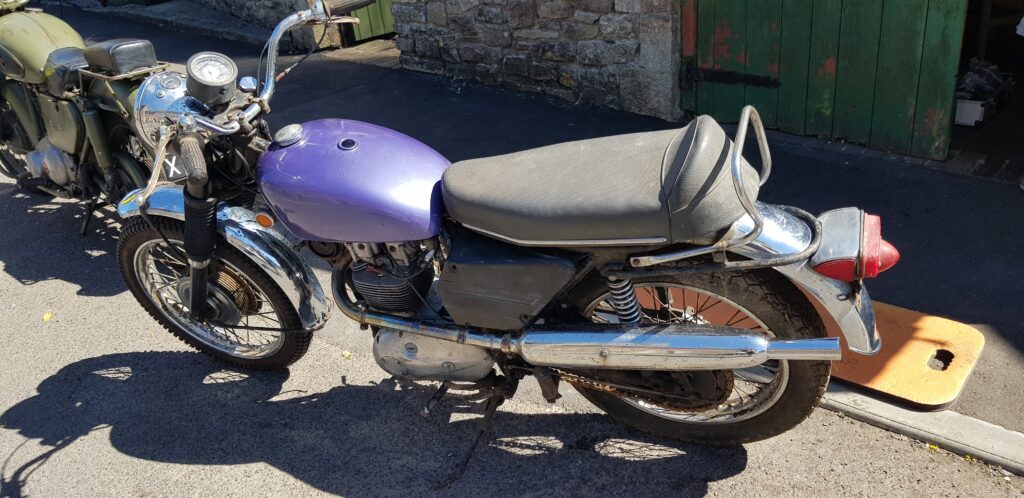
Now the BSA,
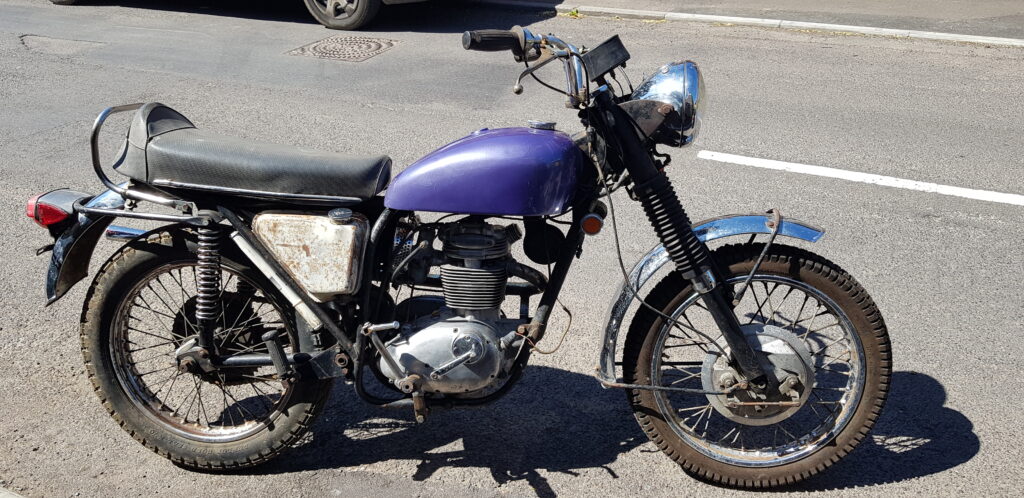
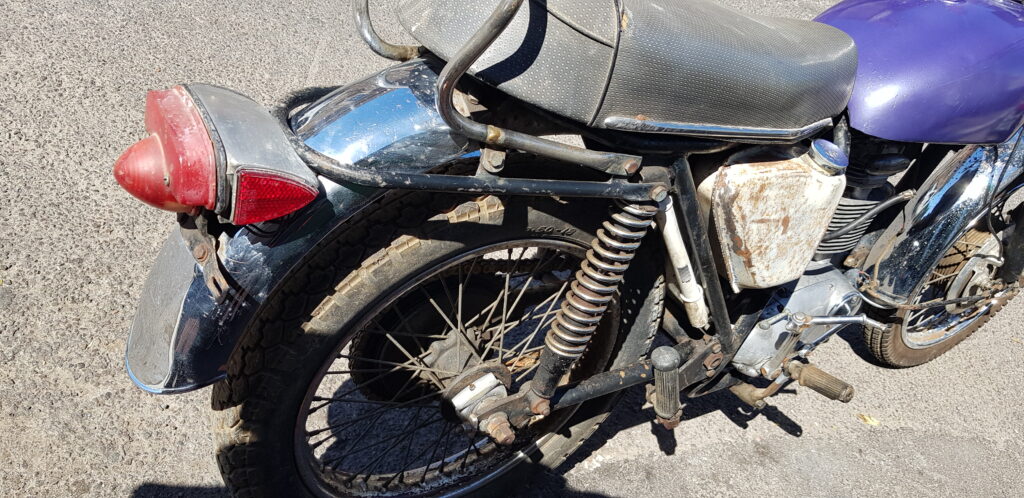
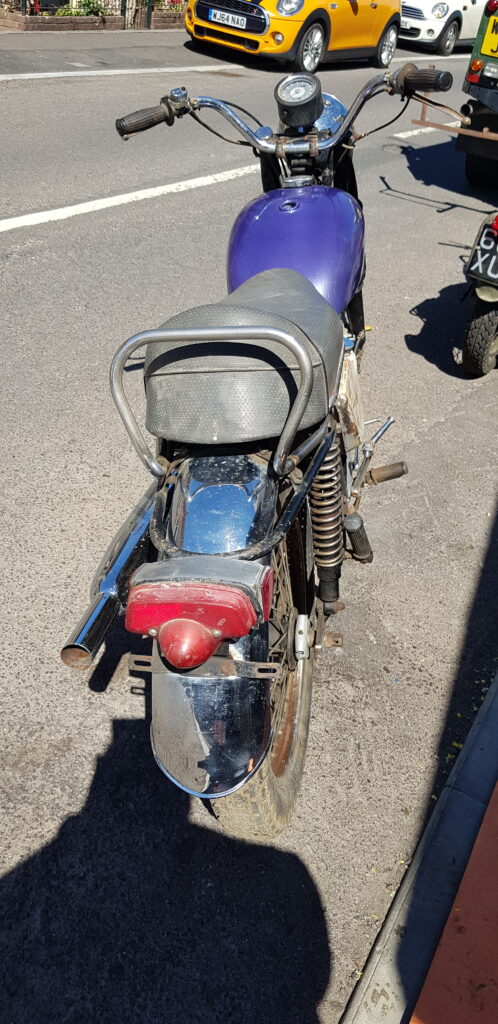
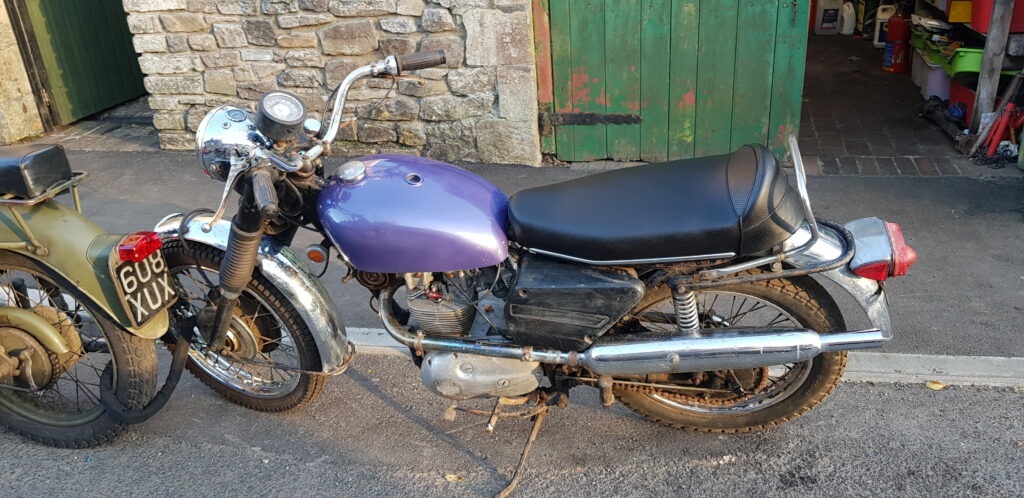
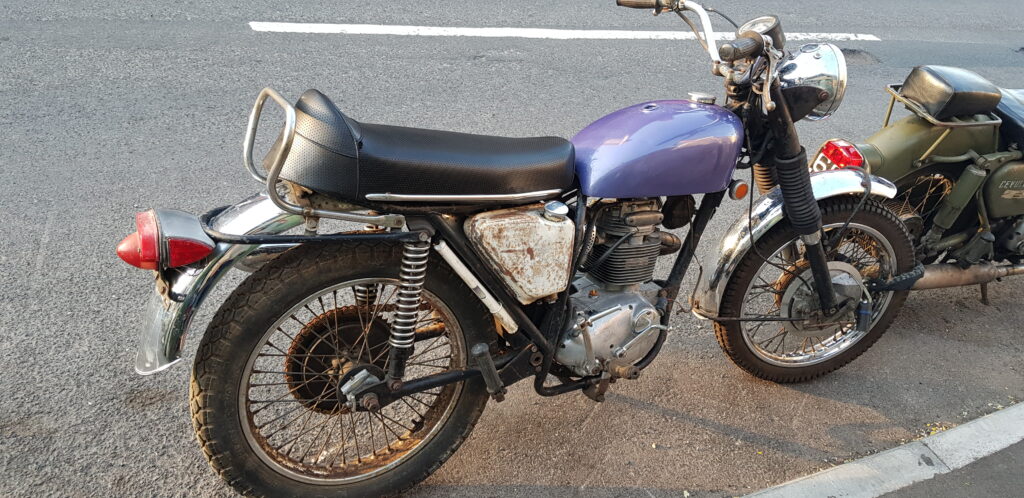
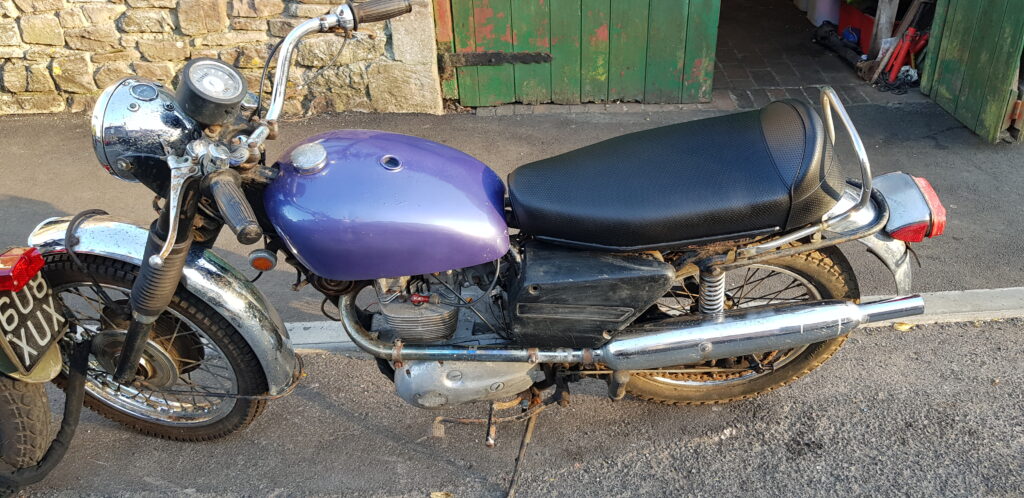
This is a BSA B25S Starfire (250cc) from 1969 and was sent to Canada. Then brought back to the UK. We still have the fun of getting this road registered. But for now we just wanted to get it going, my Brother-in-law had this for a while and had got it going. But after a few prods of the kick starter there was no life. So we made up new HT leads and Dad got on with looking at the points. Not long later it was running, of not a little high revving and a bit smokey but it started first kick.
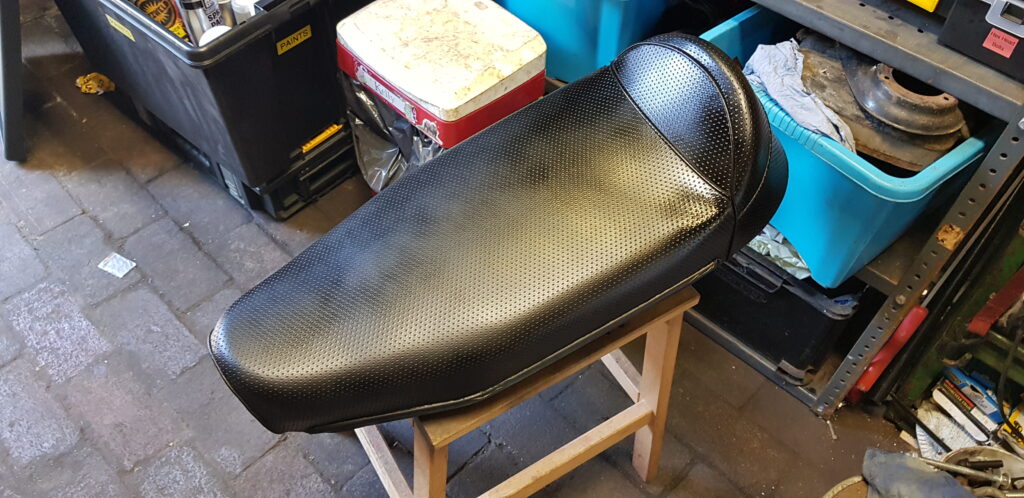
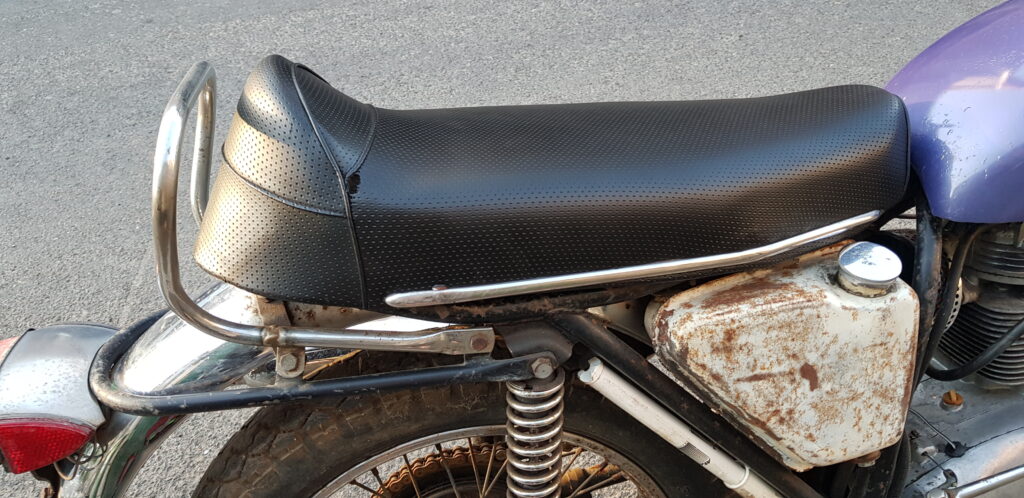
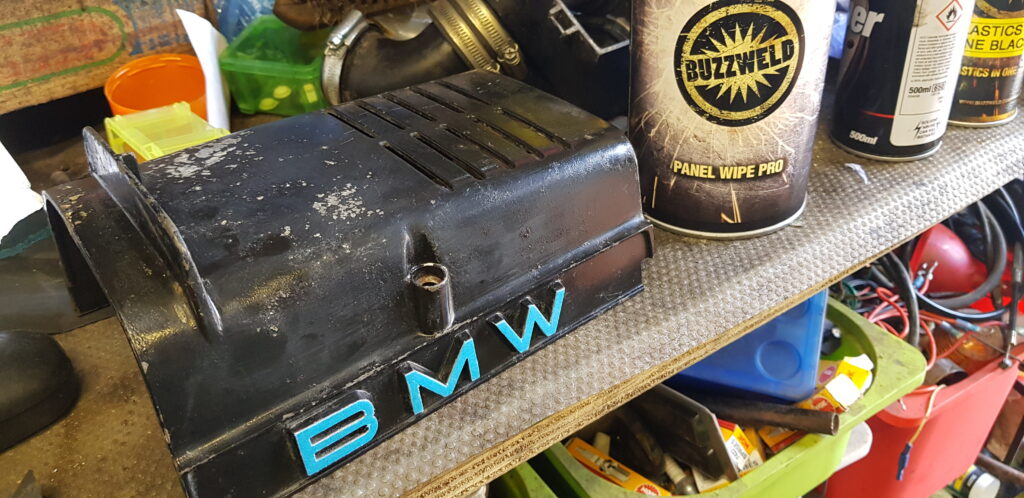
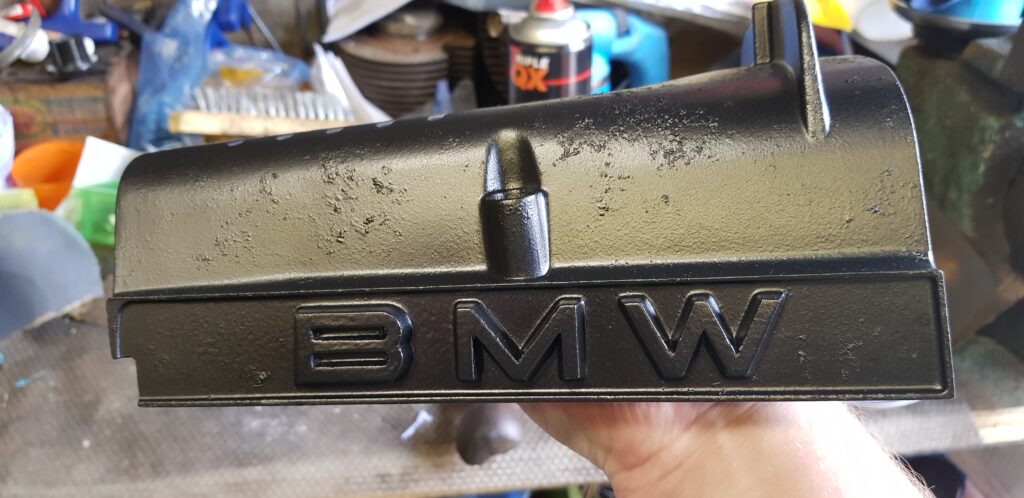
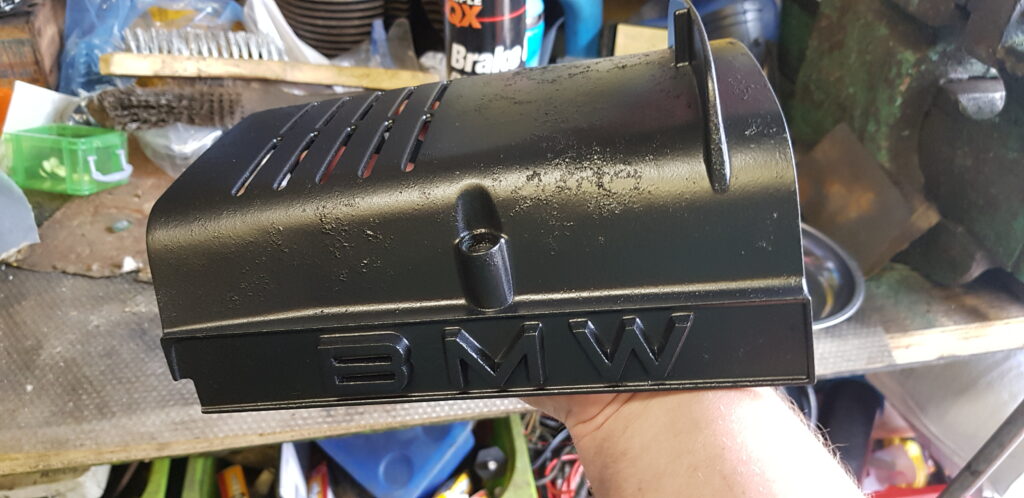
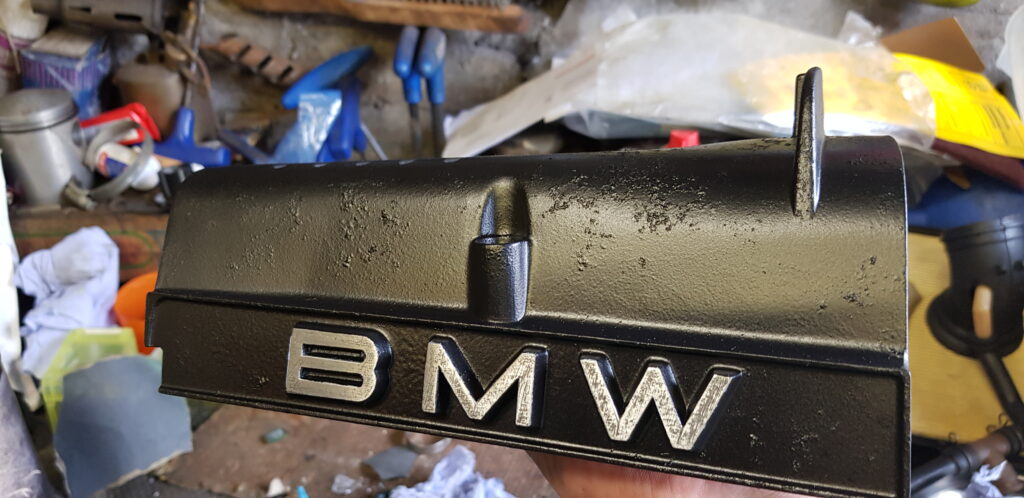
Later that day I was painting some BMW bits and I happened to trip on some of the Buzzweld PIO (Plastics in One). Therefore I painted the seat. I suspect it will need recovering or repairing as there is a small hole in it.
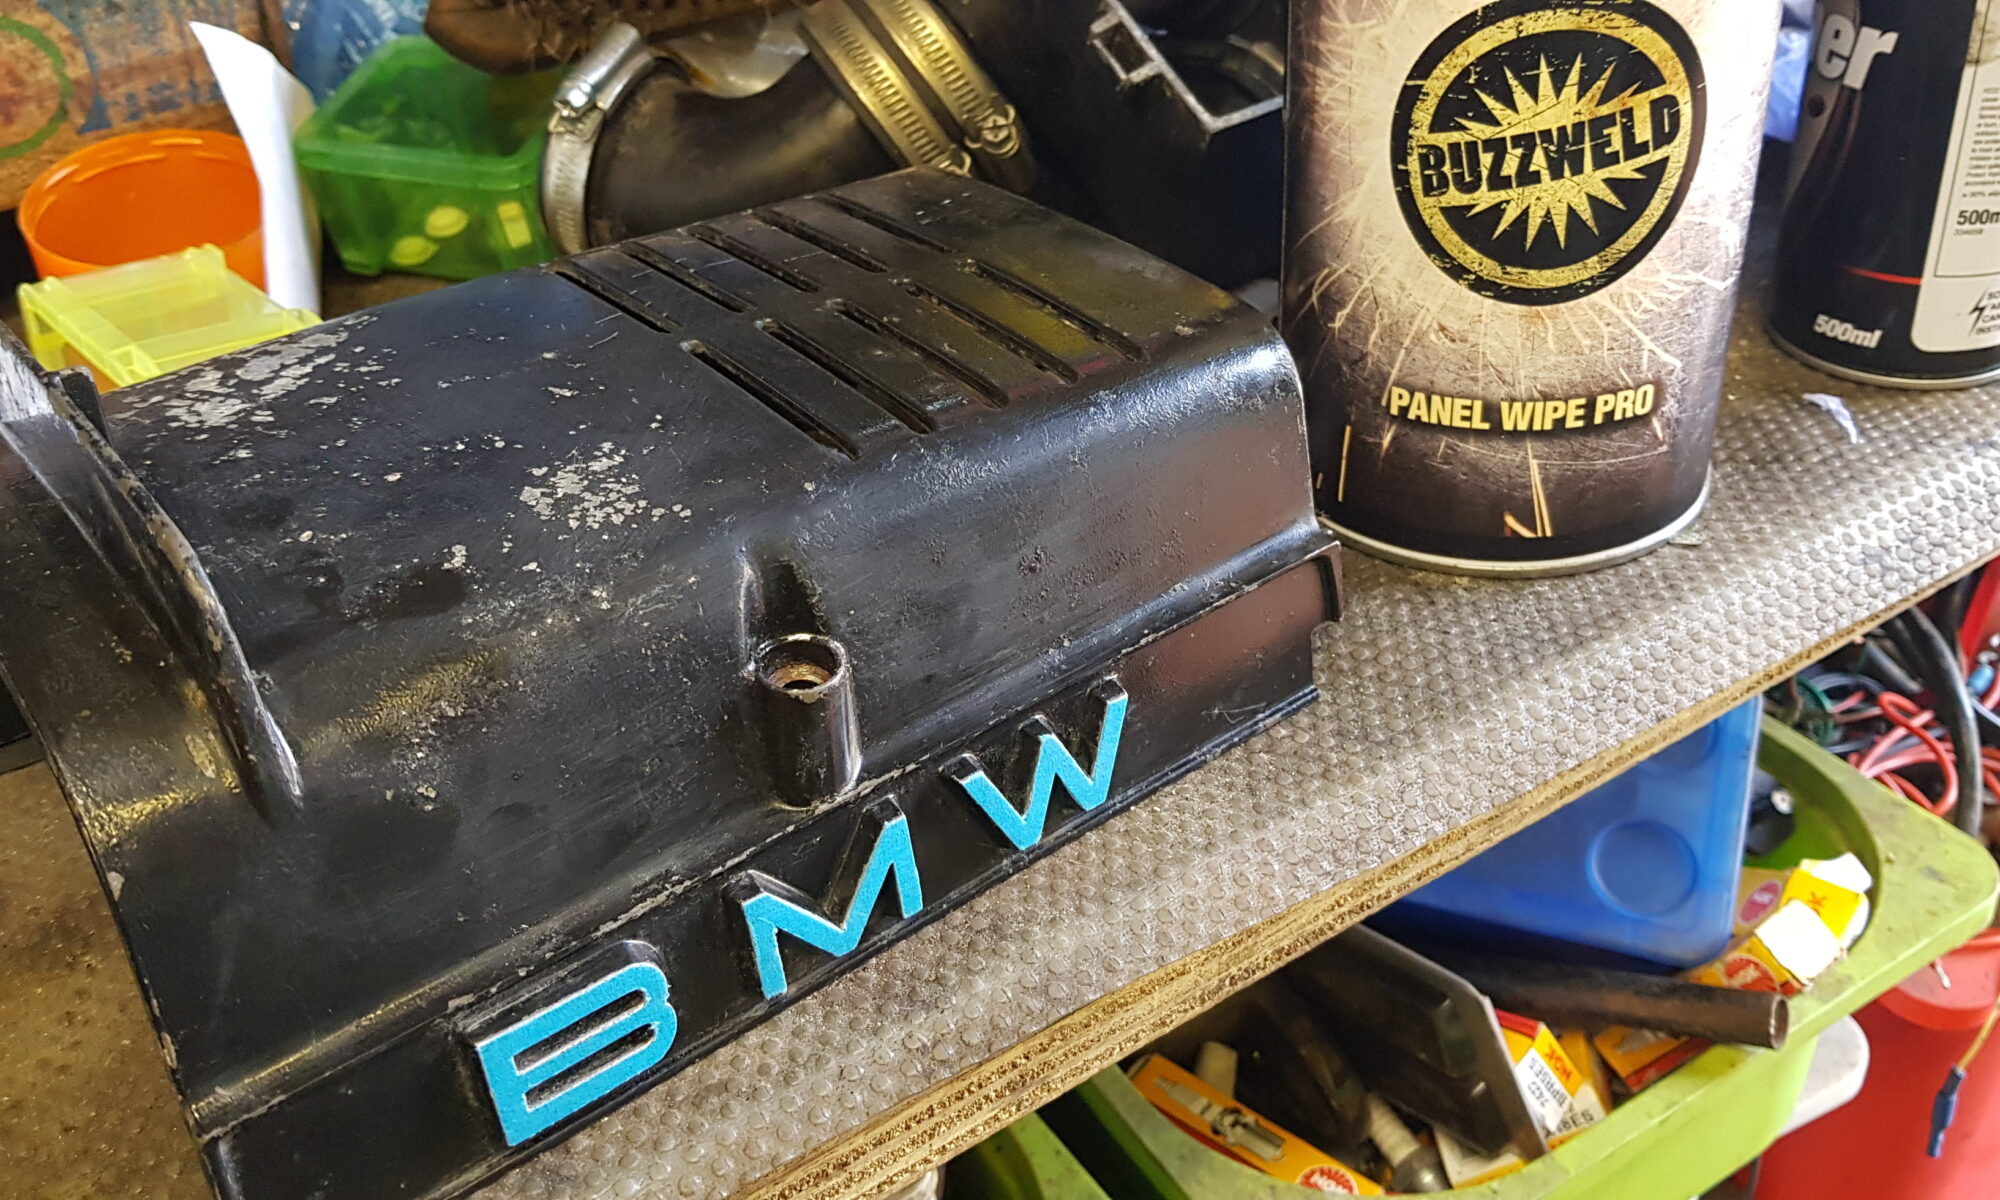
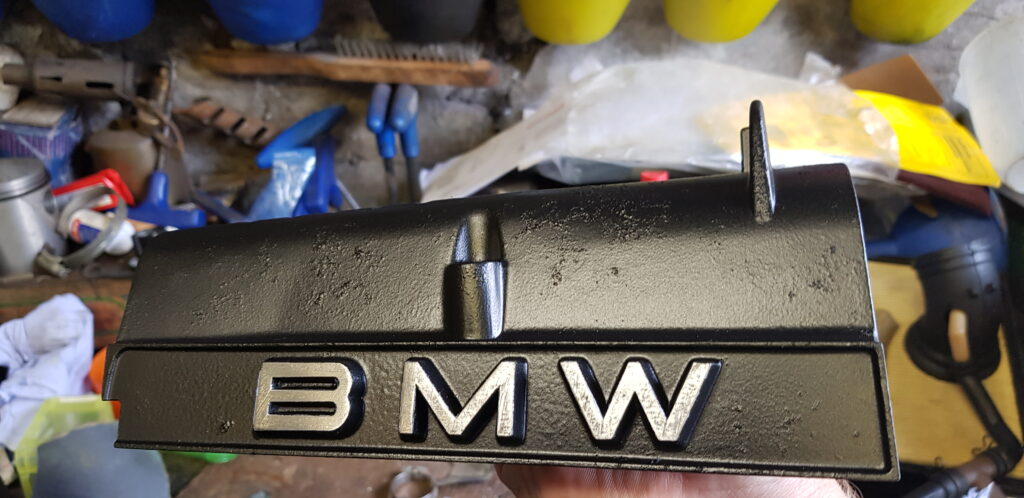
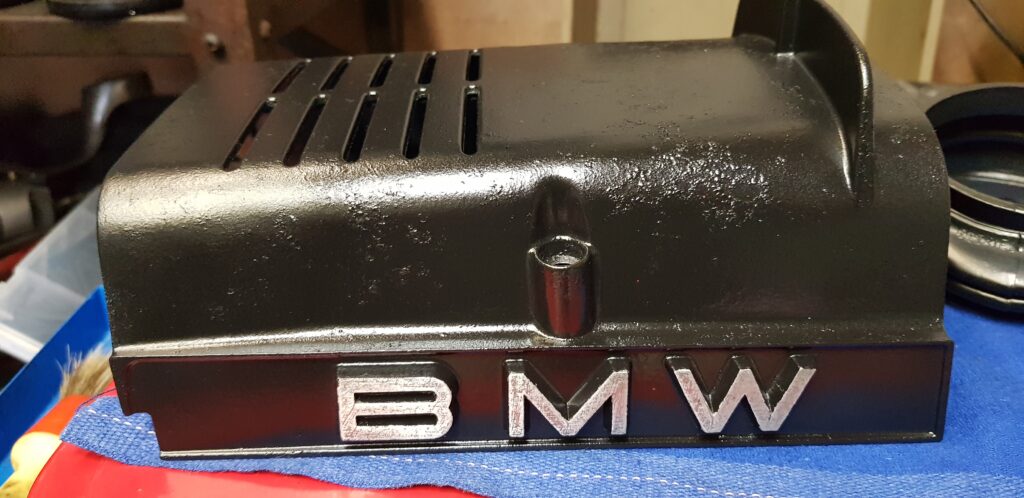
So the parts are taking their time to get to me so I took the opportunity to do some work on some of the bits that I can’t normally get to. Now this isn’t going to be a concourse bike this for now is just to slow the deterioration and to tidy a few bits up.
Just a coat of primer, black paint and a self-etching lacquer to finish it off. This is mostly hidden, I just wanted it to sparkle a little. I also painted the airbox and the airbox cover while I was at it.
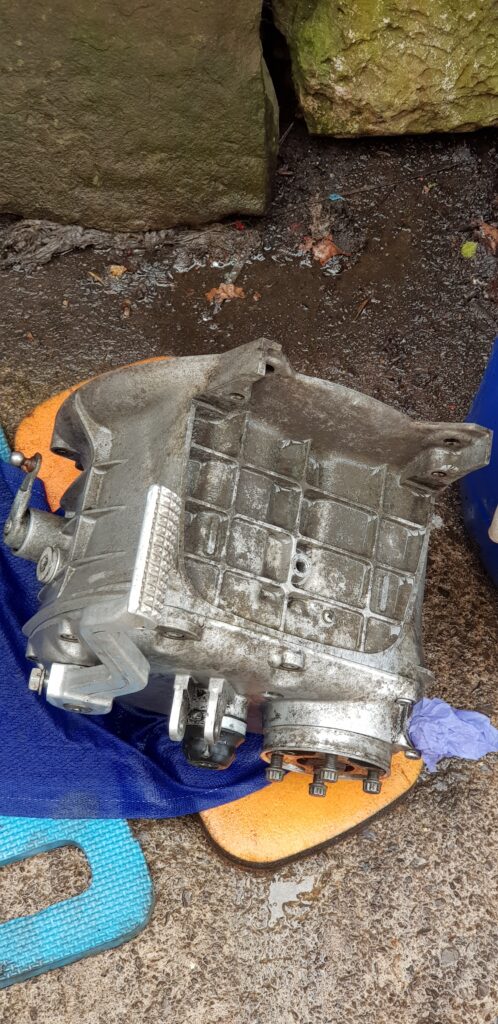
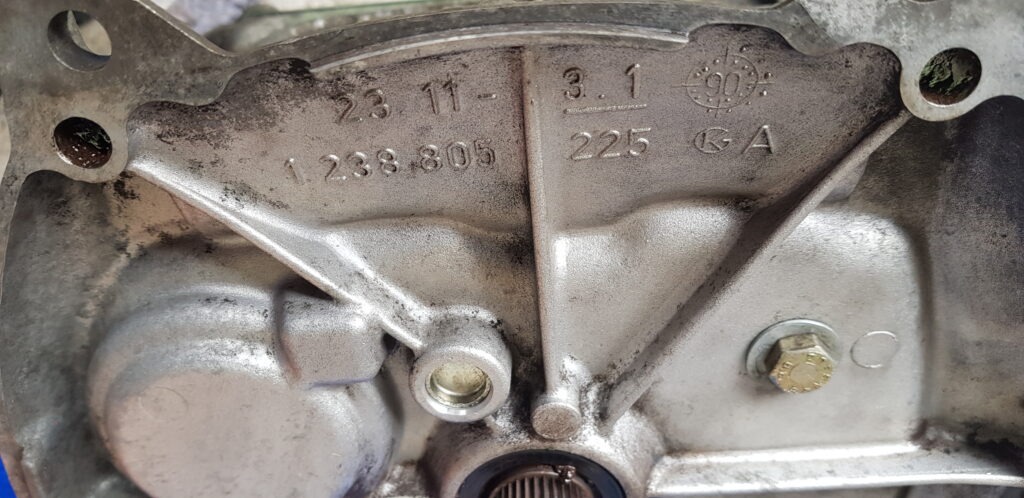
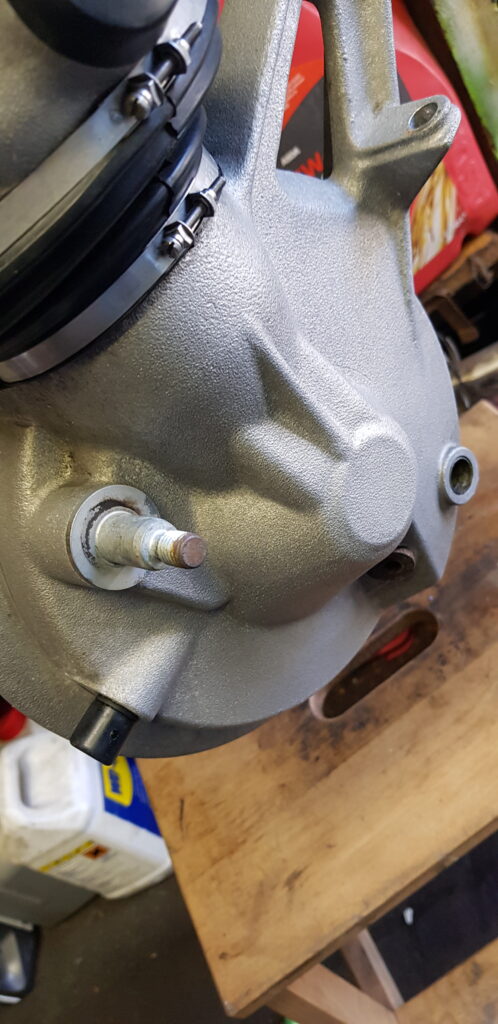
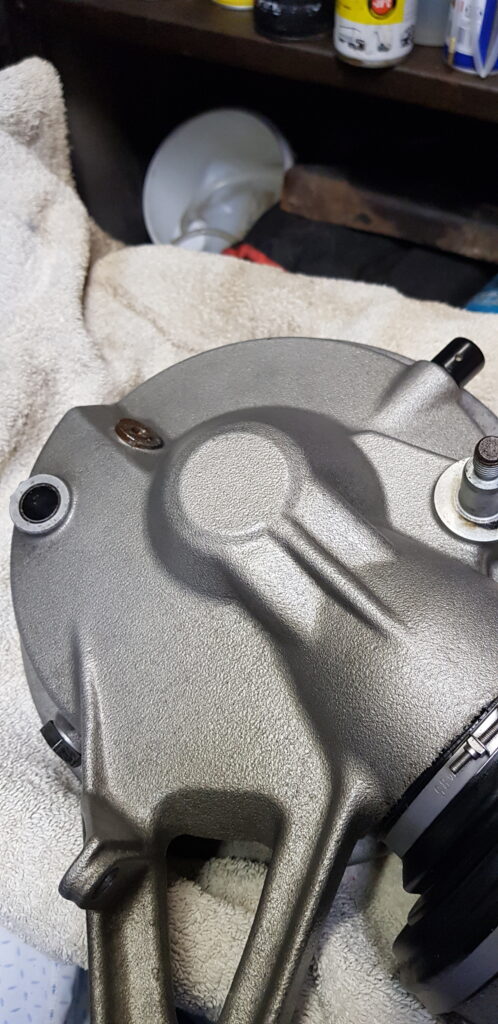
Another job was to clean the gearbox and the clutch housing. It took quite a bit of time to get it this tidy. Next stage would to get it vapour blasted but I just don’t want to spend that kind of money yet.
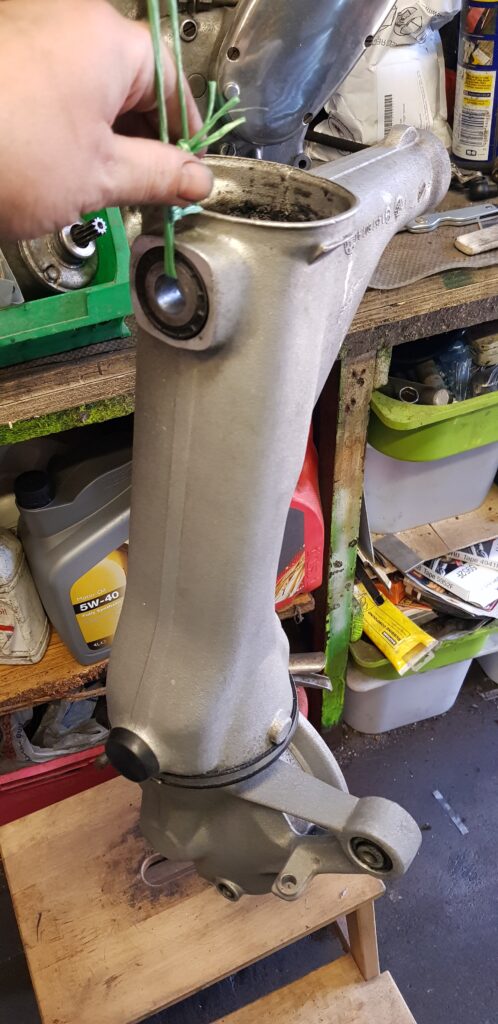
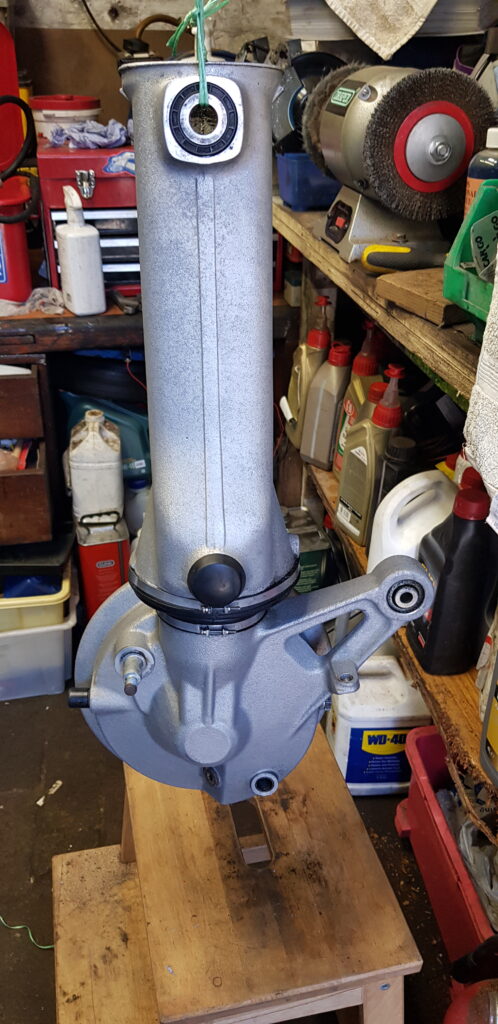
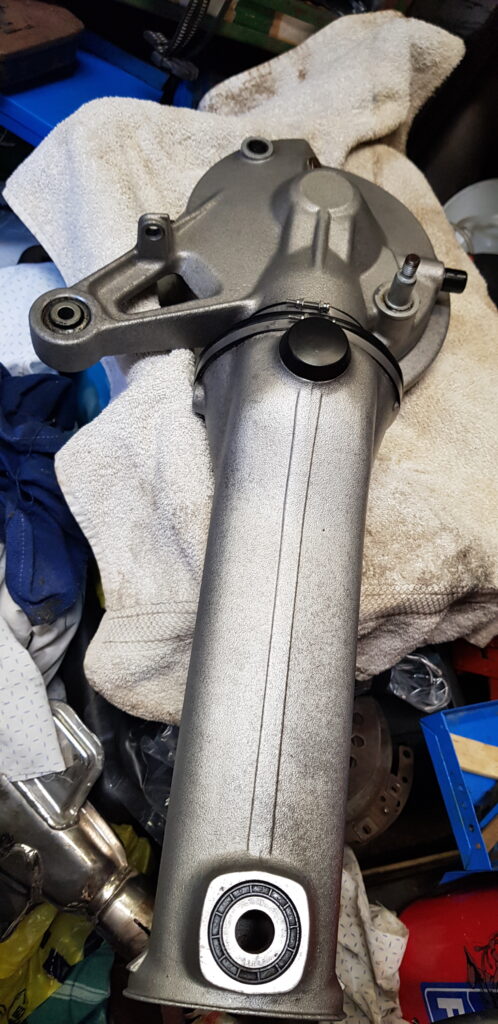
While I have the rear shaft assembly out I gave that a damned good clean and then sealed with some more self-etching lacquer from the people at Buzzweld.
Now to await the parts so I can get this thing back together.
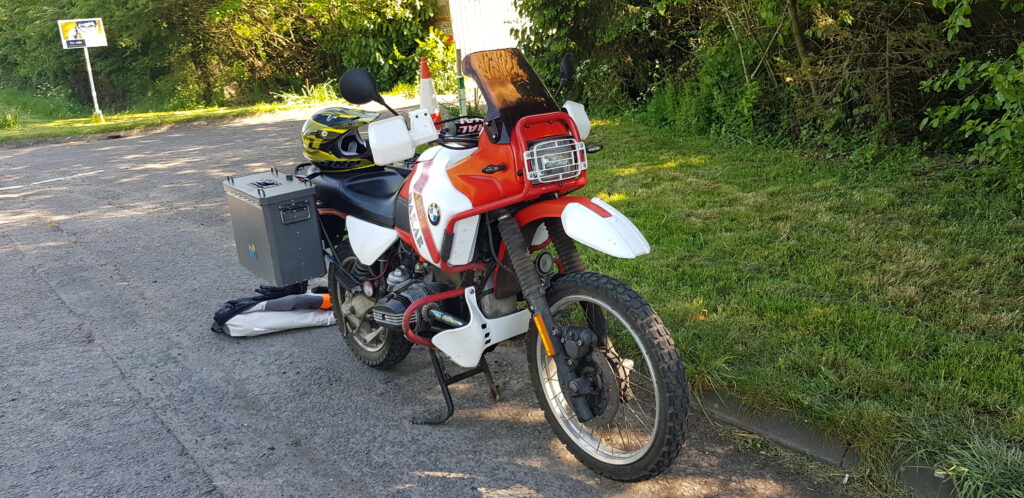
As lockdown is easing a little I had to drop some stuff off at my sisters in Wiltshire so I took the bike. That went well, the bike was going well so I thought I might as well take the shortcut home and wave at a friend that keeps offering me money for the bike.
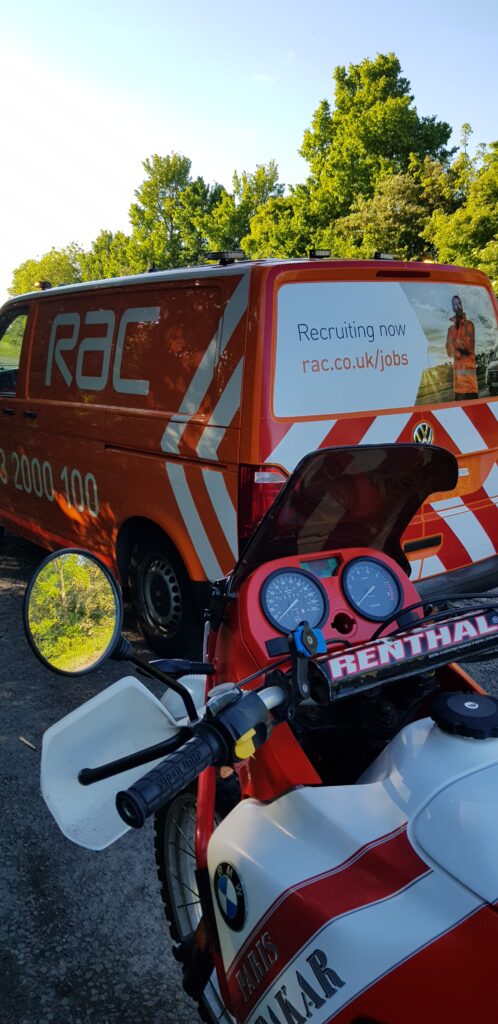
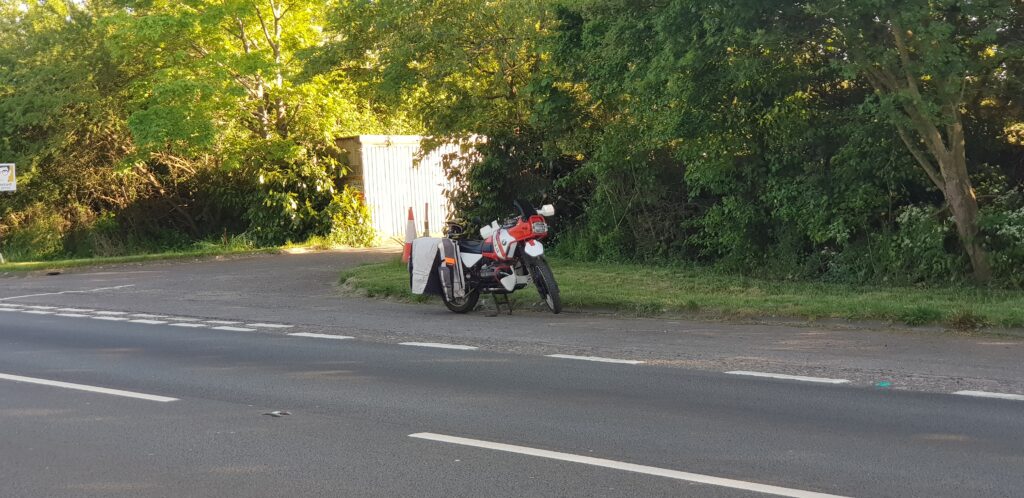
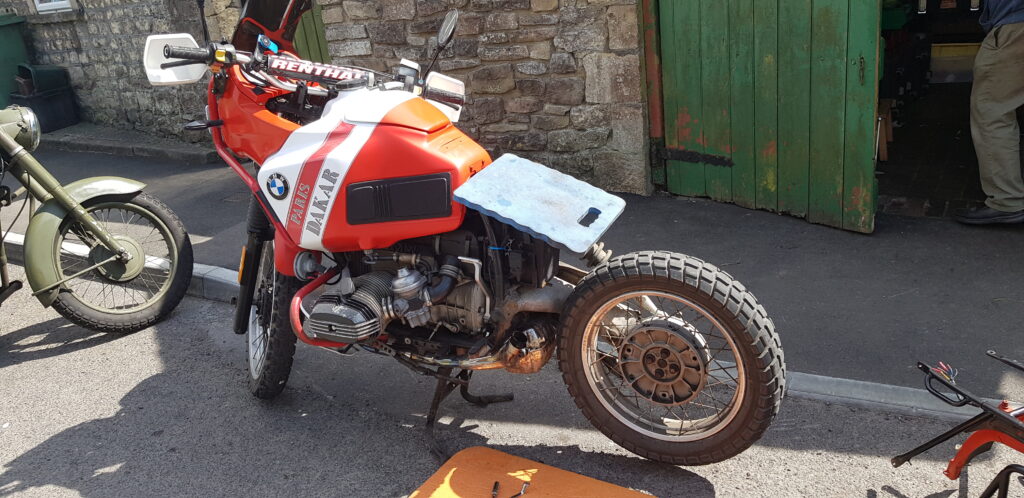
Just outside of Cirencester while in the outside lane doing 70mph on a dual cabbageway I lost drive, but I could rev. The first thought was oh dear the chain has snapped but being a BMW shaft-driven bike I wasn’t so lucky. I pulled over and there was little or no drive. I noticed a sign ahead for parking so with some luck I was able to ease the bike to a safe place under the trees. I rang home to say what had happened and Dad though happy to come to get me wasn’t going to be able to make it for a quite a few hours. This is when I made a mistake, I thought I would just get the RAC out. They have been good to me in the past.
I rang, told them what was wrong and I needed recovery. They said they would send a van. The van driver rang, he agreed that he doubts he could repair it at the road side so called the office to get them to recover it.
So 45mins later, he turned up. Looked at the bike and listed to the clanking etc. Said “yup, its broken alright”. So told the office and a recovery lorry would come out soon. I rang at 5pm, it was now 6pm. I waited, I crossed the road to keep in the sun as I had a feeling I might get cold.
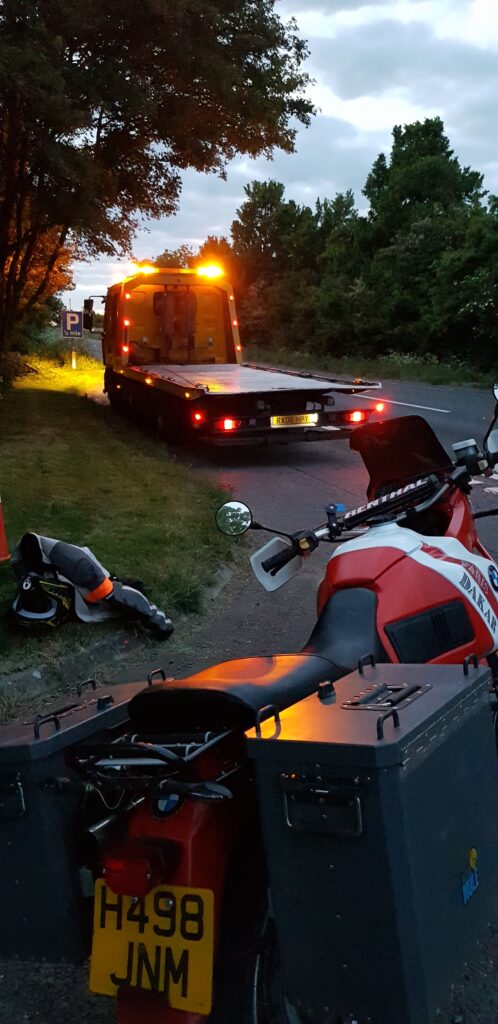
Had a call at 8 from a chap in Frome saying he would be 1.5hrs, oh someone else local has the job now, they will call you shortly. Just after 9pm a chap turns up.
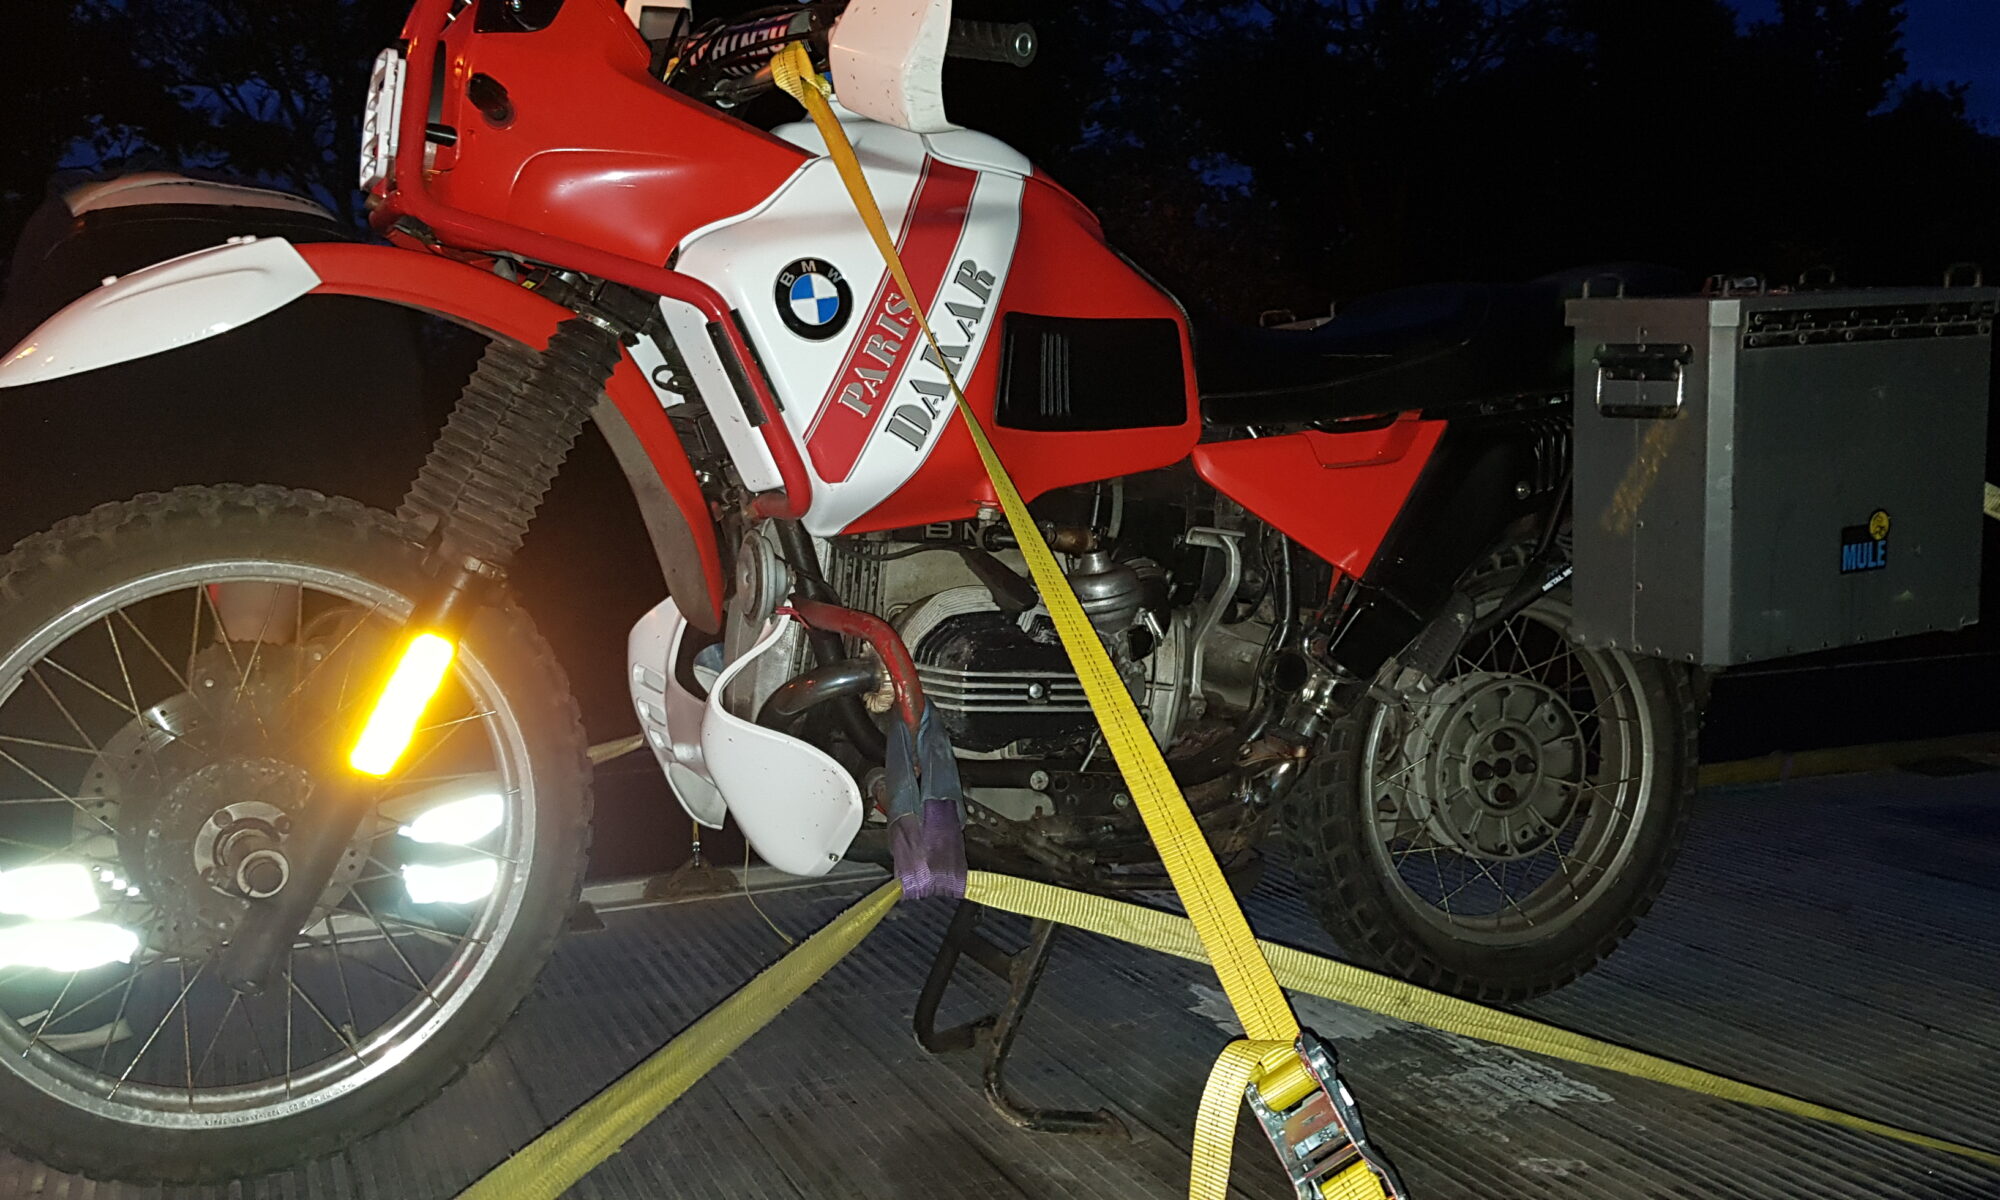
The bike is strapped down, I never like the way bikes get strapped down to flatbeds. On the centre stand, straps to pull it forwards and down. Straps on the rear to pull it down. Just the centre stand keeping it on the ground. At one point both front and rear wheels touched the deck…I whelped and we changed the straps about. Eventually home for midnight. It was a long day.
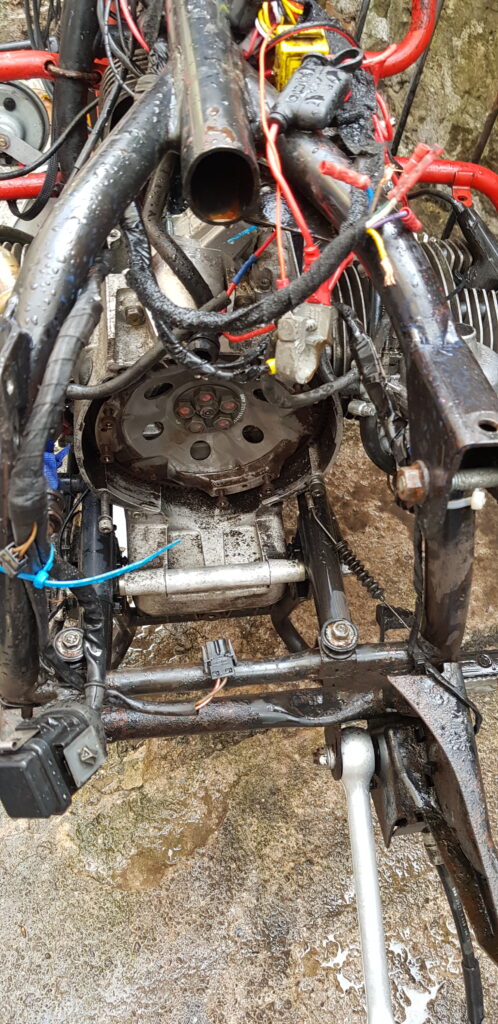
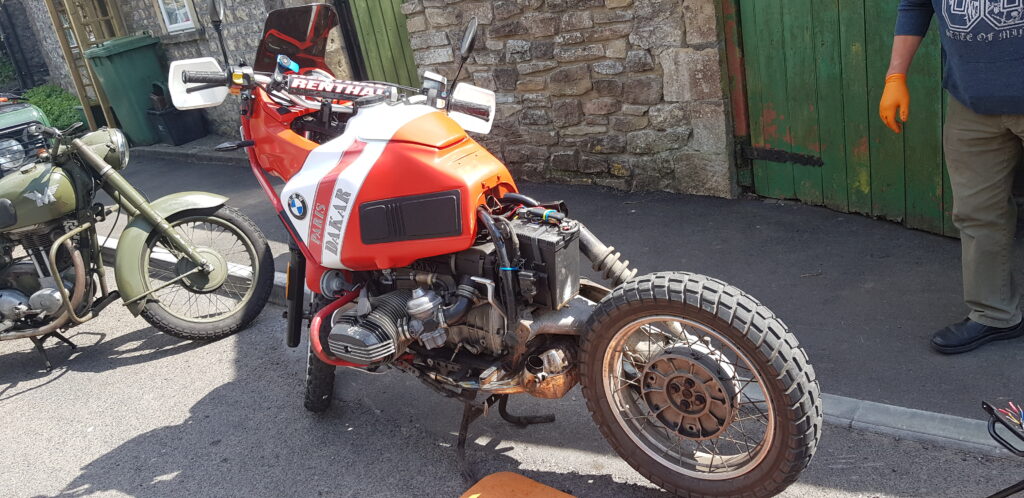
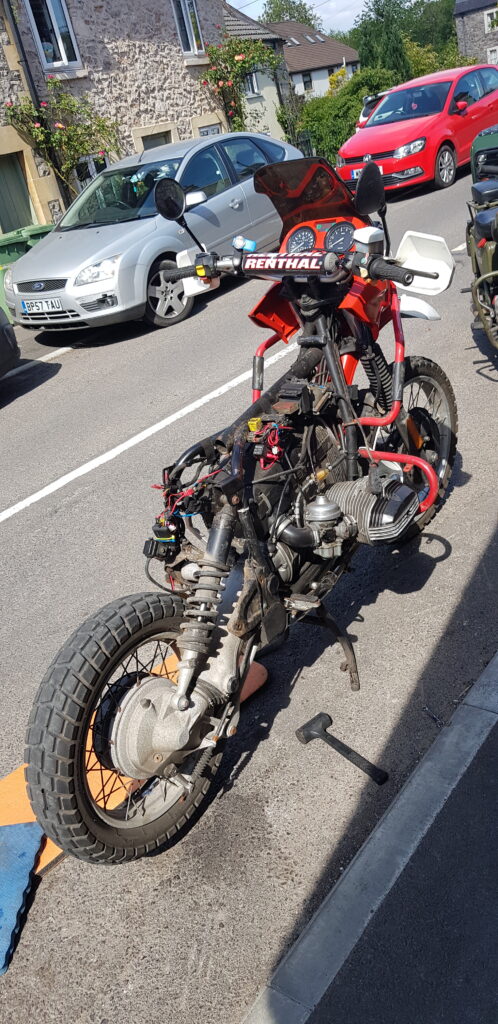
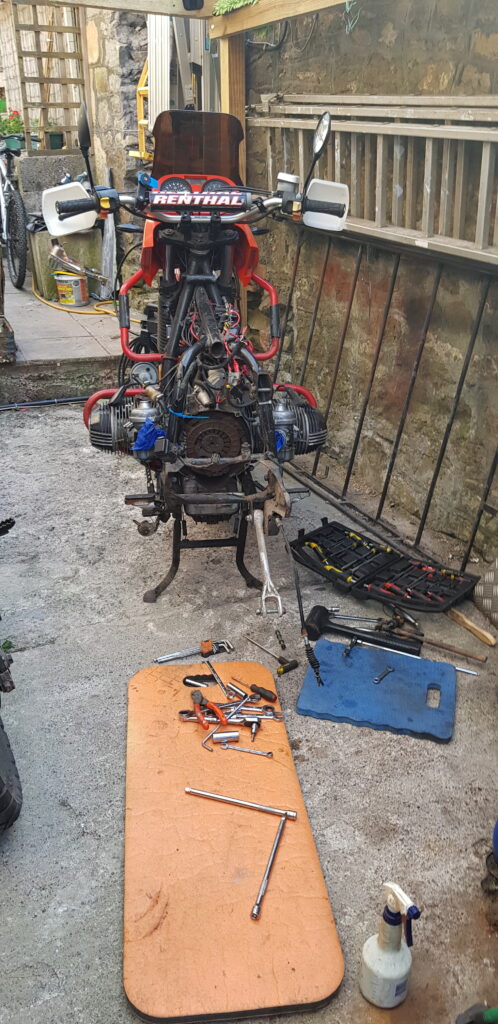
The next day filled with ideas of what had failed we started to strip the bike down. Its amazing how quickly these things go from big bike to half a bike.
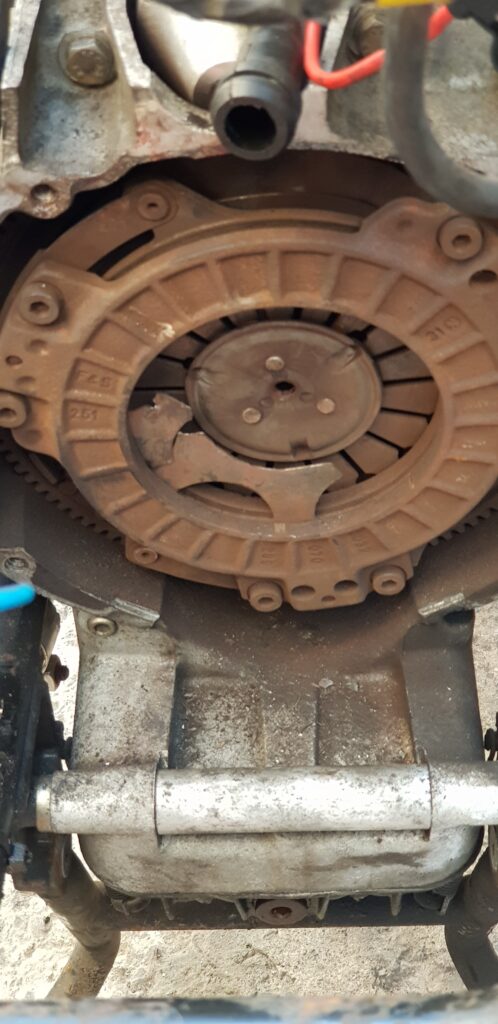
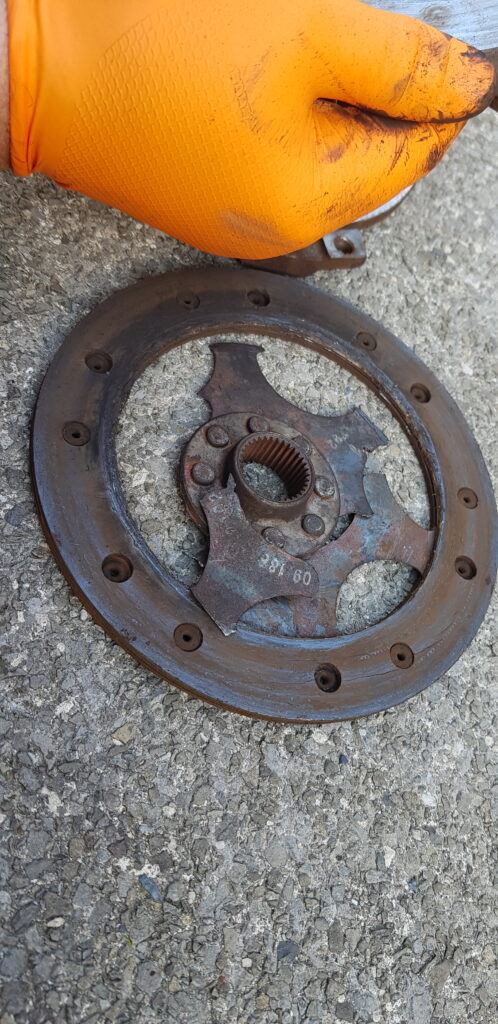
As you can see we were tempted to make it into a some sort of BikeExif custom thing, but as I don’t own any exhaust wrap we didn’t bother. After the removal of the gearbox it was easy to see what the problem was.
That would be a rather broken clutch. So a new one has been ordered. I decided to go for a nice Sachs one as that is what BMW fitted. I was tempted to go for a Heavy Duty one that is happy to get oily etc but I wanted to go with tested an proven.
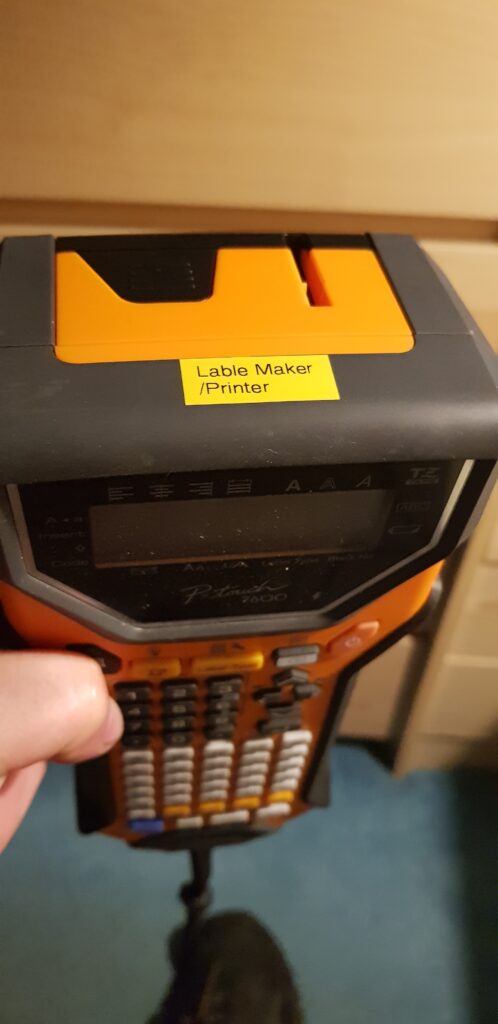
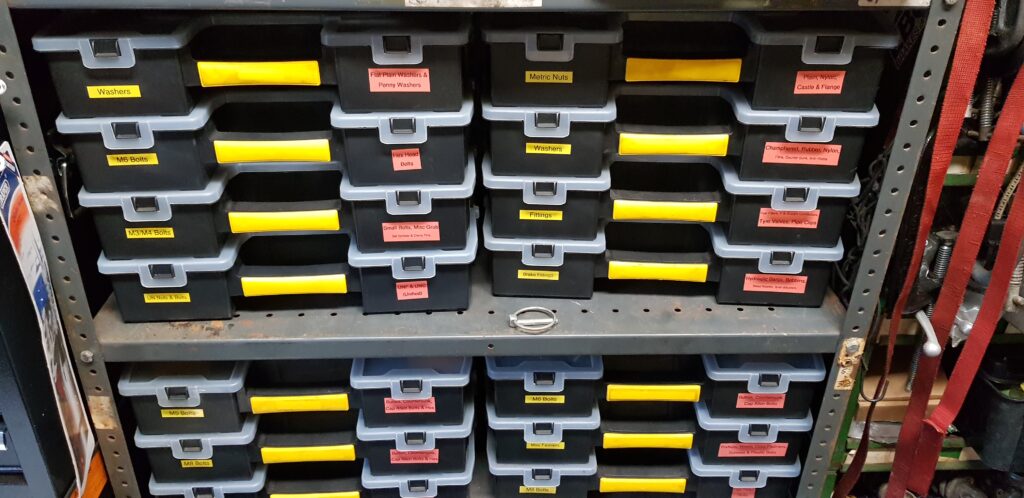
So some of you may already know but I do like collecting a sorting parts. Mostly nuts a bolts. The reason, I dislike taking time to search and hunt for bolts. Many times have I gone looking for a bolt only to find 3 of the right size but not a 4th. Then there is the “we have some, but not sure where” thing. So I like to sort and label the boxes, yes even the label maker have a label on it saying label printer.
Yes, spelling isn’t my strong suit.
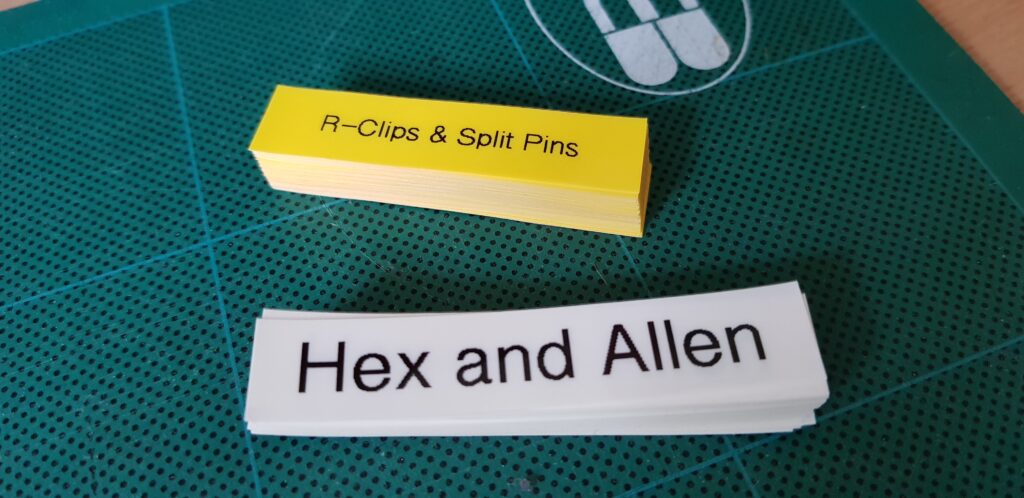
During my last sort out a lot of the boxes got new labels. Lots of labels. I spent a good afternoon messing with the software for Brother Label printers as you can do stuff with spreadsheets etc and I use that at work often enough but this printer isn’t as smart and OMG the software is a nightmare to work with. So I resorted to hand typing lots of it out.
The boxes look rather smart as well. I ended up buying more tape and then reprinted a lot of the labels at a larger size as I may well end up like my Dad and needing glasses.
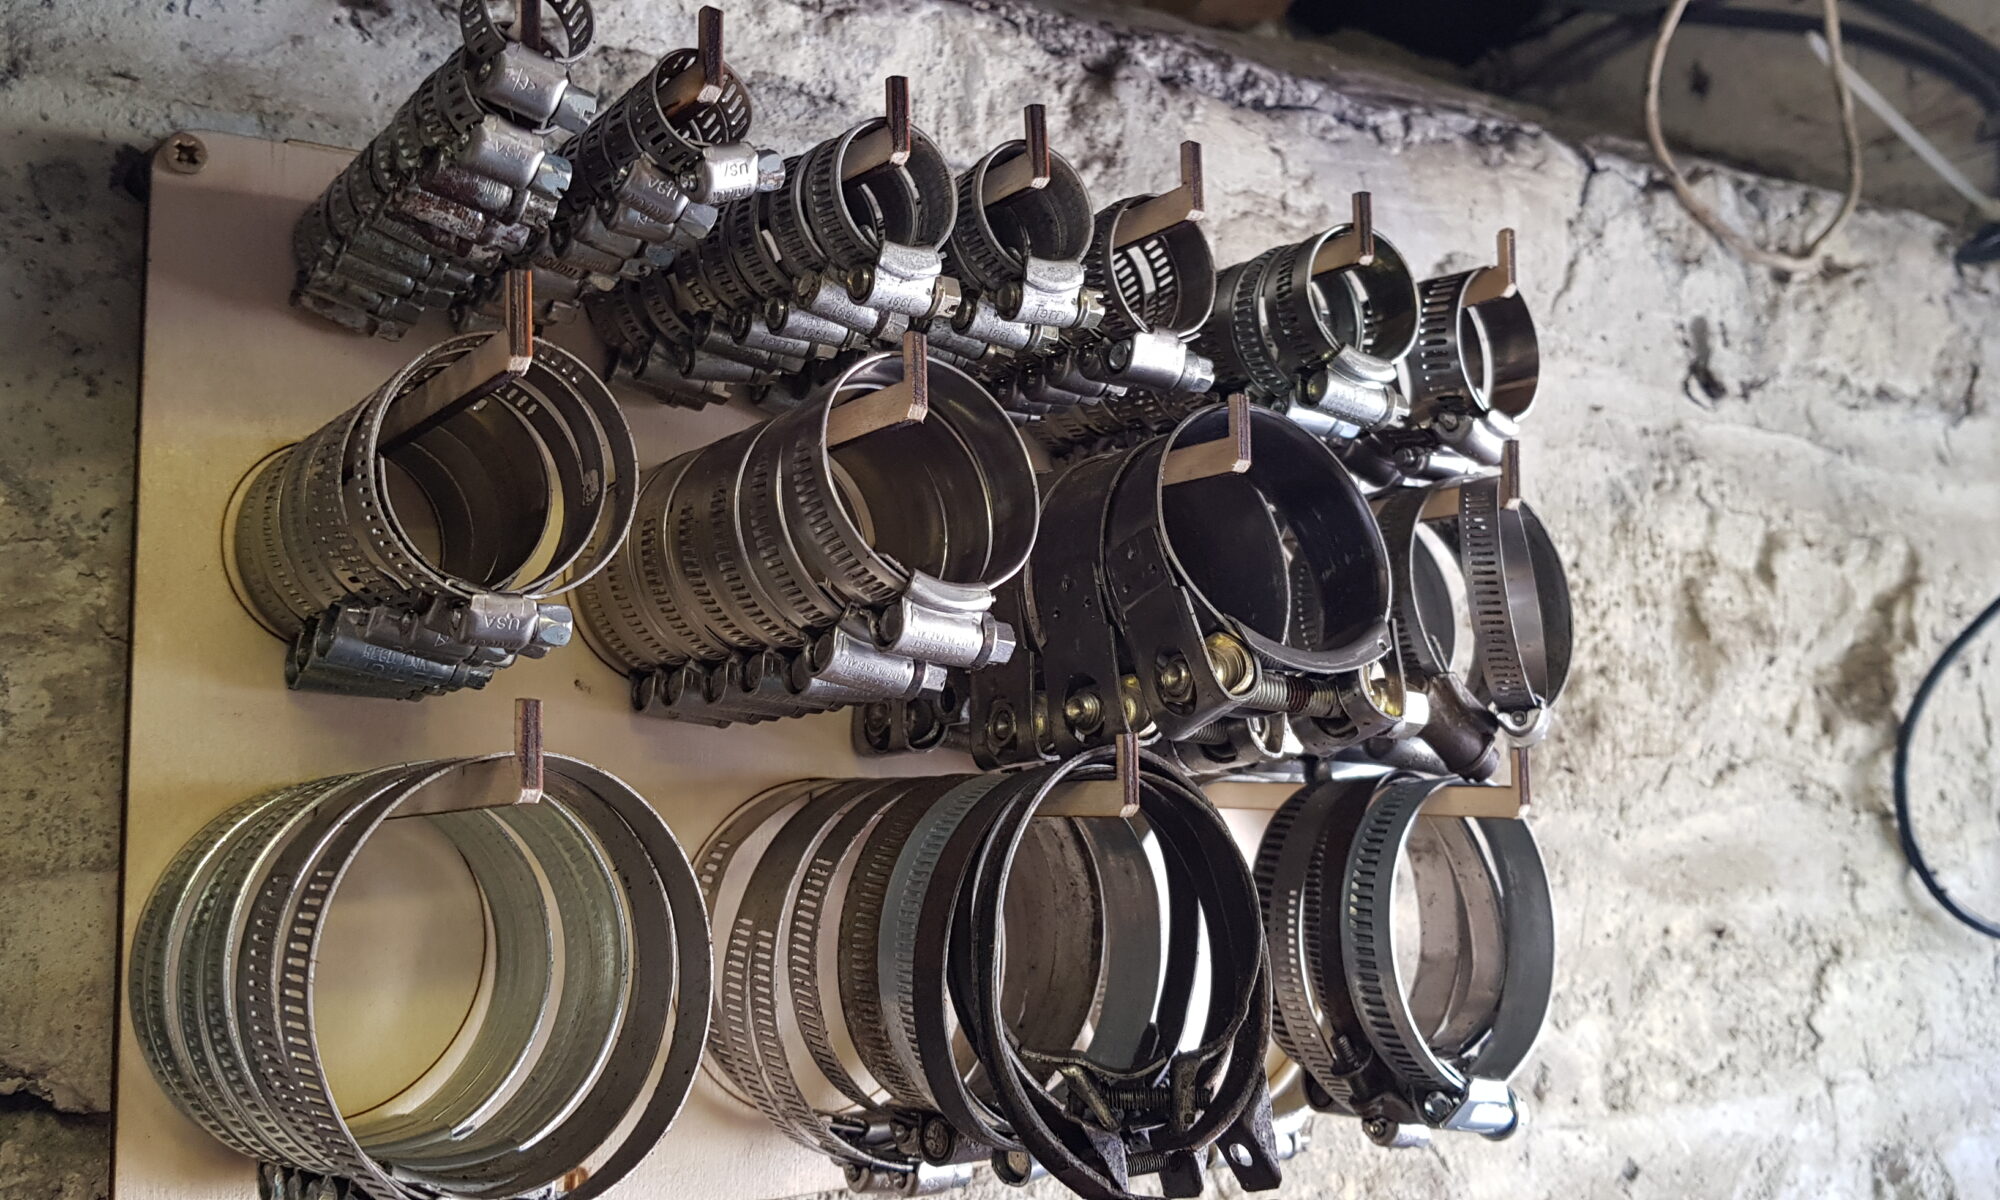
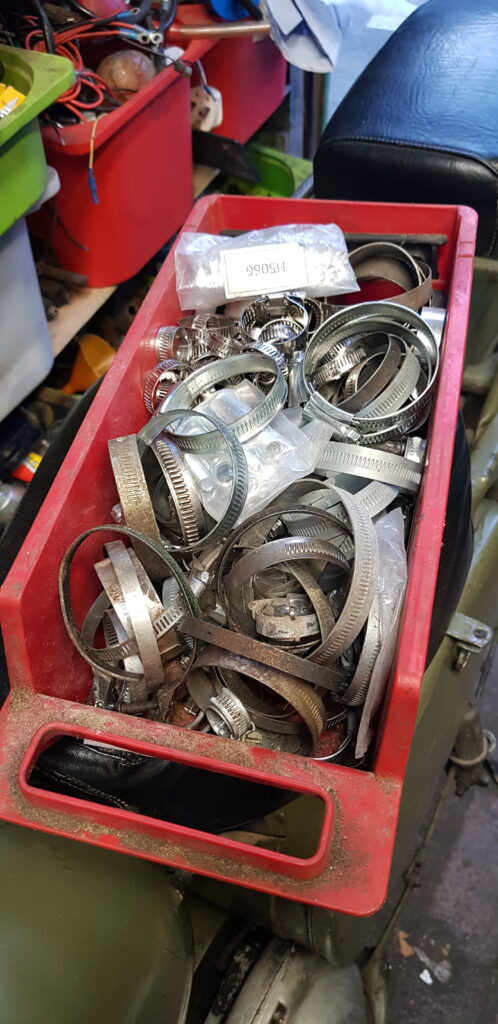
Then I faced this,
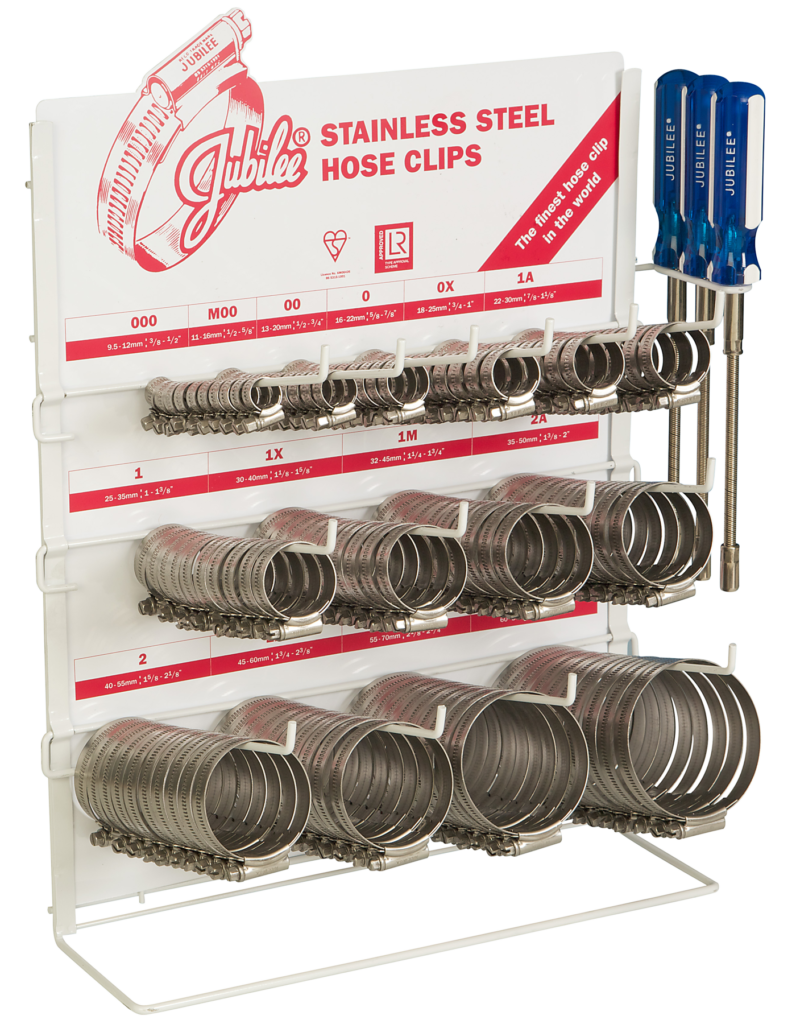
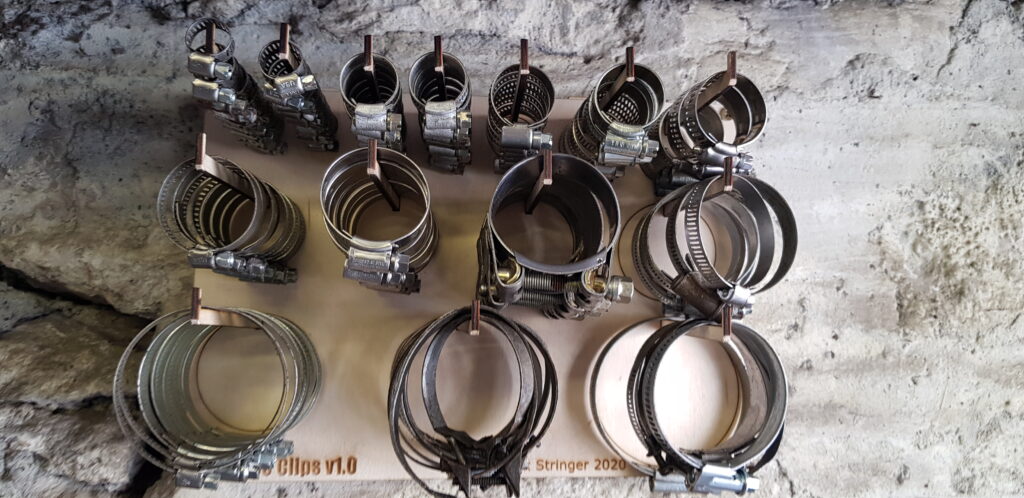
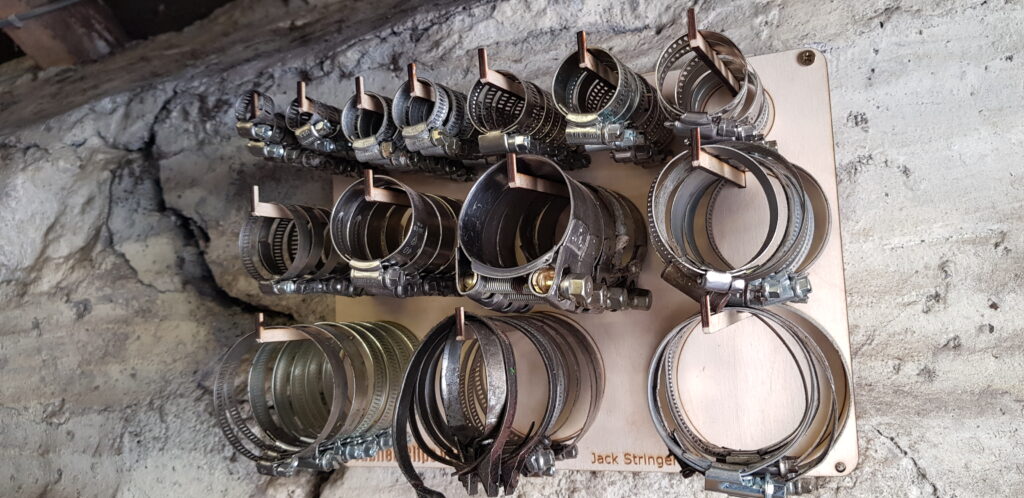
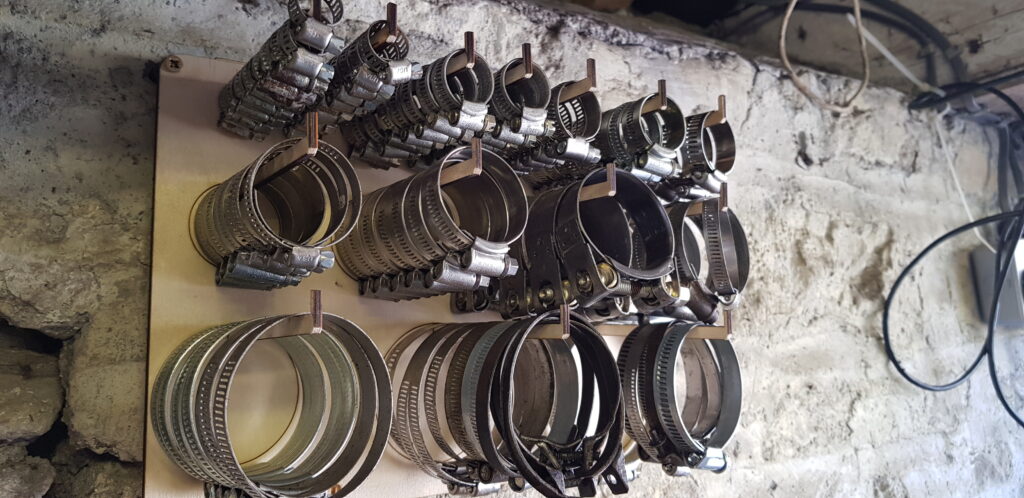
It is just a mess and drives me up the wall whenever I look for one the right size, not helped by the container also ending up with a good amount of oil in it. I was thinking of a neat way to sort these, then I remembered someone I know had got fed up of not having the jubilee clips he needed so he bought some but he went the extra mile and just bought a shop display unit of them.
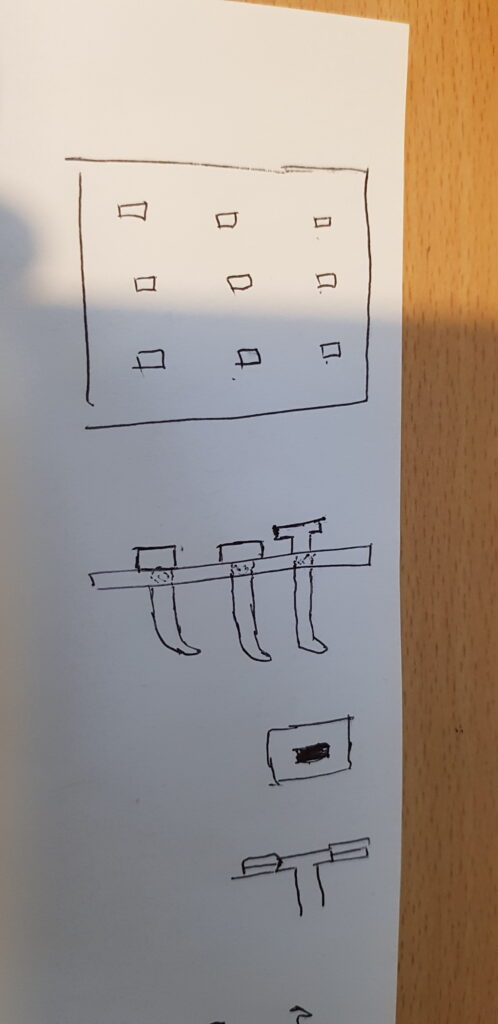
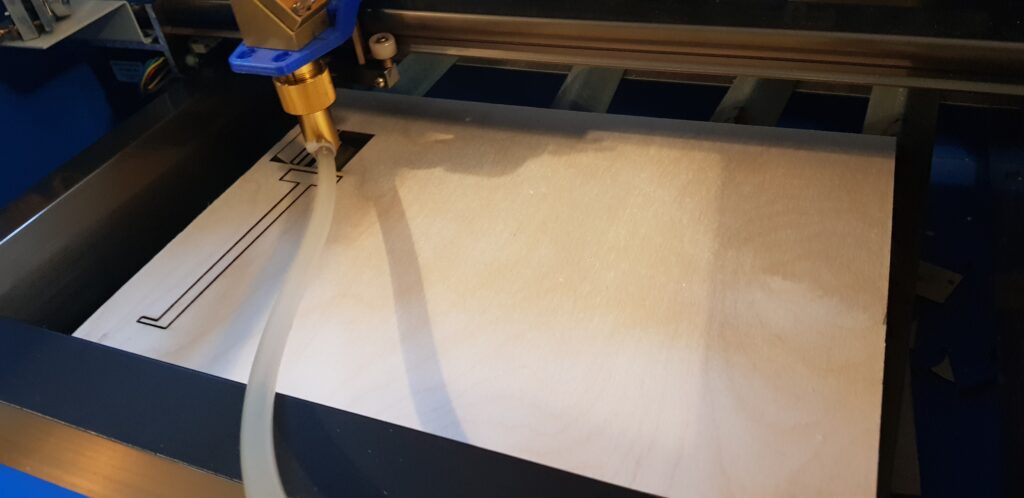
I thought about this, as it is just so shiny and neat and oh shiny. But then I looked at the cost and though hmm I have plenty I just need a rack. Time to fire up the laser we have sharks to fry….erm OK. A quick bit of skilled drawing and I had an idea.
It made sense to me and I went and started drawing in Illastrator and Inkscape to get the design just the way I liked it. Then it came to cutting with the laser.
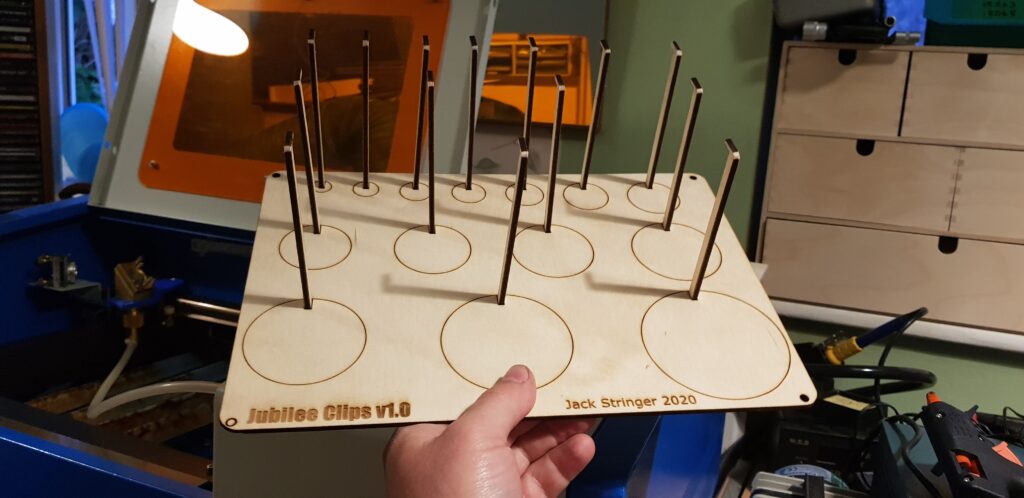
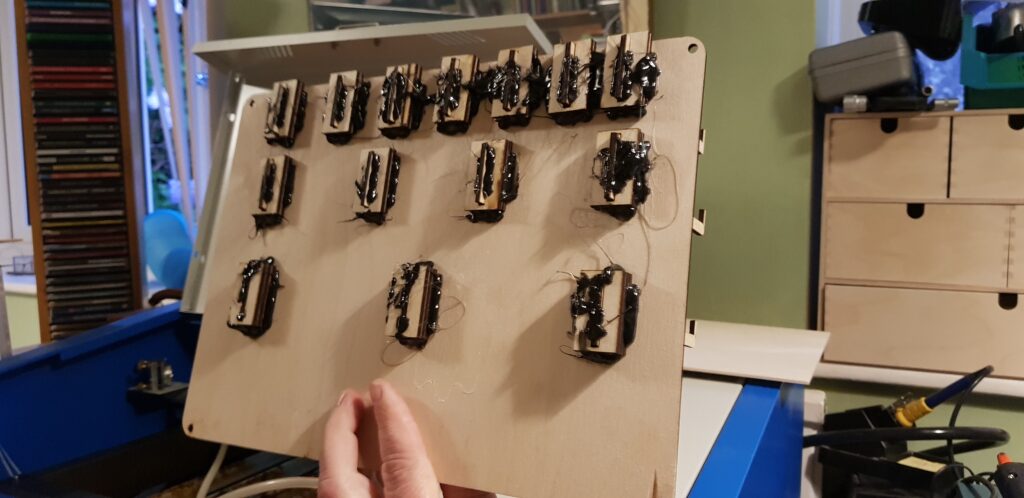
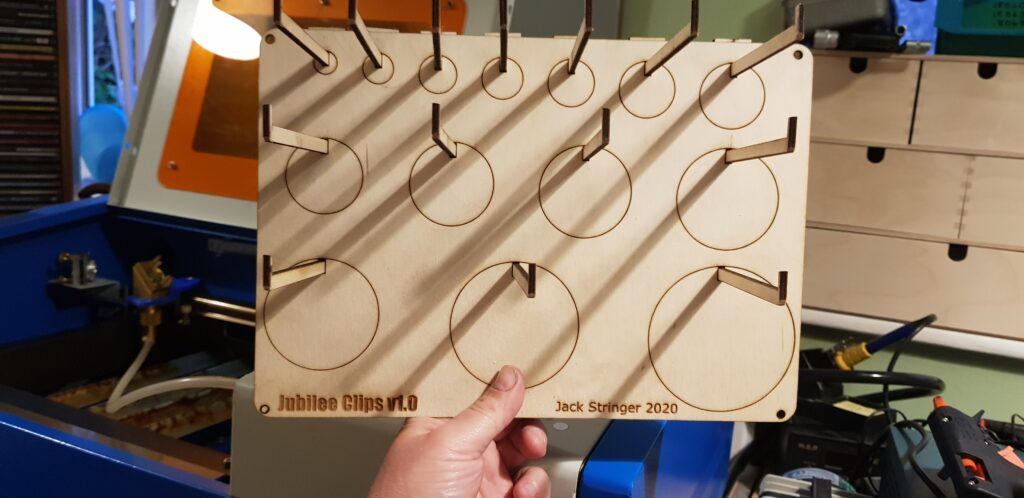
A bit of jiggering about and I had it assembled, I didn’t have any PVA glue to had therefore I used some hot glue.
Its not perfect, but it does what I wanted to do.
If you want to make your own based on my design then head over to thingverse where I have uploaded a slightly modified version as I made a few slight design changes.
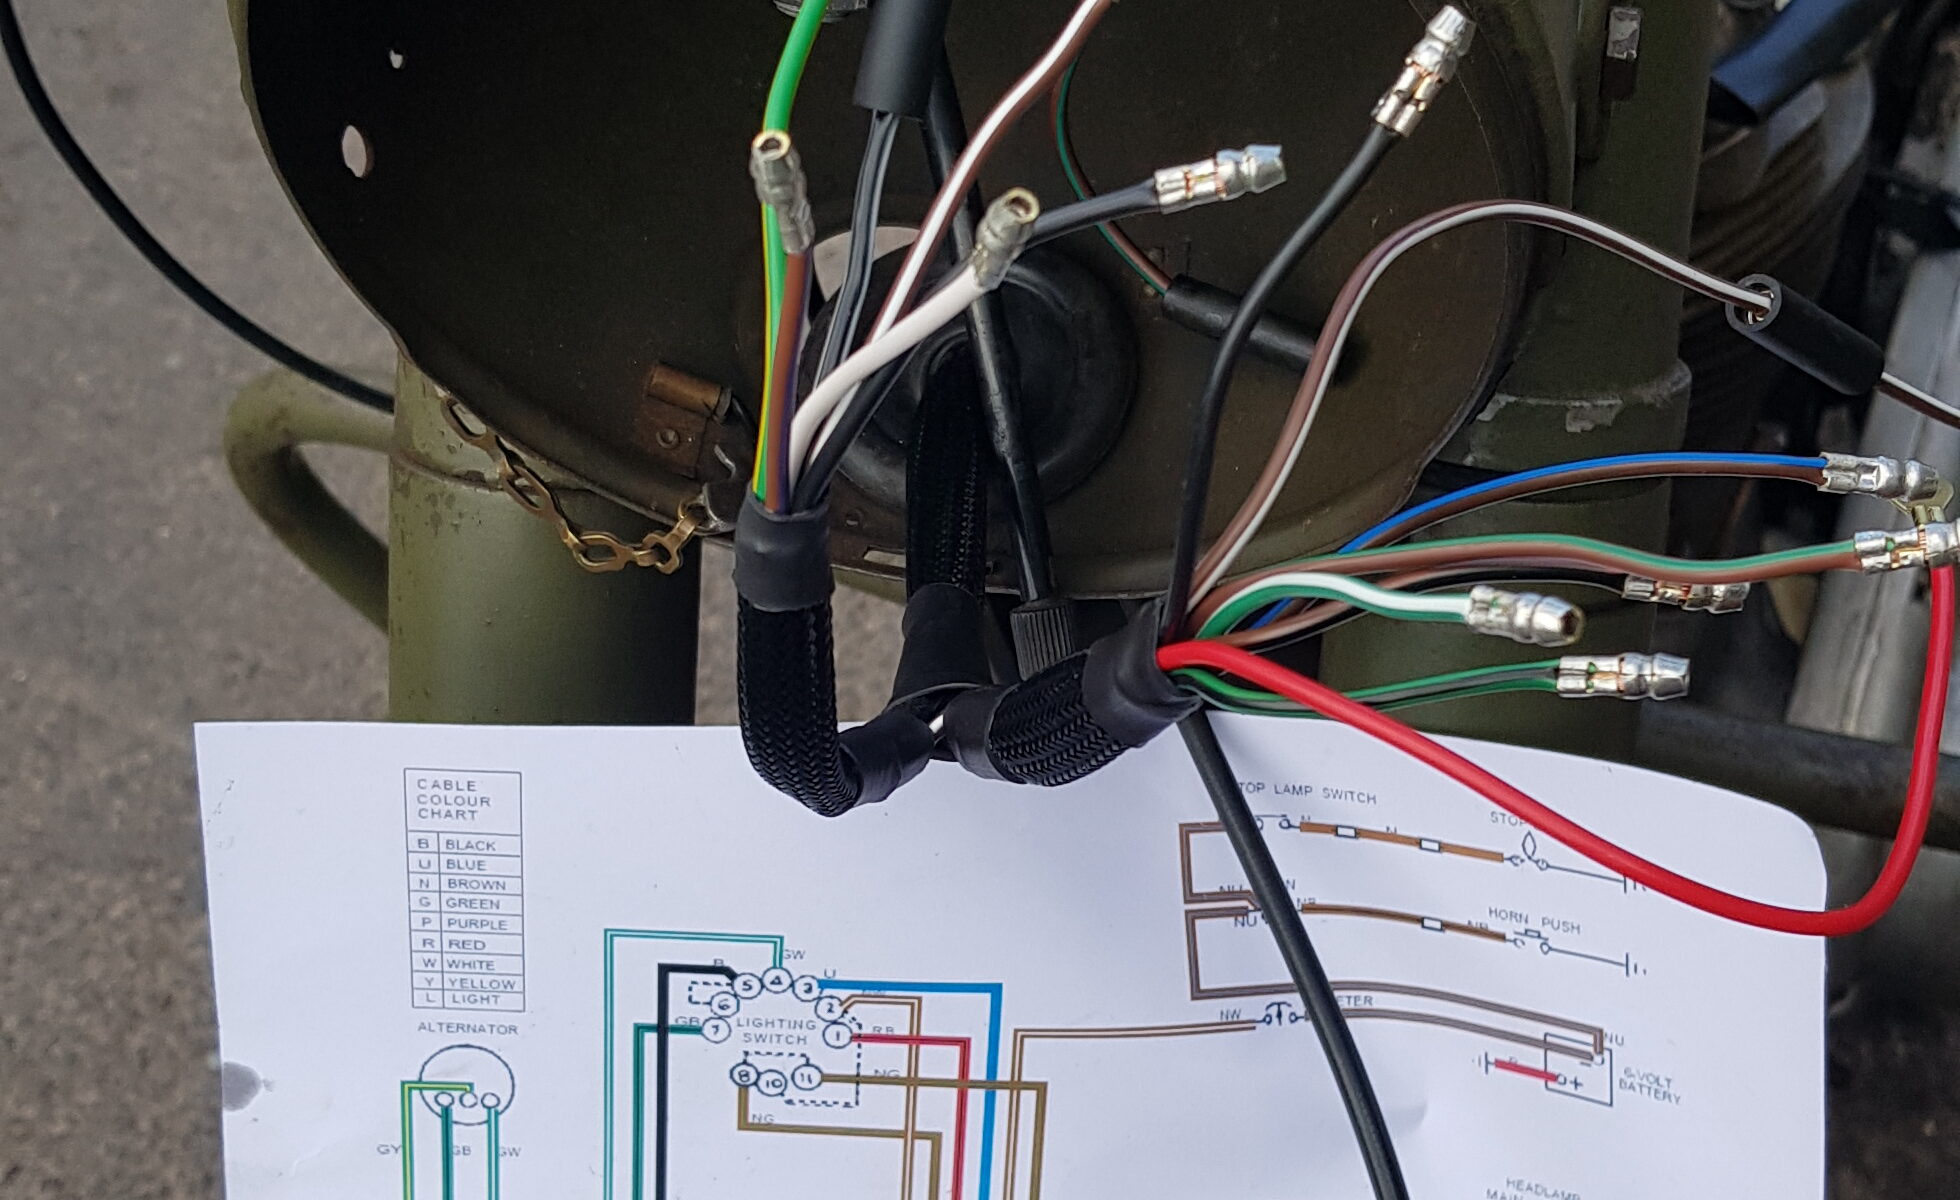
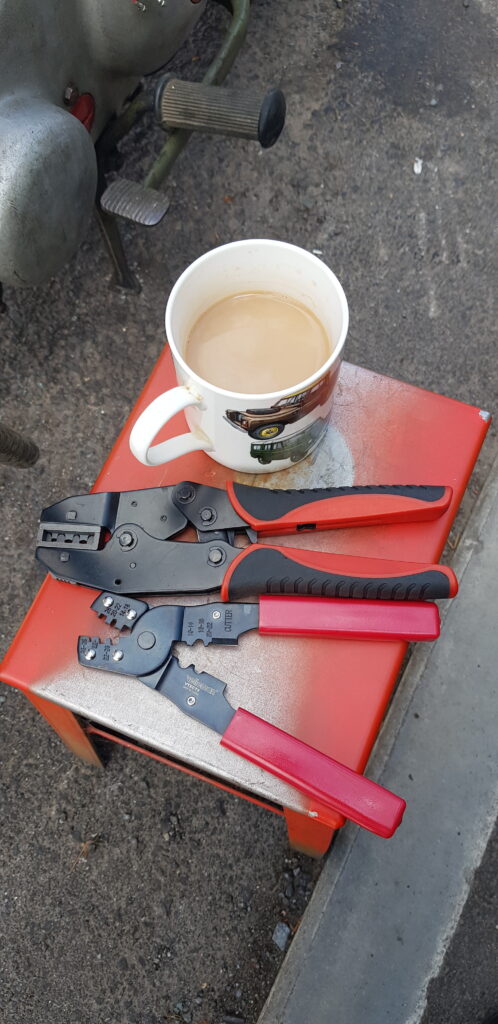
Now it is time to fit the loom, not too hard on these old bikes but you still need to start off with the right mindset so make a brew and drink it as you work out what to do.
Basically, that is my crimp tools for un-insulated wire and I tend to use both of them as work on this bike. Some are better for the bullets others are better for others. Though I ought to look at what AMP/DMC/Tyco make for this as I am sure it is expensive but they would do the job right.
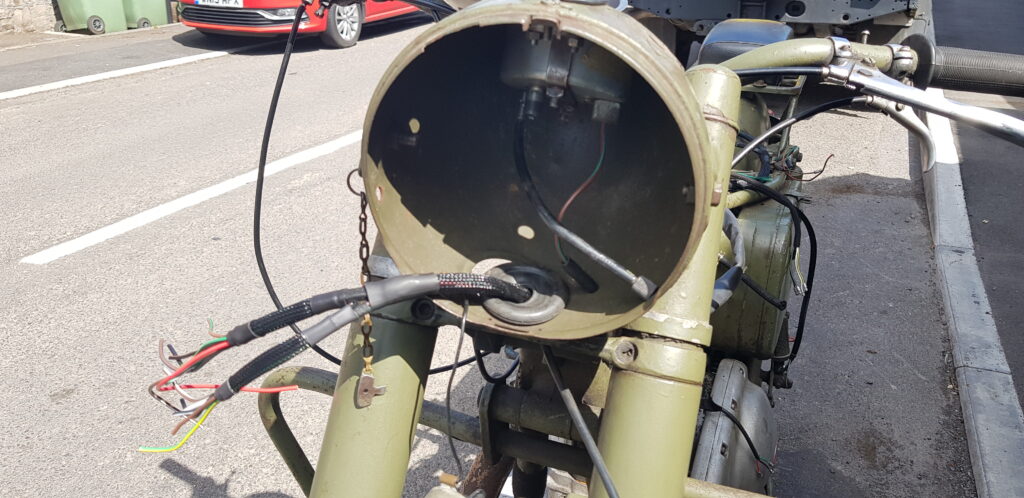
It didn’t take long to feed the main part of the loom into place. Now the fun task of crimping the ends and making the various connections.
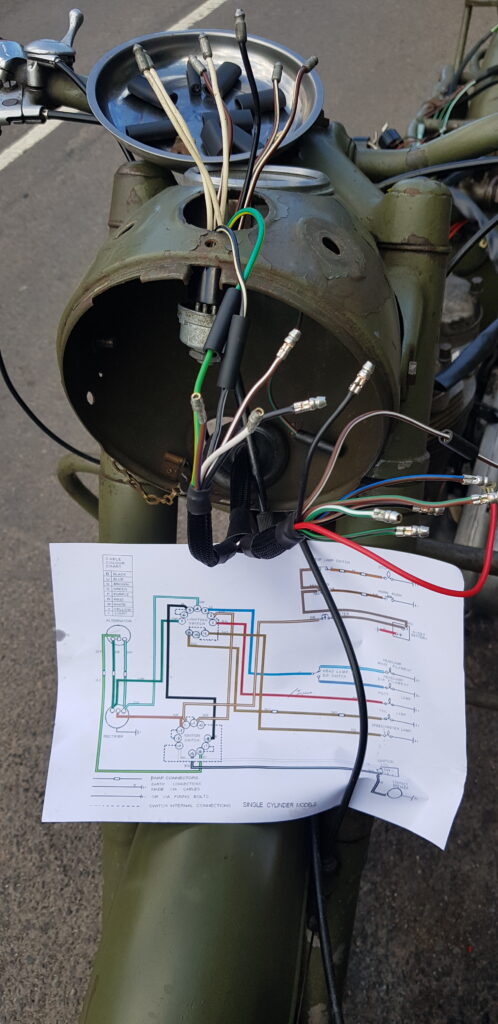
Lots of tea was needed for this task as its a right pain to follow the diagram and get it to work. The switches I have don’t seem to have the same bridged connections as suggested in the wiring diagram. Thankfully it isn’t to hard, but you can still make mistakes (more of that later).
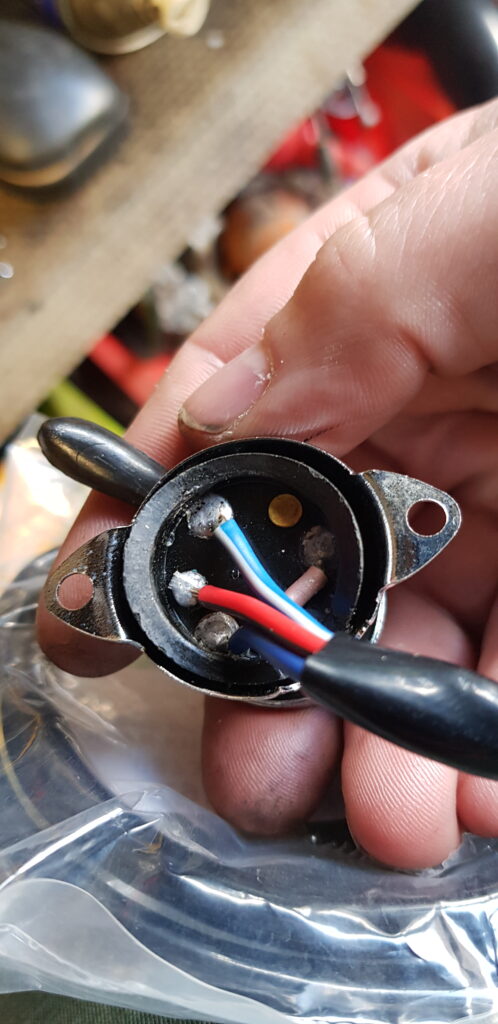
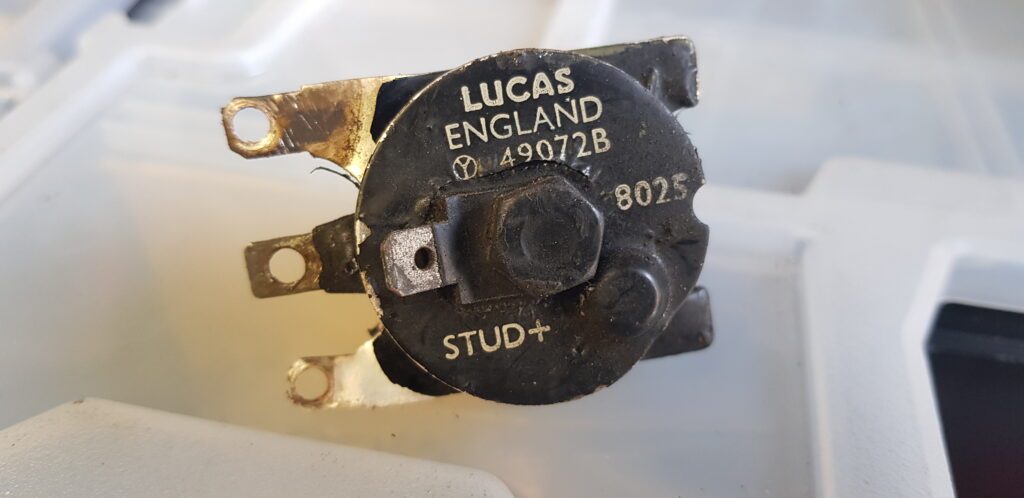
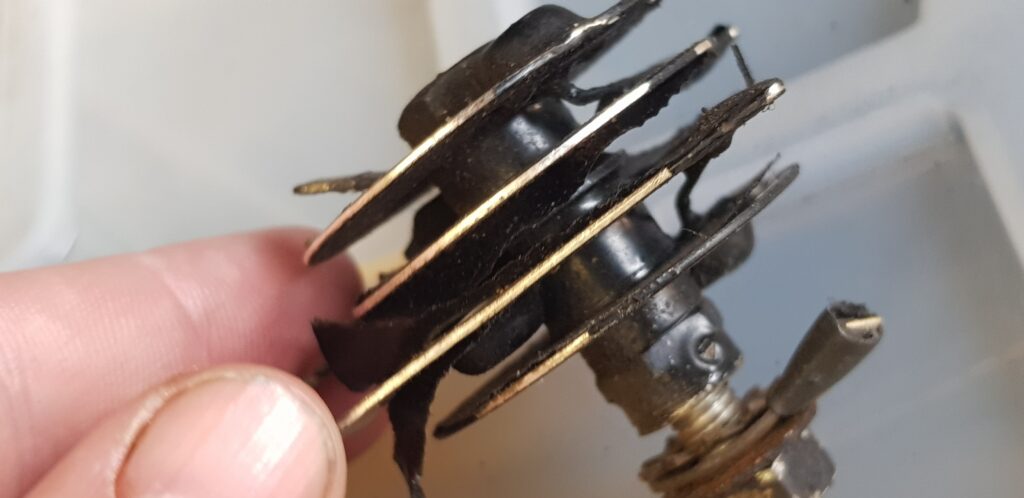
While I was in there I had thought it would be a good time to fit a new horn & dip/main switch but annoyingly the new switches aren’t the same and the wire colours were wrong. Oh well, not wasted, this will go on the AJS once I get to it.
New on the left, old on the right. Didn’t like the newer tabs.
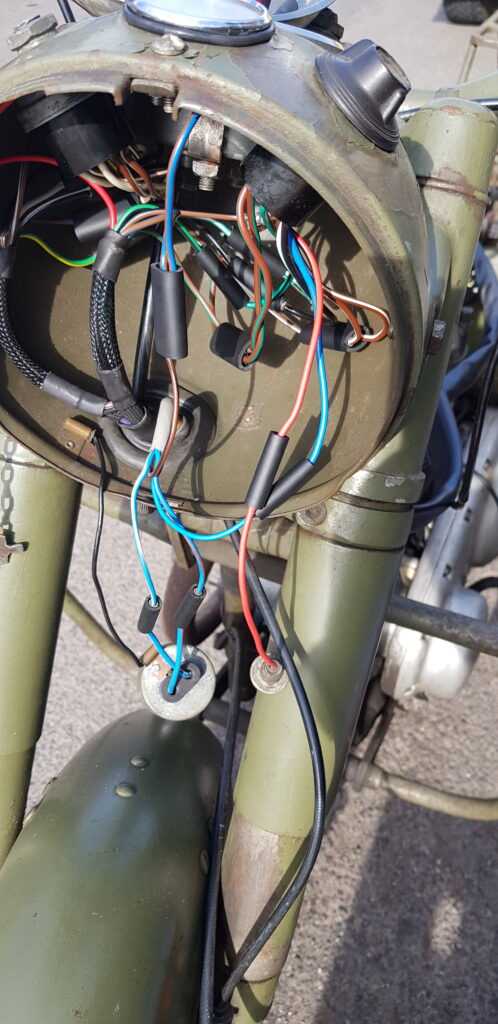
After a lot of faffing its starting to come along,
As with the modern loom, I had tried a few months back I also fitted and extra earth to the headlight for extra care. I must say the old way of using these connector blocks is quite nice. You can usually and up combining a few connections with little mess or bulk.
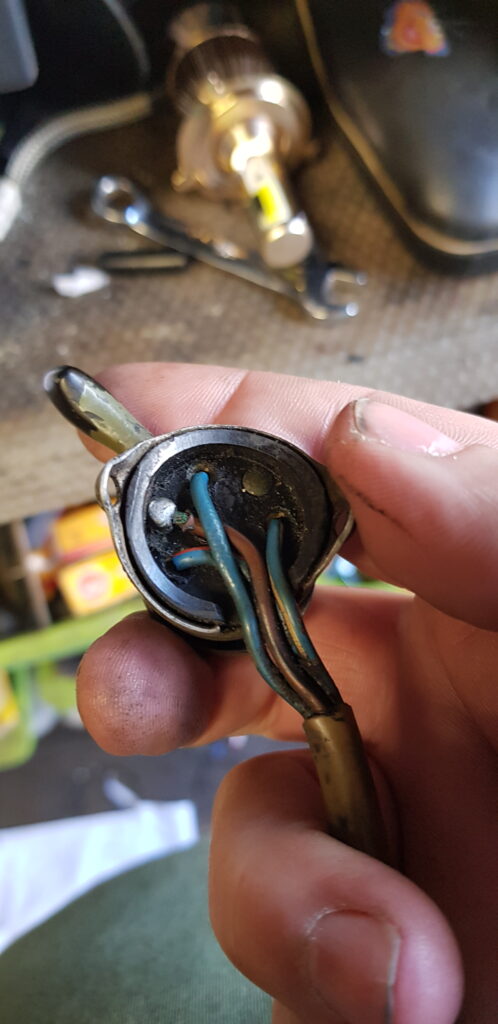
Then it was time for the midsection to get a look at. I fitted a modern rectifier (KPBC3510) as I was suspicious the old one was not in the best of shape. The modern bridge rectifyer I bought at the bike show but a search shows its avaible at RS for not a lot.
New unit in
Old
Not in the best condition.
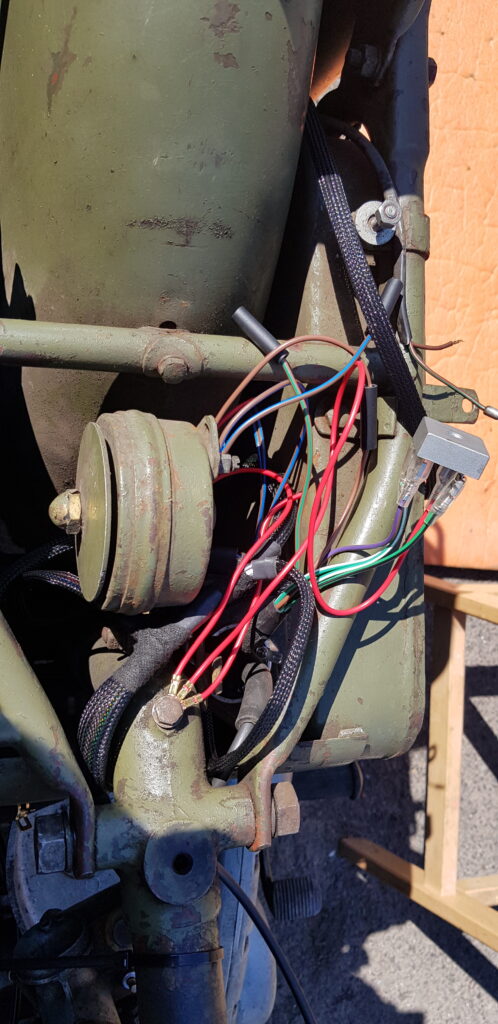
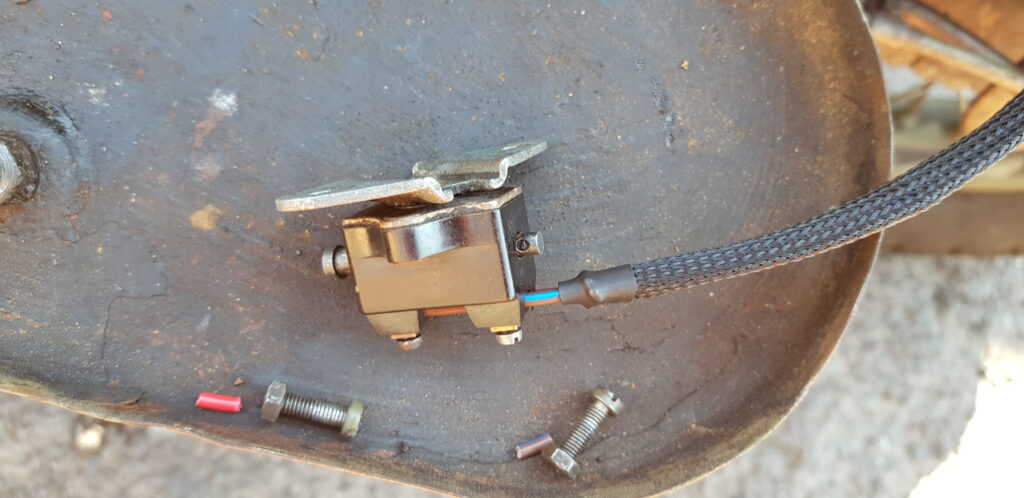
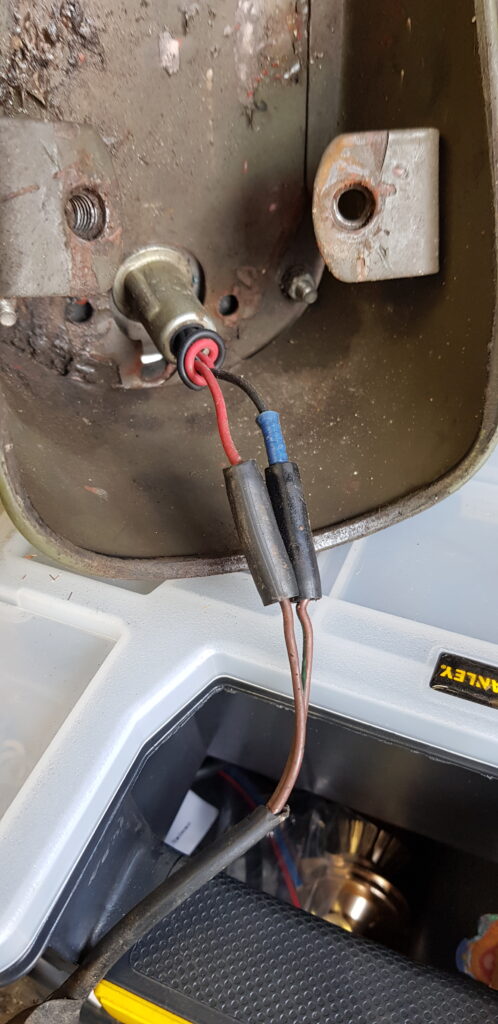
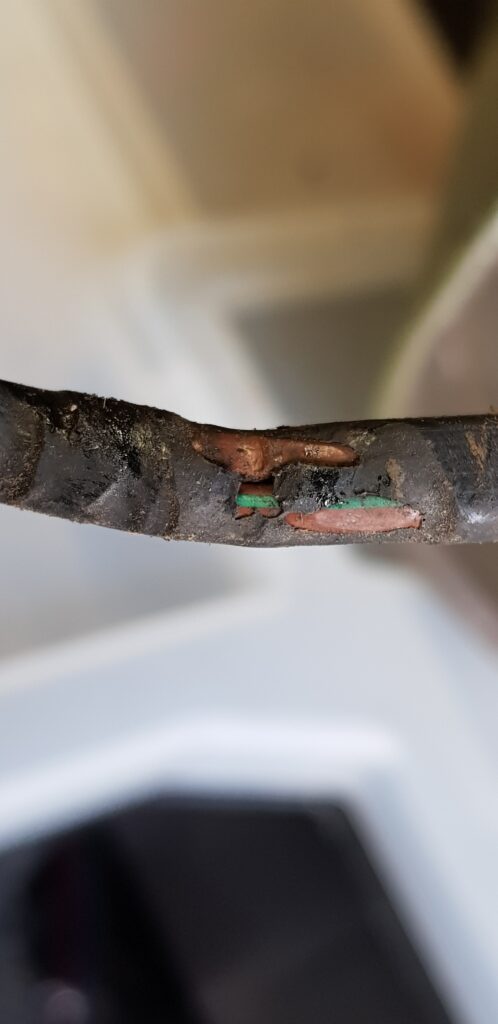
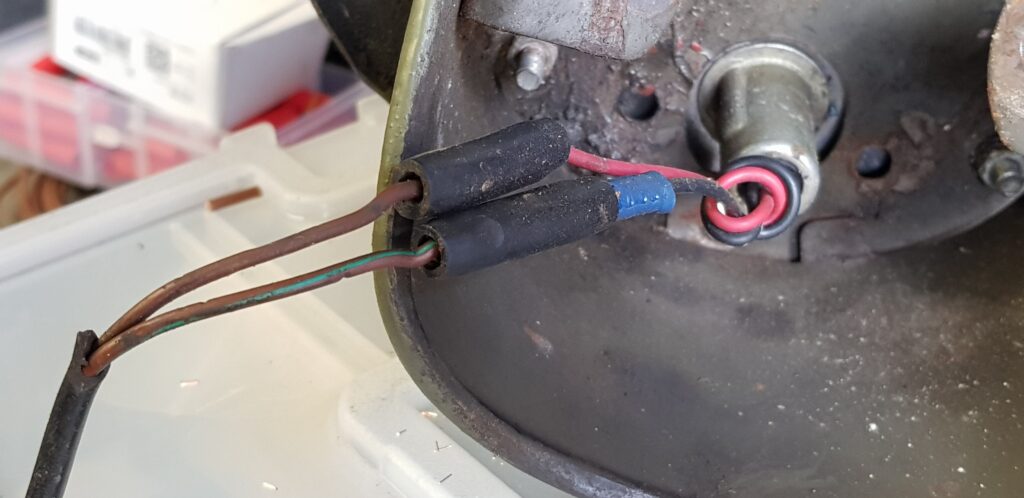
Then I had to wire in the rear brake switch and rear lights. The rear lights have caused me issues in the past, at one point using the rear brake was enough to act as a kill switch for the bike which was never fun as I approached junctions. I had again ordered a new rear switch only to find that the mounting holes didn’t align so more stuff for other bikes.
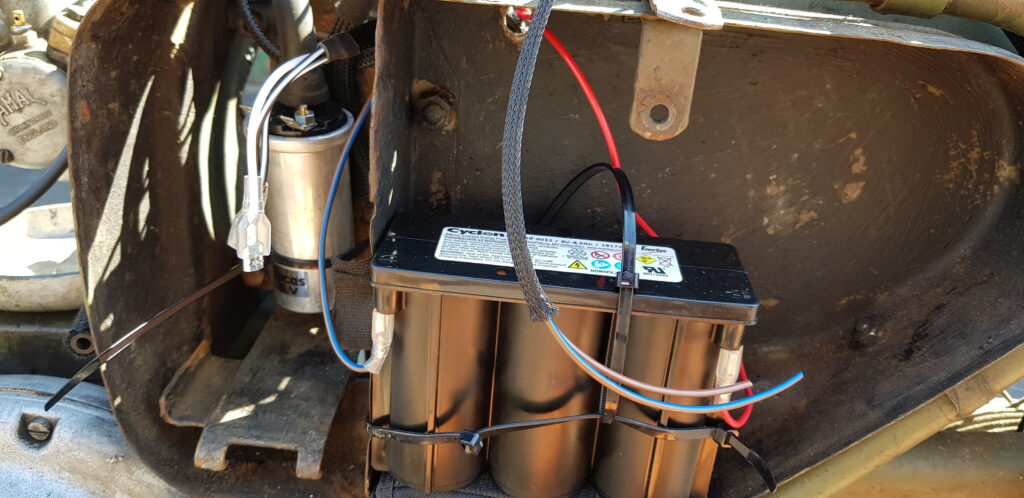
I’m glad I did this as the wire wasn’t in good condition. Then it was just a case of wiring the battery up and the ignition coil which again wasn’t too mad.
After all this, I revisited the Points and condenser. I replaced both units as I had a suspicion that the condenser was on its way out. While also in there the springs for the auto-advance/retard unit were replaced. Many of these bits aren’t that expensive but at least give you a bit of confidence when it comes to starting.
Now it is all done, so I do a few tests and erm it’s not working. Not getting a good spark and but the lights work but if I hit the horn I don’t get any sound but the horn gets warm to the touch rather quickly. More tea, and maybe dinner I rechecked my wiring in the headlight, I had make a error and had turned the horn into a dead short for the battery and the points wasn’t getting any more than the power from your kick. Thankfully I had used good thick wire so no burnouts. I was kicking myself for not fitting fuses but then again I didn’t see any fuse boxes I liked the look of, may fit one in the future to be safe.
After that was sorted out I took it for a ride and its working fine, then dad went for a ride. Later a neighbour who last saw this bike on the road the day he moved in 6 years ago managed to start it and off he went for a ride. I have yet to take it on a long ride but I will soon.