My remote shed now how POWER!

Sorry, I have been a bit lax with the blog posting, I have been pottering about as usual but the whole COVID-19 thing, work etc has had me a bit down. I have spent a fair bit of time recently working on clearing my Uncle’s old shed in the hope I could use it for some of my stuff but so far that doesn’t seem to be a plan that works for me. This was partly motivated due to some news that Aster who manage the council garages in my area are doing some refurb work on the one I rent so I would have to move out.

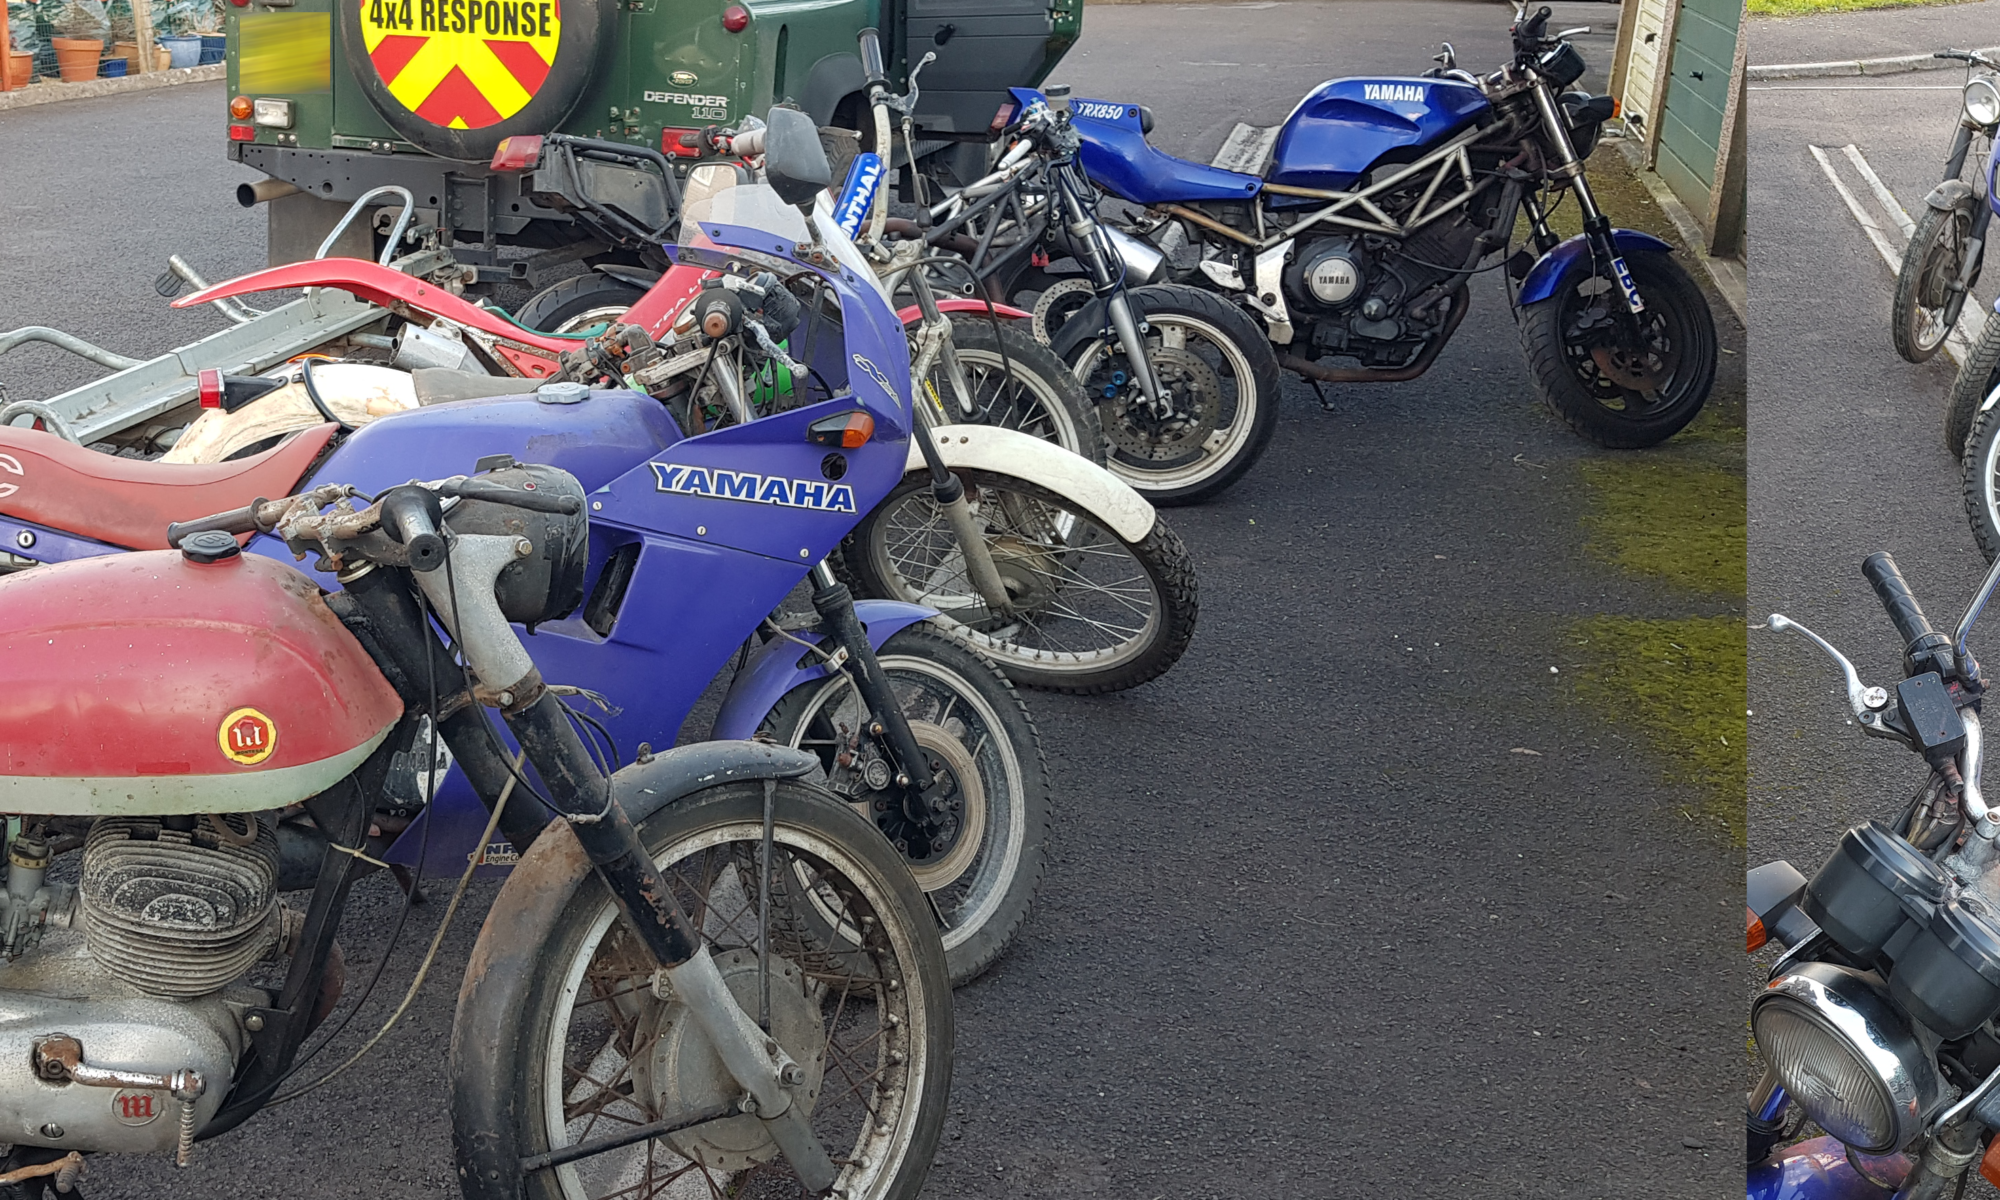
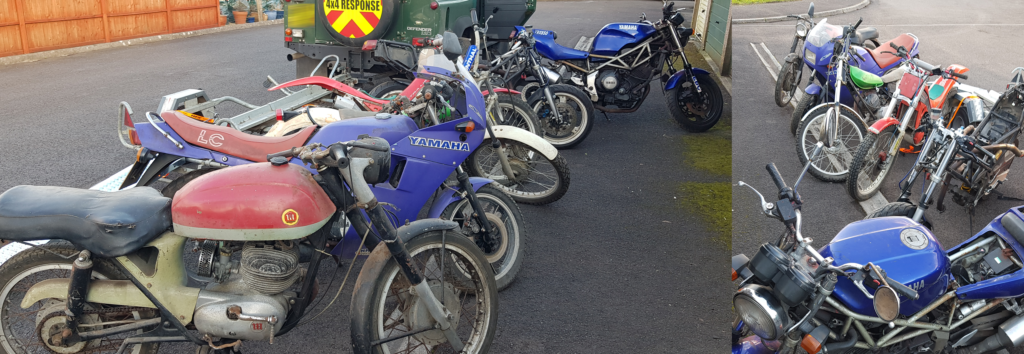
Aster offered me the option to move garages so I took that option and moved all my bikes and an assortment of spares from one to the other. But this then led me to think about how I can secure the bikes and garage from would-be thieves. So I started to hatch a plan.

These are all projects awaiting the time to fix and get running again.

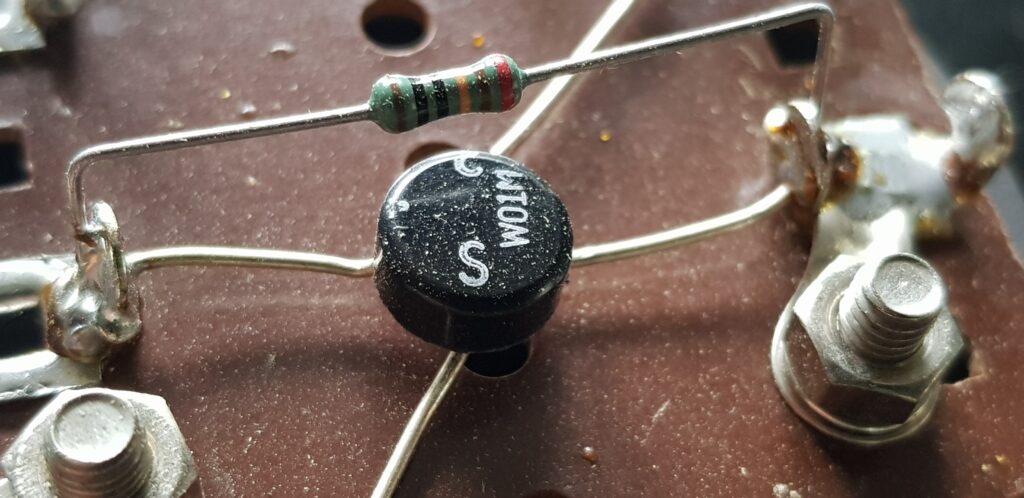
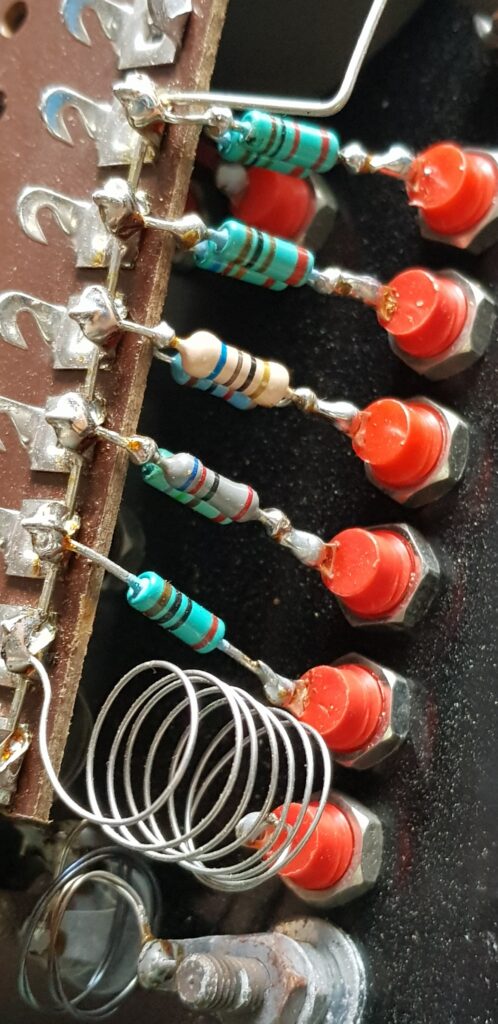
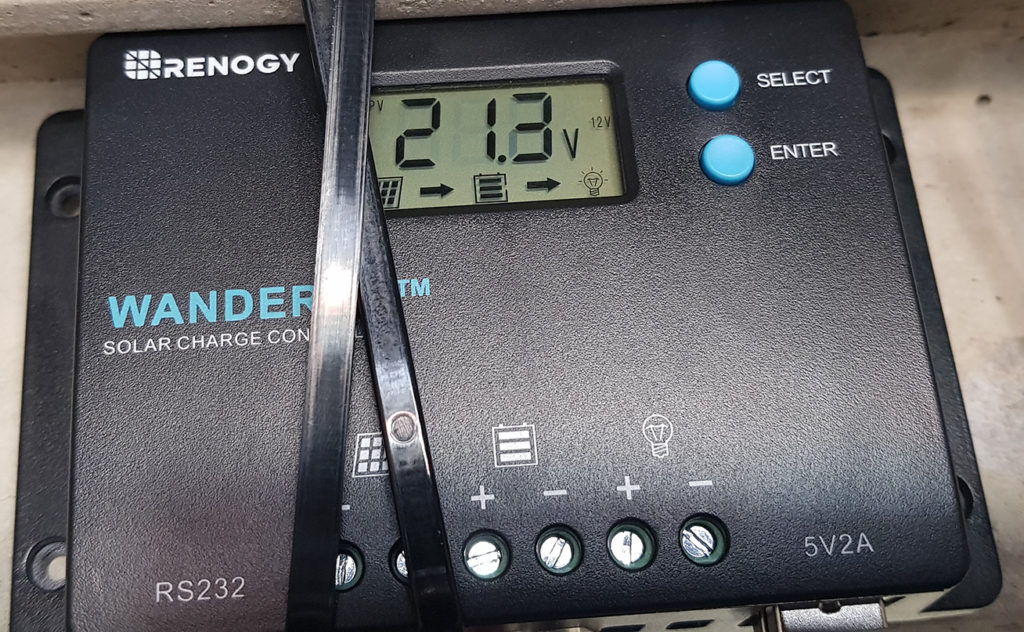
I bought a 100W Solar Panel and a 10A PWM Charge Controller from eBay. Though I did make the mistake of failing to order a cable to go from the Solar Panel to the charging unit. This gave me some power, and thankfully I had two 12V batteries that my UPS said were no good but so far have held a good charge here on the bench.

A nice 20V and its not a bright day.

As these days more and more things require less power I can use this to my advantage, after a bit of searching I found a Huawei E5576-320 which is a cheap enough WiFi unit that has a 4G SIM card slot so that I could get internet into the shed. Its got an internal battery that lasts a few hours and its also powered by USB, and the Renogy Charge Controller has 2 ports.

Then came the idea of CCTV, in a perfect world I would have a constant recording unit there that beams the footage home to me but that is rather data-intensive and could cost me a fortune in data costs. So I have elected for the BlinkXT cameras sold by Amazon. These are motion-activated, and record footage only if there is movement is detected. The cameras themselves use 2 x Lithium AA batteries and claim to last 2 years, the controller is the only item that needs constant power. Oh and look there that uses USB so no need for mains power.

Now I have this set up and running I still have work to do which includes adding some lighting, which I have built today after making the mistake of buying what was described as 12V Shed Lights but actually they are mains powered, and even worse the LED strips I think are 48V so I can’t even bypass the wiring and go direct. I have a fuse and simple rocker switch for that to do tomorrow.

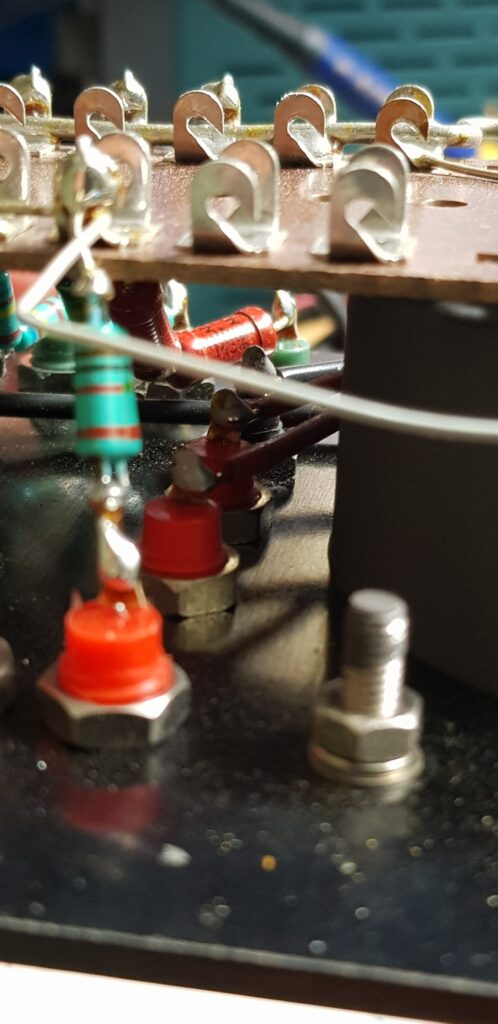
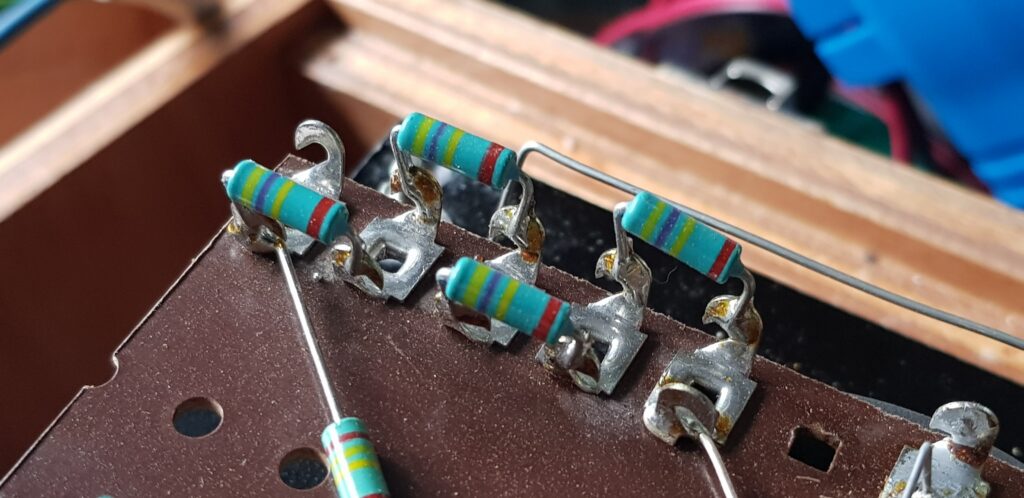
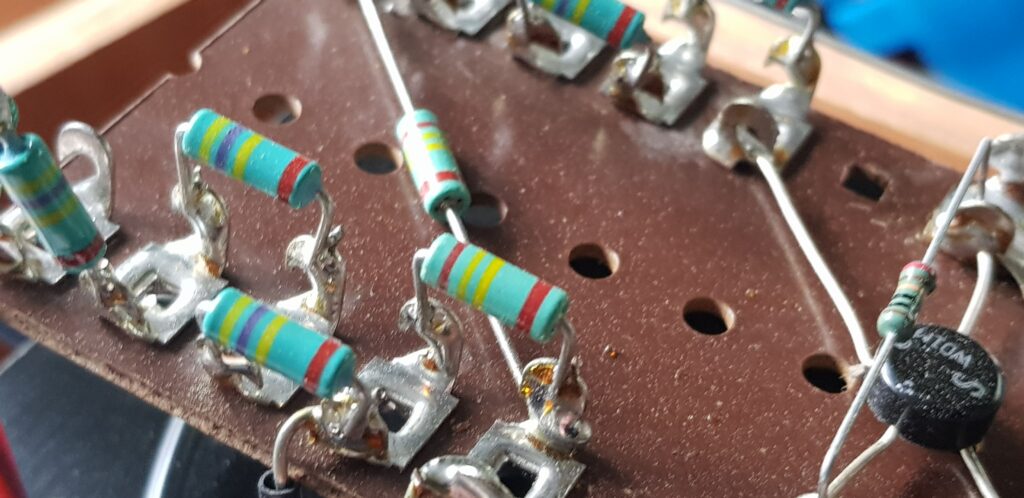
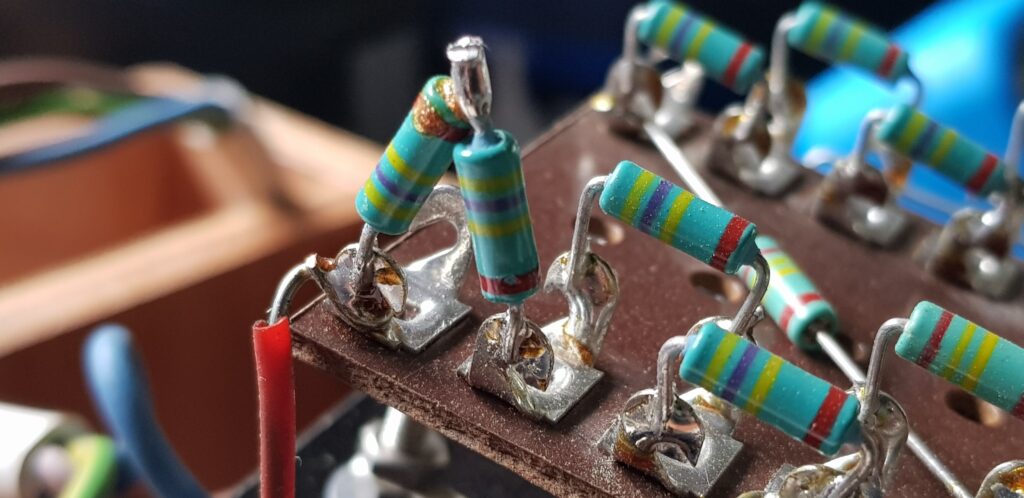
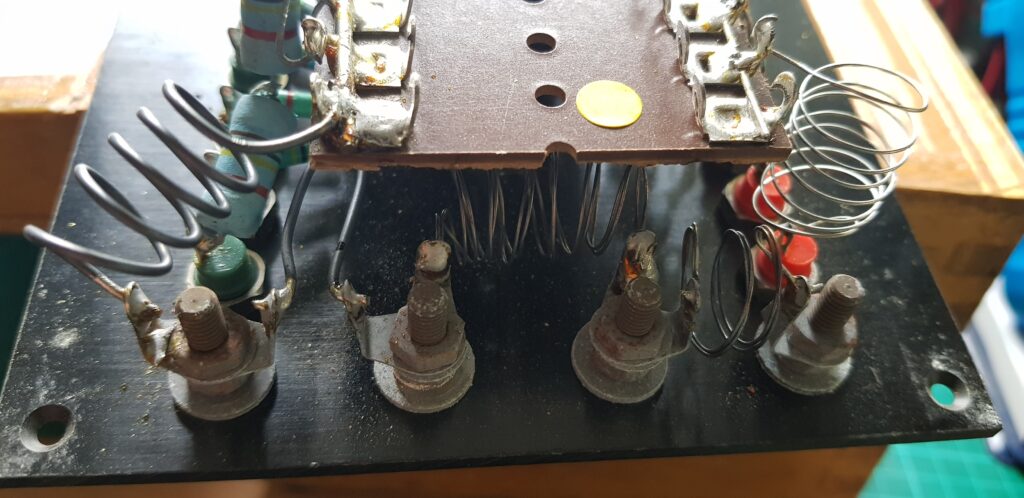
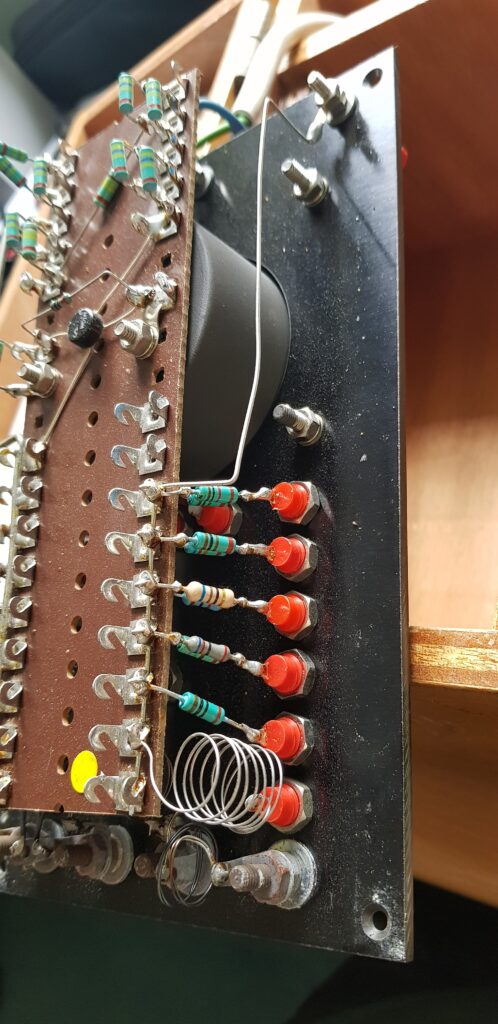
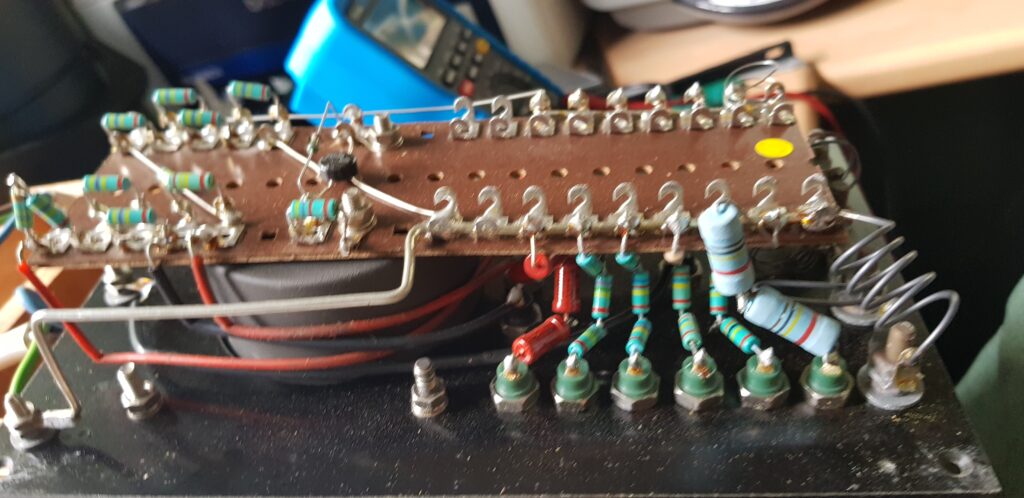
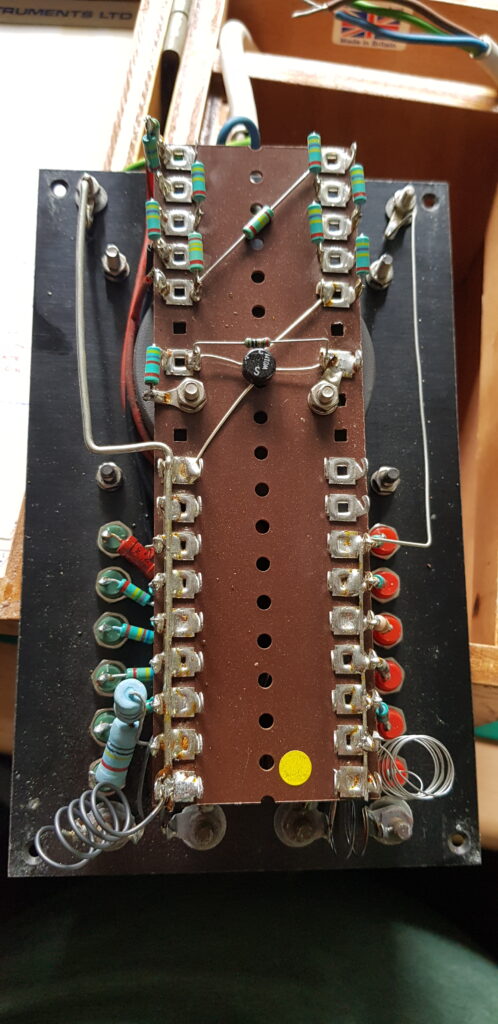
Then I have to look at the long term fix for being able to charge the various motorcycle batteries that may be in there. That may be done with some relays, a few buck voltage converters and an Arduino, as I would like to log and record the charging system and also charge a different bike/battery each day.

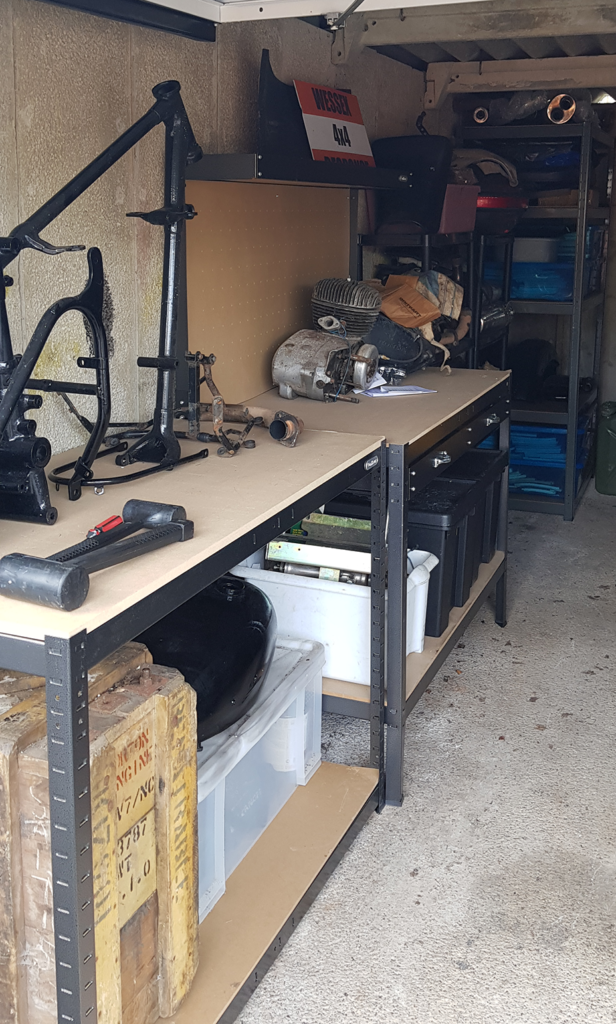
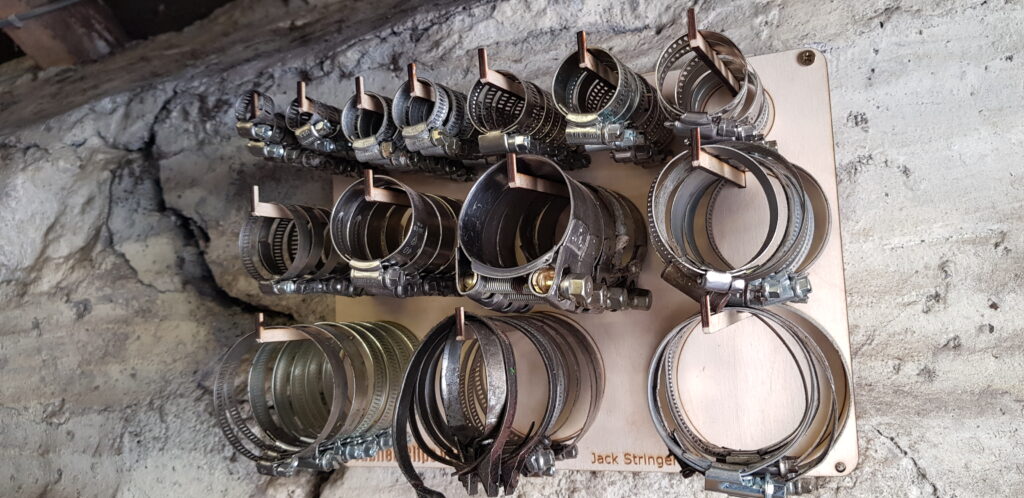
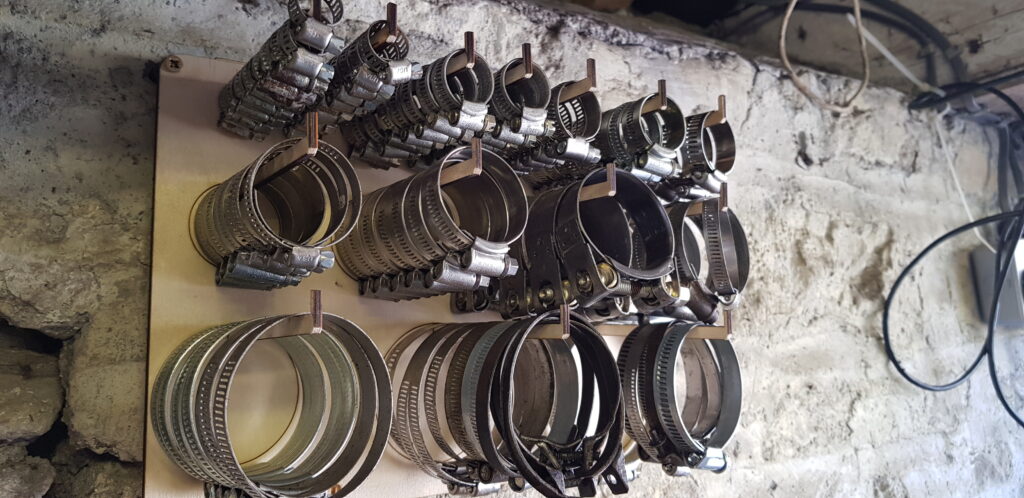
Oh I also fitted some shelving and 2 benches with the idea I can store some of the stuff that is assembled but is in the way if in the home shed.

A few benches to keep stuff off the floor.

Detecting Lightning

For a long time, I have been interested in the weather and like my father, I also enjoy watching lightning listening for the thunder. One of the internet projects that I found very enjoyable to view was the https://www.blitzortung.org or https://www.lightningmaps.org which is part of a large community project to track where lightning hits the ground. After a period of lightning storms a few years ago I signed up to the waiting list on Blitzortung to see if I could get my hands on a kit to rung from home. Well, several years later I got an email from Egon, offering me the option to buy the kit. I pondered the idea for a few days and then replied with yes. A few weeks later a parcel arrived and due to it being a wet weekend I eagerly opened it up and started work.

Parts from Blitzortung.

I ordered the full kit for the latest board called System Blue 19.5. The kit is the board, the case, USB power supply and 3 ferrite rod antennas. As you can see most of the surface mount stuff if already done but its sold as a DIY kit so I had to get the iron out and solder the last few items on. This isn’t very hard and it is fairly obvious how the bits are attached the most confusing bit for me was the manuals, there are a few guides and manuals and they are written for the ever-developing kit. This manual is for the older Sytem Red but is rather informative but has been superseded by this manual.

I ordered 3 ferrite core antennas and the 3rd is an optional one. For now, I am running just the two and will design and build a holder for the rods at a later date. This is referred to as the H-Field antenna and the other is the E-Field Antenna and has a circuit mounted

Once powered up you can access the interface for the unit via a web browser and after a few clicks, it was setup.

The interface is ok and works, it has a few bugs but for the most part, it is ok. I think the issues are around me tinkering with it as I test out settings. I have had it running for a few weeks now and have had the odd crash, and the other evening it had a lot of noise, causing false readings but moving stuff slightly higher up fixed this.

Typical reading I have had from the detector.

I have some work to do as I do have a fair bit of noise still but I am still working only a meter or so away from my PC.

The noise level isn’t fun.

But for now I am sending data into the system and you can view my station on both these pages.

https://map.blitzortung.org/statistic_0.php?station=2828

and

https://www.lightningmaps.org/blitzortung/europe/index.php?bo_page=statistics&bo_show=station&bo_sid=2828&bo_page=statistics&bo_show=station&bo_sid=2828

I will write a bit more about this subject as I learn more. Plenty of tinkering still to do.

Tap and Die Storage

Last year I made a few purchases of Taps and Dies for cleaning/chasing threads on the Matchless and other projects. This is partly helped by my job as I am now a lot more aware of the array of threads used on things.

I ordered the bits from Tracy Tools down in Devon and ordered them loose so not in a case, I have seen sets in cases at shows but always disappointed about the standard of the taps and the cases.

So I made my own cases,

I have some gaps, that is because the tap normally come in sets of 3, Start, Second and Bottom but the sets I bought only had the Start and Bottom taps. The inserts for the boxes are basic and loose. Once I am happy with it all I might give it a varnish but this is just version 1.

Clare V142 Calibration Unit

So randomly looking at eBay one evening and I spotted a bit of test gear for Clare Flash Testers. I have the task of calibrating these at work and the chance to get a bit of kit for actually testing them was beyond tempting.

Next thing I know I had bought it, followed shortly by some other bits such as a Resistance and Capacitance box. Not sure why other than its nice to have some stable things to check my new multimeter against (more of that later).

I can’t seem to find much info on this unit as Clare has been bought out and is now owned by Seaward. Though I did find a page referring to a Seaward V242
https://www.tequipment.net/SeawardV242.html

V242 Calibration Check Unit

The V242 is intended for on-site verification of the Clare range of electrical safety testers. It is recommended that this instrument is returned to Clare Instruments for annual re-calibration.

The V242 is capable of checking the following parameters.

GROUND CIRCUIT RESISTANCE
90, 115, 450, and 575 mΩ (Calibration limits ± 5% of value)
HIPOT TEST VOLTMETER
0 – 5000 Volts A.C. (Calibration limits ± 1.5% f.s.d.)
0 – 2500 Volts D.C. (Calibration limits ± 1.5% f.s.d.)
INSULATION RESISTANCE A.C. or D.C
100 KW – 200 KW – 400 KW – 1 MW – 2 MW 5 MW – 10 MΩ – 20 MW. (Calibration limits ± 1%)
50 MW (Calibration limit ± 3%) – 100 MW (Calibration limit ± 4%)

The flash trip value of 5 mA can be checked using the Insulation Resistance value of 200 KΩ, which will give a reading of 5 mA at 1000 Volts A.C. or D.C.

No facilities provided for checking live load modules, such as ammeters and wattmeters, fitted to many Clare test stations. Such modules should be checked using a good quality AC test set.

This is from the above website.

I did some quick checks and most of the resistances are good but the Low ohm earth ones aren’t so good but that is mostly due to my meter not being designed to measure that low and the unit being designed to have 25A running though those resistances. So unless I find a 25A power supply that I can use then measure the ohms in the same way you do with a shunt.

Annoyingly someone has stuck stickers on the instruction sheet, I am looking at how I might be able to remove them. The brass/copper connectors on the front are also in rather poor condition so I thought I would open it up so I could give it a clean.

Now that I could see inside I noted it is rather basic. More importantly I can get to the nuts to remove the posts. So I removed one and had a go at cleaning it in a solution of salt and white vinegar.

I will admit I did make a mistake with cleaning some of the bits as I put them all in the same cup. The washers are zinc and that attracted the copper so ended up with the bits going black, but thankfully it only took a little light cleaning with a copper brush. The next connector I did them separately.

What will I use it for….I don’t quite know. Might take it on-site the next time I have a few of the old Clare flash testers to look at and see how it compares.

Sorting – Jubilee Clips

So some of you may already know but I do like collecting a sorting parts. Mostly nuts a bolts. The reason, I dislike taking time to search and hunt for bolts. Many times have I gone looking for a bolt only to find 3 of the right size but not a 4th. Then there is the “we have some, but not sure where” thing. So I like to sort and label the boxes, yes even the label maker have a label on it saying label printer.

Yes, spelling isn’t my strong suit.

During my last sort out a lot of the boxes got new labels. Lots of labels. I spent a good afternoon messing with the software for Brother Label printers as you can do stuff with spreadsheets etc and I use that at work often enough but this printer isn’t as smart and OMG the software is a nightmare to work with. So I resorted to hand typing lots of it out.

The boxes look rather smart as well. I ended up buying more tape and then reprinted a lot of the labels at a larger size as I may well end up like my Dad and needing glasses.

Then I faced this,

It is just a mess and drives me up the wall whenever I look for one the right size, not helped by the container also ending up with a good amount of oil in it. I was thinking of a neat way to sort these, then I remembered someone I know had got fed up of not having the jubilee clips he needed so he bought some but he went the extra mile and just bought a shop display unit of them.

I thought about this, as it is just so shiny and neat and oh shiny. But then I looked at the cost and though hmm I have plenty I just need a rack. Time to fire up the laser we have sharks to fry….erm OK. A quick bit of skilled drawing and I had an idea.

It made sense to me and I went and started drawing in Illastrator and Inkscape to get the design just the way I liked it. Then it came to cutting with the laser.

A bit of jiggering about and I had it assembled, I didn’t have any PVA glue to had therefore I used some hot glue.

Its not perfect, but it does what I wanted to do.

If you want to make your own based on my design then head over to thingverse where I have uploaded a slightly modified version as I made a few slight design changes.