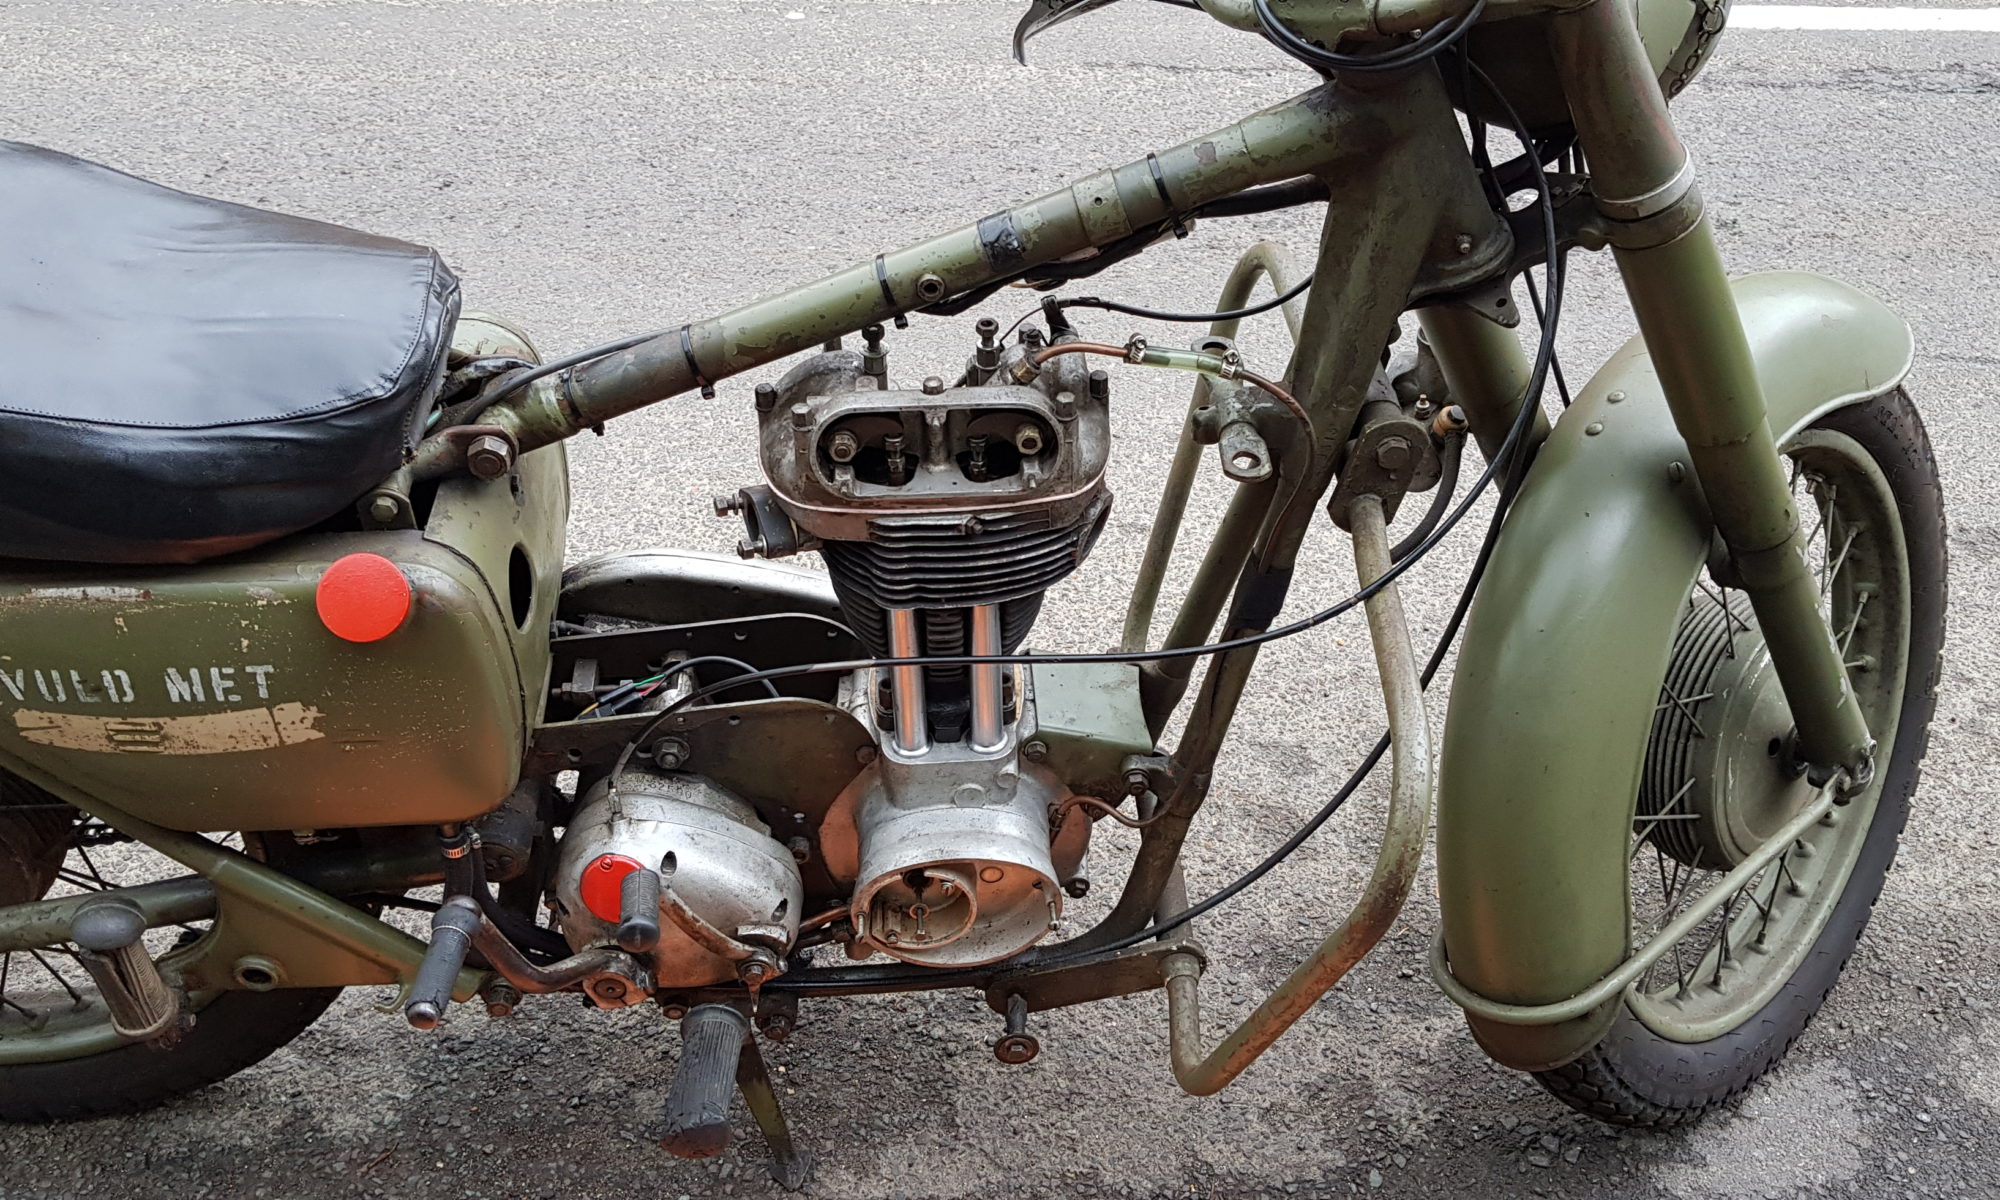
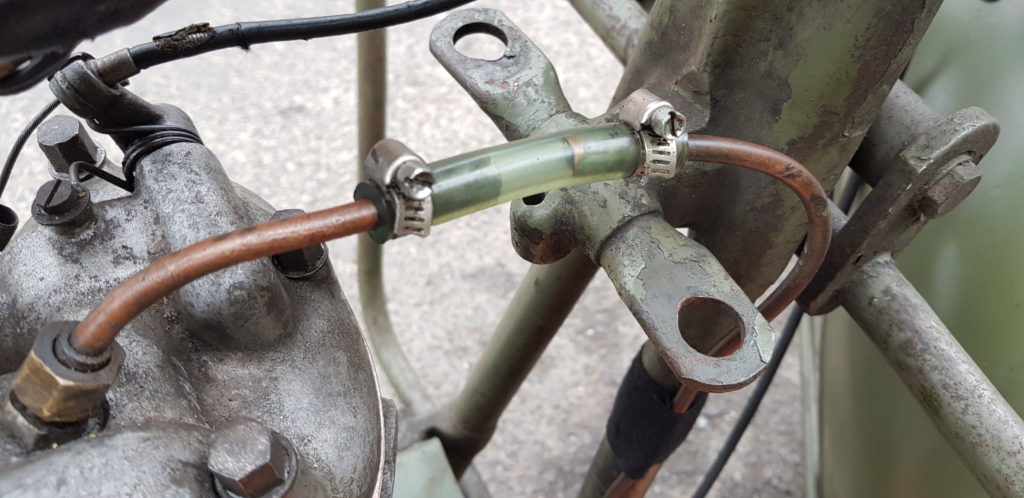
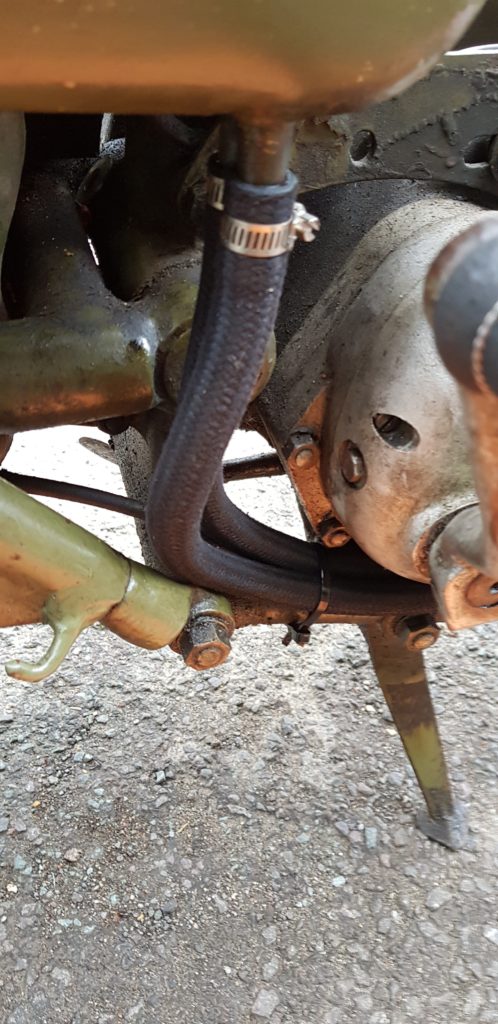
Today work continued on the Matchless, the head went on, the rocker is on, the alternator and chain case went back on. Then it was some faffing to fit new oil pipes etc.
The worse bit, timing, we have never had much luck in finding and easy way to get this right, not helped by a piston that is domed and lots of books with differing ideas on what to set it to. But recently I found a wonderful archive of manuals for the old Matchless etc online. http://archives.jampot.dk
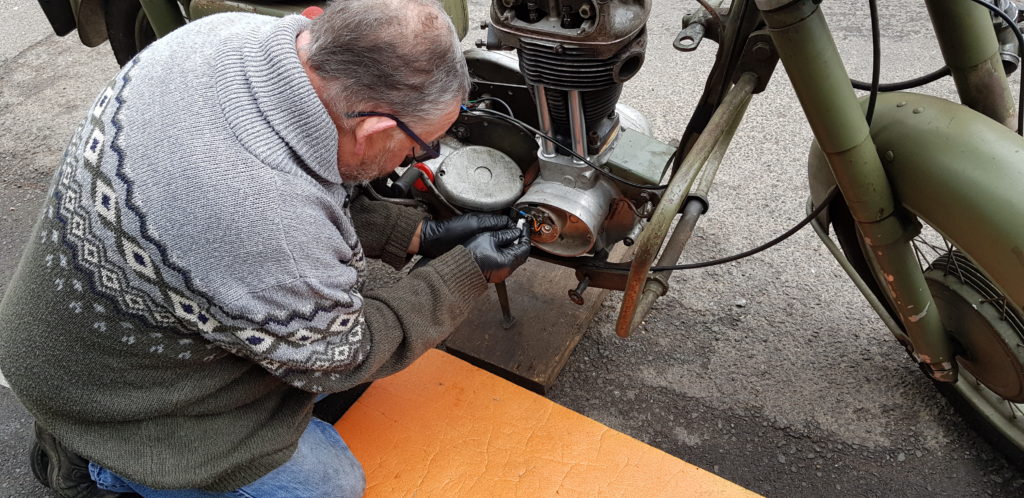
Well we think we got it right but the spark is a bit rubbish and not as consistent as I would like. We took to adding some petrol and giving it a damned good kicking. But that is where we found out the decompression lever needed more adjustment.
We gave it some more kicks but no luck, we both were getting cold as the wind was being lazy and there was the hint of rain in the air. Though I did get a phut out out of the carb once so we know she will fire. If the weather isn’t crap I might try again tomorrow. Tonight I shall mostly be reading up on stuff.
With the wet weather at the weekends making it less enjoyable to be outside in the shed working I haven’t done much.
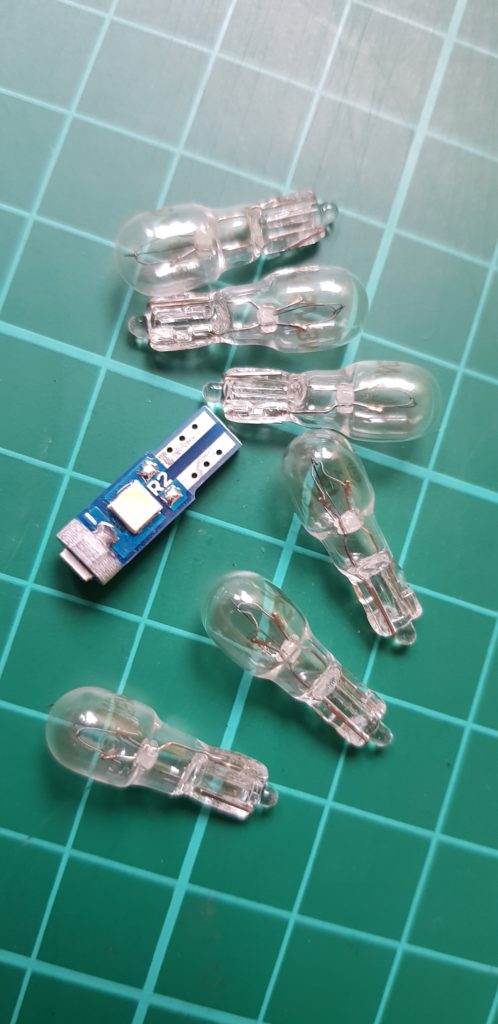
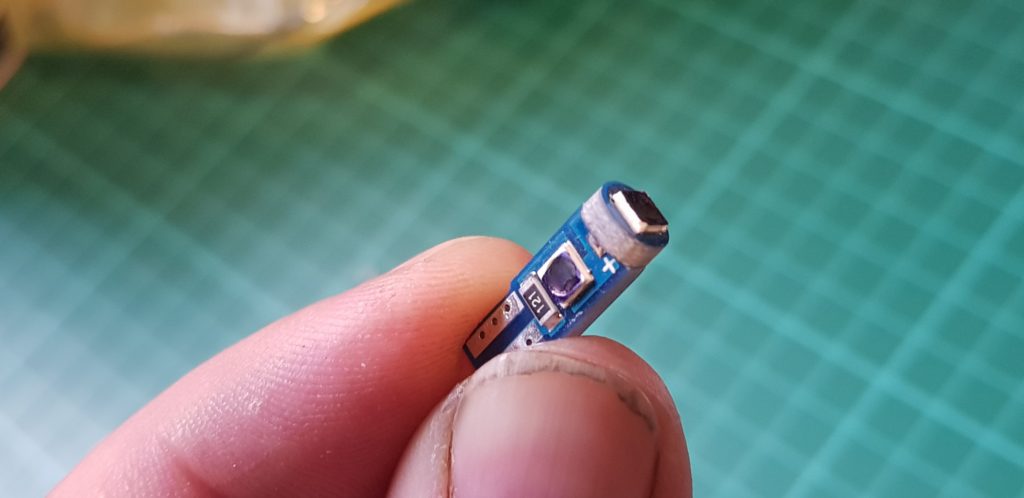
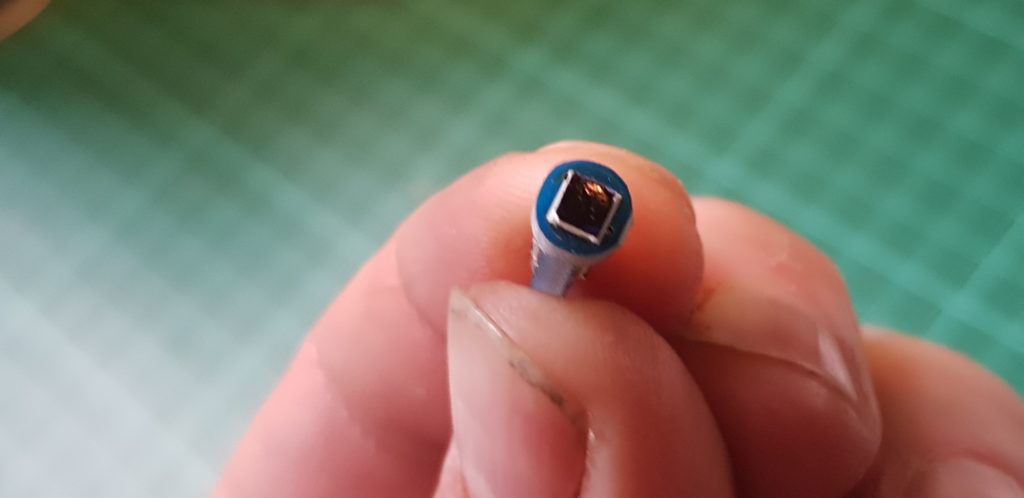
But Saturday morning some T5 LED bulbs I ordered from China turned up. The idea is to replace the 12V 3W filament bulbs with LED in the instrument panels of the bike. They are brighter and require less power to light up the dash, but I wanted to do some tests to prove this.
Description
Volts
Amps
Watts
12V 1.5W LED
12
0.028
0.336
LED in Holder
12
0.029
0.348
12V 5W Filament
12
0.200
2.400
Filament in Holder
12
0.198
2.376
% Of power
15%
15%
Power Saving
0.169
2.088
If all 6 illuminate
1.200
14.400
in LED
0.174
2.088
Saving
1.026
12.310
This was gathered with my benchtop power supply, which I checked against my multimeter. I know I ought to do some proper calibration stuff on my kit. I found it interesting that The Amps went up with the LED in the holder vs the Filament in Holder going down. I Suspect a bit of resistance along the wires and connector giving me a slight voltage drop etc. I could go into this deeper and do some actual measurements but not really worth it.
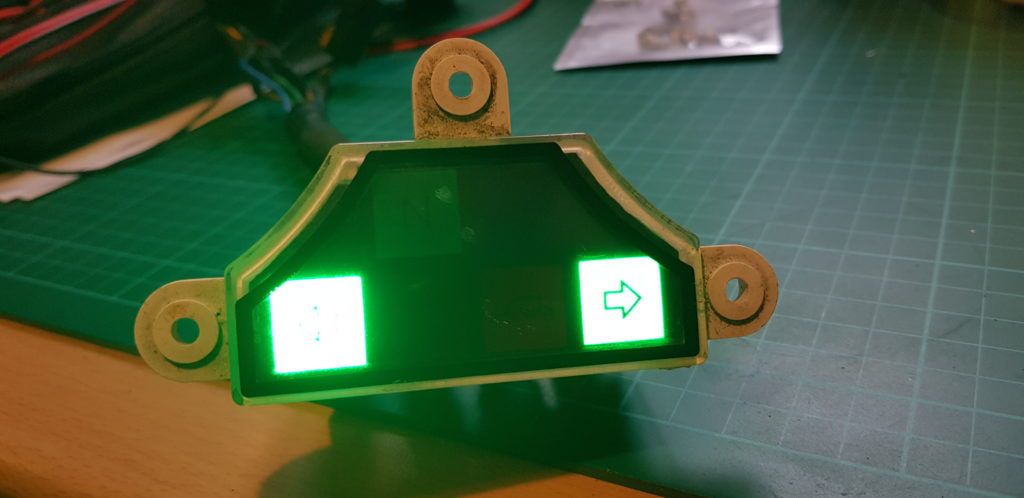
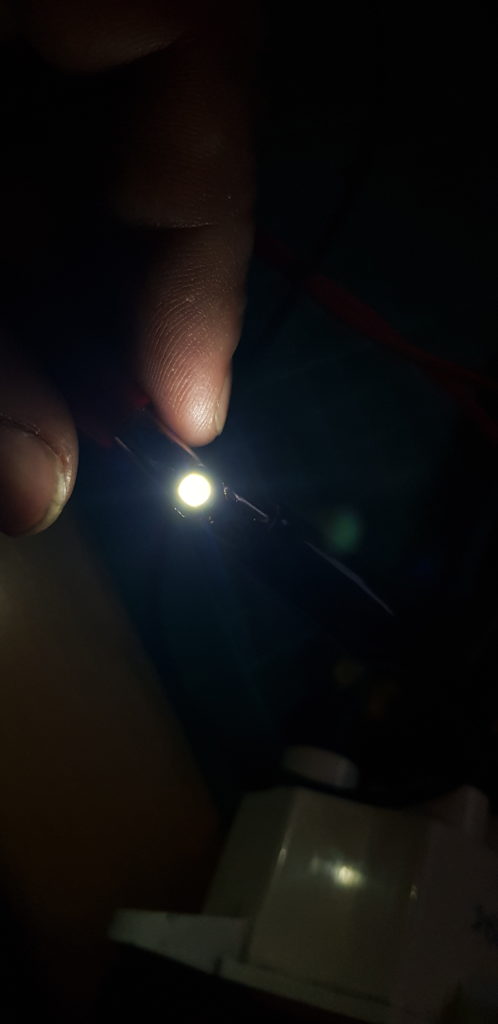
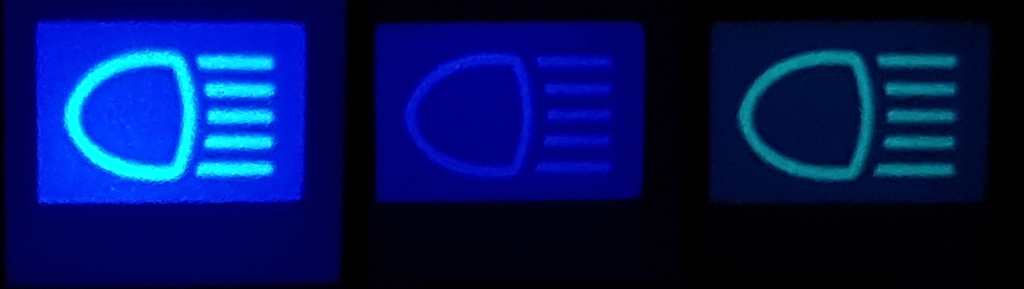
This then starts on the next issue, brightness. The LEDs are rated at 100 lumens and that should be bright enough but the risk is that its too bright.
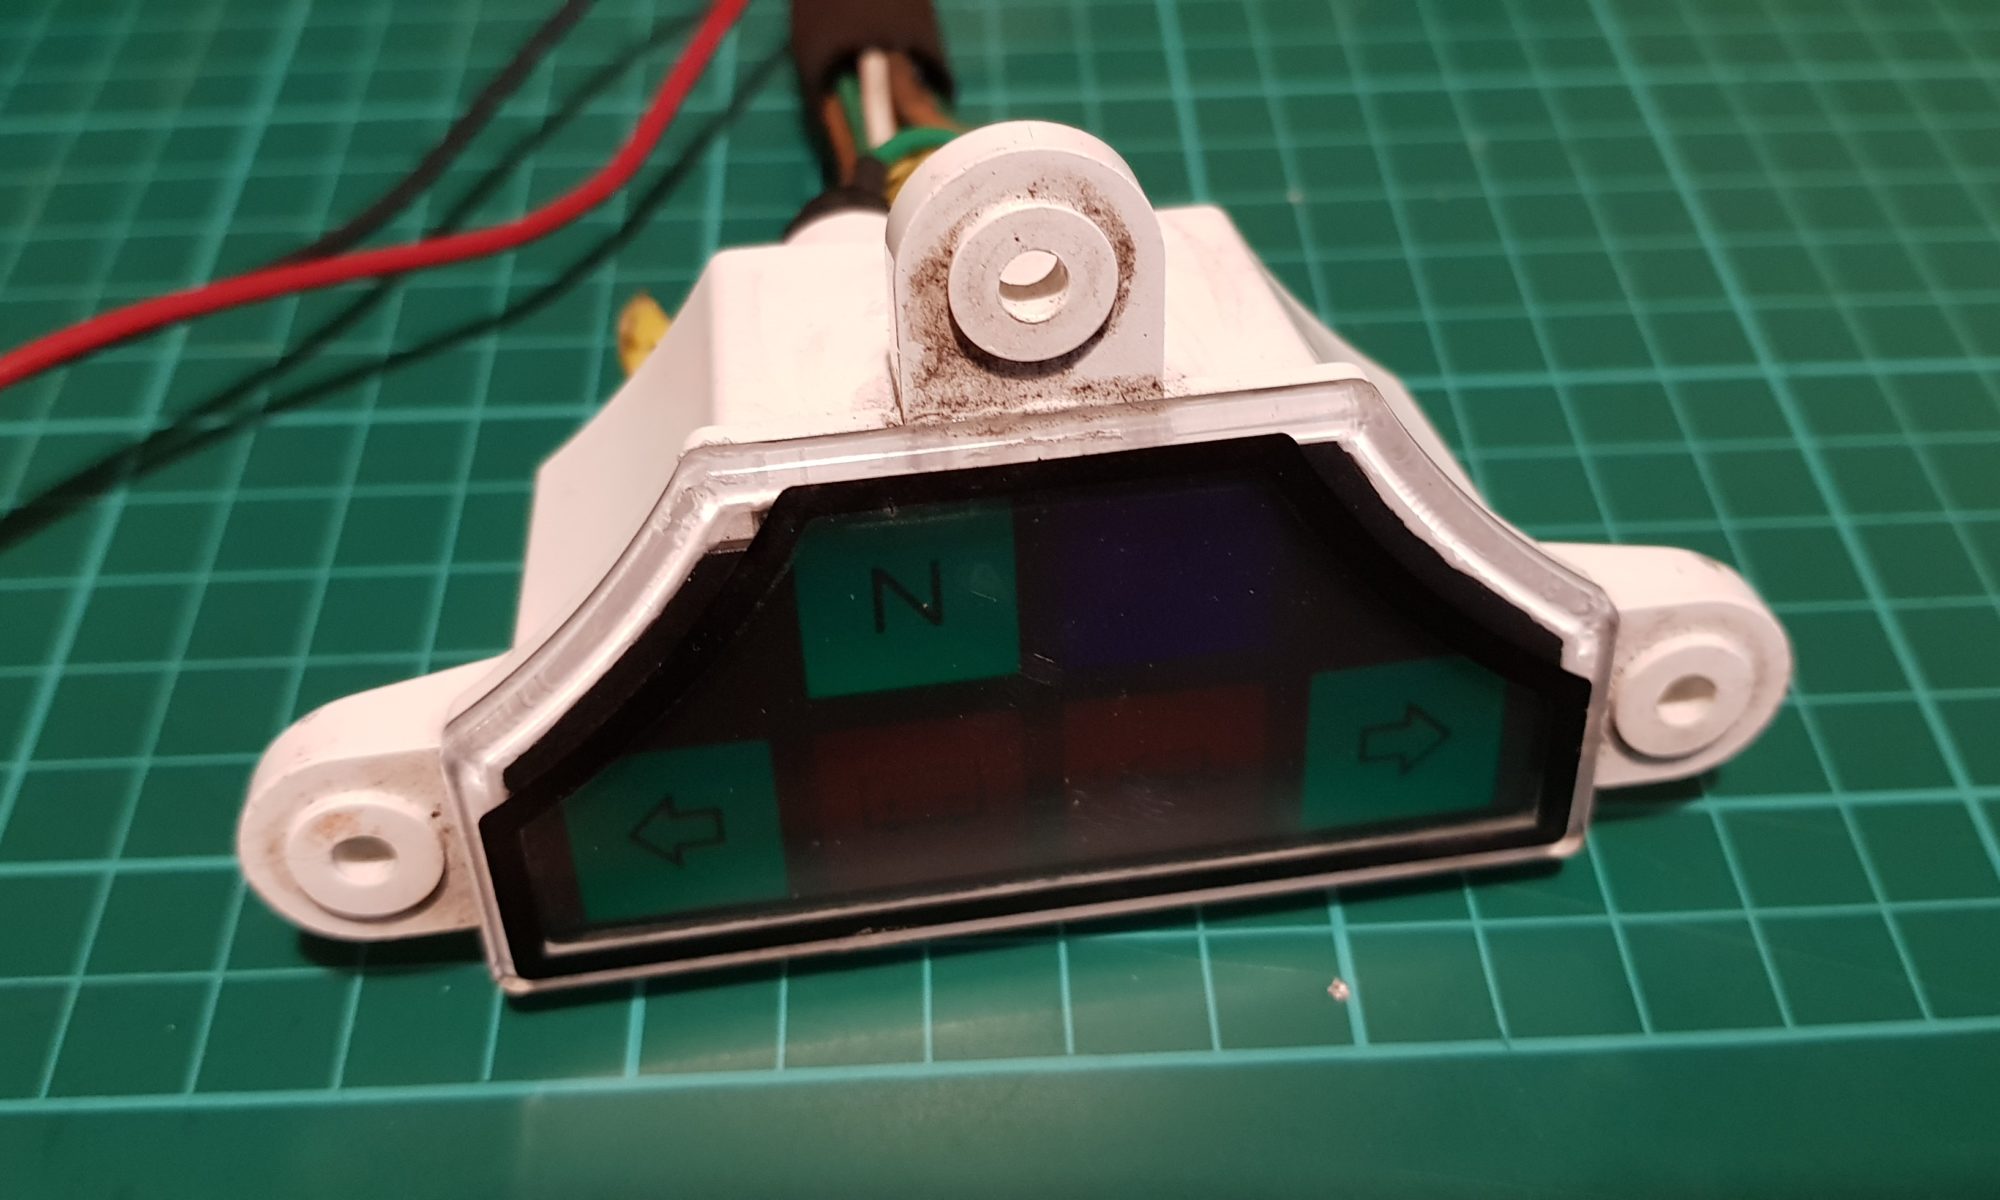
LED to the Left, Filament to the Right.
The camera lies a little as the left icon actually displays quite nicely. But the issue is will it be too bright at night, well indicators I don’t really worry about but the High Beam, well that is another issue. For this test, I locked the camera down to 2000ths of a sec and an iso of 80.
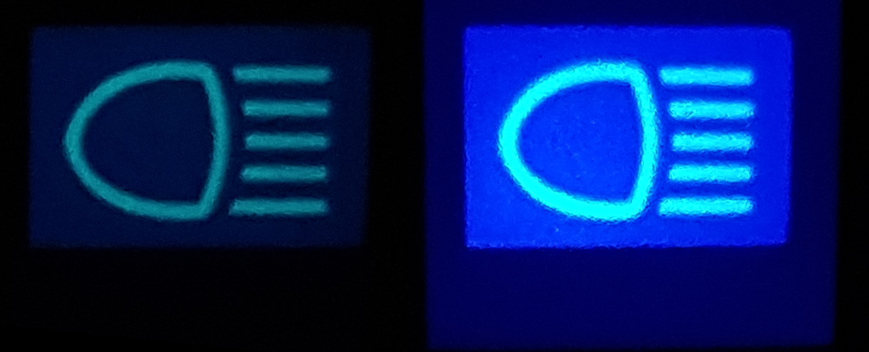
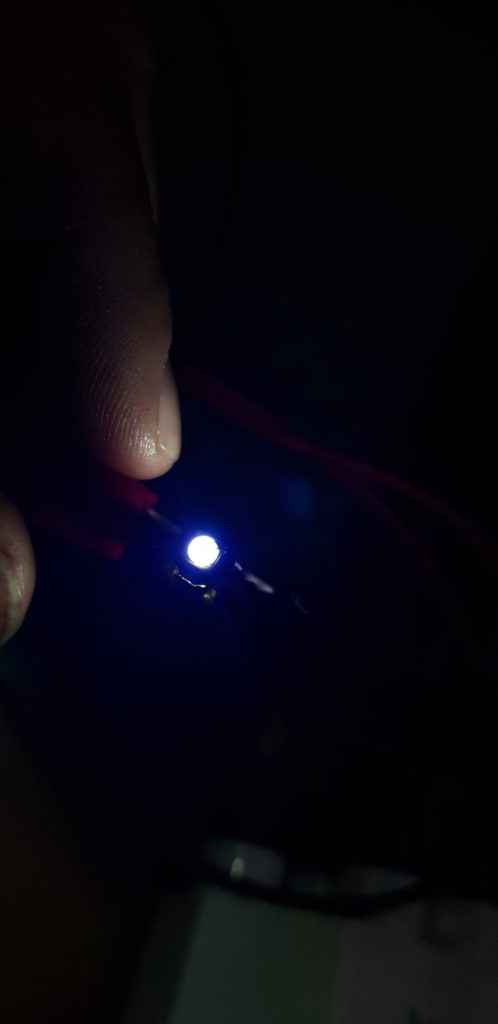
Filament on the left and LED on the right.
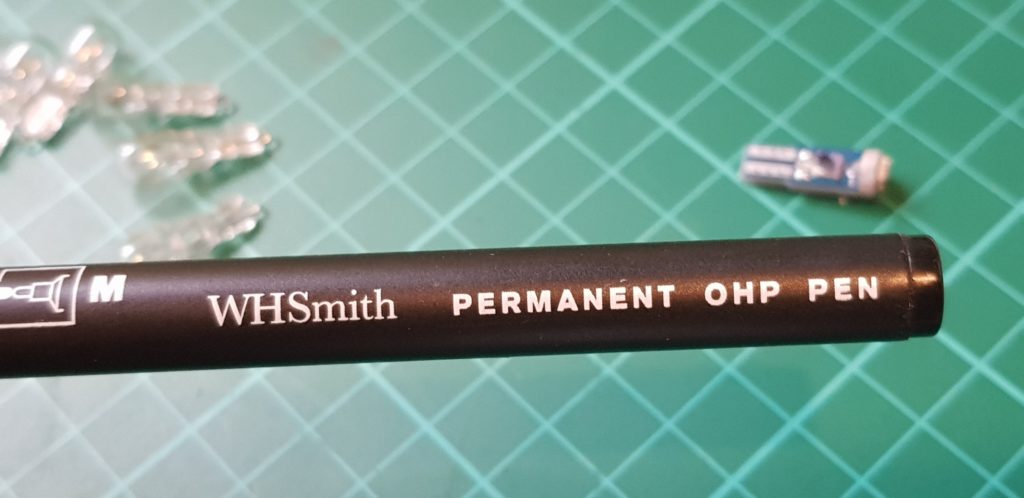
A fix was needed, thankfully I have a pen, a marker pen.
So I test again, LED vs LED with some maker, oh and the Filament bulb just for comparison.
LED, LED with Marker, Filament.
I have never been a fan of really bright main beam indication lights, it kind of ruins the night vision. I will test it to see how it fairs once on the bike. The AMPS/WATTS (75%) saved isn’t suddenly going to transform the bike but I would like to save as many WATTS of power I can so the can be used for other things, like the phone charger and more power to the headlights. Reducing those moments where the bulbs dim as the revs drop especially when you get near a junction. Don’t know what I mean, well lucky you.
EDIT: I still have the B9ES bulbs in the speedo and rev counter to replace and now I can’t remember what colour I ordered. I might do the same experiments with those just as a guide.
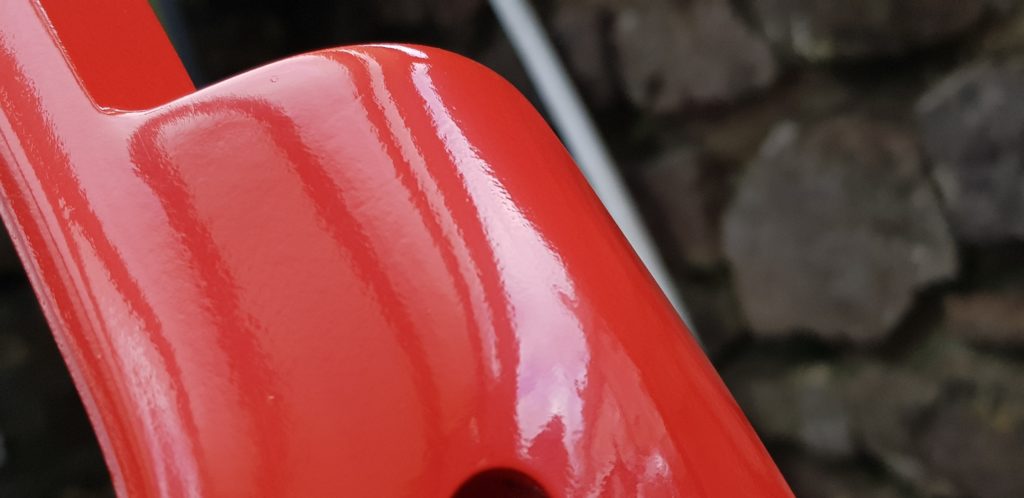
The stuff I painted last week are nice and dry but still hanging up as the weather is crap and only a small sighting of blue sky just before darkness descended has left me little enthusiasm to get the next bit done. Though I have had a shipment of Raptor Paint and Tint of red which I plan to use on the crash bars, more on that later.
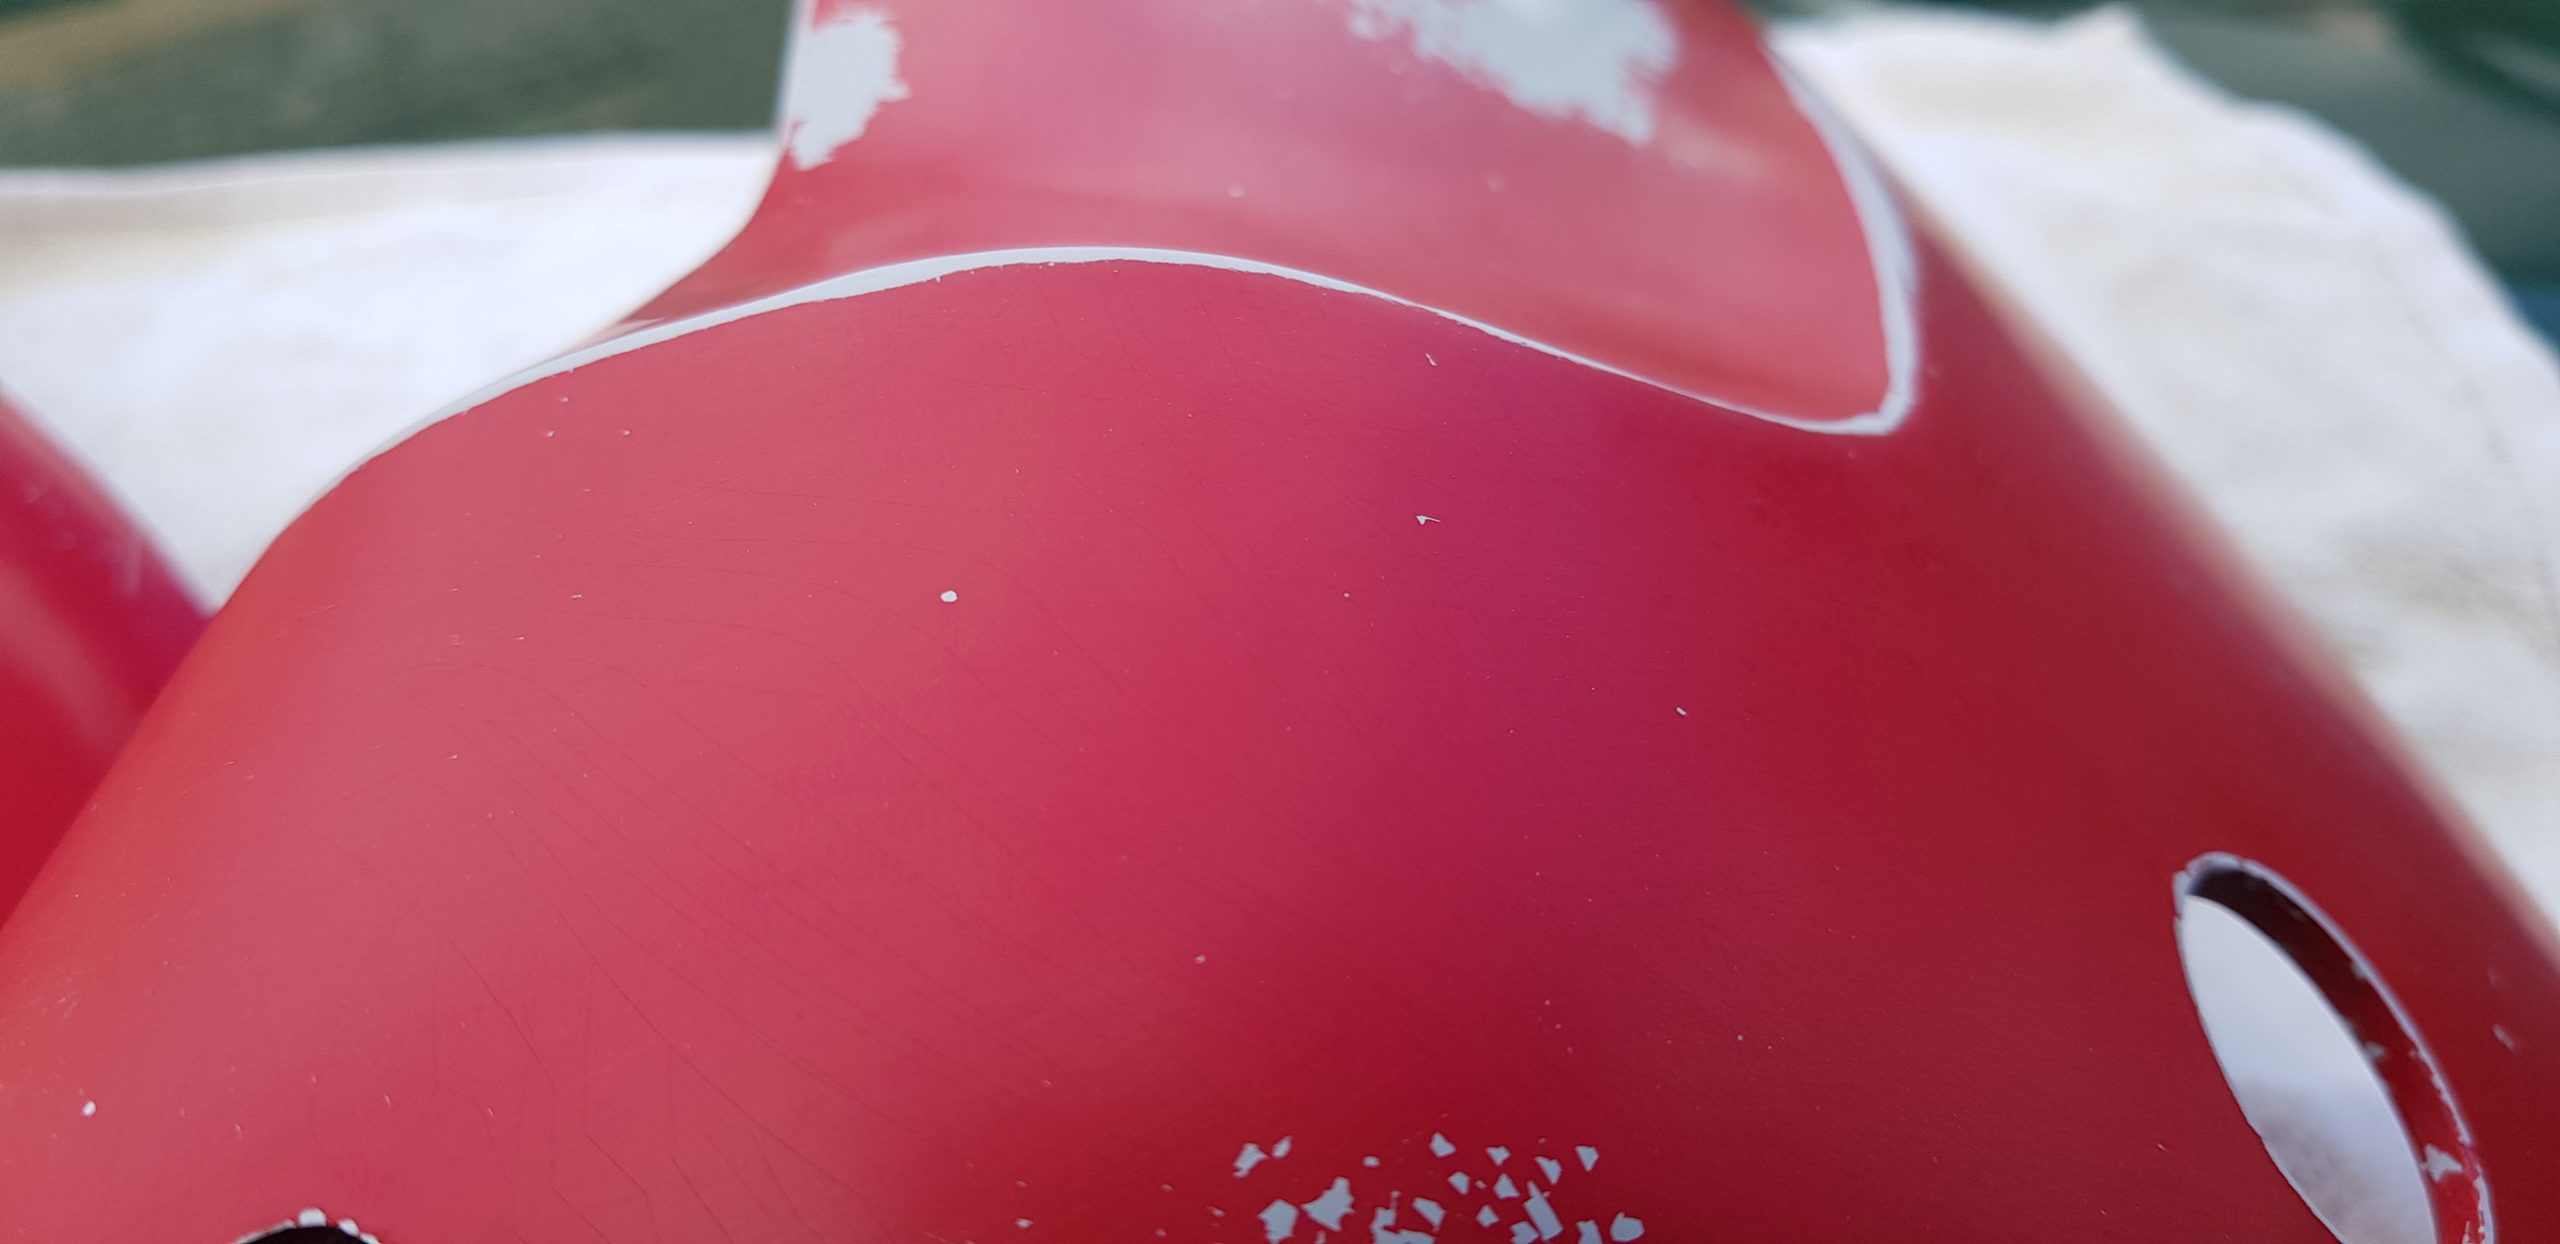
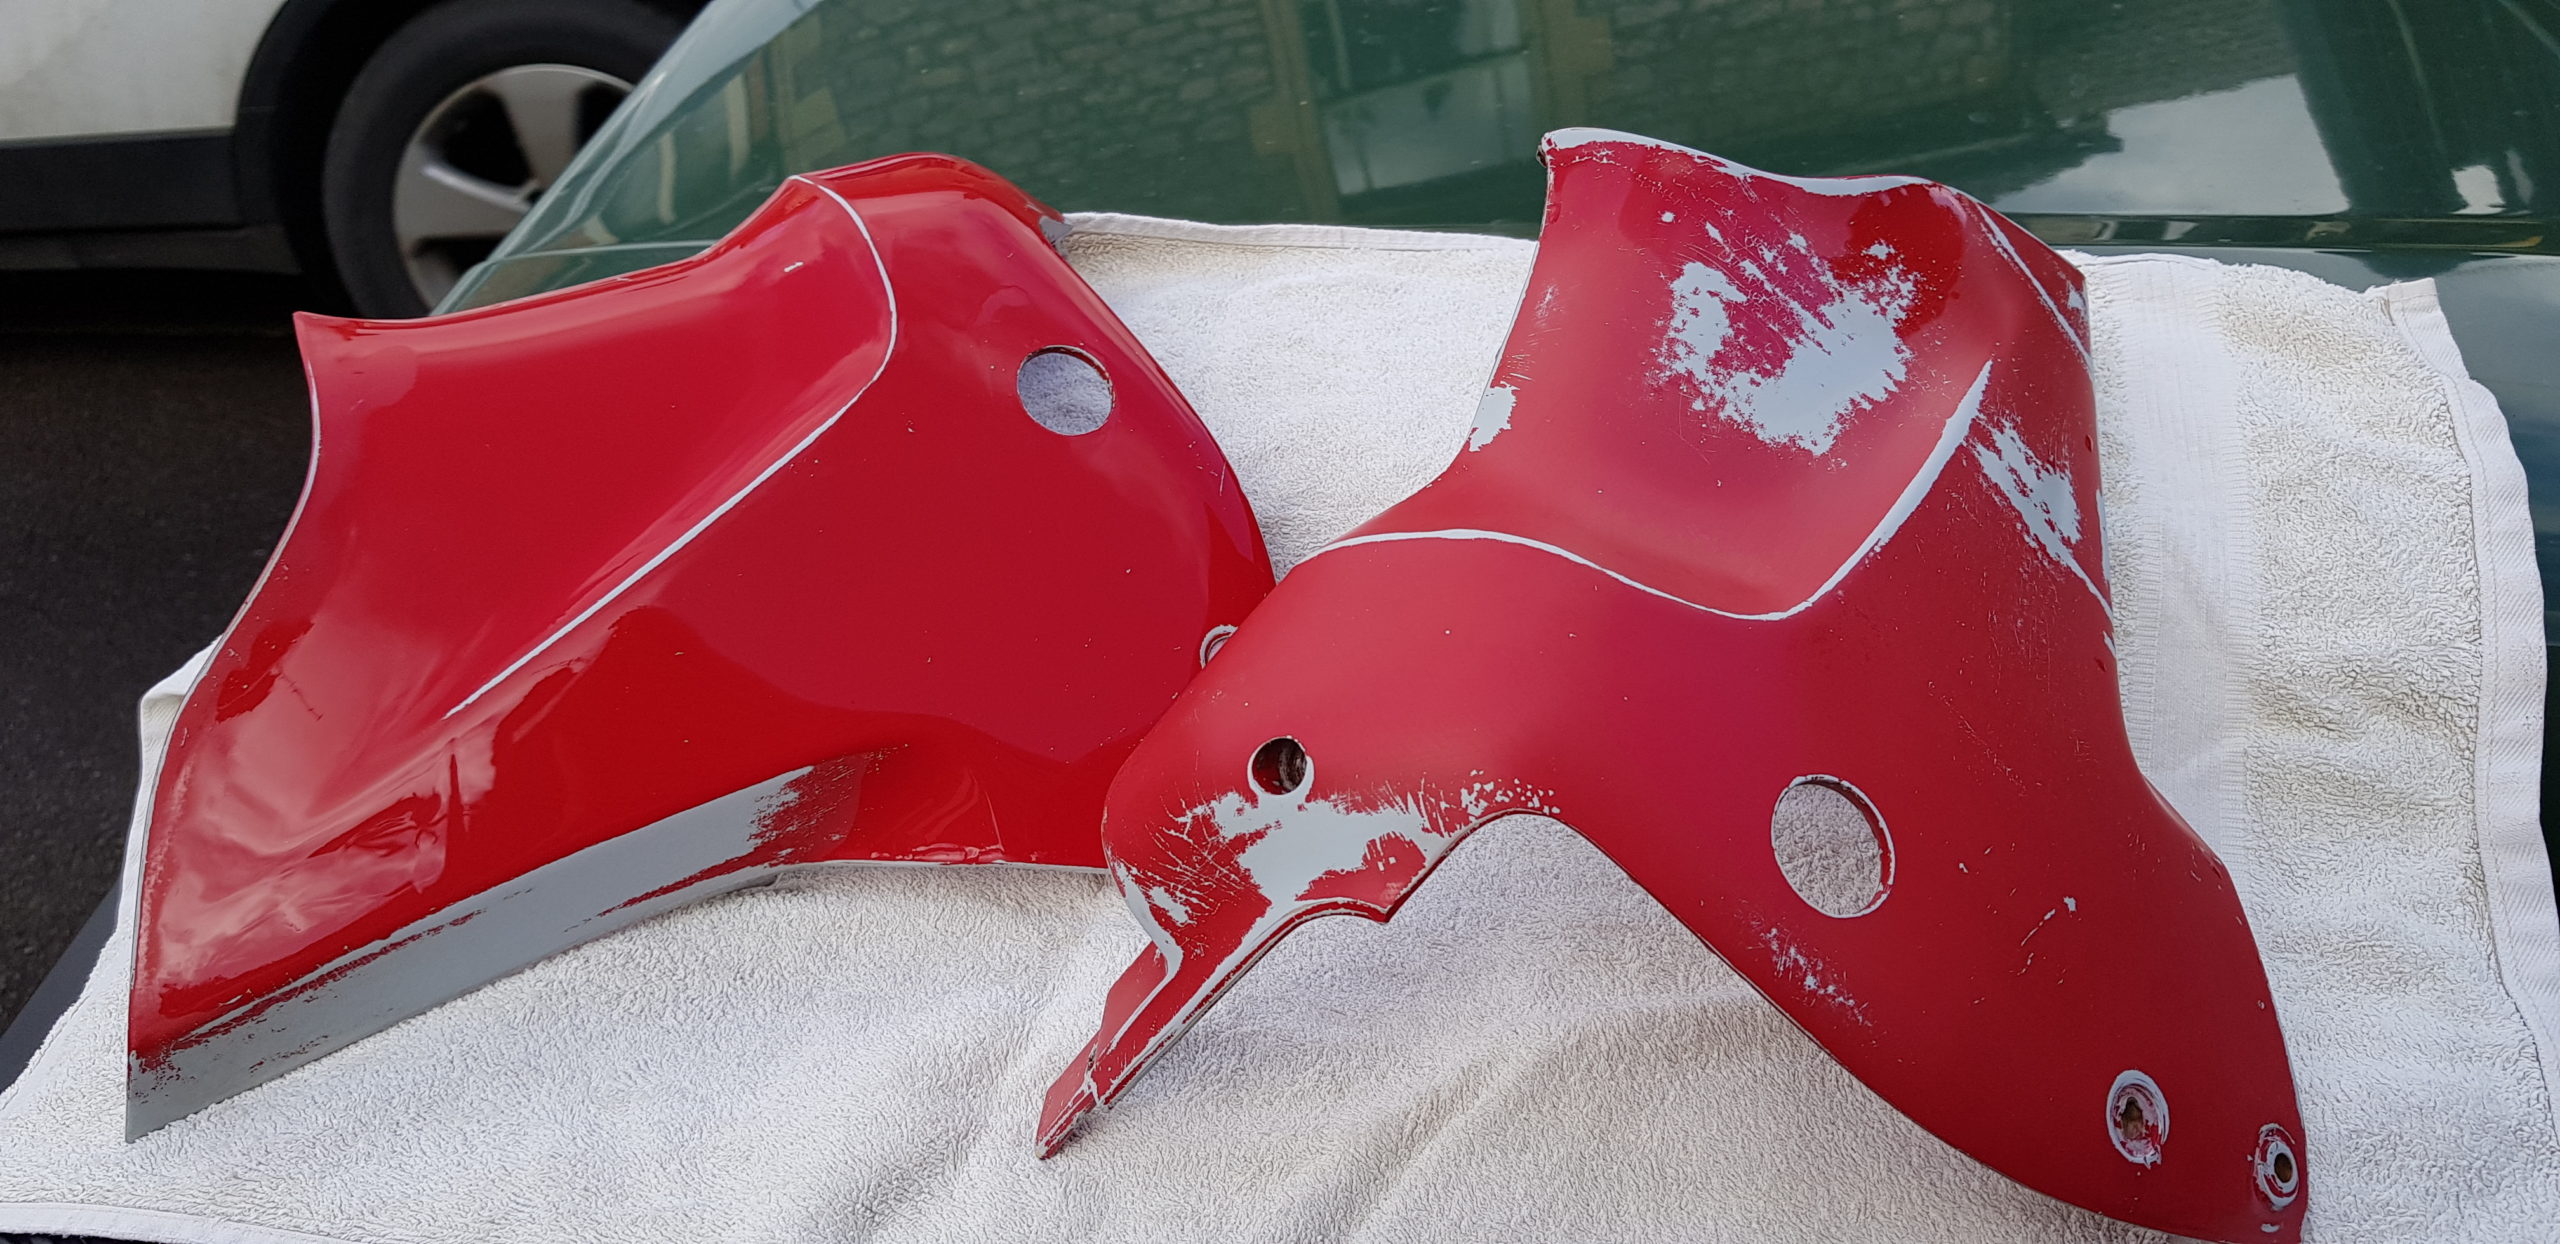
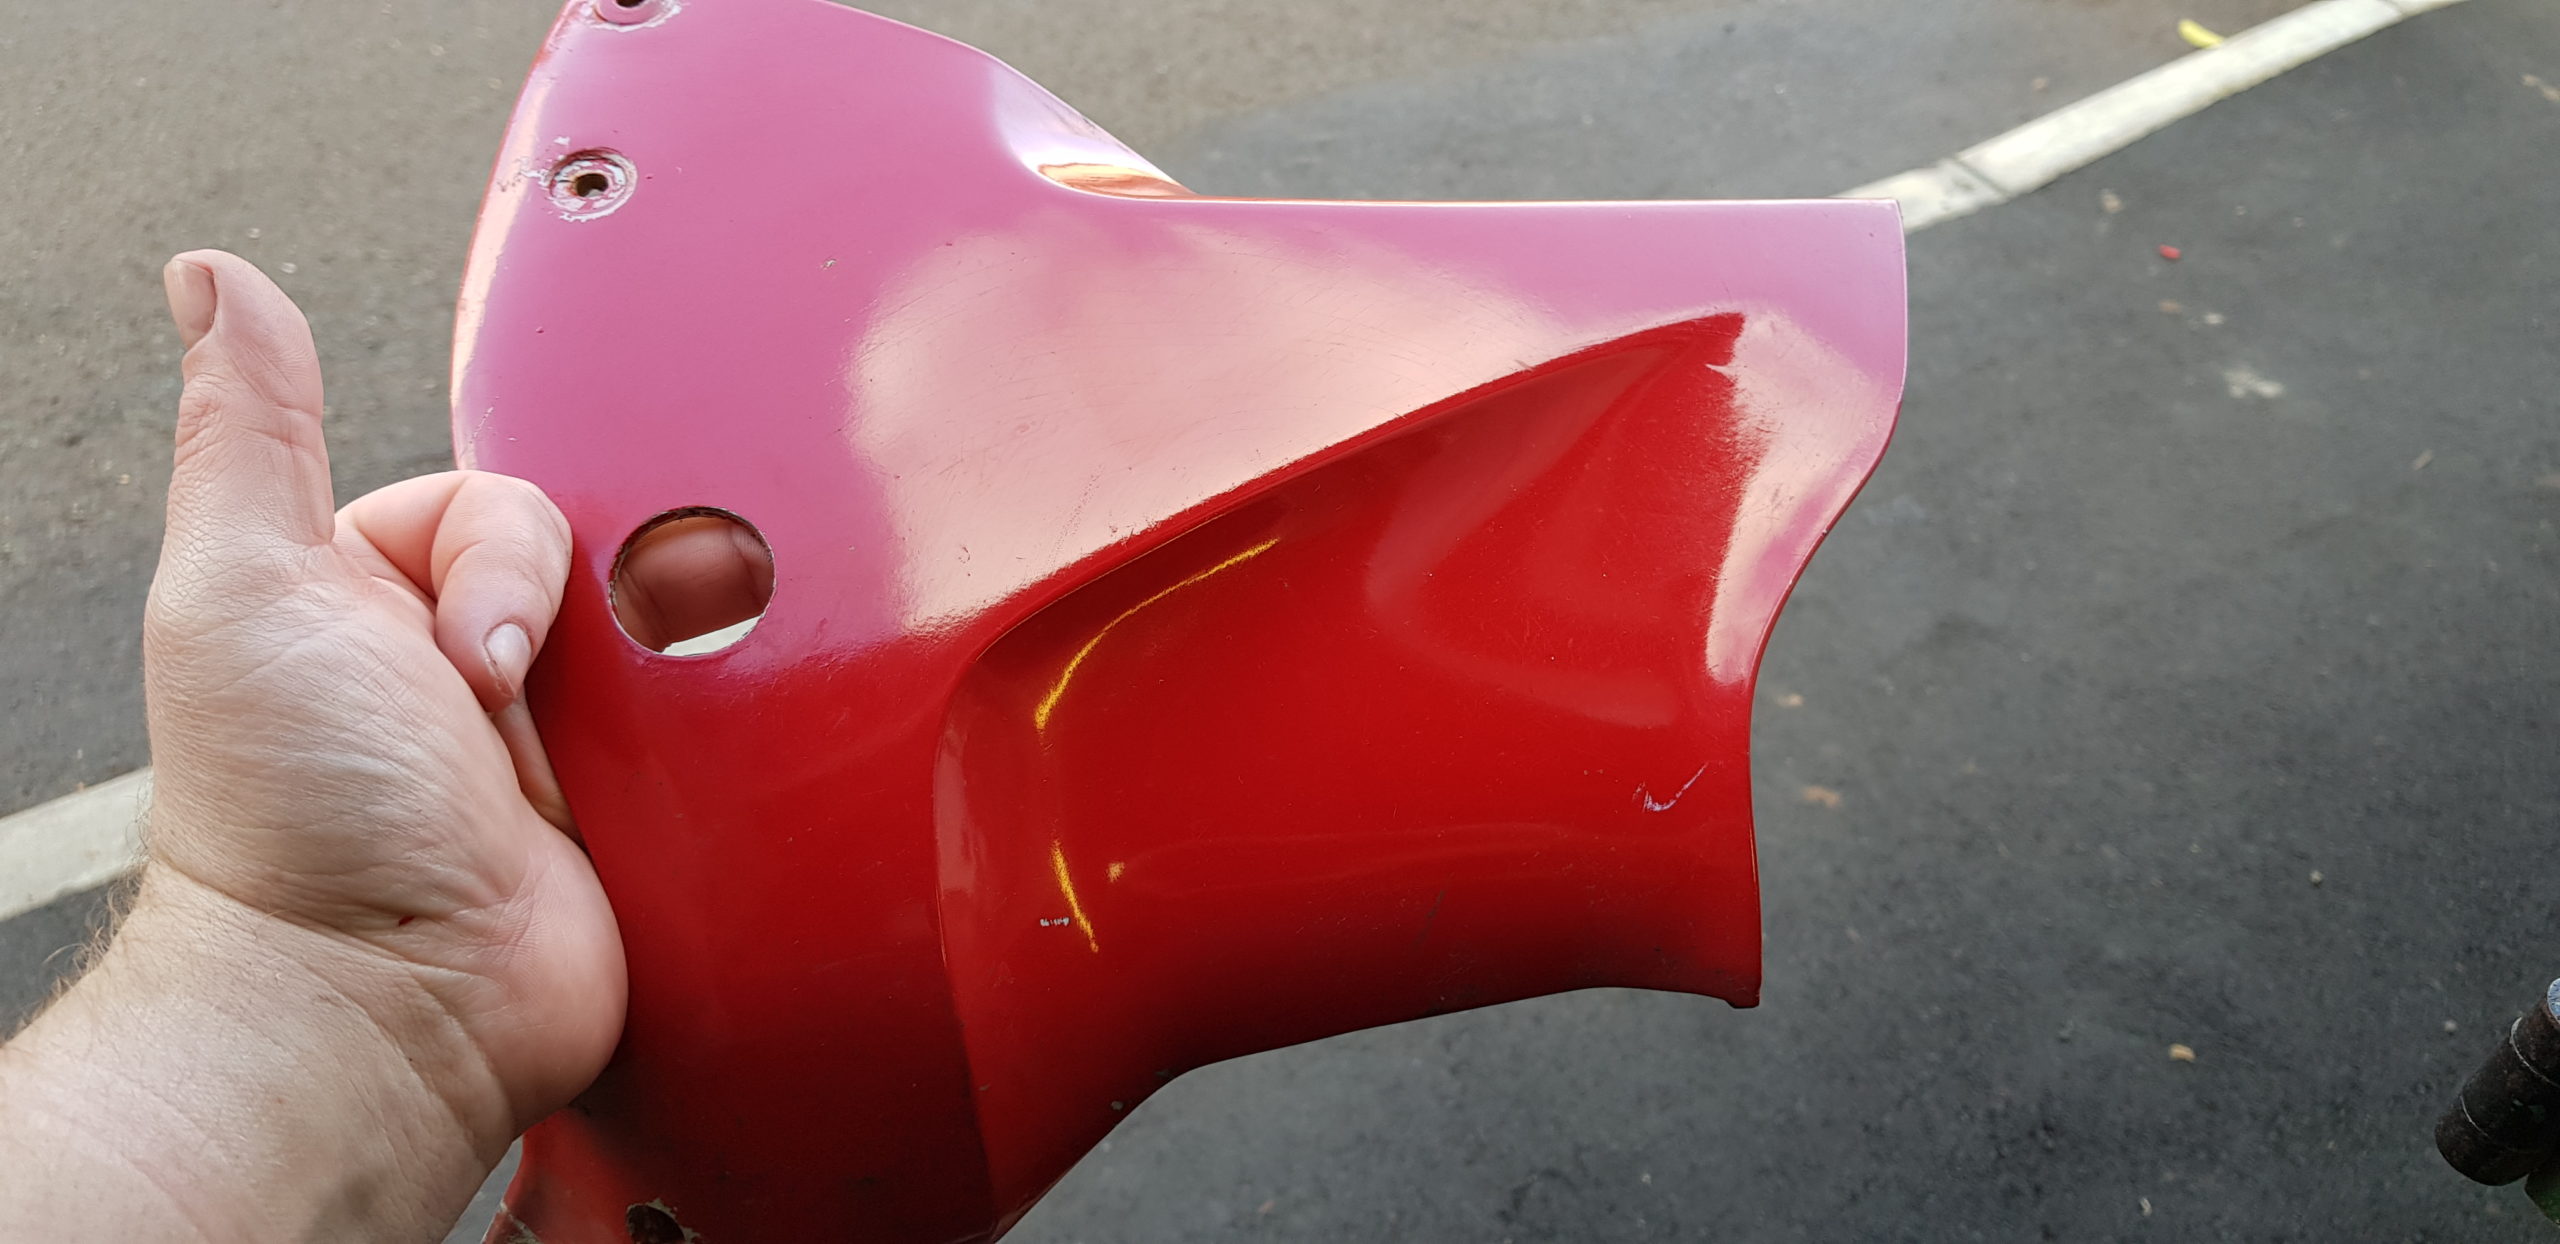
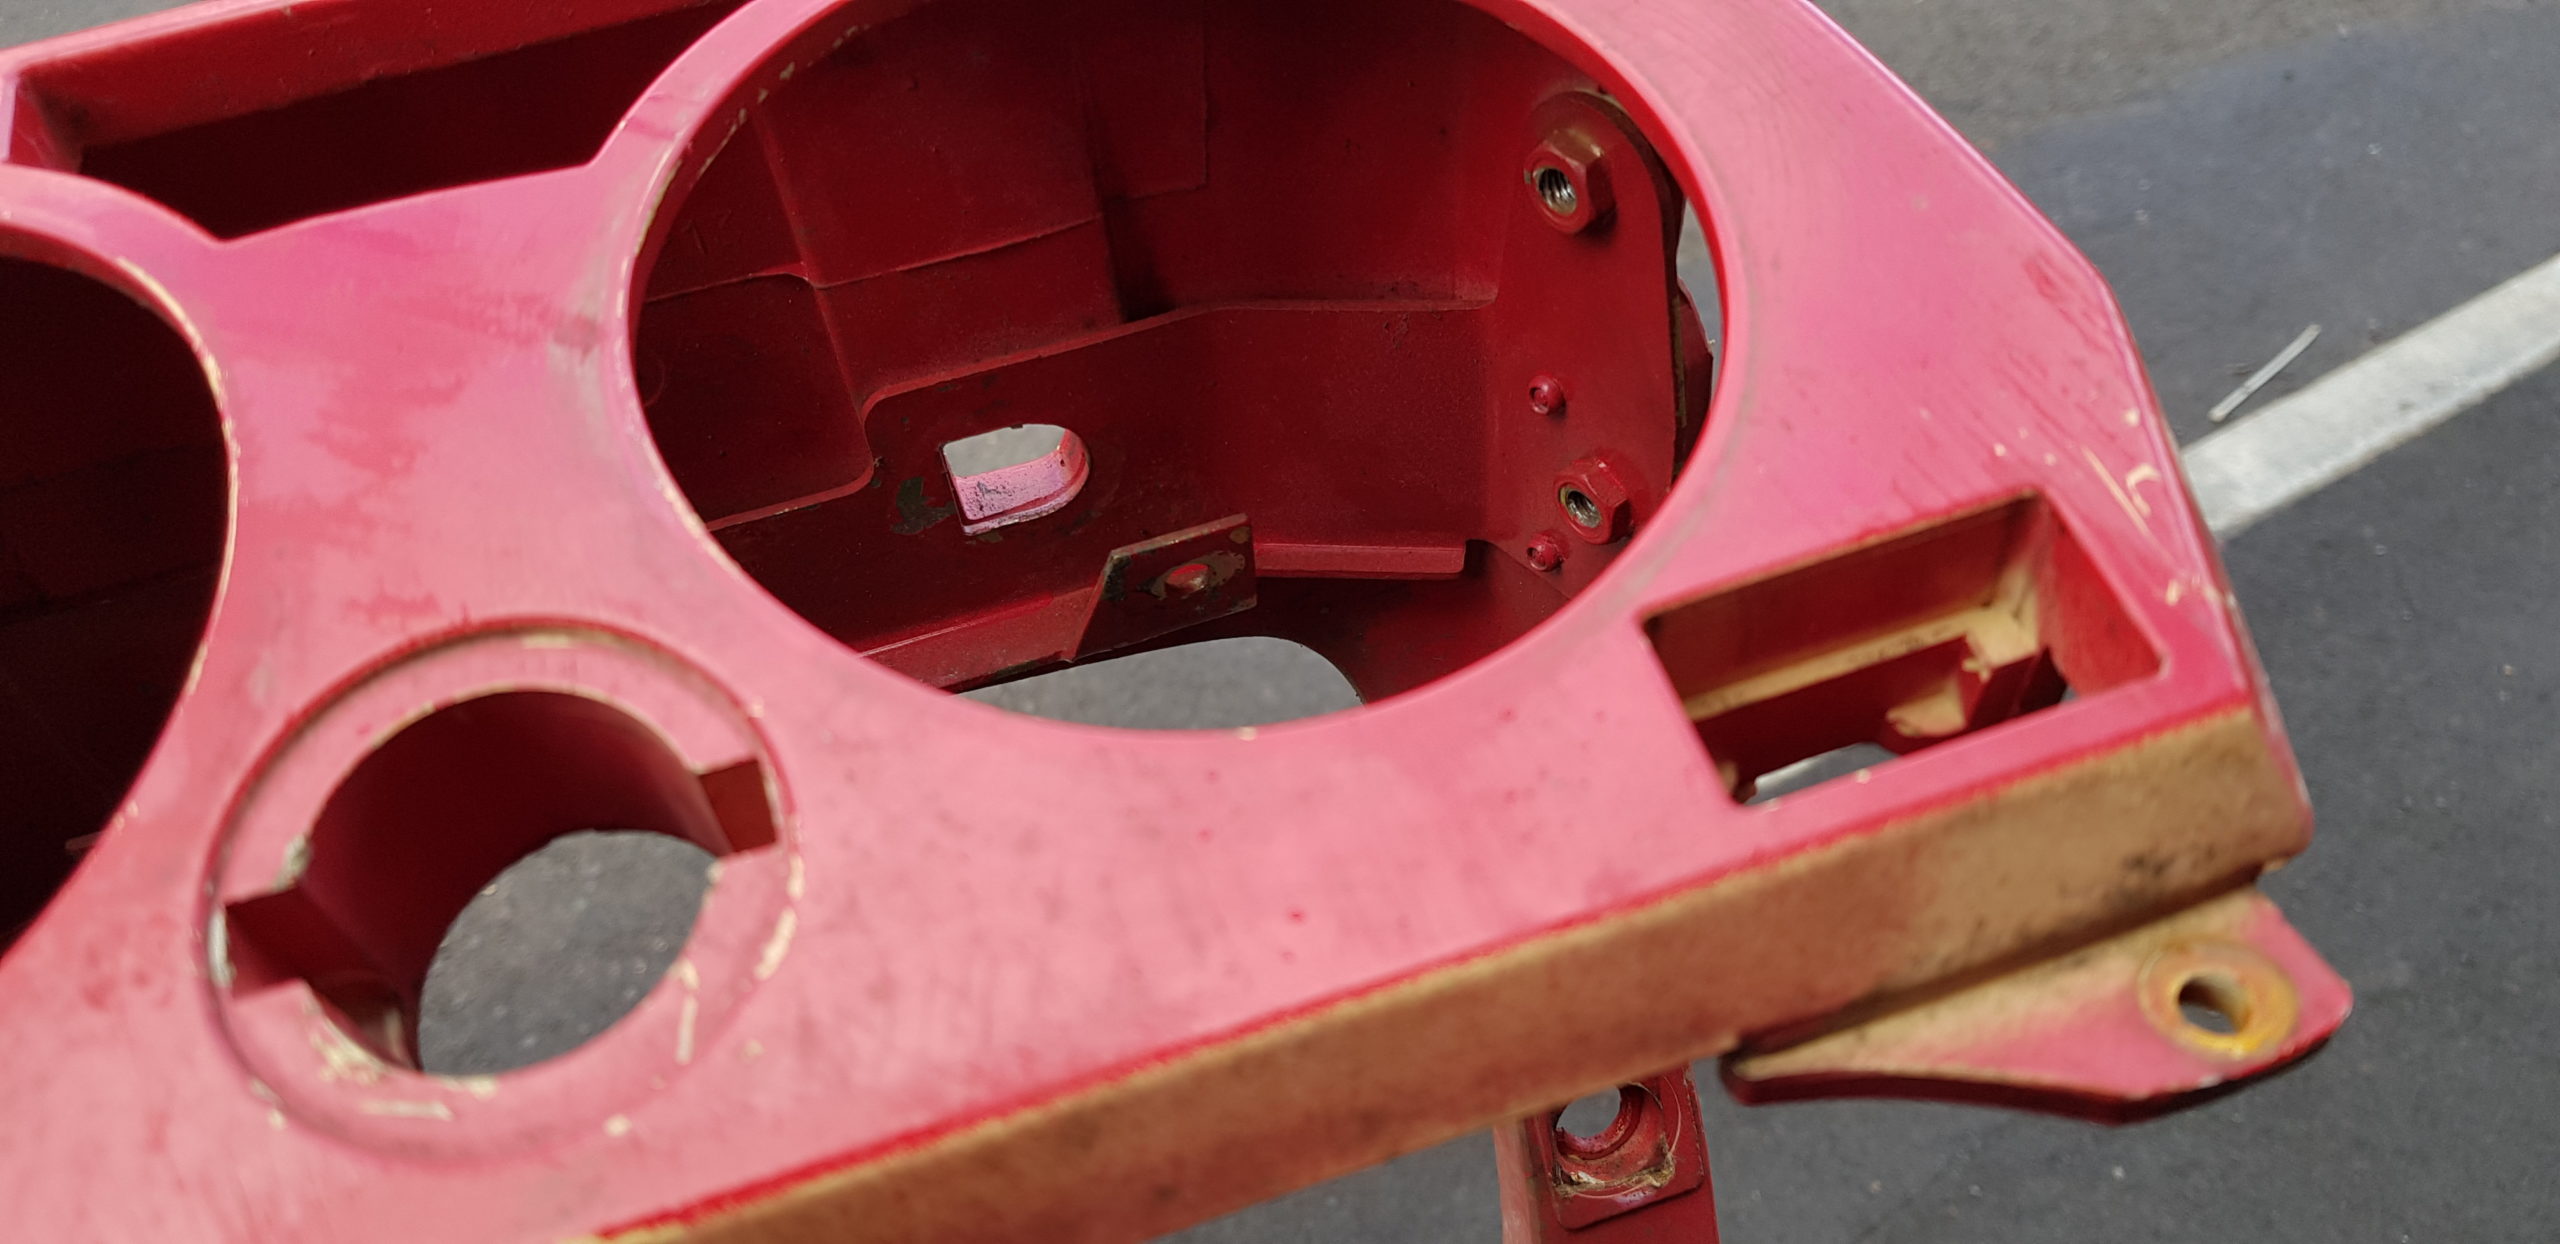
Since buying the BMW the paint finish has annoyed me. There are patches where the primer can be seen, cracks where the parts have flexed and the paint hasn’t, and a horrible mark left on it when someone removed the cover off the front brake and promptly let brake fluid drip down the paint.
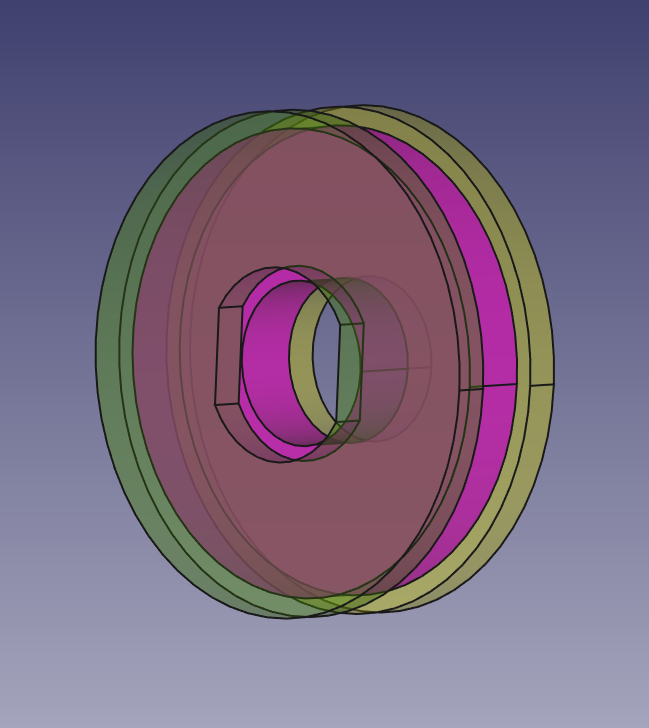
Last weekend I started to take the front end apart and have spent the week teaching myself FreeCAD so that I could design some spacers to fill the hole where the indicators go as I have been using large washers for now.
Outer, Middle and Inner spacers. To be cut from Perspex using my 40W Chinese Laser Cutter
Parts ready for sending to my Laser Cutter.
There is a storm planned for the weekend so today seemed like a good time to get a few bits done outside leaving me tomorrow as to play with the Laser etc.
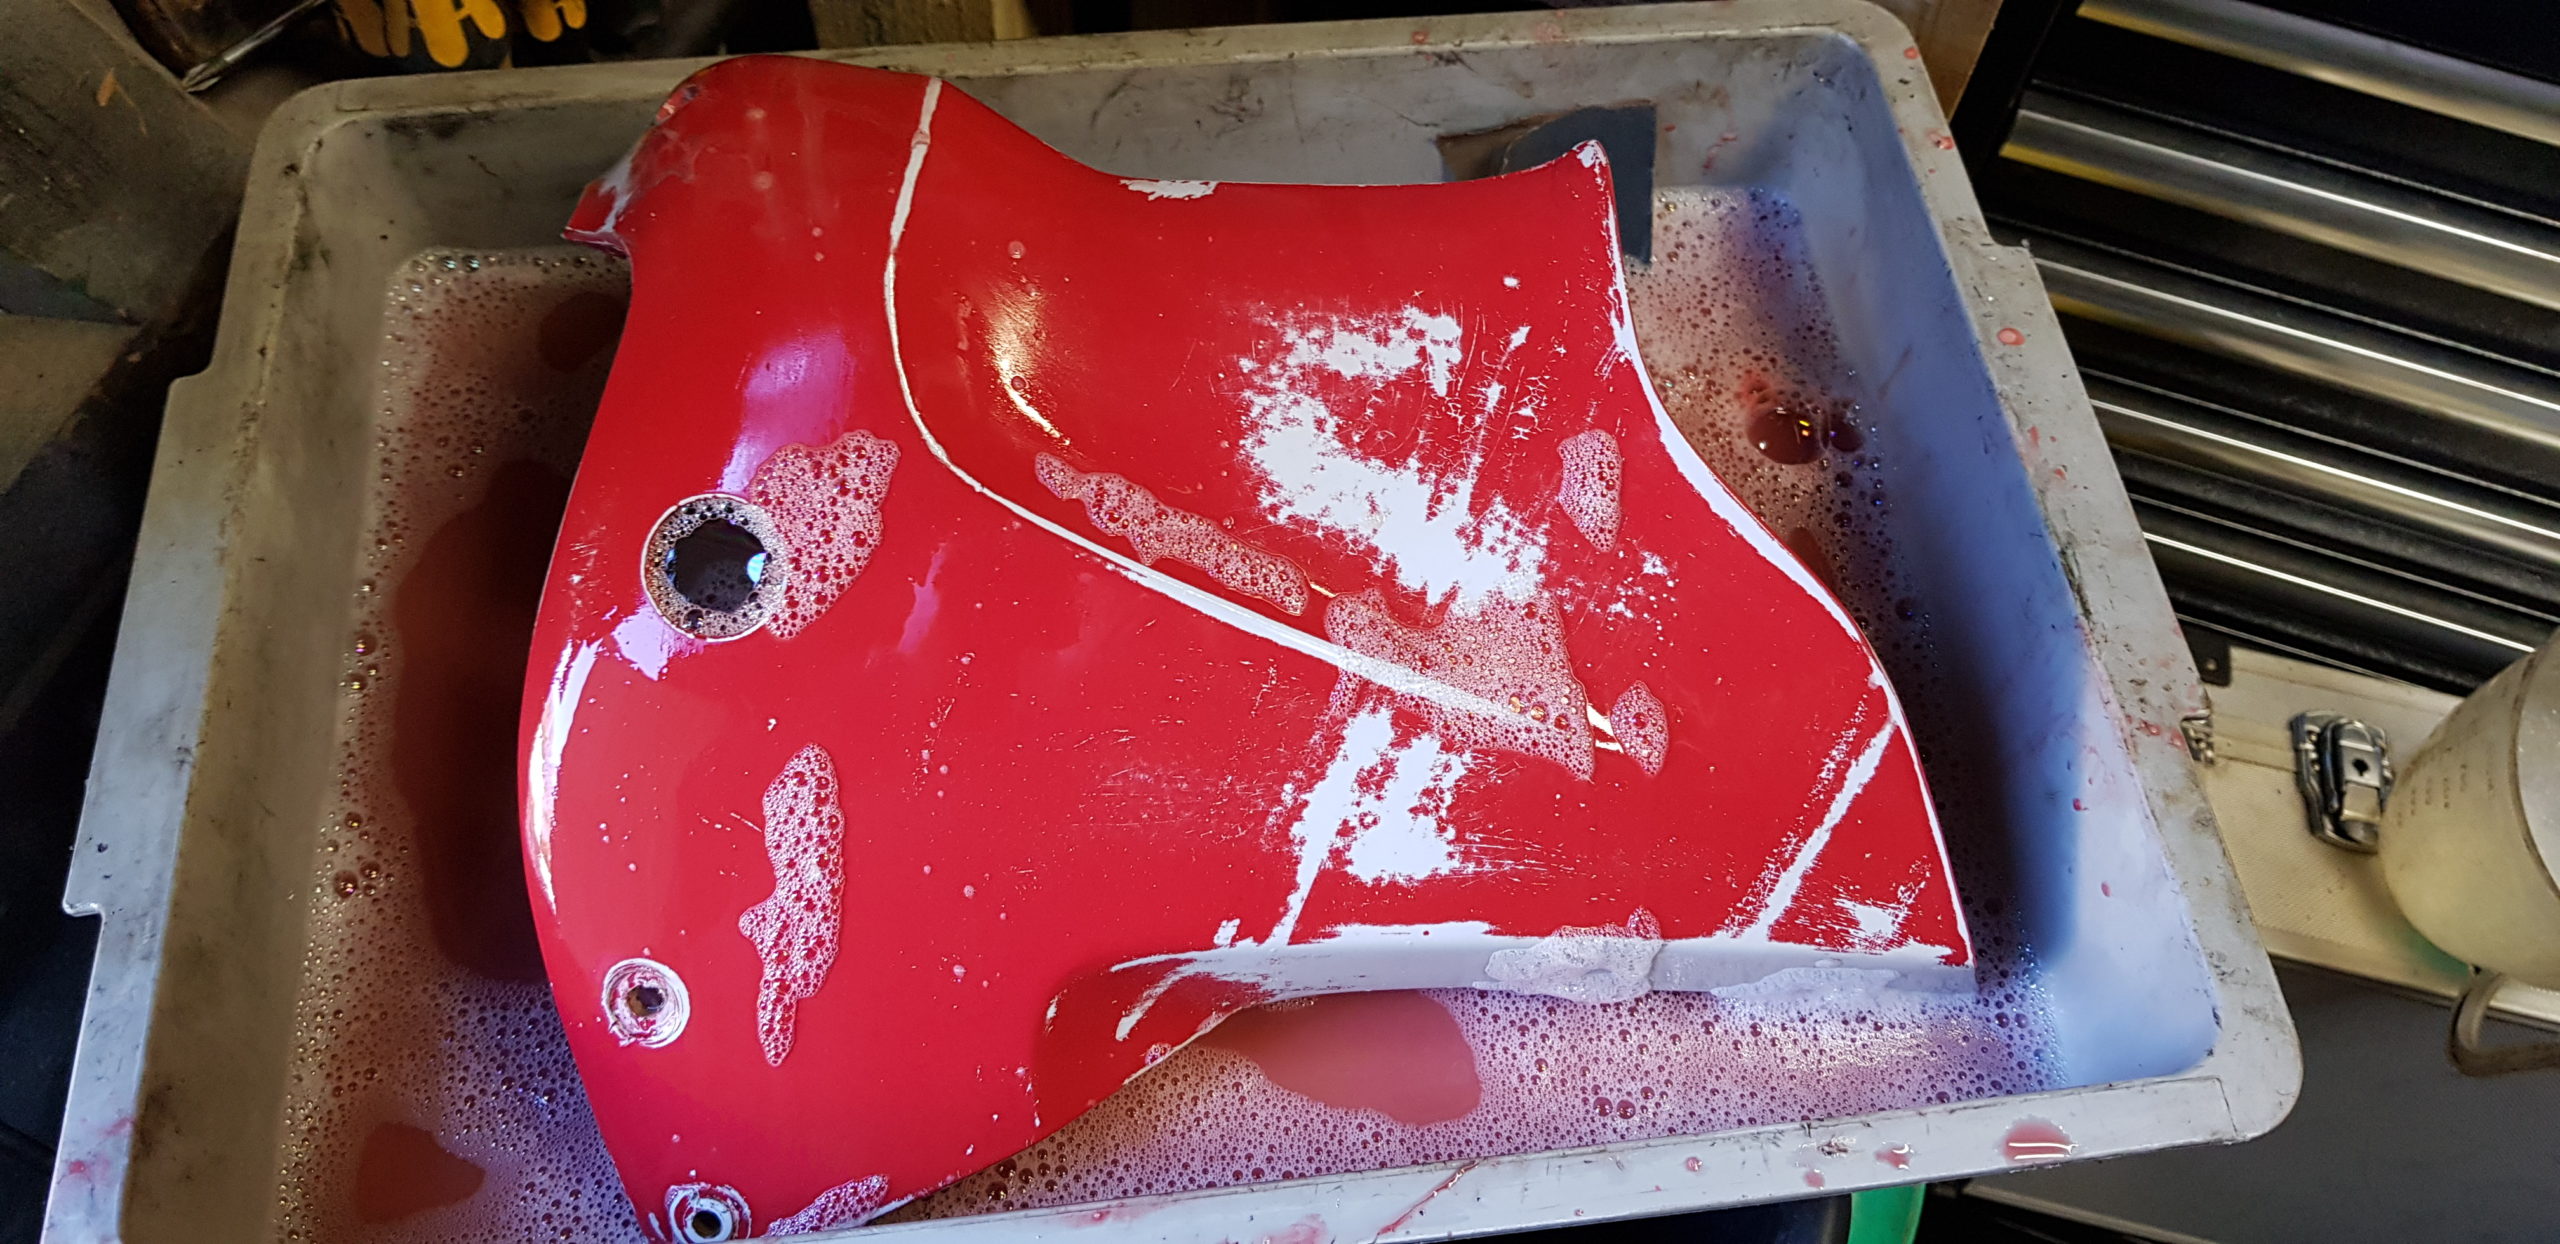
A bit of wet and dry and some scotch bright to flatted the surfaces down, I have tried to remove some of the marks from the old paint job and the runs.
I am using the rattle spray cans of “Plastics in One” from Buzzweld that I picked up at the end of the summer.
I will inspect the parts once they are dry and I hope that they flatten off as currently its a bit orange peel in texture. I suspect that was because I wasn’t waiting long enough between coats.
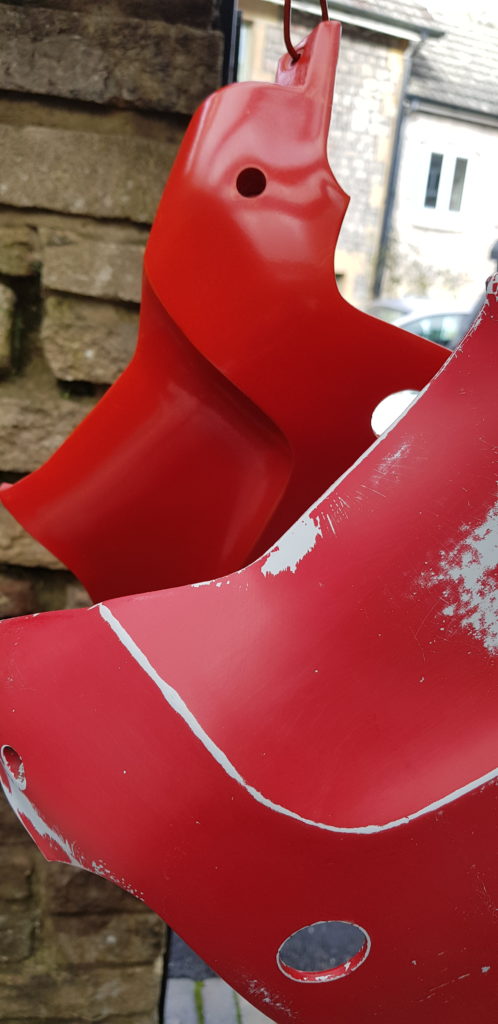
I am not an expert painter, but the only way to learn a skill is to try it. I still have side panels, fuel tank and now I have seen the red, a front mudguard as well.
This weekend I visited the local bike show where I bought this BMW but this year it was more of a club event rather than autojumble etc. So disappointed that I didn’t buy another bike (part of me was a reasonable sized 2 stroke) I returned home and thought of what else to do.
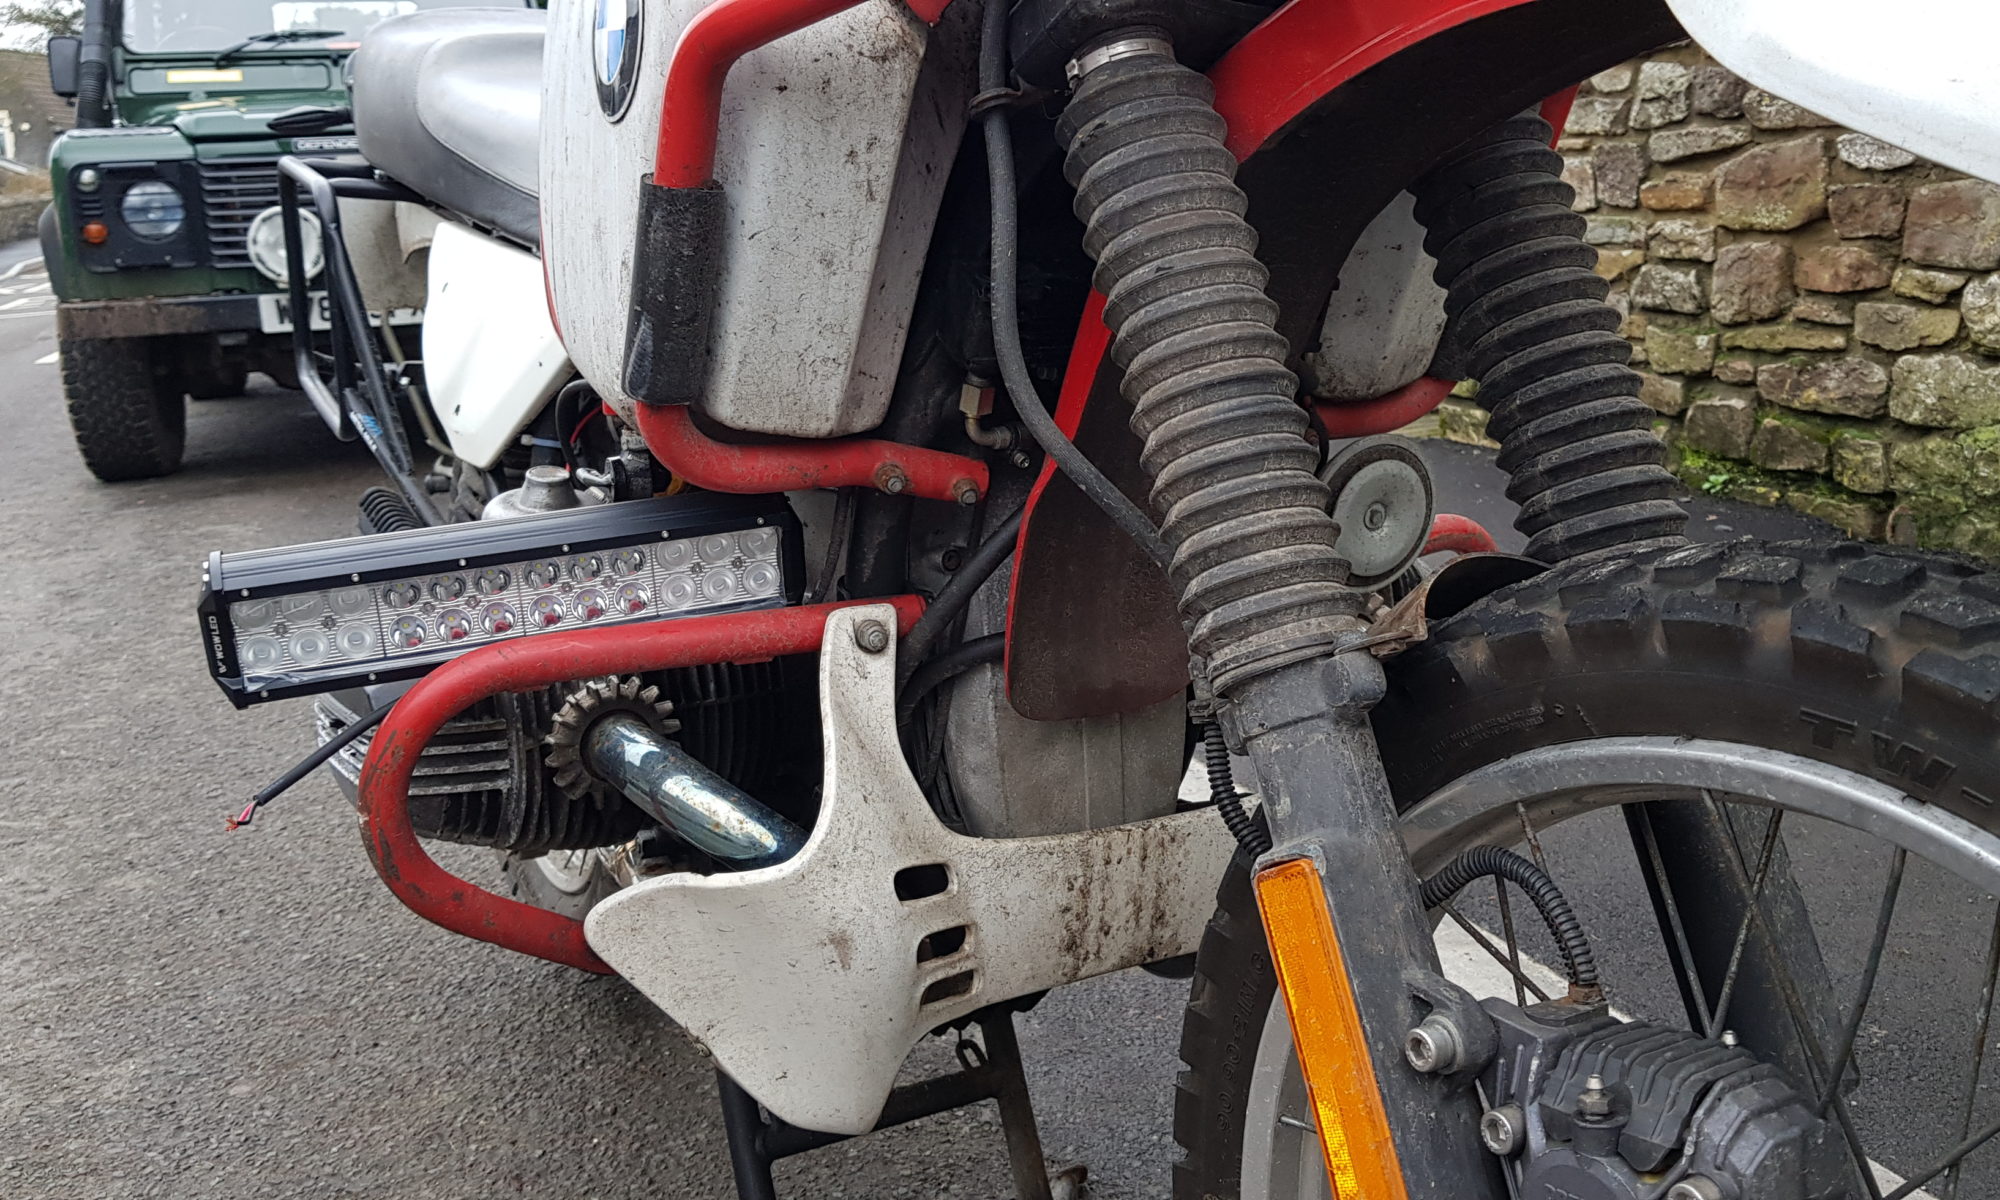
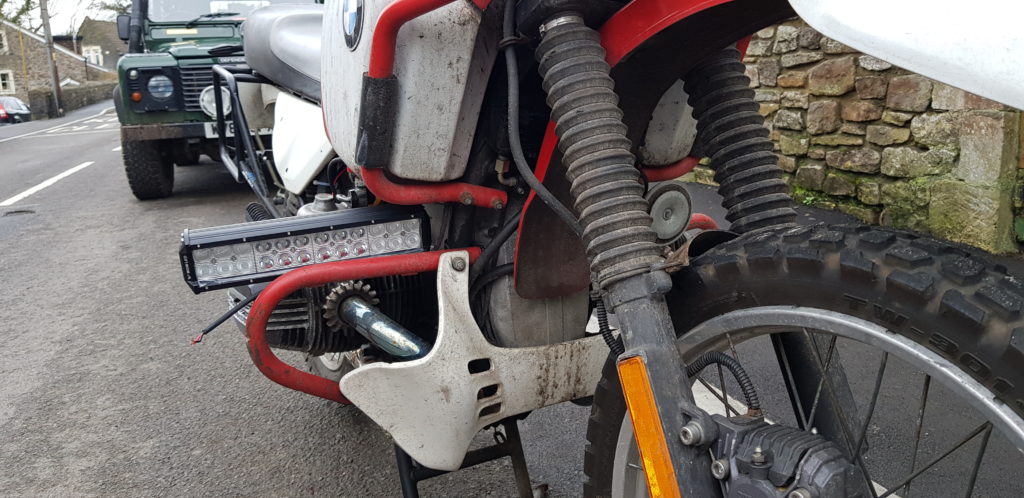
I have been thinking about the lighting or lack of lighting on the bike for some time. So recently I purchased a LED Driving/Fog 300mm Light Bar thing for not a lot thinking it would mount to the tabs that the oil cooler mounted on but are free now I have moved the cooler. Well, I test fitted it to the bike.
Test Fitting of a cheap LED driving/fog lamp.
But that looks just silly. Therefore my plans are to mount some round lights up on the crash bars around the headlight. I have some LED work lights that I think should do the job.
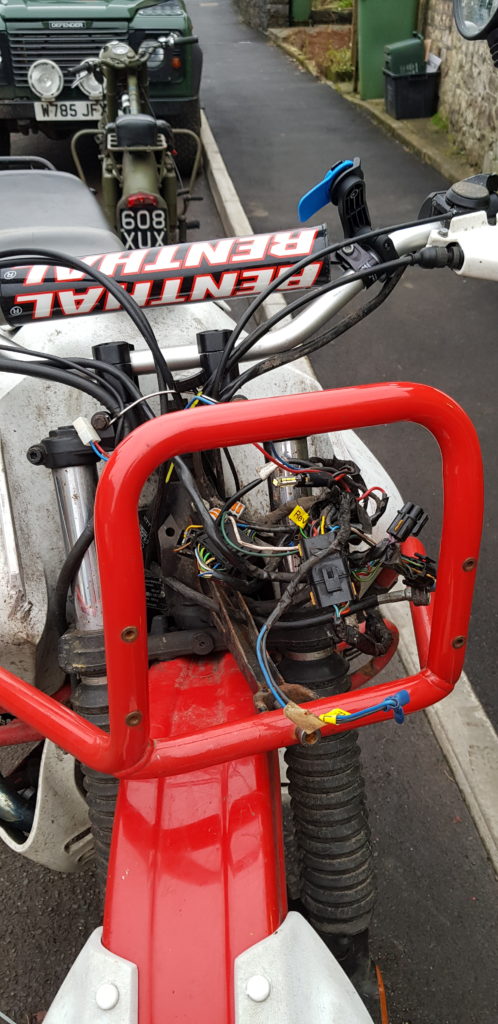
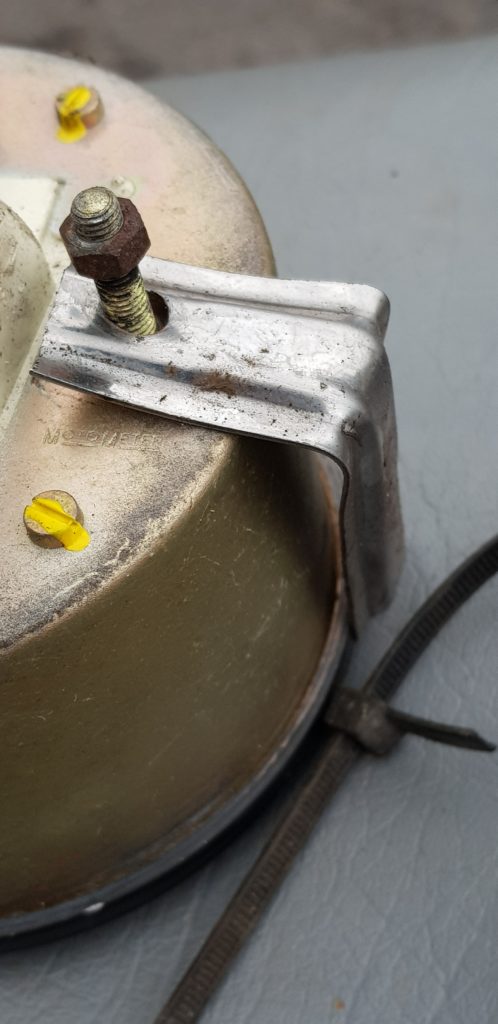
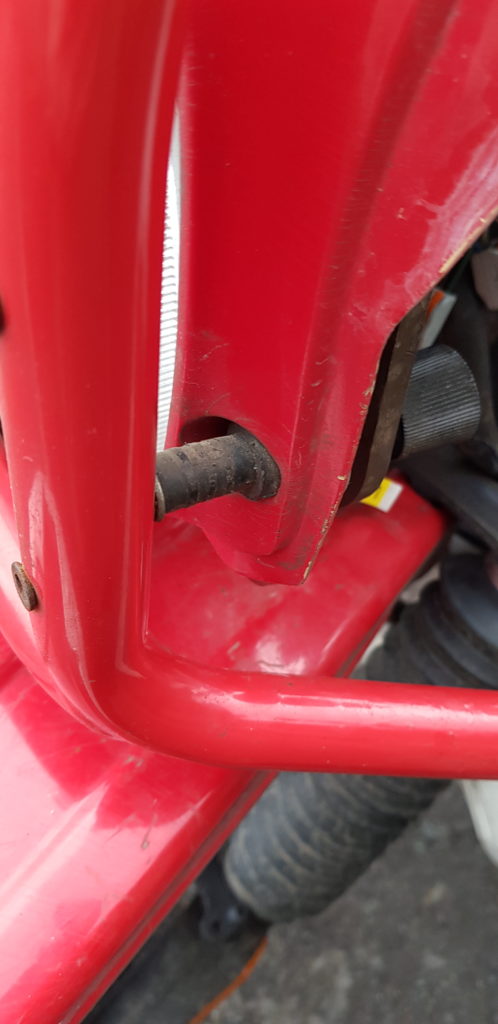
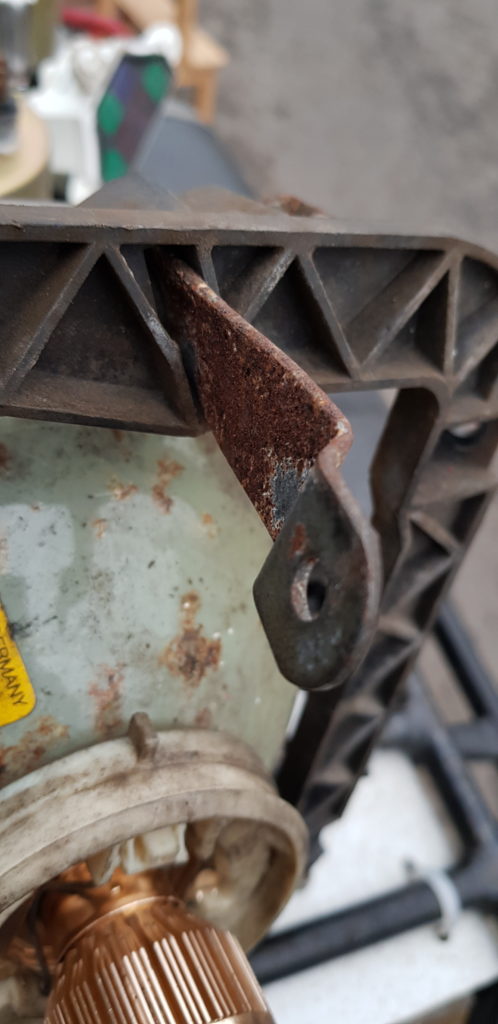
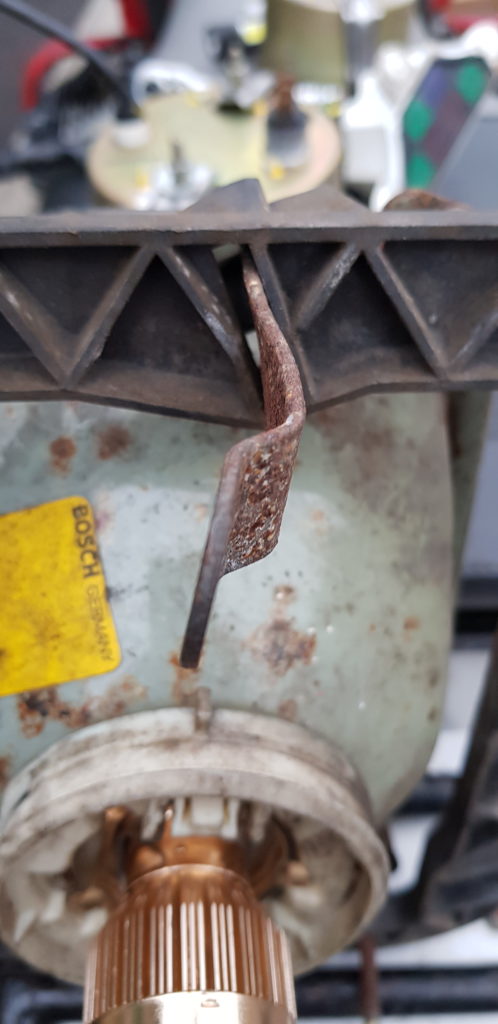
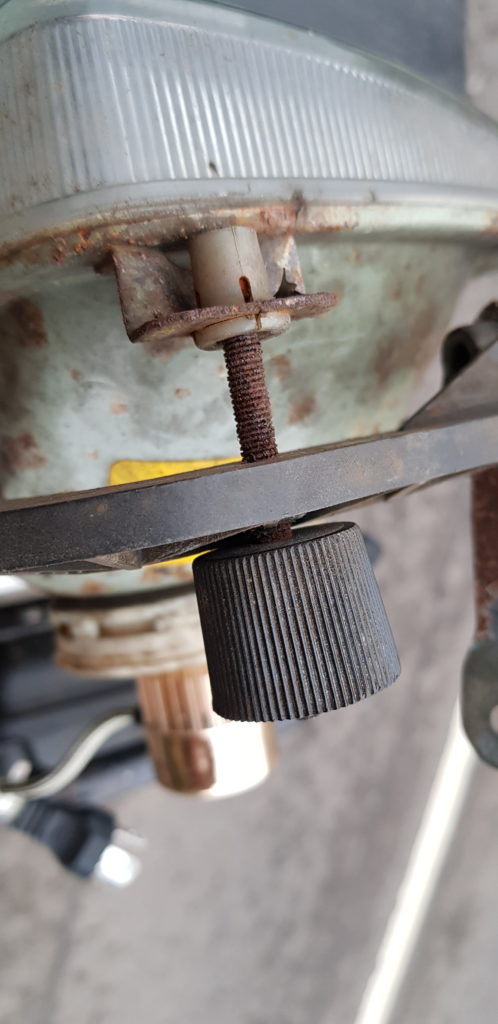
The other part of the problem is the headlight I have on the bike. It looks to be out of position by a fair amount, and I have been testing a LED headlight bulb that has the same issue I had with HID, nice and bright but once the light starts to drop off it almost feels like it has gone over a cliff edge. I ordered some Osram Nighbreakers as I have them fitted to the Land Rover and are rather nice so I began the task of getting to the bulb, then I thought I better look at the adjustment screws for the lights and the next thing I know.
Part of the reason behind removing it all was the panels needs to come off before I paint them. The crash bars could also do with a bit of paint. The headlight screws are rotten and don’t adjust. Also in the process or taking bits off I noticed some more bodges by the previous owners and I would like to fix them.
While I also have the clocks off I am going to look into replacing the dash lights with some LED stuff. Not for brightness but because every amp I can save gives me more amps for other things.