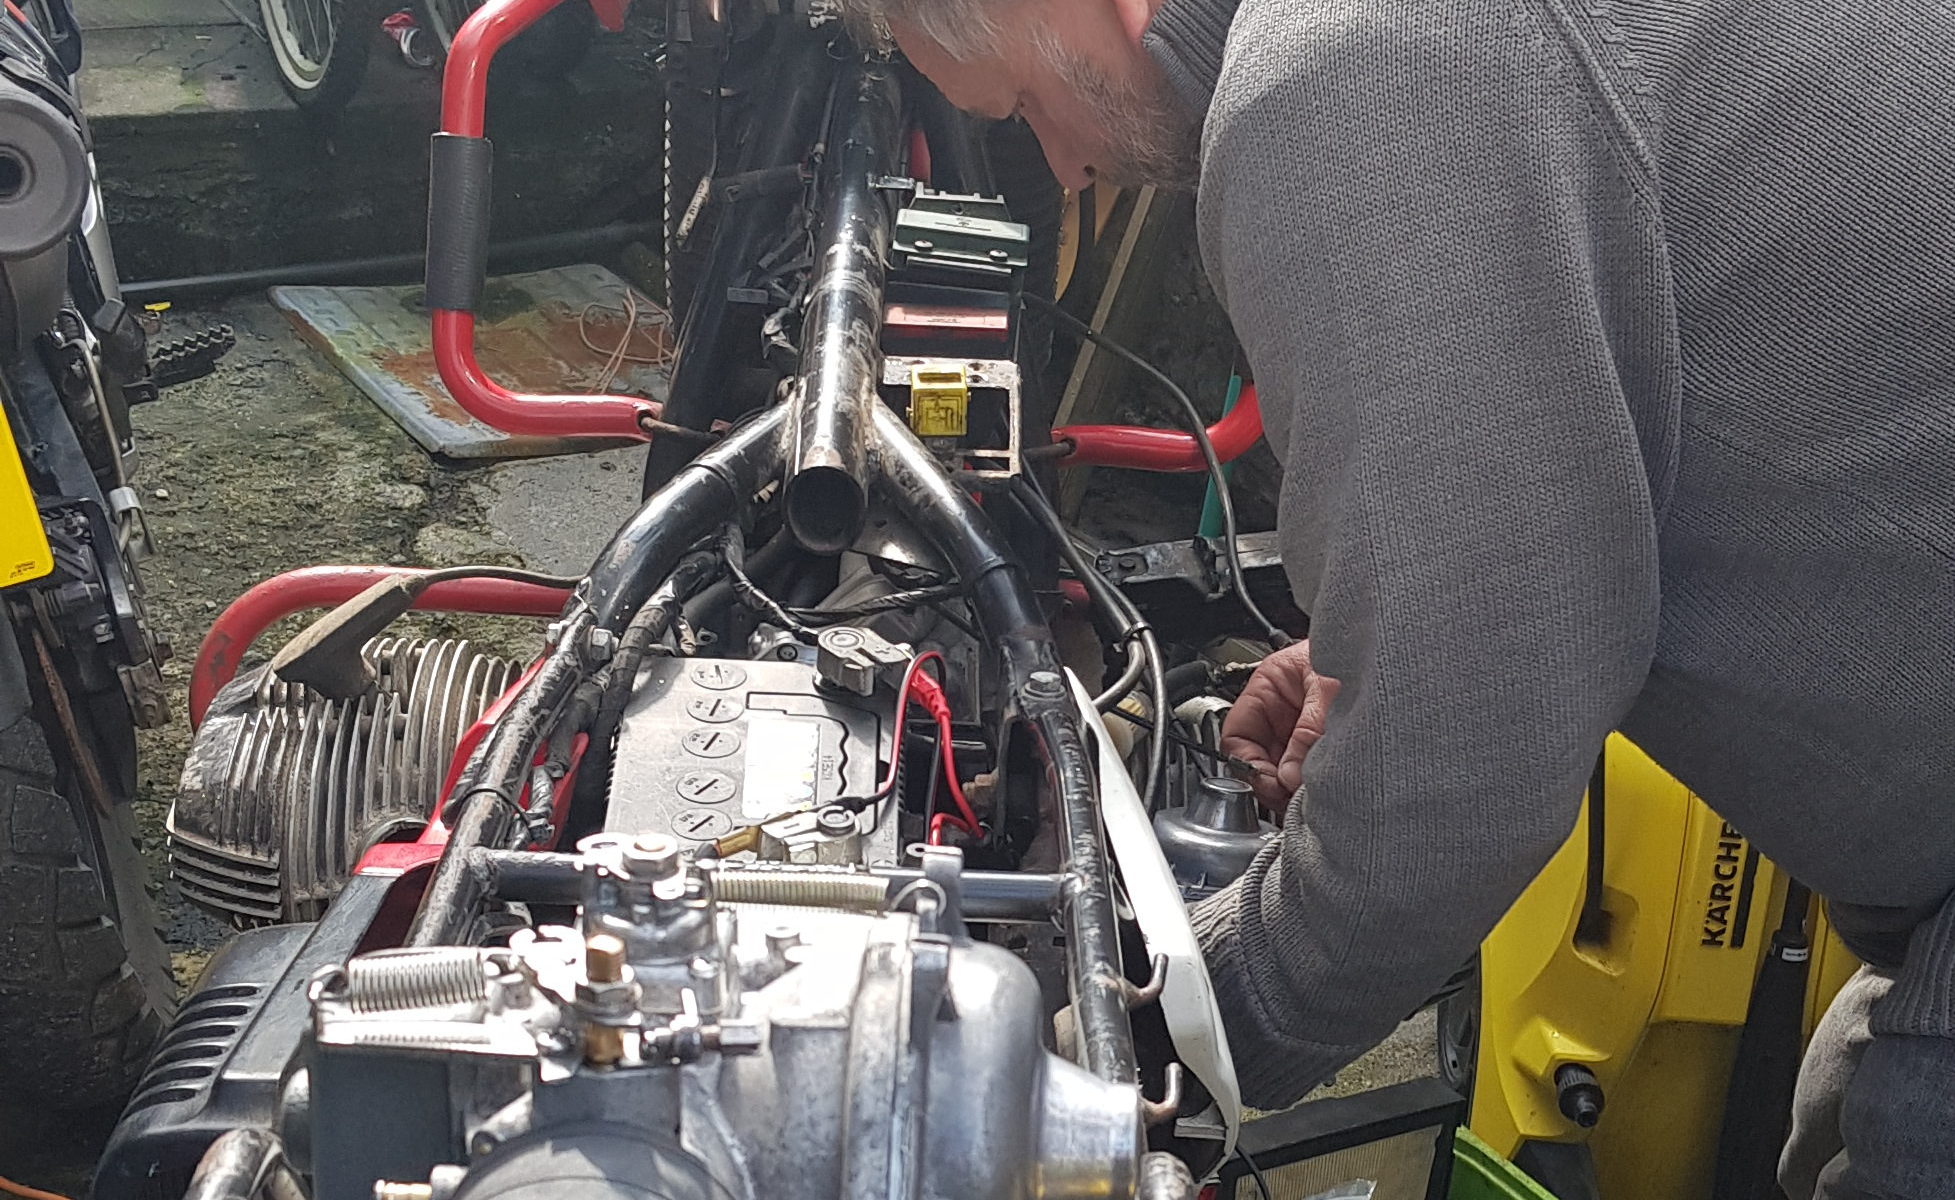
Well, the carburettors took some time to properly fit. I got the bike running without having them connected to the airbox correctly. But now its time to get them fitting properly so I can get closer to getting the bike MOTed and using it.
The way in which they connect was a little bit of a mystery as the parts diagrams aren’t 100% clear on what bits go in what order. But with a bit of faff and some persuasion, it was made to connect properly.
Firstly I removed the airbox so that I could clean it out properly, also grease the bolts etc. Also refitted the top engine cover before fitting the carbs.
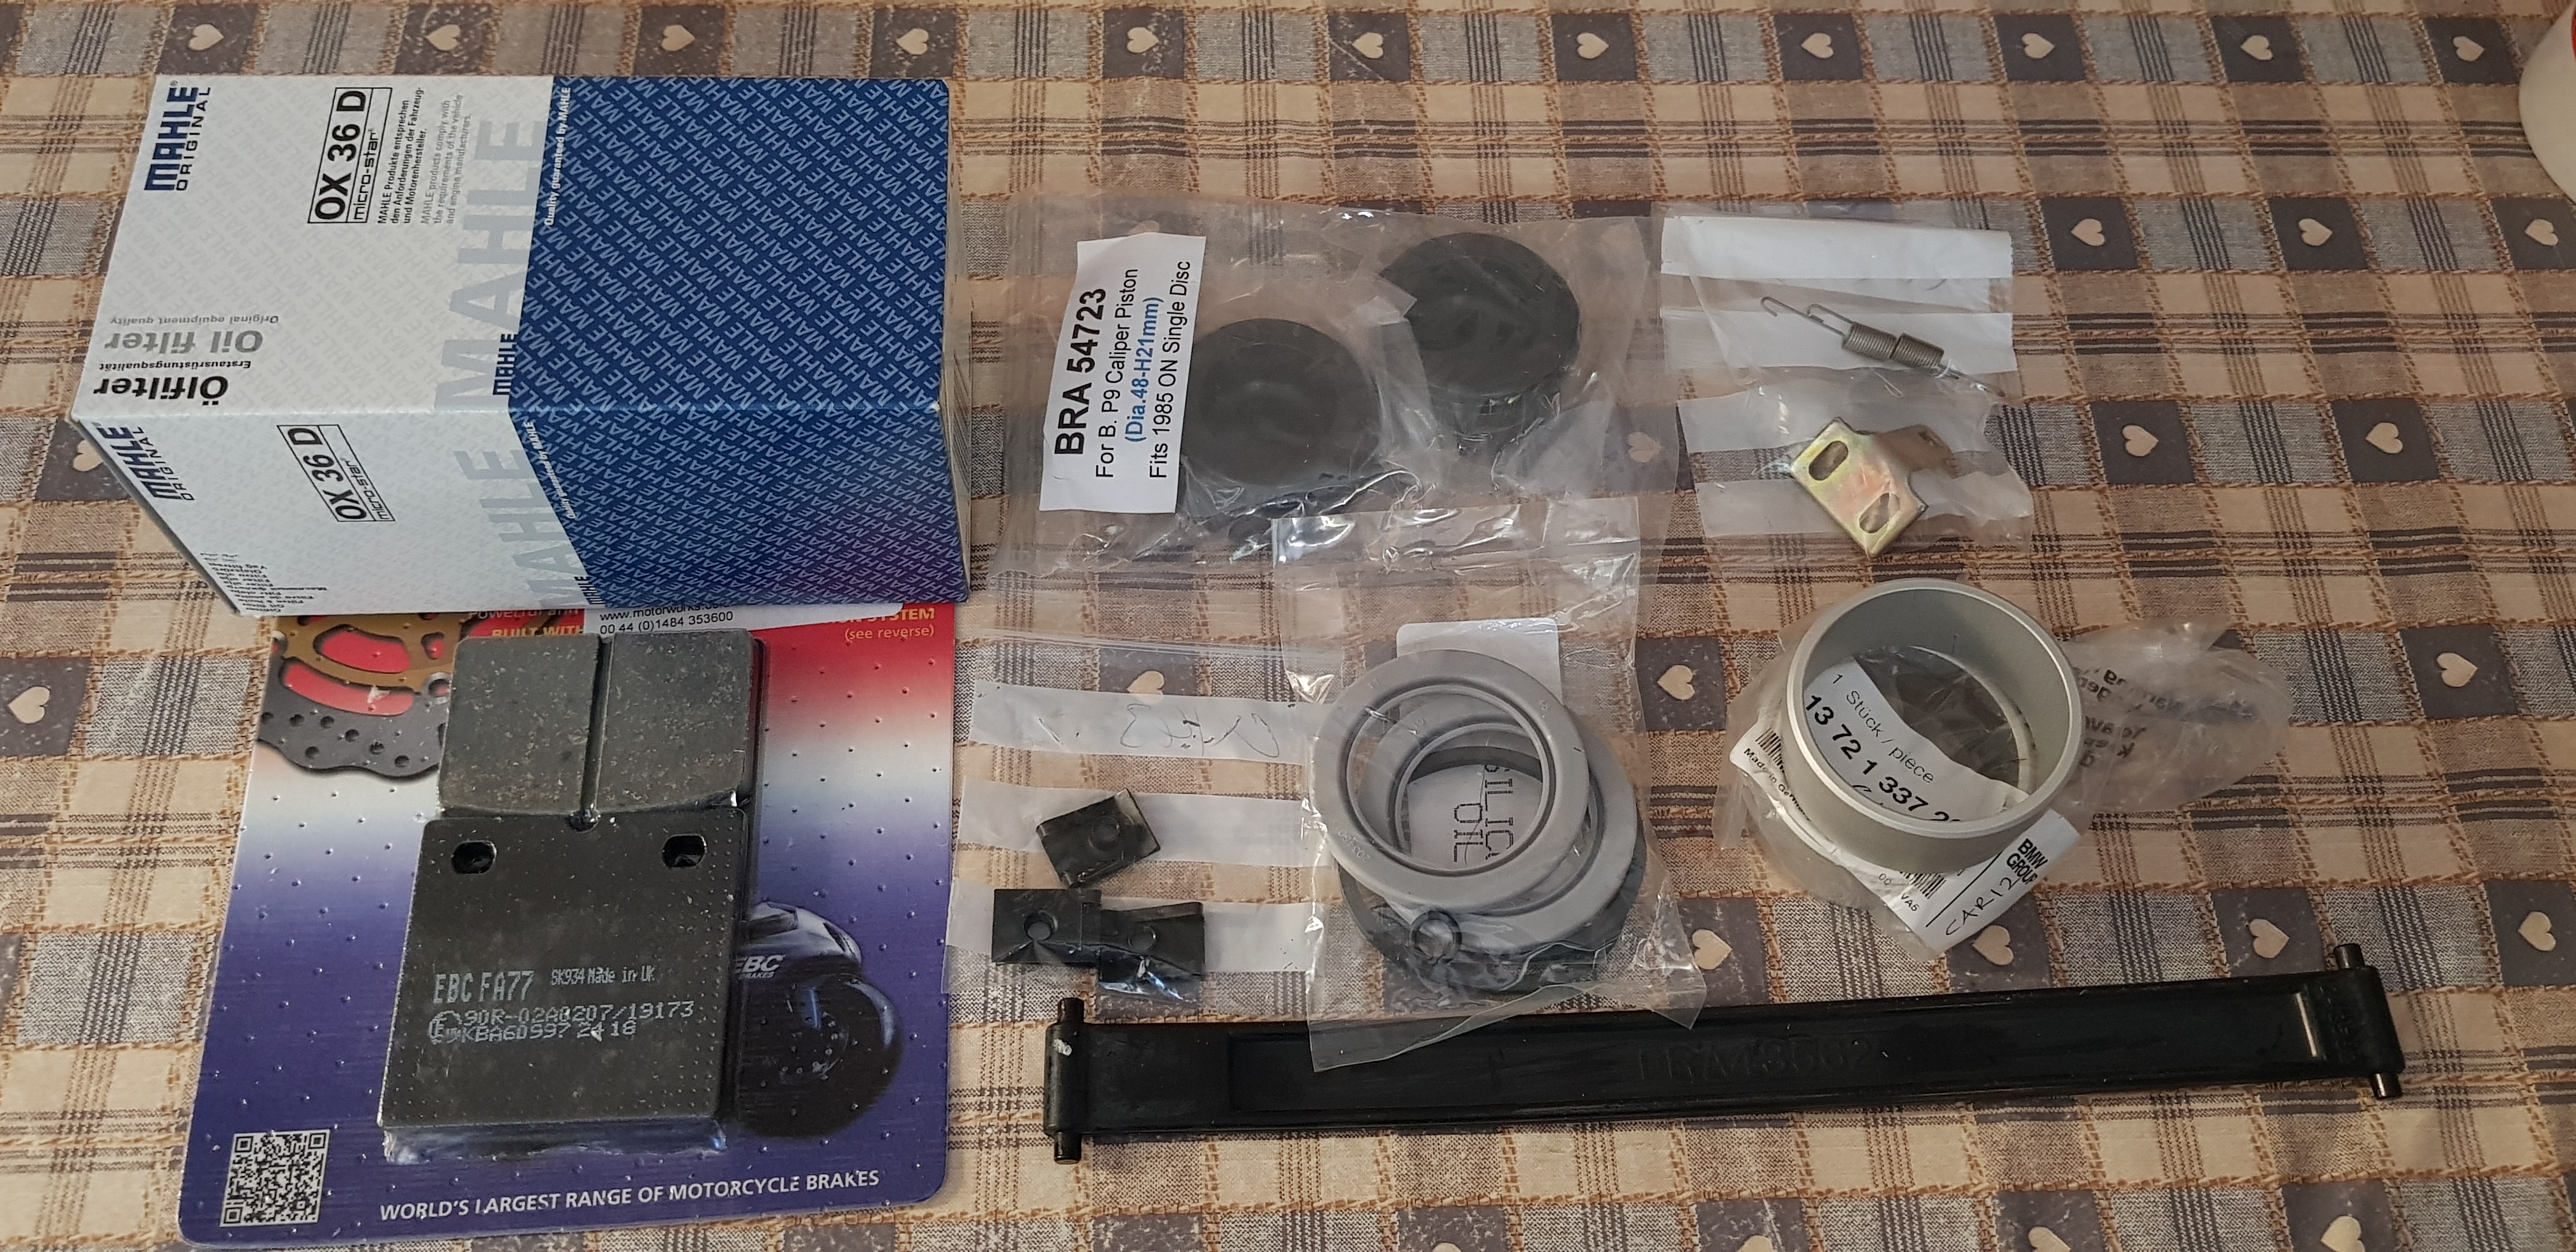
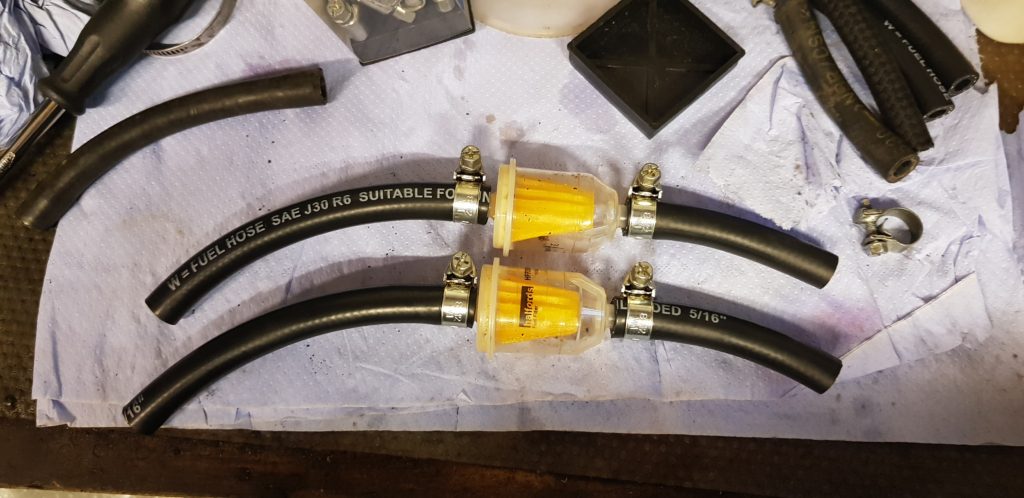
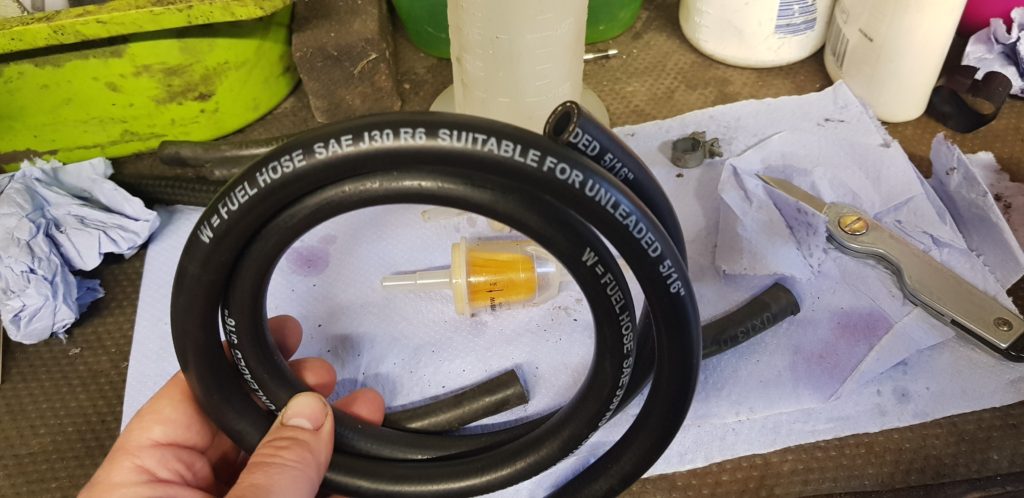
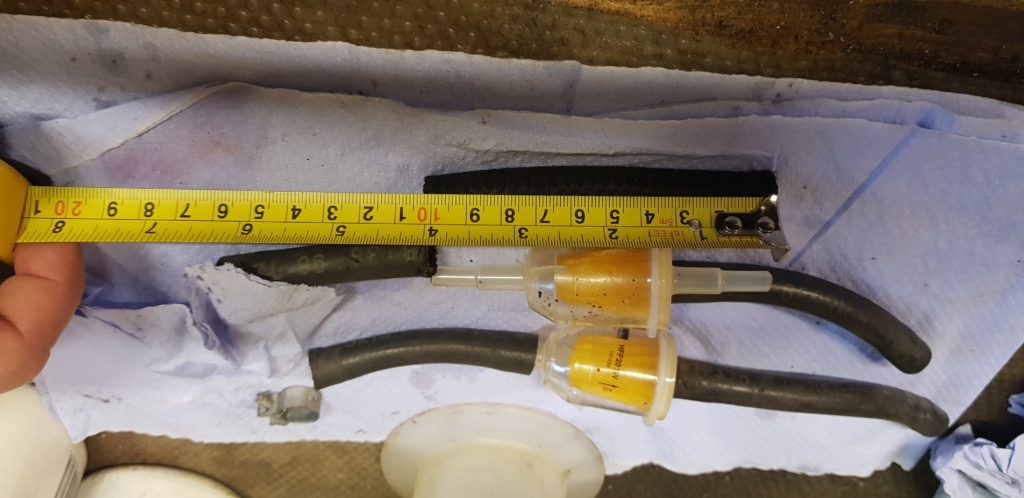
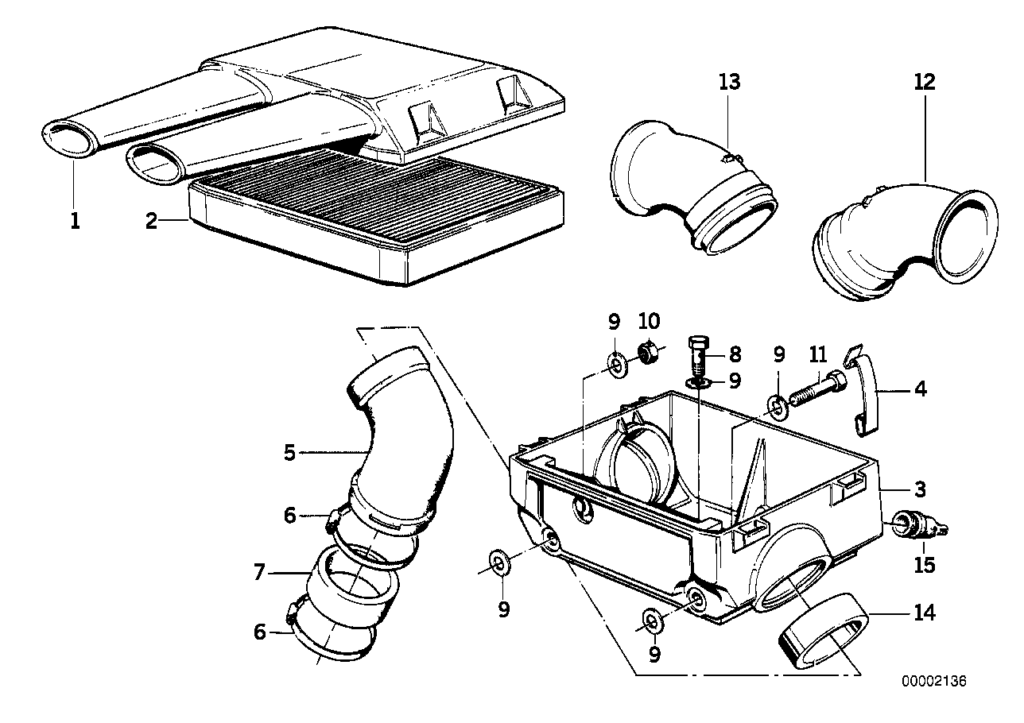
The order in which the airbox, carburettors and engine fit together is an aluminium stepped tube[14] fits into the airbox[3] then a rubber tube[7] (but not shown in the correct place on diagram) fits over the larger end if the ally tube. The other end fits on to the narrower end of the plastic tube[5] the other goes onto the carburettor. The outlet of the carb is connected to the engine with another rubber pipe[7] and a metal threaded adaptor that screws into the head.

The aluminium tube sits in the airbox. 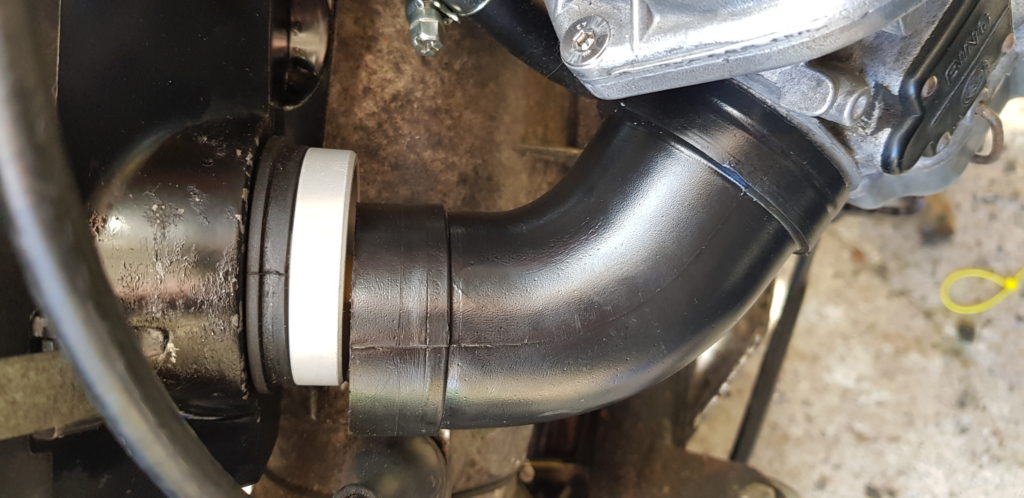
At first bits didn’t line up.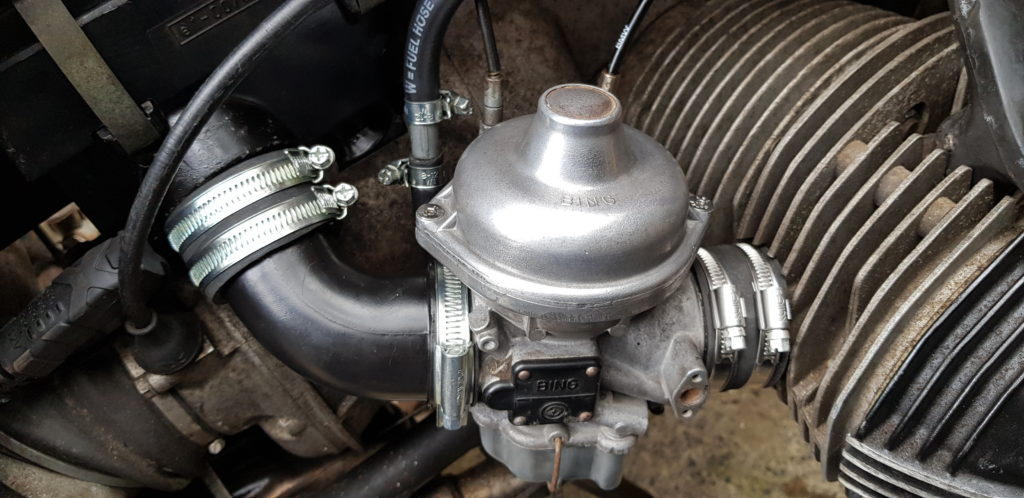
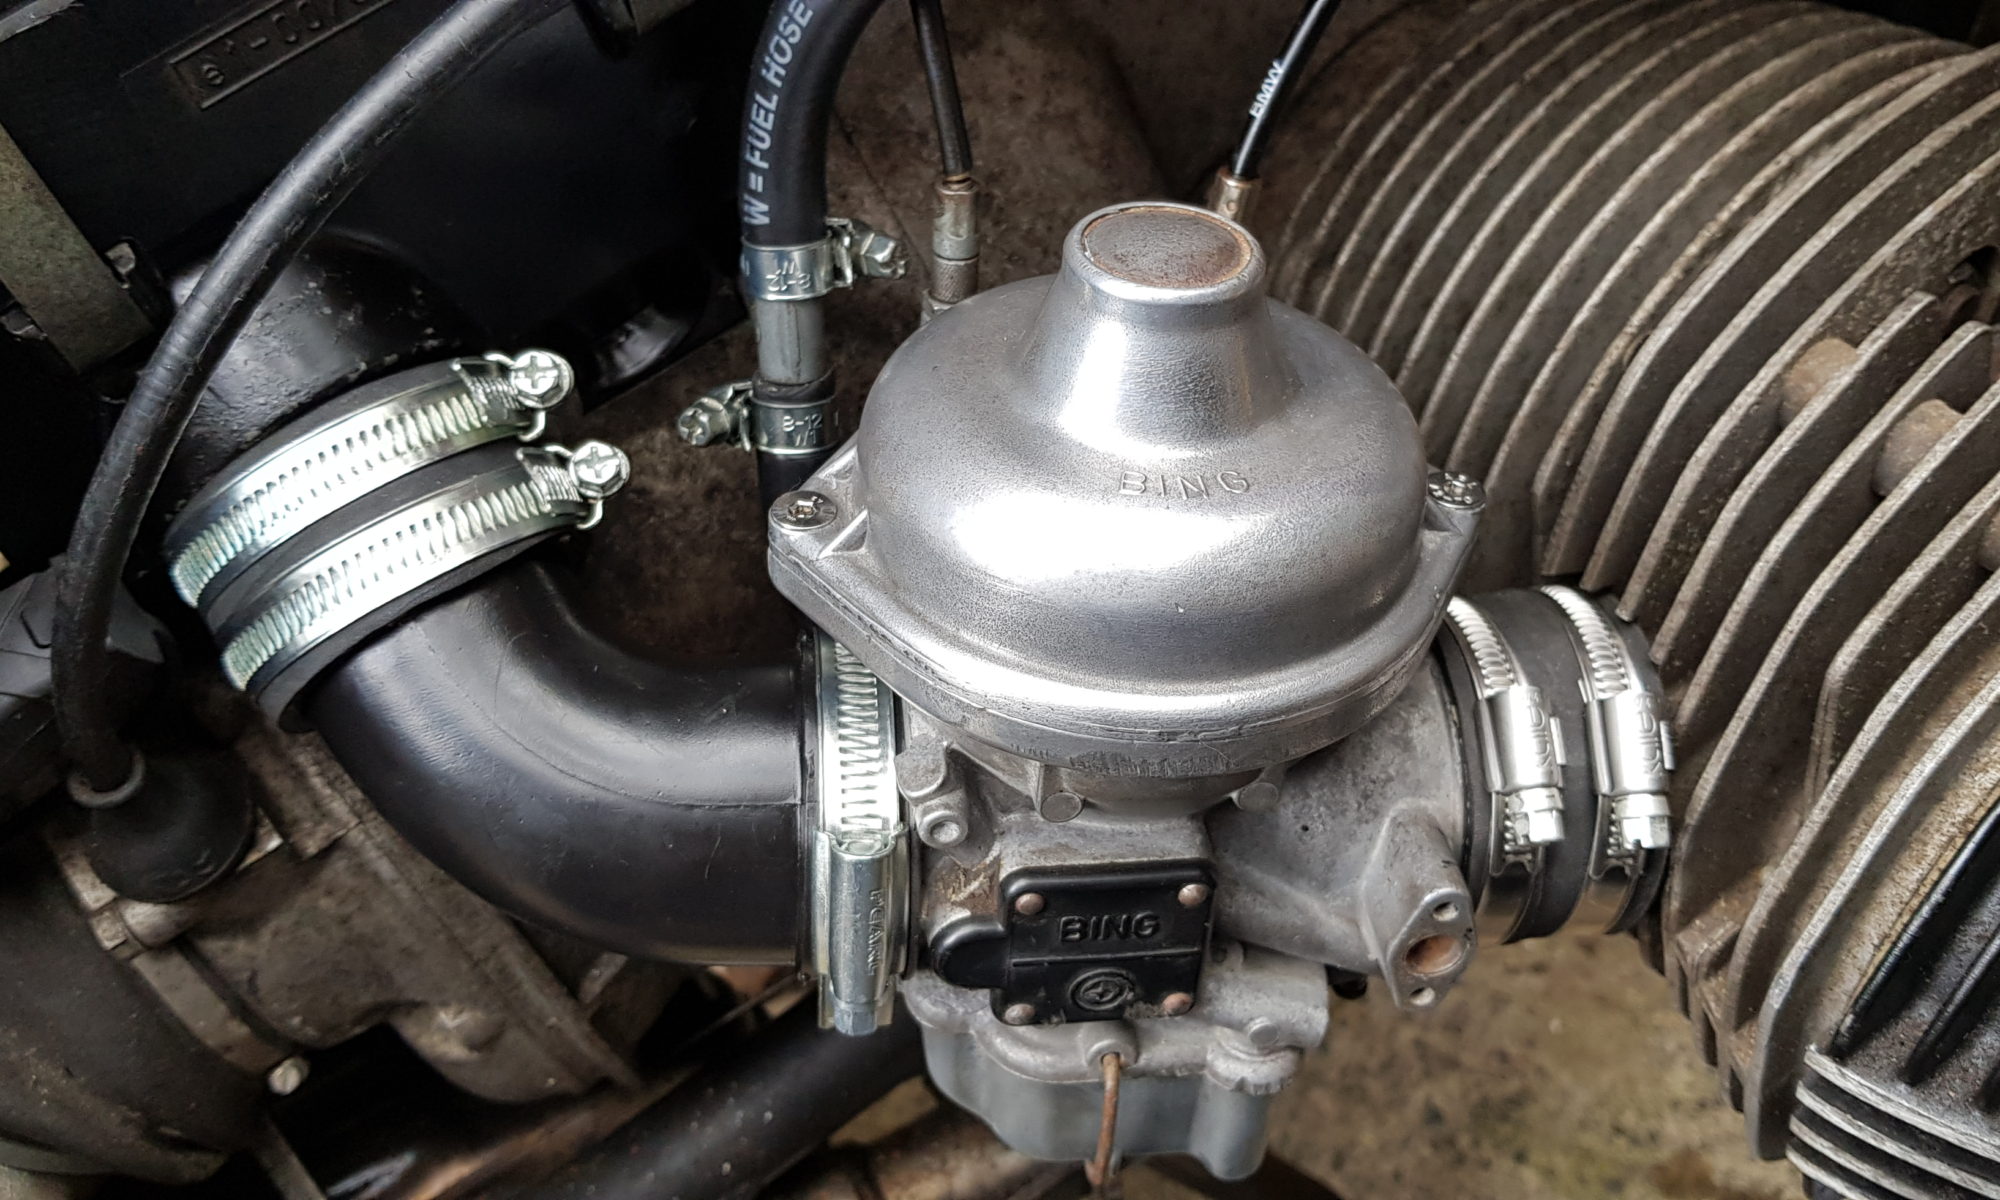
Finally Fitted the carburettors.
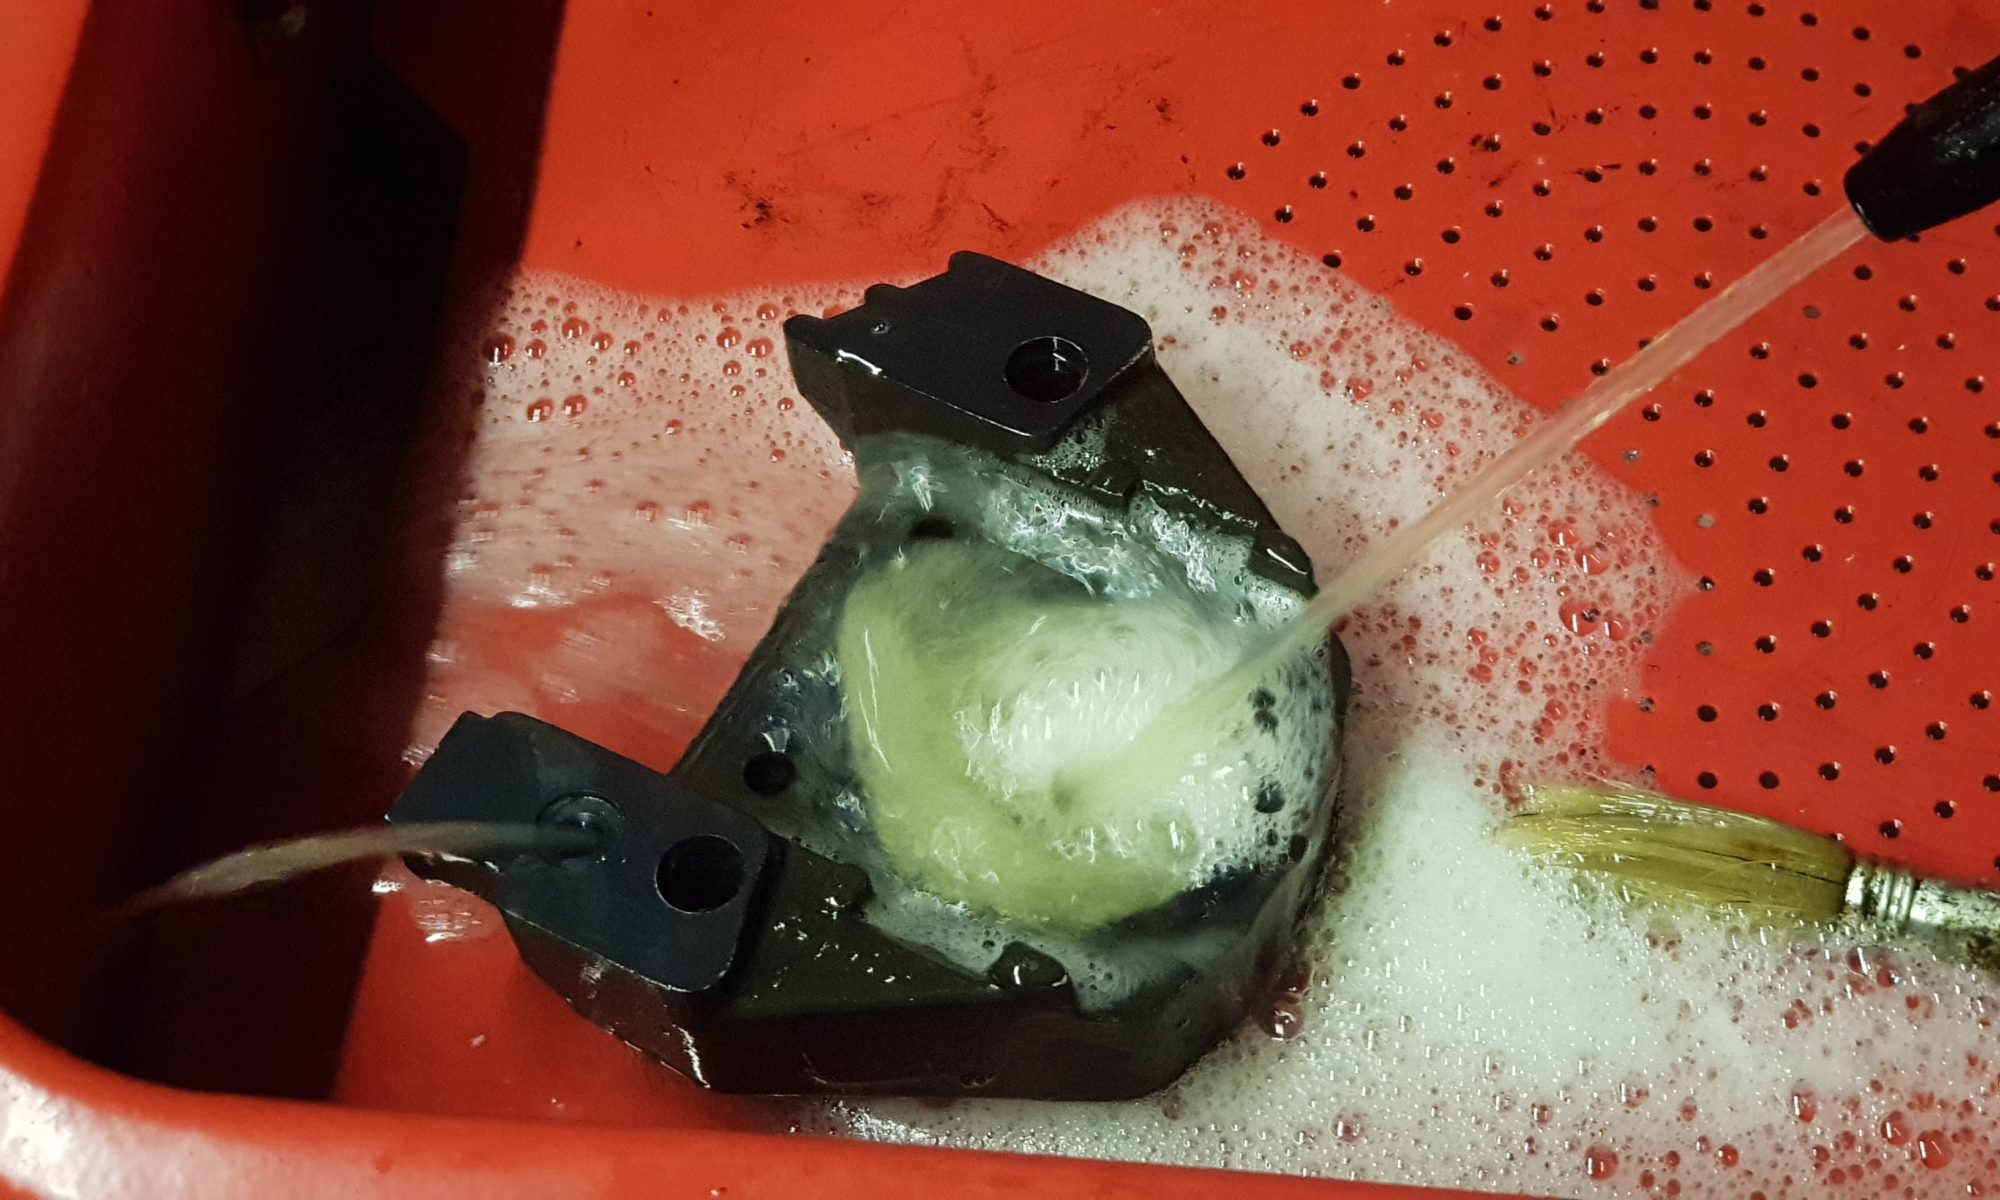
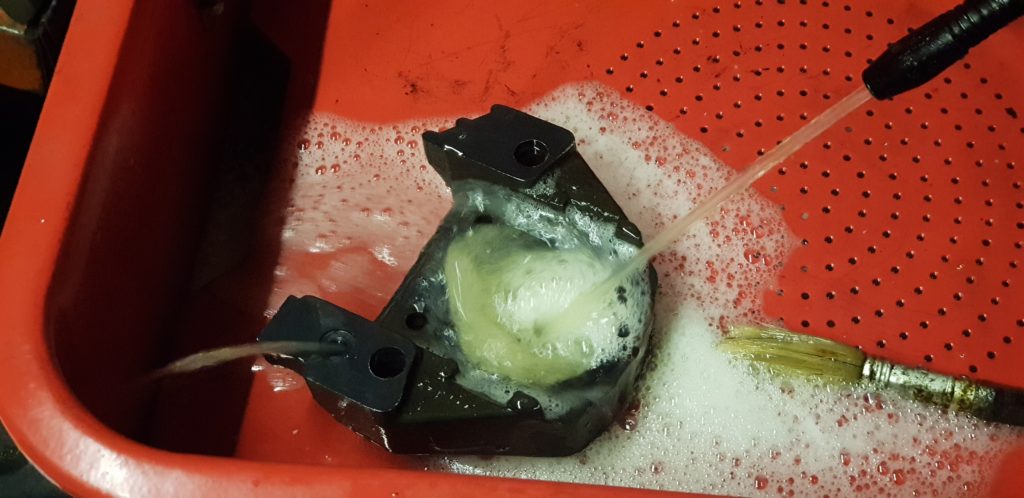
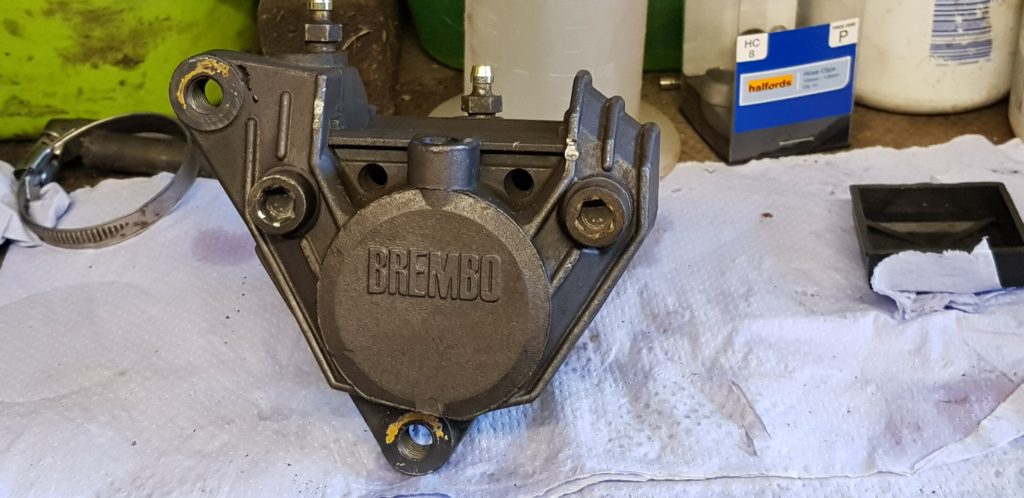
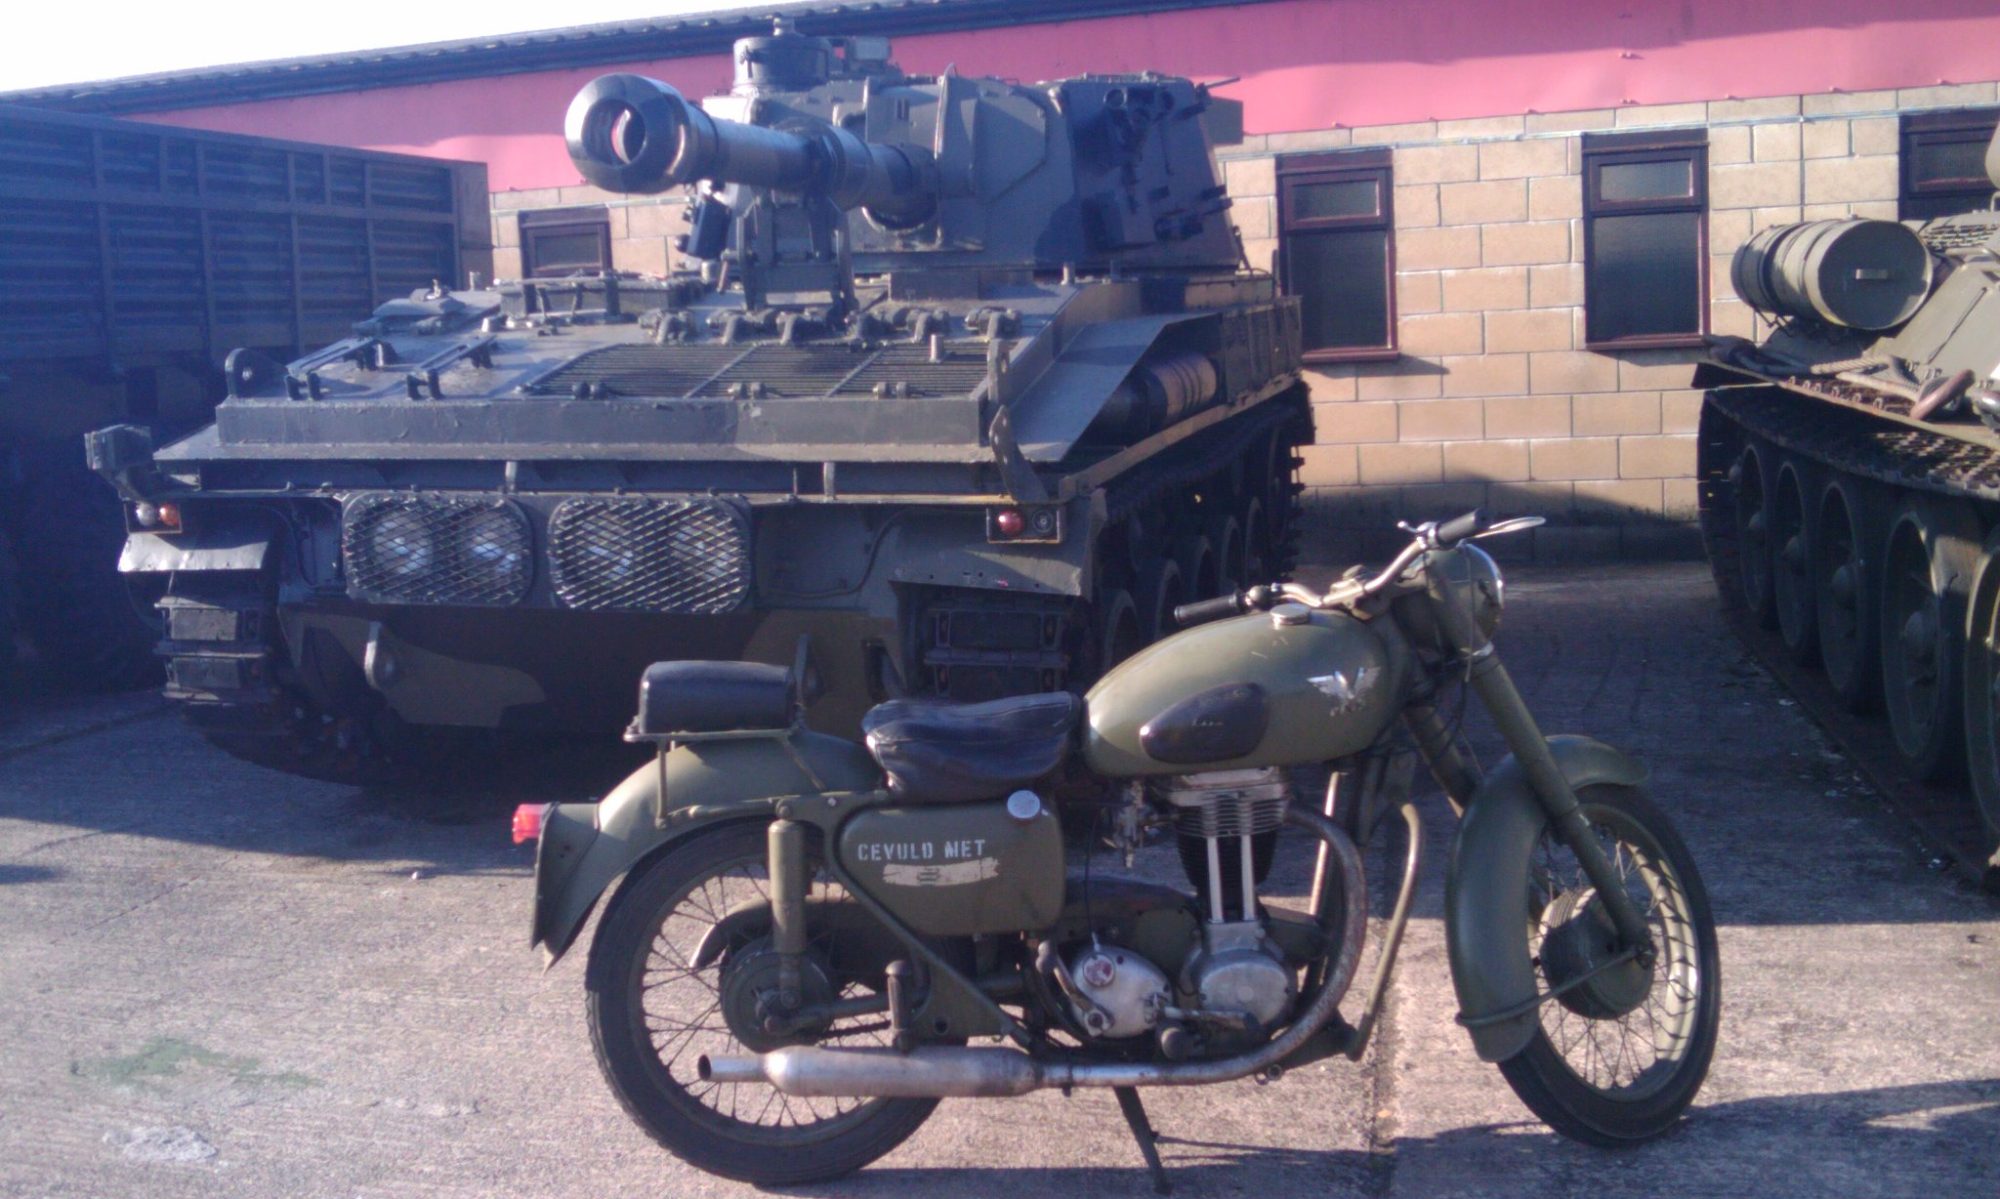
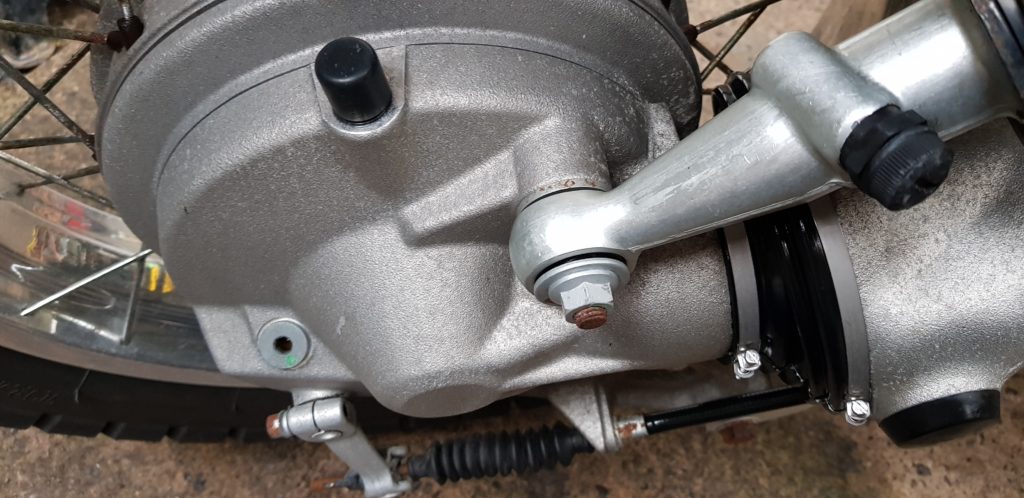
I also started to clean the bike now that I have the engine watertight as such. Using some ally wheel cleaner and some ph neutral cleaner (you know the stuff that indicates red on contact with rust). With the use of a stiff wheel cleaning brush, I worked about the rear wheel and hub scrubbing it. Now it looks a lot better, still plenty to clean but it was a start.
After a Cleaning 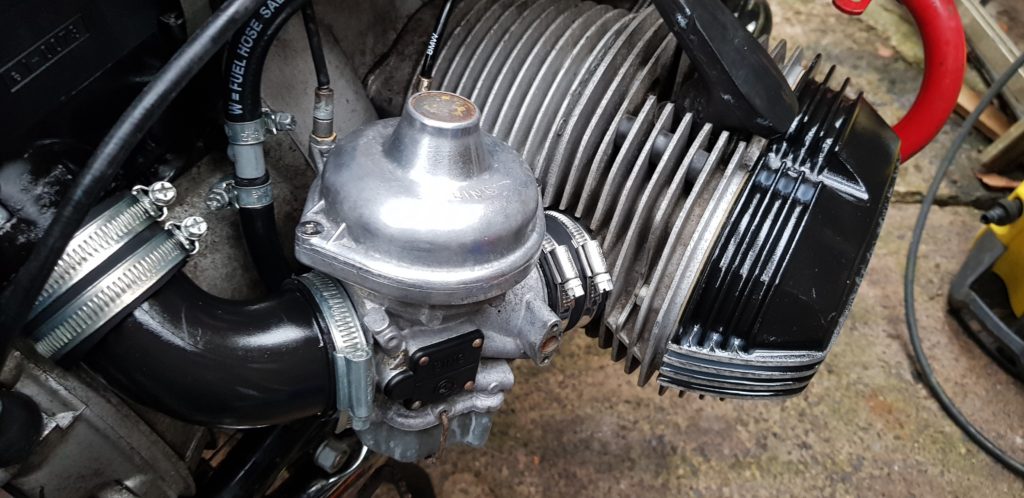
After a Cleaning 
After a Cleaning 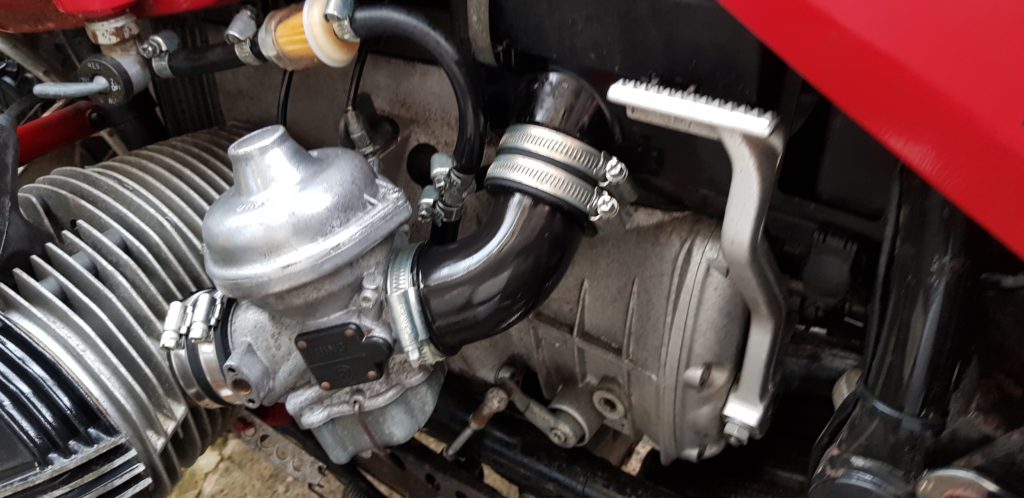
After a Cleaning 
Before Cleaning 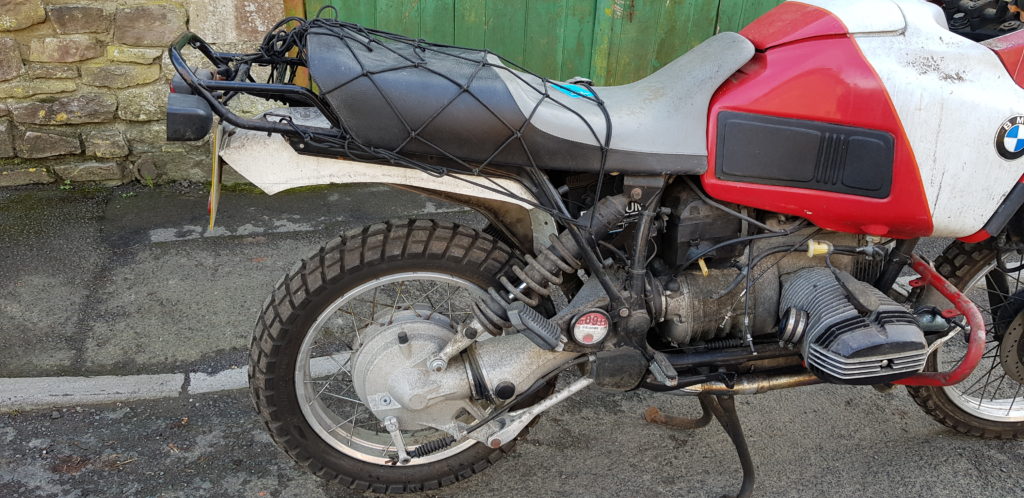
Before Cleaning